Showing posts with label WGS2. Show all posts

Thursday, 16 May 2024

2024 Topic 3 : Vintage PaperArtsy Stamps {by Liesbeth Fidder-de Vos} on the PaperArtsy Blog


Hi everyone,

Liesbeth here with you today. At this  topic Vintage PaperArtsy Stamps we focus on the beautiful vintage style PaperArtsy collections! Read everything about the history here at the Blog. When I first started stamping about 18 years ago one of my first stamps was PaperArtsy Ink&The Dog Buttons, because I also like sewing very much. After that I bought more and more of them and I still love them very much! The vintage designs never age! 


The size of most Ink&The Dog stamps are small, perfect for small cards, ATC's and ...this tiny houses. And perfect to unleash your imagination!


When I made this picture I didn`t know yet what I would end up with...as always. But some ideas were already there: For our current quarter theme ,Glazed' I used some natural mica sheets, a nice, glossy and vintage product. I also used some PaperArtsy Fresco Paints and Mattints, and more I guess. For the houses I used a Sizzix-Tim Holtz die, called Tiny Houses. And the main material this time of course is the PaperArtsy Ink&The Dog stamp sets! Wings plate 1 (WGS1)Wings plate 2 (WGS2)Wings plate 3 (WGS3)Wings plate 4 (WGS4)


To keep everything clear of how I made the 5 houses I show you the first two houses I made. First I cut out a small one and a big one out of white cardstock. If you don't have a die you probably can drew them yourself. 


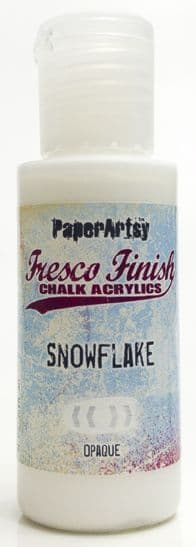
To create some texture, vintage feel and colour I tore out some small pieces of old bookpaper, music sheet and an old map and glued them on the cut out houses. I covered the two roofs with sheet music paper. I softened the tone a bit by adding some white Fresco paint here and there: PaperArtsy Fresco Finish- Snowflake.
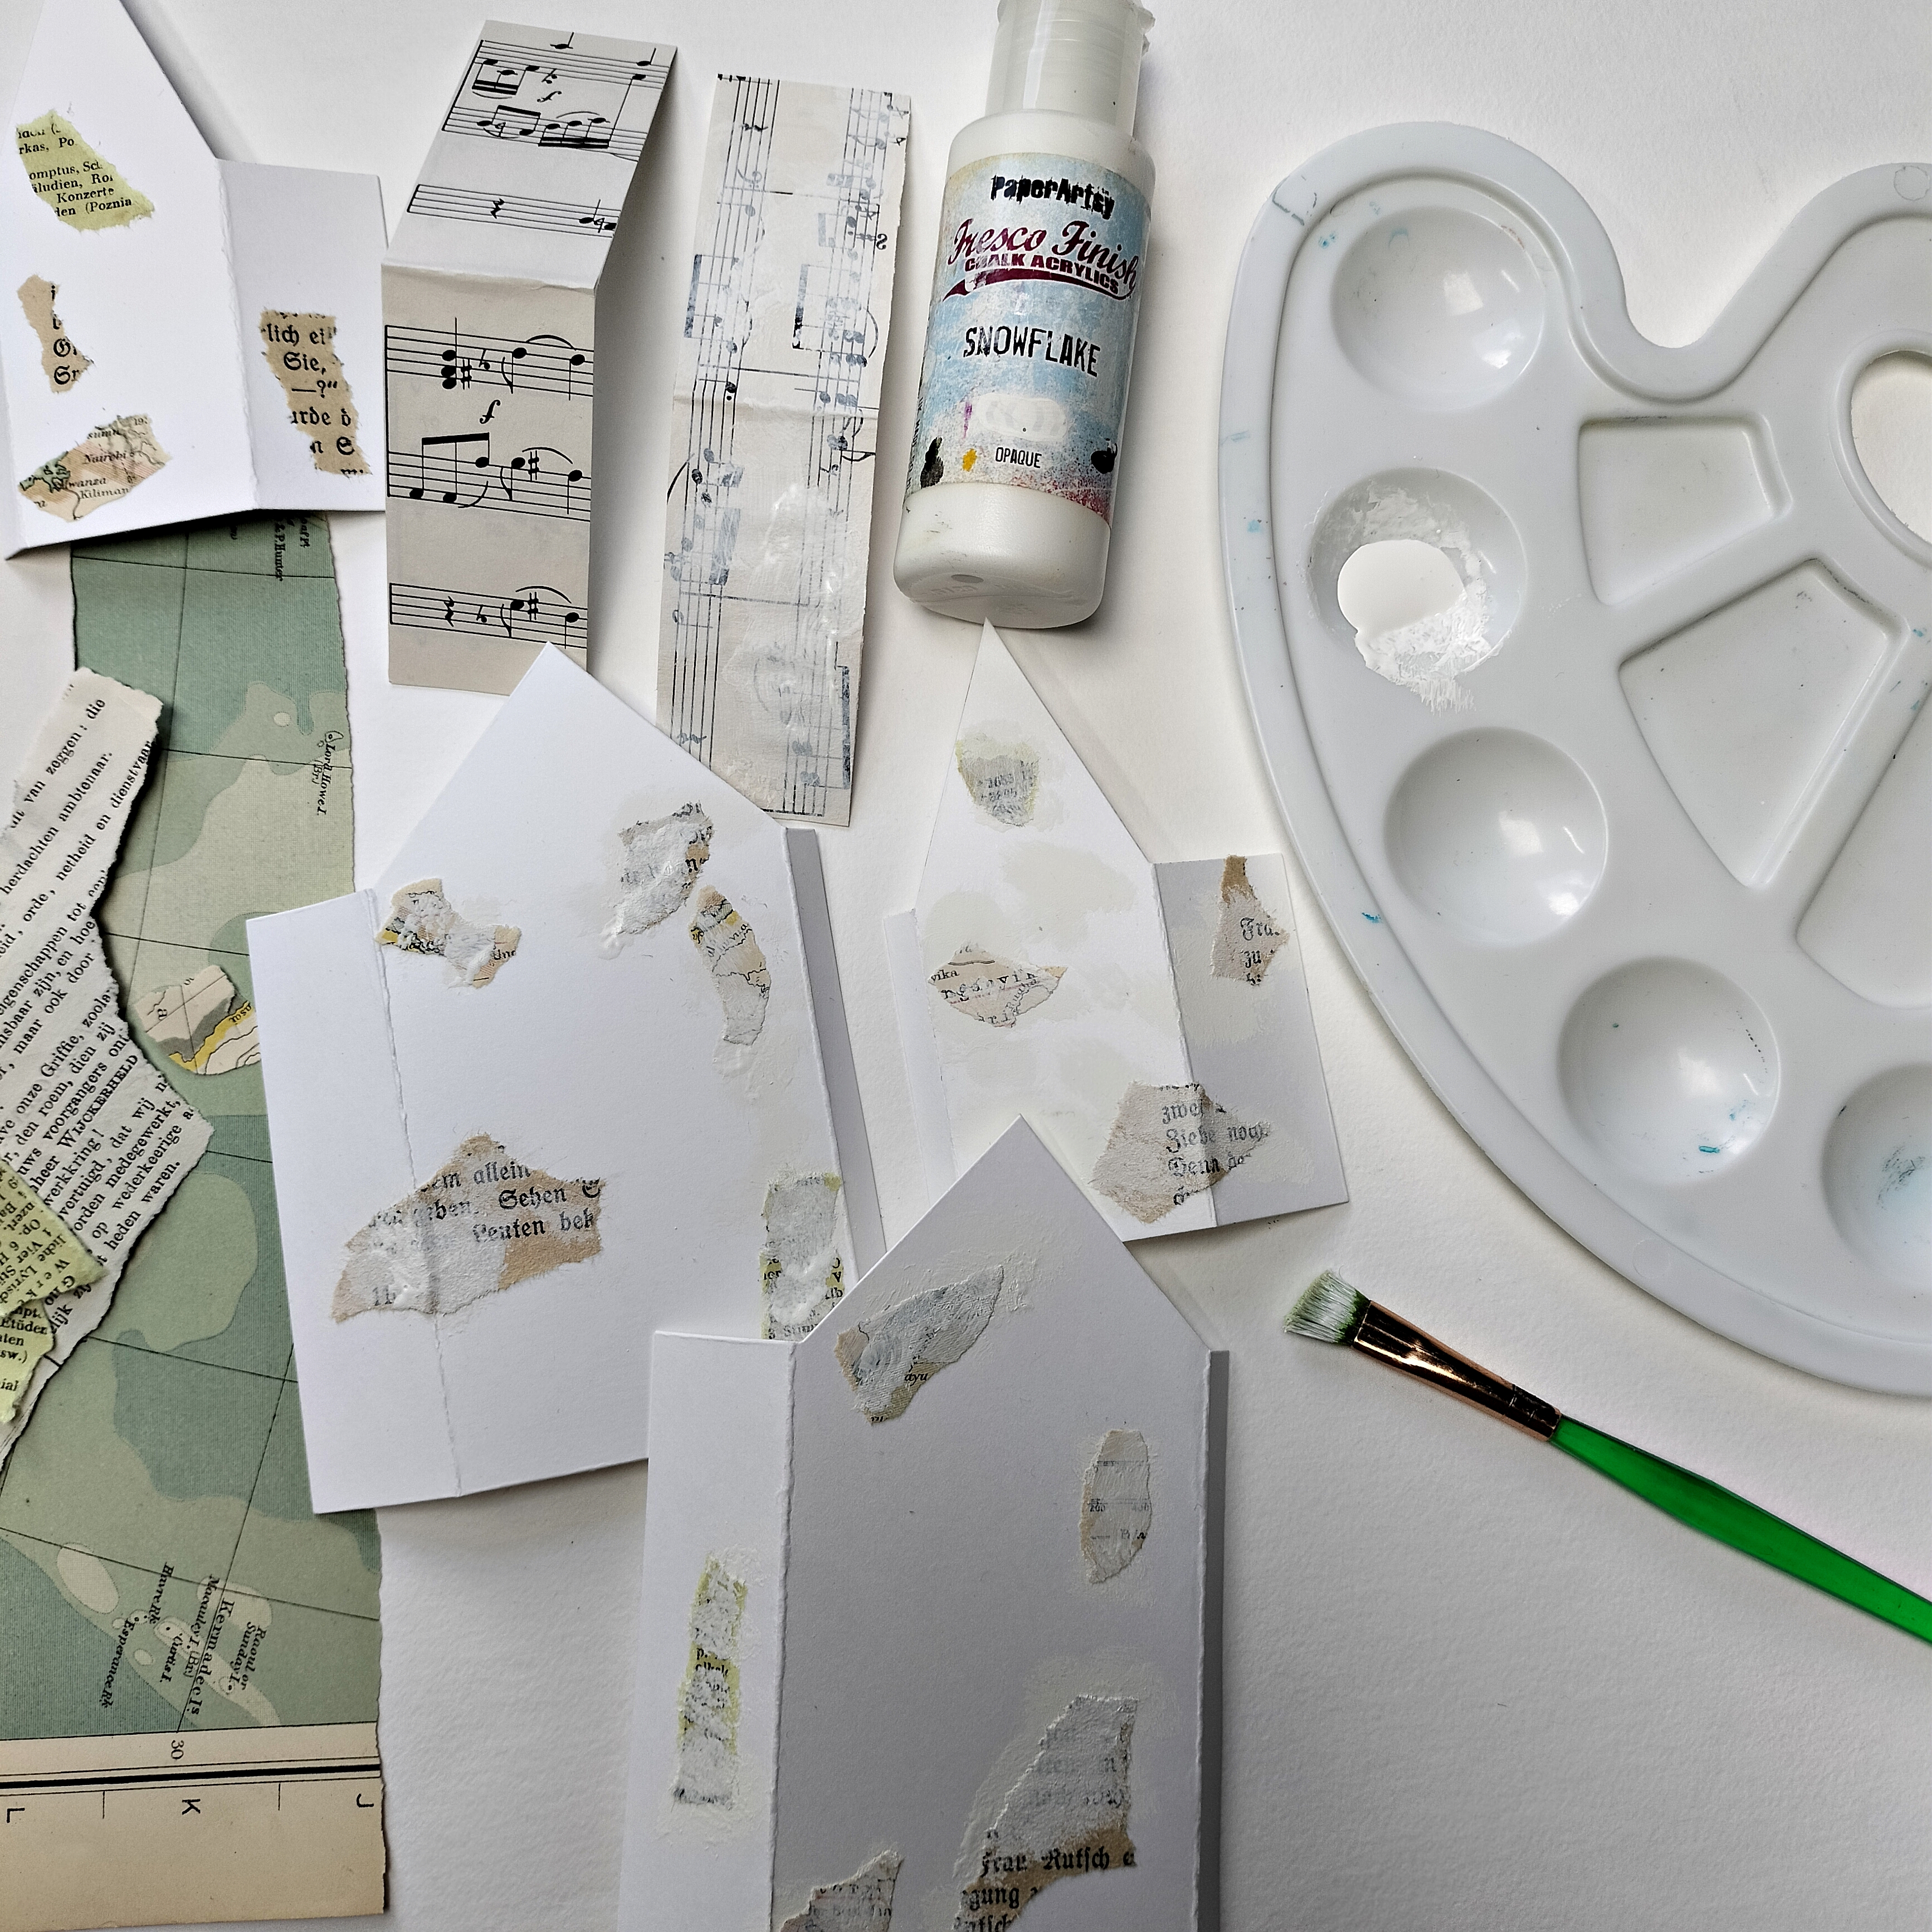

Stamping, yesss! My goal was to use almost every stamp of the stamp sets! I used PaperArtsy Ink&the Dog Wings 3 for the small house and PaperArtsy Ink&the Dog Wings 4 for the bigger house. The ink I used was Ranger Archival: Jet Black, Sepia and Coffee. I also used Tsukineko Memento Luxe: Pistachio, the beige ink. It's not in the picture.


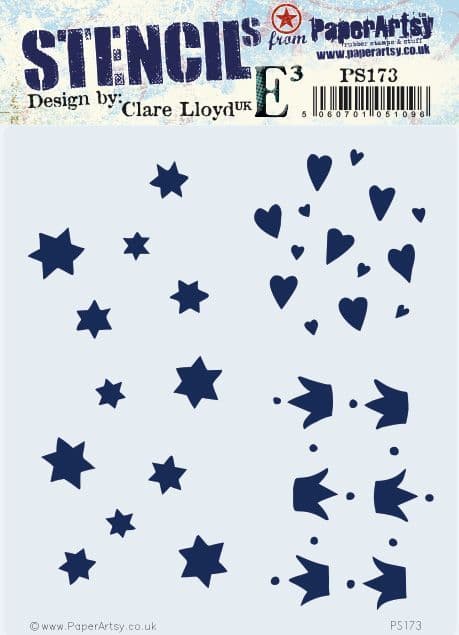
It needed a bit more, some extra texture.., so I made some beautiful stars here and there with PaperArtsy Grunge Paste and a stencil (173 PA Stencil).


This is what I did so far. I think the different images need a kind of connection..and colour of course!


My idea for connecting the different images was using some paint: PaperArtsy Fresco Finish: Sand.  Using my finger I added a bit here and there on the houses.


I used the amazing PaperArtsy Mattints as a paint this time! A great vintage and transparent look is guaranteed! I painted bigger pieces with Mattints: Glow and Nutty, and some small details with the blue Dragonfly. I coloured faces and skin with a pale pink marker and cheeks with a red colour pencil.


Almost time to put the houses together! First I used some Distress Ink: Walnut Stain to sponge the edges of every piece brown.  With pieces of mica and strong glue (Glossy Accents) I covered the roofs. After that I built the housed by sticking the glue strips together.


And..I glued the roofs onto the tiny houses with tacky glue.


And here both houses pose in front of ,their own' stamps, the stamps  they are made from!


In total I made five tiny houses as you can see on some pictures. Also this special one with a niche!


Therefore I cut  an arch out of the front of the house as shown here. I stamped the woman two times on a seperate piece of white cardstock with black ink, one to cut out the woman, and one to cut out the extra butterfly. I also coloured and stamped the inside of the niche/house before putting things together.


The final finishing touches I did was adding a tiny bit of gold wax, I rubbed a bit onto the stars and at the edges, and dots with a white gel pen on the very tiny branches.

And this is the result: the five tiny houses in a row! 


A detail. Here you can see how beautiful detailed the Ink&TheDog stamps are, with delicately lines!


A glimpse between two houses!

One of the mica roofs.... GLAZED!


Creating this kind of vintage project is always so much fun! I love to make new things old, and the amazing vintage style PaperArtsy Ink&TheDog stamps  are working so well for a good result! It was the first time I used Mattints just as a paint and I'm very happy with the way it turned out. 

Hope you like it to and give the vintage style a try yourself! Enjoy!

See you next time,

Liesbeth


Instagram: liesbeth_fidder

May 24-25-26  2024: I will teach 6 different workshops (stamping techniques) in Kouvola, Finland. Info HERE


Saturday, 23 January 2021

2021 Topic 1 Stamp Mashing - FP ECF I&D ESA: Concertina Mash {by Autumn Clark}


A delightful concertina booklet from Autumn here, allowing her to showcase lots of stamps from all 4 of our mash-up designer challenge! I adore this colour palette, and the elements and their surfaces are all so touchy-feely looking! Once you have a bundle of elements, the fun starts putting them together. Autumn has a knack of doing this beautifully. 

~ Leandra


Hi everyone, it's Autumn Clark with you today, and I'd like to share my new little accordion book filled to the brim with gorgeous imagery from our "mash up" of designers.

I knew right away I wanted to create a book with this variety of images to make each one a focus on the many pages.  I hope you'll read along to see the tricks I discovered in the process...


I tried so hard to use a new palette (because blues always call to me) and though I didn't use a single blue paint, somehow my book ended up with a blue tint.  Ha ha!  I actually chose browns and greens to work with: PaperArtsy Fresco Finish Chalk Acrylics in: Caramel, Hint of Mint, Gold Rush, Toffee, Winter Green, Cloud 9 and French Roast.  Oh how I love this combination!


I used the Sizzix Notebook die and white mat board, cutting the covers down to 3.75 x 2.75".  I then cut two long pieces of PaperArtsy Smoothy Card to 3.5 x 11.75"  I then did some random painting with my brayer onto my gel plate.  After the pieces were dried, I scored the long strips at 2.5", cutting off the excess and adhering the two panels together to form one long accordion, which I adhered inside of my book after stamping/collage.
 

I wanted to add dimension to the pages, but couldn't bulk up the accordion too much or it wouldn't close properly, so I made a batch of tea dye paper on plain copy paper.  This allowed me to distress and wrinkle up my edges, but was thin enough to fold up flat.  I stamped my images in Ground Espresso Distress Oxide.  (Tea stained paper, French Roast paint, Espresso ink... Do you see a theme here?)  I used my water brush to wet around each image and carefully tore them apart. 

 
AH5

WGS2

EM39
 
I am always so excited when I get a chance to share Ink & the Dog Collection stamps!  I  knew right away I could use the funky old bird from I&D Eclectic Plate 5 with its counterpart from I&D Wings Plate 2 and a host of other wing stamps.  And since I was making a book I added the "do not look inside" stamp from the I&D At Home Plate 2, which worked perfectly with Eclectica Mini Stamp 39 by Seth Apter
 

ECF05

Since Courtney's stamps were in the mash up, I wanted to turn the leaves from PaperArtsy Eclectica (Courtney Franich) Collection {ECF05} into wings.  I cut them out and scrunched up the stems, then cut out a second shirt for the dear old gal and tucked her new "wings" beneath it, stitching around the shirt to finish it off.

FP007

I found a new favorite (and super easy) way to paint with my stamps.  I brayered paint onto my gel plate then used it as an "ink pad".  I stamped the funky flower shadows from PaperArtsy France Papillon Collection {FP007} onto my panels then stamped the outline over them with black ink.  I added some journaling to one of the flowers for contrast.  My gel plate had a very cool impression from doing this, so I made a quick print (below) to use in a future project.  I can't wait to experiment more with this!

 
I decided to use more Seth Apter stamps, PaperArtsy Eclectica (Seth Apter) Collection {ESA018}, by doing some light stamping on my backgrounds, mixing with other backgrounds from the sets and adding a little stitching.  I added a few old postage stamps from my stash to blend in with the postage stamp from Courtney.
 
I dyed some seam binding with Distress Inks to make a closure for my little book.


It is small, but mighty in its message and filled with all of the quirky things I love!  I hope you love it too! 
 

It is so satisfying to sit and create something from nothing; a few sheets of paper, paints, inks and stamps can easily become a mini treasure.  Have you allowed yourself time to play?  I highly suggest creating a little book in which to do so.  I truly love taking the mundane or discarded things and turning them into art!  After all, what's to lose?

It's been a pleasure being with you on the PaperArtsy blog today and I will be seeing you again soon!  Hugs, Autumn

Blog: SewPaperPaint
Facebook: Autumn Clark
YouTube: SewPaperPaint
Instagram: @sewpaperpaint
Pinterest: Autumn S Clark
 

Wednesday, 13 November 2019

2019 #18 Shaving Foam: Wings, hats and numbers with I&D {by Corrie Herriman}

2019 Topic 18: Shaving Foam


Our bloggers have found this topic a bit of a challenge, and very messy! But it smells nice, and Corrie has certainly put this foam through its paces  with inks and stencils to create some interesting marbled backgrounds! ~ Leandra.

Hi everyone, it's Corrie here with you today, and I'd like to share the projects I made with the shaving foam technique.
I chose this topic because I had never tried the shaving foam technique before. I really enjoyed creating the final projects with the backgrounds I made with the technique but  making the actual backgrounds not so much. It is very messy ! On the upside: it smells really nice !  So let's start ! 


These are the backgrounds (all on PaperArtsy {Smoothy Card} stock) that I created. I used Distress Oxide reinkers and a cheap can of shaving foam. If you want to do this, make sure to use foam and not gel. Here is the first finished project:


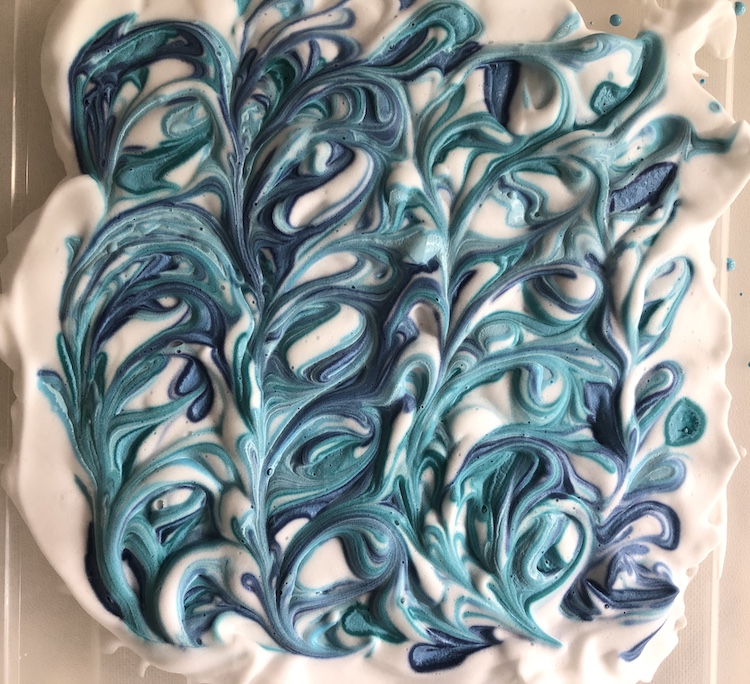
Start with a plastic tray or paper plate, squirt on the shaving foam and smooth out a little. I used a pallette knife for this. Then use your reinkers to drop colour all over the foam. I used three shades of blue: {Tumbled Glass}, {Faded Jeans} and {Broken China}.


Next use a cocktail stick or a knitting needle to create patterns, making sure not to mix the colours up too much, then put your card in and press gently into the foam and take it out again. Use an old credit card to scrape off the foam and you end up with a nice marbled background. 


I forgot to take a photo of when it was just printed. So here's one where I already started decorating it.

I stamped the background randomly using I&D {MN29} and {MN75} and then used a brayer and Fresco Finish Chalk Acrylic in {Antarctic} to tone it down a little. I was then ready for the main image:


I altered the image by masking off the butterfly on his head and replacing it with a hat. 


He is from I&D set {Wings2/WGS2}, the hat and the sentiment from I&D set {Pierrot2/PT2}.


Interesting fact I saw on YouTube: if you leave your foam with ink sitting for 4-5 hours and then take a print, the effect is totally different as you can see in the photos above. I think I prefer this to the sharp marbling.


For the next project I used greens and a beige: {Antique Linen}, {Twisted Citron} and {Peeled Paint}.


I used these ATC's for the next project: 


These were made in the same way as the card by stamping the background randomly with I&D stamps {Man of Numbers 2/MON2} and {MN23}.


For the main images I used I&D {Wings2/WGS2}. I added some colour the the faces and stamped the big butterfly with Distress Oxide Ink so I could add a little more colour to it. I just glued it over the top for the finished result. 


This card is my favourite of the four projects I did, I love the colours and those girls are sooo cool! Here's how:


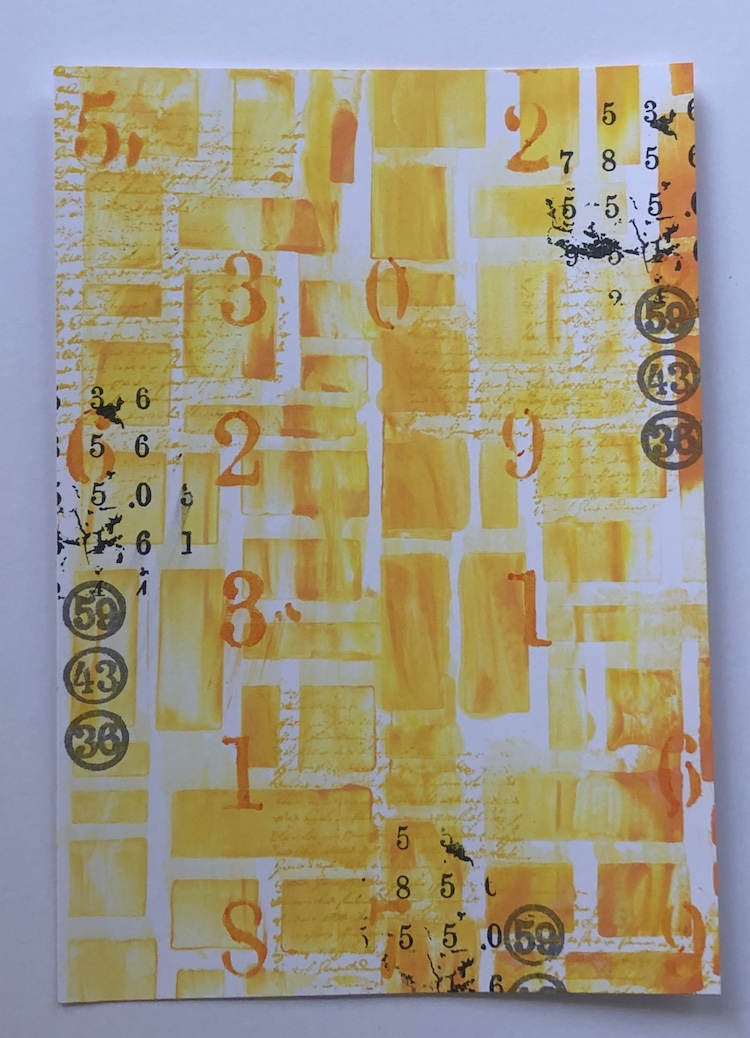
I used the colours {Mustard Seed}, {Fossilized Amber}, {Spiced Marmelade} and {Carved Pumpkin}. First I took some prints as before and then I used a stencil {PS016} by Emma Godfrey to make another background:


Cool I think. So this became the background for my girls.


Again I stamped the background randomly using stamps I&D {MN23} and {MN75} and a small stamp from I&D {Pierrot2/PT2}. To add some more interest I added some stencilling with PA stencil {PS021}.


I decided that because they are "mad as a hatter" to add some bunting to the top of the card. I just used one of the hats from the set for this.


I also have a bonus project. After I took the prints that I wanted I used the leftover colour in the shaving foam and scraped it over another piece of Smoothy Card through a PaperArtsy mask {PM007} by Emma Godfrey to make another background. I then used this background for a journal page. You can see all the backgrounds I made in the photo at the top of this post.


Again I created this in the same way as the other three projects by stamping and stencilling the background. I used PaperArtsy stencil {PS021} and stamps I&D {MN23}, {Man of Numbers2/MON2}.


I added the Man of Numbers and the sentiment along with some doodling along the edges and it was done.


As I said at the beginning, I really enjoyed making the finished projects on the backgrounds I made with the shaving foam and reinkers and it smells divine ! It is very messy though so if you are thinking of doing it make sure you have enough kitchen roll to clean up. I do like the results; my favourites are the blue ones I took after the foam had been sitting for about 4 hours. The foam disintegrates and takes the ink with it, it looks a terrible mess but makes lovely backgrounds. 
Thank you so much for spending some of your time over here at the blog today! I really appreciate it. Please visit me in my other locations too: