Showing posts with label KC008. Show all posts

Monday, 2 December 2024

2024 Topic 10 : Gilded {by Nikki Acton}


Hi, Nikki (a2a.craft) here with you today sharing my latest project. Our topic is Gilded - which ties in perfectly for some Christmas bling. Not forgetting our quarterly theme of Nature, which I have sneaked in!

Having recently done a 'With 3 things' post featuring PaperArtsy Fresco Acrylic in Copper - I just had to use this fabulous paint again, but also added some Gold and embossing for lots of gilded goodness.

I am using one of Kate Crane's Christmas stamp sets; I was intending to make cards but in the end made a festive panel for the wall - it seemed wasted on a card!


I think I would describe this as 'a reindeer framed with a star made out of Christmas trees'?! It actually started as a mandala design with lots of reindeer heads - but it was beginning to look very weird!

I love the star background - using PaperArtsy stencil PS440 by Kate Crane - very simple to do - combining the Copper and Gold paints.


I kept my supplies quite simple - using Kate's stamp set - KC008 and stencil - PS440 plus PaperArtsy Fresco Acrylics in Gold, Copper, Steel Grey and Chalk.


Although I started with a different composition in mind - I did know I wanted to use some leaf stamping to incorporate our Nature theme. 


Initially I just used gold paint but when I added some stamping in white too - there was greater contrast against the black card.

If you haven't used leaves before - looks for ones with prominent veins. You can add the paint to the leaves with a brayer or paint brush (flat is best) - just experiment - you only want the paint on the veins. Start with a little and build up.....


Before I started stamping I created some background papers to use by sponging both the copper and gold paint onto white card.


These have a lovely shine - although the photos may not pick that up. 


I also sponged some Steel Grey onto white card and decided to add some stars using the stencil. So pleased I did, as I love how this turned out.

Now it was time to start stamping.


I started by stamping what I thought I would need (this changed!). For stamping on my copper and gold backgrounds as well as the black card; I used Versamark and heat embossed with gold or black embossing powder.


Here are the reindeer heads from my original mandala idea!


In the end, you can see that the large Christmas trees were used to create a large star - with the smaller trees (in copper) in between.


I painted a wooden panel using Copper - one coat was just perfect.


I decided to add some stars in white card.... more gold embossing here!


The wooden panel is 6x6 inches - I'm looking forward to adding this to my Christmas decorations.


Monday, 16 September 2024

2024 Topic 7: (Gel) Printing {by Kate Crane} on the PaperArtsy Blog


Hi everyone, Kate Crane here with you today.

I've been busy gel plate printing lately, although to be fair I do a lot of gel plate printing all the time!  I looked through my stamp collection and picked out the closest thing to nature! Fishies chasing each other, and of course the humble tree. 

When I'm printing I like to print quite a few backgrounds for a couple of reasons. Firstly it can be a bit messy so you might as well do a few while you're on, and secondly I like a few colour combinations to choose from. It stops me from overthinking about what goes with what. If you have a few prints you can just grab and go, and sometimes find yourself creating something a bit different, something that you would have never have thought of.

I created a few backgrounds on my gel plate using a combination of alcohol inks and Frescos along with stencils. I love the serendipity of printing; you just don't know what you are going to get and you never get the same result twice!

In my projects today I'm going to build up layered backgrounds, playing with colour combinations, and then add some fun bouncing hanging stamped images, coloured with Mattints.


Frescos: Cerulean, Aqua Duck Egg, Snowflake, Dirty Lime
Stencils: PS442, PS441, PS428

When I added my colours to the gel plate I was quite careful about the colours I put together to avoid making mud. If you choose colours from the same colour family, or cool or warm colour combinations a you can avoid making murky prints. Opposites on the colour wheel will make brown (so blue and orange for example) - a good tip to remember.


I began my print-making session with alcohol inks and Frescos. Alcohol inks dry fast, so once dry on the gel plate you need a layer of acrylic paint to pick up your print. In the past I have used alcohol inks on my gel plate with stencils a lot, but this time I did it a little differently.

I began by splashing alcohol ink on the gel plate along with a little blending solution which dilutes the colours a little for a more pastel result. I then put a protective glove on and spread the ink a little on the plate with my hands. While it was wet I laid the stencil over this and the ink immediately flooded under the stencil creating a pattern. I then just rolled kitchen roll over the top to remove some of the ink and then let it dry for a short while (remember alcohol dries fast!). Finally I lifted the stencil and simply brayed a thin layer of Snowflake Fresco over and took a print while the Snowflake paint was still wet. 

I repeated this a few times using different colour combinations. 


I then tried something else a little different. I placed my stencil directly on the plate and brayered a thick layer of Snowflake Fresco paint. I lifted the stencil, let it dry, and then built up several light layers of blues and greens with a brayer, letting it dry in-between. This creates a nice grungy look! Once the layers have dried a final layer of white allows you to lift the pattern.


I'm really happy with the various colours and patterns I have created here, and this gives me plenty of choice for building my backgrounds. Sometimes prints can look messy and untidy when you first do them but once you trim them and start using them they take on a whole new life.


Stamp: KC003

Next, I needed some coloured images for my little projects. I stamped, and then coloured with Mattints. I find Mattints are perfect for adding colour to your stamped images. They blend easily and you can build up the layers to create strong colour.

Backgrounds next! I chose to layer several prints over each other each time getting a little smaller. Here I am working on two little projects at the same time. This is when it is so useful to have a few prints to play with, you can experiment easily with different colour combinations.

Stamp KC008


Before I start gluing things down, these backgrounds and images need a little more work. I like to add depth to my stamped images with a Stabilo All pencil. The stamped images have micro dots for shaded areas so this a good guide for where to add the Stabilo shading. You can go really quite dark in these corners, it helps your images to pop! And then of course, a white Posca paint pen is great for adding highlights.


But Poscas aren't just for images, they are great for adding nice scribbles to your background too. I let the pattern created by the stencil guide me for this.


Once you glue or tape your background layers together, a bit of texture stamping over the top of everything looks great especially if you use corresponding colours and just a touch of black.

Stamps: KCM001, KCM002

In something like this, stitching is completely optional as it is purely decorative and not functional, although it is an alternative to wet glue! I love the look of stitching though, so I just use a regular sewing machine with a regular needle and add stitch away!


My very final background layers are always a touch of Stickles Glitter for a bit of sparkle, and a touch of metallic paint, usually by junk-stamping with loads and old cards or lids. These final touches do help to bring the layers together.


To add my floating-bouncy hanging images I used Grafix DurLar clear film, simply cut into narrow strips and glued to the reverse of my background panel.


If you missed any of my recent tutorials in the PaperArtsy People Facebook group, head over there to the guides section, and under the Kate Crane Guide you will find the following...

Monday, 26 August 2024

NEW PaperArtsy Products {Kate Crane} August 2024


A note from Leandra:
I guess you might not be thinking about Christmas yet, and generally here at PaperArtsy we have a rule not to mention it until some time in September when school is back in session after the Northern Hemisphere summer break. We are still basking in the summer sun here in South-West France, so I admit, it's very odd talking about Christmas? But as a kiwi, this time of year does remind me of mid summer Christmas down under, so I have experienced half of my life having hot Christmases, and the other half in the cold!

It has always struck me as odd that most manufacturers share their Christmas products back in July, but we tend not to follow the rules ... for us even now at the end of August, this is very early to be using the C word. Anyway, I know our stockists are very happy about this date as they LOVE to get their Christmas classes planned so that you can get ready making your cards, wrapping papers and more! And I think you will struggle to resist these quirky and very adorable designs from Kate!
 
Kate will be along to share all with you LIVE these new products and ideas over in our Facebook Group, 'PaperArtsy People' shortly after this post publishes, and ... don't forget
 
These stamps are available EXCLUSIVELY from our approved stockists. Please check the list at the foot of this post to find a retailer online or geographically near you, it makes sense to order within your country where possible. Our retailers also endeavour to join the designer's live to share their direct shopping links - this makes it super easy for you to find a store with product in stock immediately.

Hi everyone. Kate here with you for my first Christmas release with PaperArtsy. 
 
Let me introduce you to 3 new Christmas stamp sets and 3 new stencils, read on to find out all about them!


Red Rubber Stamps (A5 set)
Price: RRP €23.00 +VAT    
Size:5" x 6" (13 x16.5cm)
All stamps are individually trimmed onto cling foam, with a laminated storage/index sheet.

Kate Crane - A5 stamp set 006 {KC006}

A fun set of quirky little people with an optional stand for the back or to make 'legs'! Also includes a banner to add names for a bit of fun when entertaining. This set works well as a bit of Christmas fun but works for many other occasions too so a truly versatile set.

Christmas Place Cards

A fun way to add place names for your Christmas guests! I stamped and coloured each character and added the stand at the back of each to allow a character in every place at the table. Fun fact: Although you can add your own names in each banner, I added the words from KC008 to allow guests to choose their own place! Who wants to be 'Grumpy? Or Tipsy?!


Here's a close up of the characters with the banners including punched holes and a bit of gold thread allowing the names to hang around the neck.


Here you can see how I added the stand to the back of each character. This stand isn't just a stand, it is surprisingly useful for adding to other stamps (as you will see!)

Embrace your Weird Tag

Perfect for a tag! And here you can see how I used the stand to make 'legs'. The background was created with two of the new stencils - Moon phase PS442 (on the gel plate) and then the primitive stars PS440 Sponged through the stencil) so the character is in fact placed amongst the moon and the stars! The quote is one of several included in this stamp set in my favourite vintage typewriter style, be weird and proud!


You may also notice that I have added a few little snippets made on a transparency using both the new stars stencil but also my 'go-to'  KC005 marks stencil from my first release. It's a great way to build a background.

Take the Time Tag

Here you can see a tag using the floral character in a totally non Christmas setting. I used gel prints to create the background again using the new Moon Phase stencil PS442, oh and bit of the transparency crept in again too. The circle shape was punched from a gel print, actually for a different project, but you can't let the leftover go to waste (you will see the original circle shape ... keep reading!)

Kate Crane - A5 stamp set 007 {KC007}

Well the previous set was a bit versatile but this set is unashamedly Christmassy! I designed a few skittle shaped Christmas characters and baubles, but I wanted to be able to place them in a frame. But more than that, I wanted the frame to be a little too small so that they could burst out of the frame which allows you to use the characters in different ways - full length showing their glorious skittle shape. Or chopped down and added in a frame. You can get a bit clever with the stamps masking too and move features such as the arms around.

Surprise! Christmas Card

Ta-Da! Here is the silly reindeer bursting out from the frame to yell his greeting of 'Surprise!'
Oh, and here's the punched circle I was referring to on the previous post.
You will probably notice that I did a bit of trickery with the stamping here and masked off his arms (with a good ol' post it note) and then re-stamped them so that I could add them in a glorious 'arms thrown open' pose.


I used gel prints (it's that Moon Phase stencil again!) with a punched out circle to create a window, and then triple mounted on card before adding to a plain white card. 
I don't send many Christmas cards these days, I don't think many of us do, so I want the ones that I do send to be hand-made and meaningful.

Surprise! Christmas Fairy Christmas card

Surprise! This time it's the Christmas fairy, chopped down to fit inside the frame allowing her to burst out and shout 'surprise!'


I added her over some gel prints and stencilled backgrounds (you can see a bit of the new floral PS441), and then sponged through the stars stencil to make sure she was surrounded by Christmassy golden stars.

  
Ho Ho Ho! Christmas tag 

And here's Santa shouting out a jolly Ho Hop Ho! This time I haven't chopped him down to fit in the frame but let him stand tall and proud. I used more of a scrapbook style with this tag and added bits of washi tape and scraps I had lying around.
Tags are versatile and can be used as tags on gifts etc, but can also fit inside your art journals, or even be added to the front of a greetings card. You can even hang them on your Christmas tree! So many possibilities.


Kate Crane - A5 stamp set 008 {KC008}

Another unashamedly Christmassy set! So many possibilities with this set - everything from primitive style Christmas trees large and small, to a slightly frazzled looking fairy.

A dangling Christmas fairy!

Ha ha! I think a lot of us feel slightly frazzled by the time Christmas actually arrives and this fairy sums it up. She's either a bit frazzled or a bit tipsy, or maybe both!


I placed over a background using Infusions with the Stars stencil, but also added a layer of Dura-Lar Wet Media film also using the Infusions and the Stars stencil over the top for a bit of extra depth in the background.


You may notice those transparencies are creeping in again using PS00 from the last release again. Such an easy way to add a pop of black.


Here you can see the frazzled fairy, dangling in a hopeful way under the mistletoe. Kiss kiss!
I used the quote from KC007 - I love a bit of mix and match.

Scrapbook Style Journal Page

The fairy is looking very different in this setting! Much more of a scrapbook style.
I literally added a few scraps from a rather  large collection I hold on my desk - of papers, text, washi tape, and then added a very loosely coloured fairy. 


I sponged a little Distress Ink through the Stars stencil to surround her head with a little celestial goodness. A little bit of art for art's sake.

A Rainbow Christmas Tree

Who says Christmas has to be red and green? Not me! A Christmas tree can be any colour but if you can't decide you can just use them all as I did here. This shape of this tree lend itself well to a tall slim Christmas card, especially when coloured like a rainbow.


I used the small texture star stamp to bring in a little corresponding pink to the background.

Tiny Trees

Not just any old Christmas trees, but tiny trees! So useful. I coloured mine in a rainbow style (again) and added them to a Kraft cardstock. Bright colours always seem to work so well on Kraft.


I used a white paint pen to add a few snowflakes around the trees and a bit of blingy glitter of course.


And finally, the trees don't have to remain in a row. 
I coloured mine then chopped them into individual trees to make Christmas gift tags. Quick and easy!

Surprise reindeer!

There is something very jolly about a reindeer popping up to say hello! Earlier I mentioned that the stand from KC006 could have other uses. Well, yes, reindeer arms. Who knew?! An easy way to make this rather startled looking reindeer look a bit giddy.


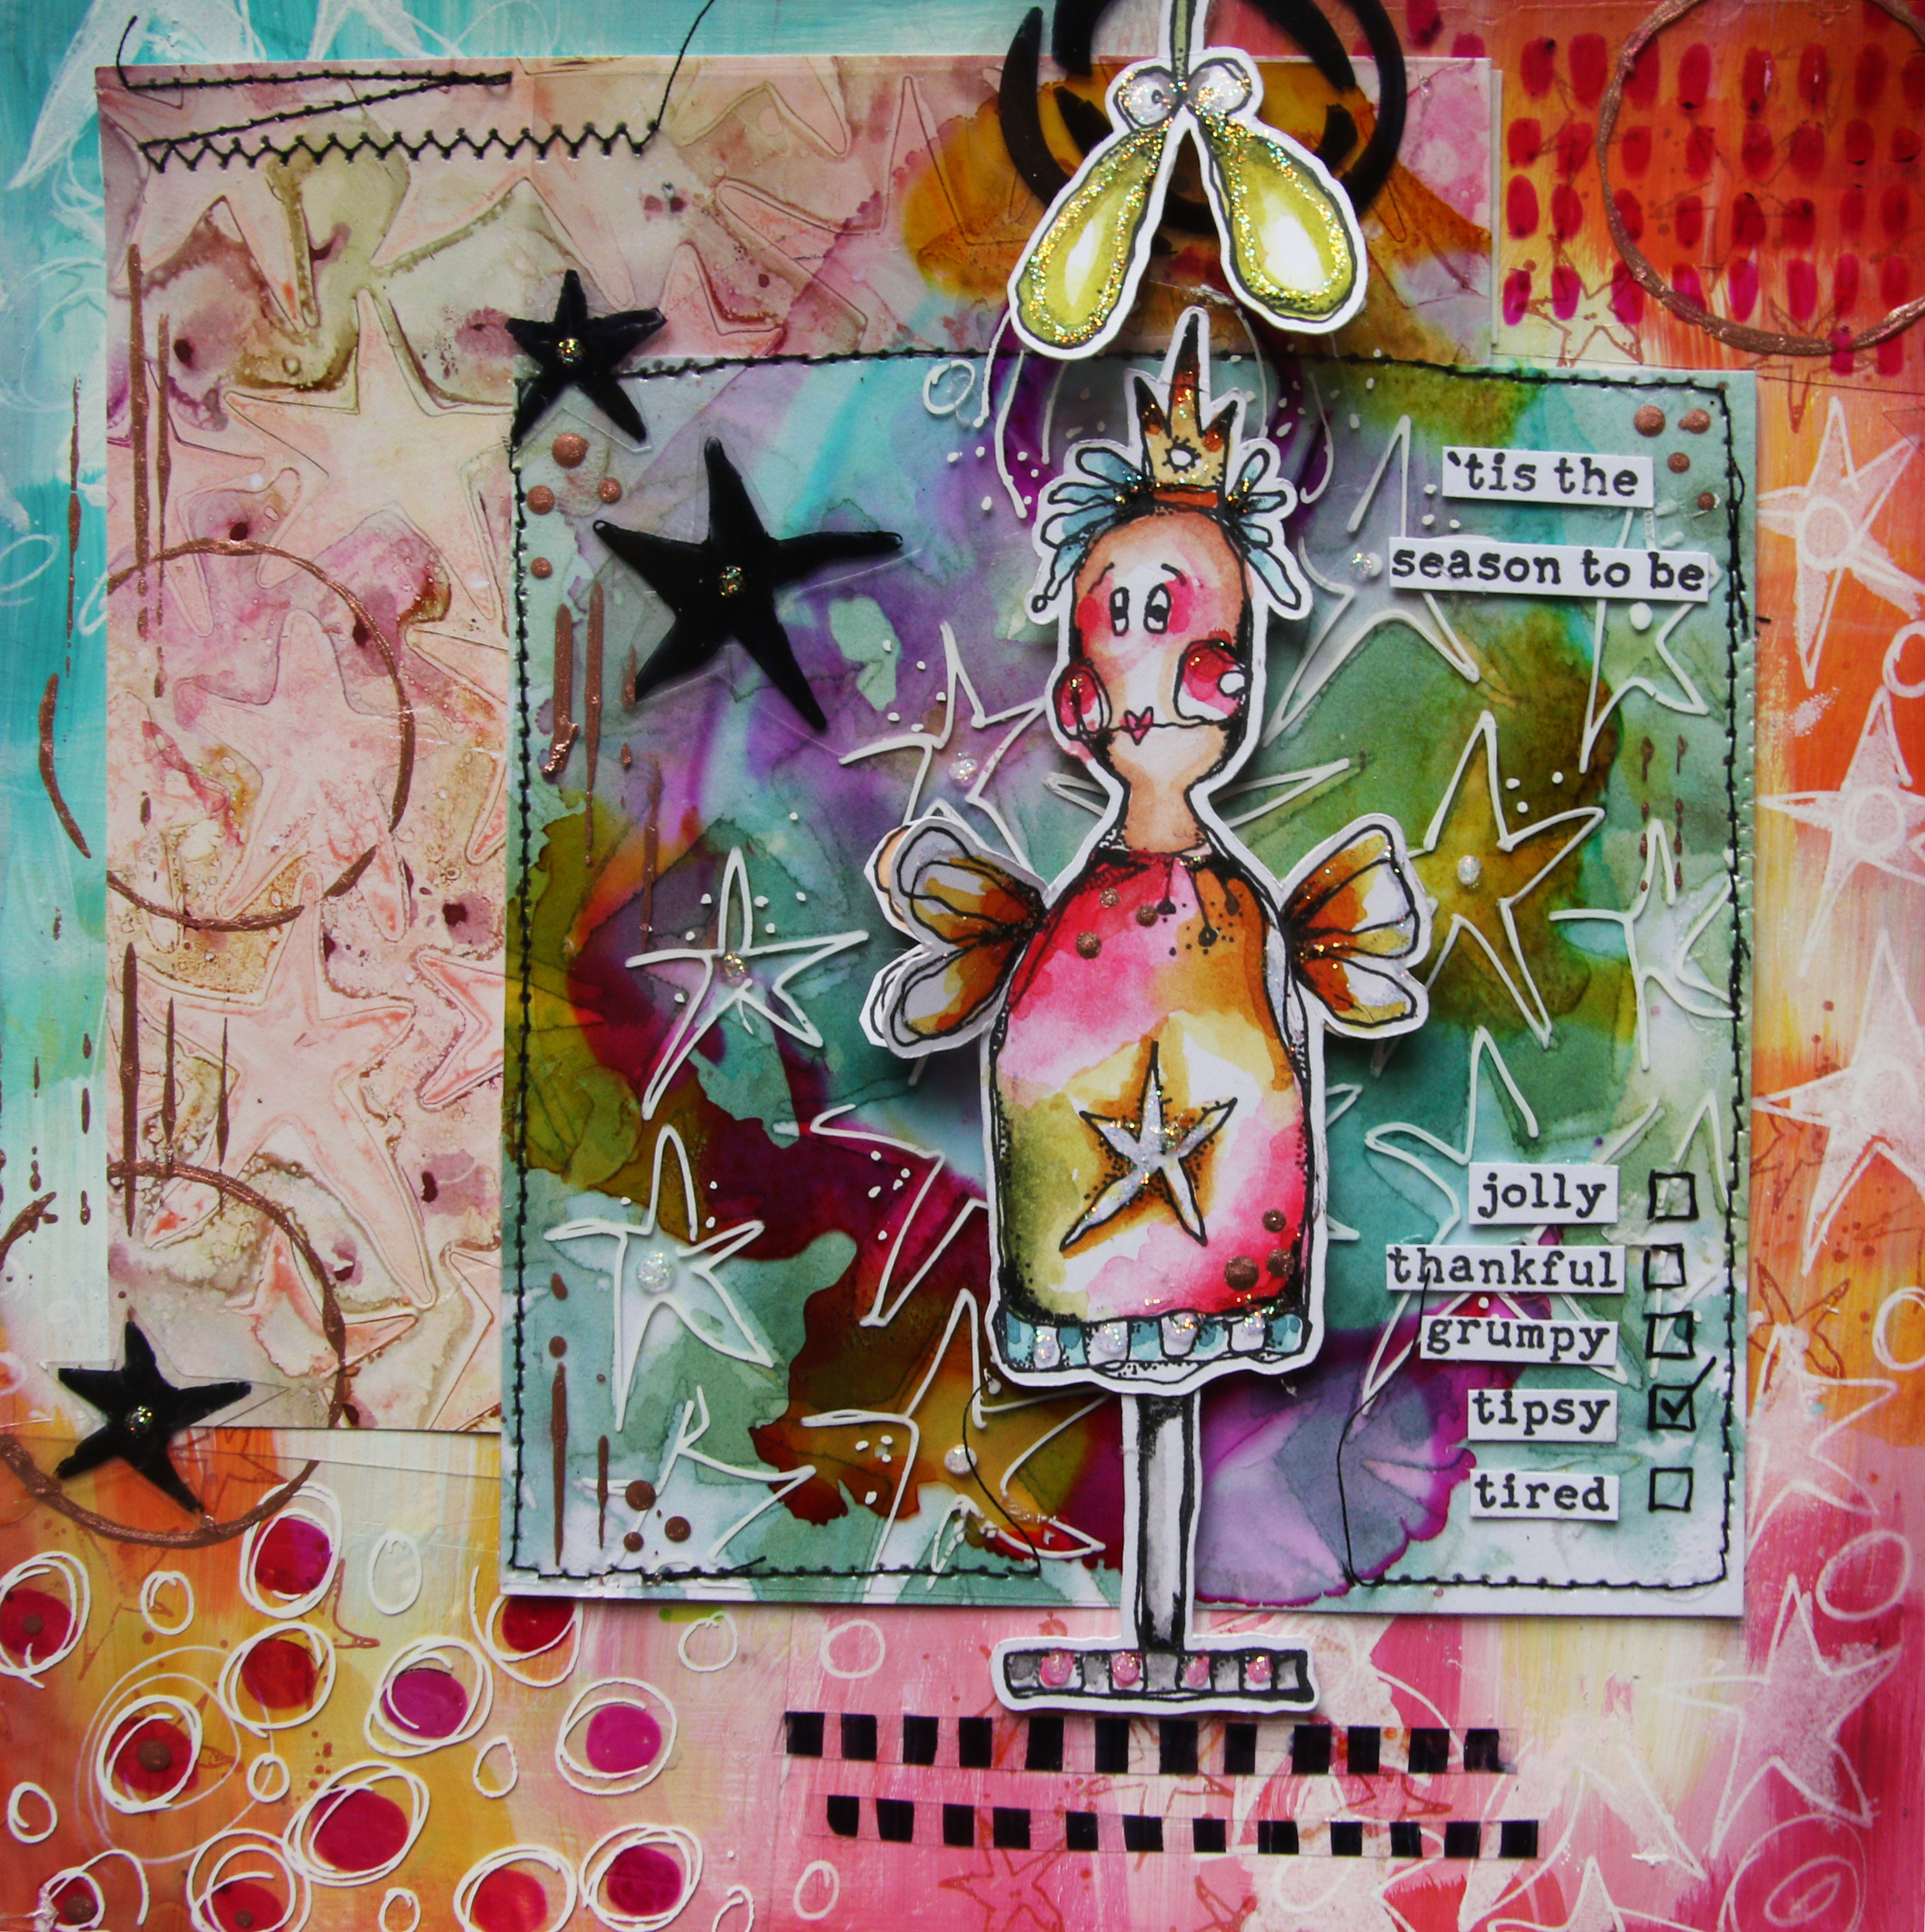
Tis the season to be grumpy!

Fairies aren't just for Christmas cards, here she is on a very colourful journal page. There really is a bit of everything on this page. She is mounted on two different backgrounds using stencil PS440 for a whimsical starry look. The extra colour in the centre is made by adding alcohol ink on DuraLar over the stars.


She's patiently waiting for a kiss again under the mistletoe (oh, that mistletoe is so so useful!) And I added the quote as a little tick list - choose whichever applies!


PaperArtsy Stencils {Regular}
Price: RRP €5.64 + VAT
Regular Size: 6.5" x 7" (16 x 18cm) 
Robust 250 micron mylar designed to offer longevity, deep texture and easy clean up

PaperArtsy Stencil by Kate Crane 440 {PS440}

A stencil of Primitive style stars useful for Christmas or anything. This star shape first appeared on stamp set KC008 so I took it from there and made a whole stencil. 
If you pair this stencil with PS442 you can have both the moon and stars!

Christmas Stars

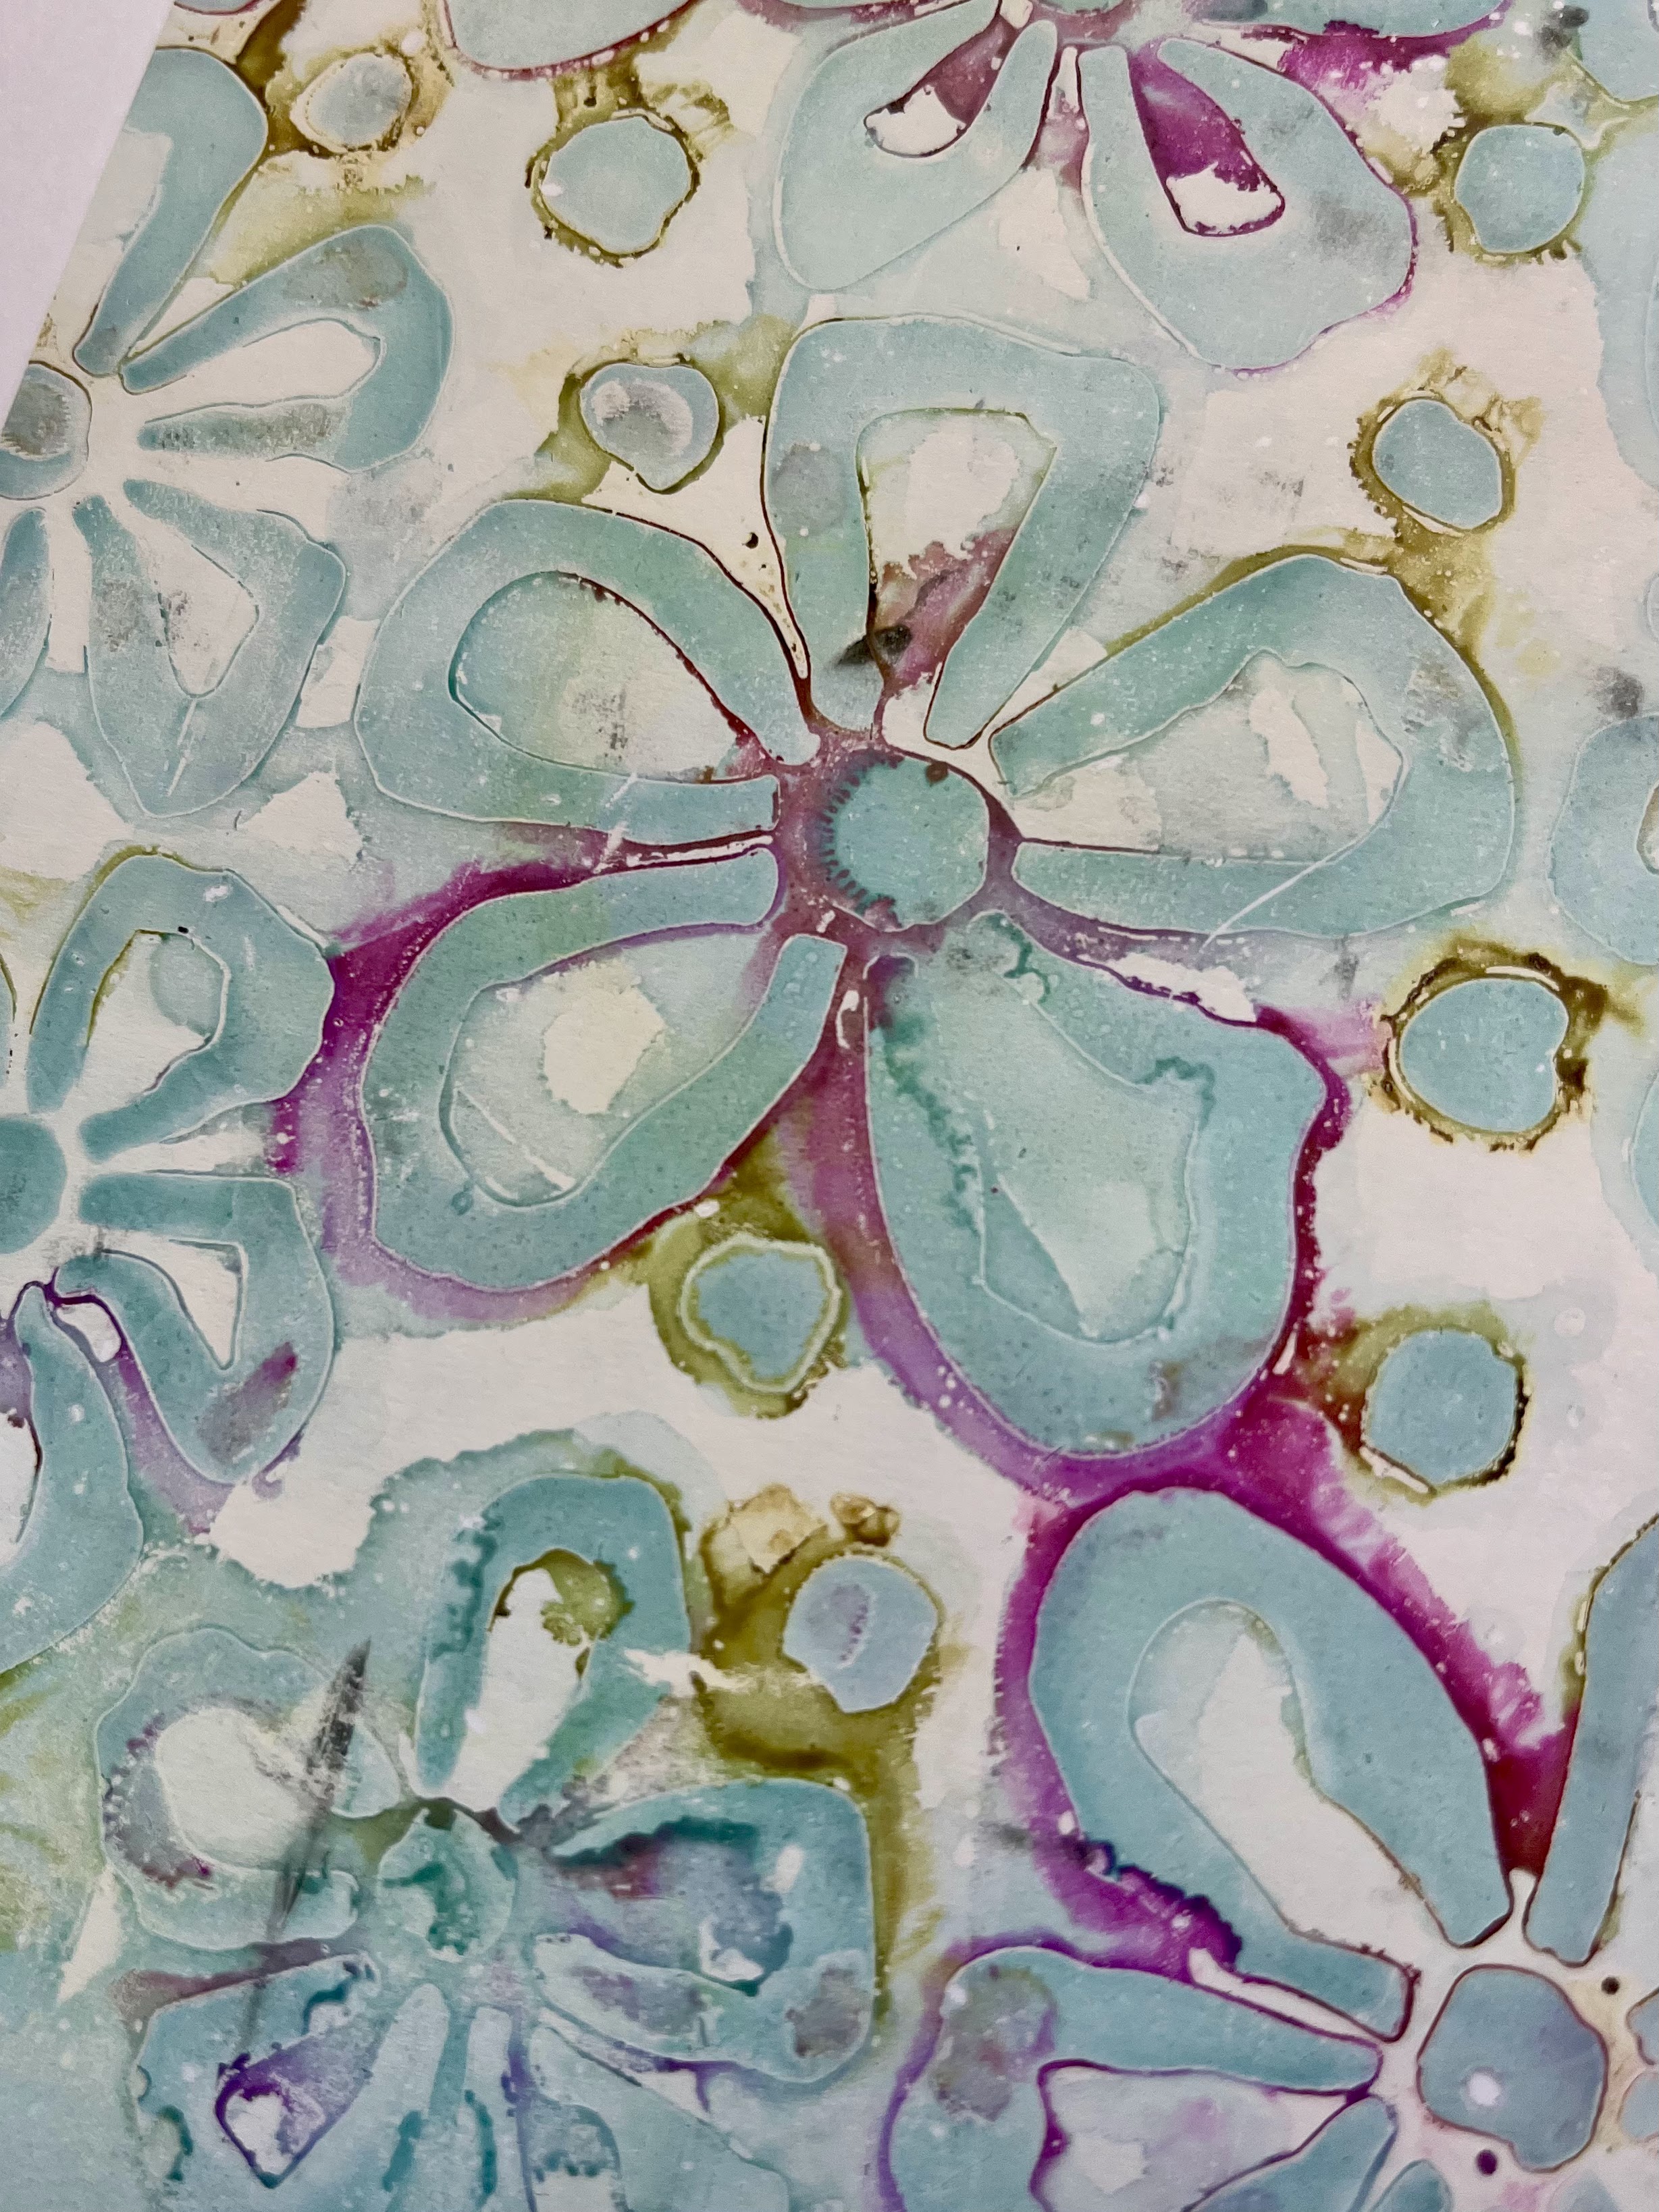
There are so many ways to use a stencil, you really can get creative with them. Here I used Infusions; I love using stencils with Infusions, it gives you an almost watery Batik look. You can't really control it so a touch of serendipity comes into play.


I like to create several of these using Infusions of different colours and then cut and layer them to create my backgrounds.


But this pencil also looks great when you sponge Distress Ink through to add a bit of further decoration as you can see behind this Christmas fairy.


You can also sneak a star in by drawing though a stencil, cutting it out and adding to your project. A very easy way to add a bold splash of black.

PaperArtsy Stencil by Kate Crane 441 {PS441}

Usually when I design a collection I begin with the stamps and then quite often I choose something from the stamp to use to feature in a stencil. You may recognise it - this flower motif  came from the floral character in KC006.

Flower Power

Florals are always super-useful and very easy to work with. Here I used Infusions again! Always creates such a fab bright background, and great for cutting down for tags or in fact any project.


This time I used alcohol ink on the gel plate and it give quite a different look. Still bold and bright though.


And finally another alcohol ink print on the gel plate with different colours giving a very different feel...


... and you can see this exact print framing the fairy right here.

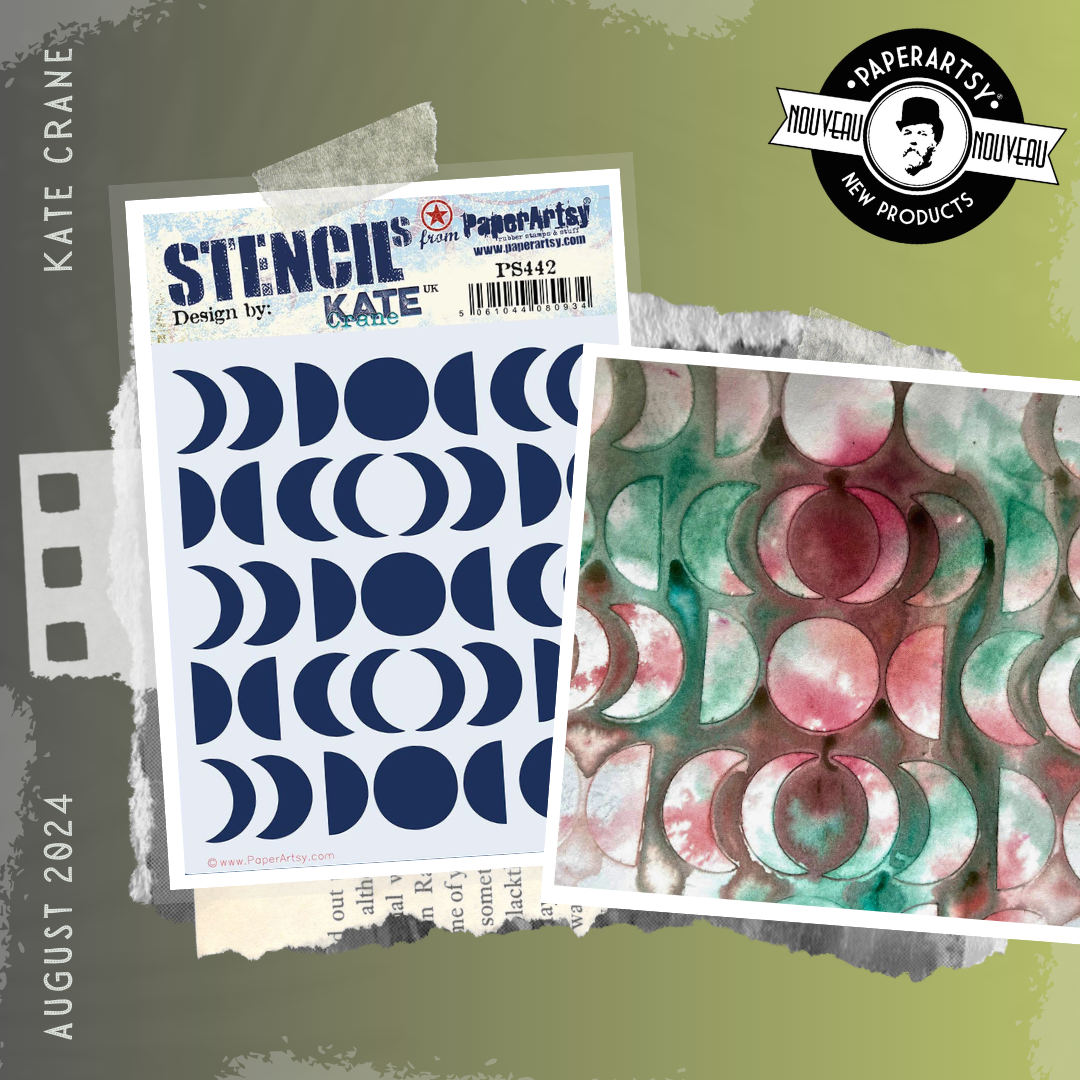
PaperArtsy Stencil by Kate Crane 442 {PS442}

Well, it's no secret that I love the moon and it's not the first time I have used a moon motif in a design. Yes, a moon stencil appeared in my last release, and again in this one! 
This one creates some nice bold circles, and circles really are a very friendly shape to work with.

Moon Phases

This print was created with Infusions again because I just love the watery Batik effect and also the fact that you can't really control it too much.


Here it is paired up with a few extras ....


And finally in place on a tag. Prints make so much more sense once you cut them down and layer them up and use them.

I hope you all enjoyed this journey through my first samples with the new collection, and I also hope you are already ready to embrace the Christmas spirit. It's never to early to get creative with your festive makes. I'm so looking forward to seeing what you all create.


You can see more and visit me at... 


Classes coming up ....

 PaperArtsy Stockist List

Our stockists are your go-to  source for all PaperArtsy products, and we suggest that you also use the PaperArtsy People Facebook group to source a retailer in your country. Many are members of our FB group and will happily share links to their online stores.

Australia
A Place to Create, Brisbane a place to create
Bev's Cross Crafts, Spreyton, Tasmania bevscrosscrafts
Crafters Cupboard, Berwick, Victoria crafters cupboard
Hillbilly Scrappin, Nikenbah, QLD hillbilly scrapping
Memories on the Murray, Murray Bridge, SA  memories on the murray
Natalie May Scrapbooking, Dover Gardens, SA natalie may
Scrapbook Superstore & More, South Penrith, NSW scrapbook superstore
The Scrapbooker's Confetti Box, Swansea, NSW the scrapbookers confetti box
The Scrapbook Store, North Perth,WA the scrapbook store 

Belgium
Cart N Scrap Art, Antwerp, cart n scrap art
Créatelier Caracolle, Liège, createlier caracolle

Canada
Clipper Street Scrapbook Company, Langley BC, Clipper Street Scrapbook Co
Glitter & Ink, Belleville ON Glitter & Ink
Paper Art Creations Inc, Leduc, Alberta, paper art creations
Scrapbook Centrale, Dollard Des Ormeaux, Quebec scrapbook centrale
Scrap Addicts, Edmonton, Alberta scrap addicts
Scrap and Bean, Edmonton, Alberta scrap and bean 
Scrapbooking Fairies, Drayton Valley, Alberta scrapbooking fairies
The Paper & ink Boutique, Calgary, Alberta paper and ink boutique
The Scrap Yard, Calgary, Alberta, the scrap yard 

Denmark
Hobbyboden Scrapworld Samso hobbyboden

Finland
Korttipaja, Istunmaki Heidin Korttipaja 
Klemmarikellari, Turku Klemmarikellari

France
Eirl Bancon Cartoscrap, Midi Pyrenees, www.cartoscrap.com
Emispheres Eurl Ruy Montceau,38300   
Fée Du Scrap, Saint Sébastien-Sur-Loire, fee du scrap
Horizon Créatif, Ste Jalle horizon creatif
Instant Créatif, La Possession, La Réunion, i creatif
Katzelkraft, Ingwiller katzelkraft
Kerudoc Creation, St Yvi kerudoc creation
Le Grenier des filles, Pierre Benite
Page de scrap, Saint Pavace, page de scrap
Passion Scrap, Vieux-Conde, Passion Scrap
Scrap by Jo, Saint-Orens-de-Gameville, 31650 Scrap by Jo
Scrap Déco Home, Goutrens, www.scrap deco home
Toutencolle, Dun sur Auron toutencolle

Germany
Stempeloase Munich, Munich stempeloase
Stempelfee Shop, Hilden stempelfee shop
Stempellaedle, Stuttgart, stempellaedle
Tue Was Di Liebst, Bayern, Tue Was du Liebst

Italy
Immagine SAS di Rapaccini, Rome, immagine lab
Il Negozio Della Mamma Di Cle, Torino, il negozio della mamma di cle
Marte Savona, Savona, marte savona
Pezze E Colori, Lissone, pezze e colori 
Piccole Passioni, Siena, piccole passioni

Japan
La Wadao, Odawara, Kanagawa, la wadao
Tiny Dots, Funabashi-shi, Chiba tiny dots

Netherlands
De Hobbystudio, Genemuiden, de hobby studio
Doe@ding,Spijkenisse doe @ ding
Hobbycompleet de Duif, Leeuwarden hobby compleet
Stampingcorner, Capelle Aan Den Ijssel stamping corner

Puerto Rico
Paper Boutique, Fajardi Paper Boutique

South Africa
Kcraft imports Ltd, Centurion 0014  kcraft

Spain
Cien por Cien Manualidades, Barcelona,  100 x 100 manualidades
Ideas 10 Manualidades Y Scrapbook, Bilbao ideas 10 manualidades/
Marakiscrap, Tarragona, maraki scrap
Scrap & Papers Experiences, Barcelona, scrap papers experiences
The Paradise Corner, Barcelona, the paradise corner

United Kingdom
Amelia's Creative Crafts, Studley, Warwickshire  amelias creative crafts
Art from the Heart, Harrogate, Yorkshire art from the heart
Crafts at The Malthouse, Herstmonceux,  East Sussex, crafts at the malthouse
Countryview Crafts, Potton, Bedfordshire countryview crafts
Loobi Crafts, Leighton Buzzard, Bedfordshire, loobi crafts
Procraftynation Ltd, King's Lynn, Norfolk Procraftynation
Sir Stampalot, Peterborough, Cambridgeshire sir stampalot
Stampers Grove, Springbank, Lilliesleaf, Melrose,Scotland stampers grove
The Artistic Stamper Craft Store, Faversham, Kent the artistic stamper
The Forget me not Kraft KabinRochford, Essex, The Forget Me Not Kraft Kabin

USA
Artistic Artifacts, Alexandria, VA artistic artifacts
Artistic Studio Creations, Fayetteville, Georgia Artistic Studio Creations
Craftiness, Chatsworth, CA, craftiness
Everything Scrapbook & Stamps, Lake Worth, Florida Everything Scrapbook & Stamps
Frantic Stamper, Oregon frantic stamper
Free Heart LLC, Denver, Colarado, free heart llc
Joggles, Coventry, Rhode Island, joggles
Messy Papercrafts, Temecula CA Messy Papercrafts
PaperCraft Clubhouse, Westbrook, Connecticut, papercraft clubhouse
Roadtique Boutique, Hilton NY 
Runaway, Art & Craft Studio, NE Salem, Oregon runaway
Scrap-A-Latte, West Babylon NY scrap a latte
Scrapbook-N-Memories, Harrisonville Missouri Scrapbook N Memories
Simon Says Stamp, Columbus, Ohio simon says stamp
Topflight Stamps, Irmo, South Carolina topflight stamps

If you are interested in becoming a PaperArtsy stockist contact Dounia@paperartsy.com for more information

PaperArtsy Links
Facebook Group PaperArtsy People
Facebook Page PaperArtsy