Showing posts with label Fish. Show all posts

Monday, 16 September 2024

2024 Topic 7: (Gel) Printing {by Kate Crane} on the PaperArtsy Blog


Hi everyone, Kate Crane here with you today.

I've been busy gel plate printing lately, although to be fair I do a lot of gel plate printing all the time!  I looked through my stamp collection and picked out the closest thing to nature! Fishies chasing each other, and of course the humble tree. 

When I'm printing I like to print quite a few backgrounds for a couple of reasons. Firstly it can be a bit messy so you might as well do a few while you're on, and secondly I like a few colour combinations to choose from. It stops me from overthinking about what goes with what. If you have a few prints you can just grab and go, and sometimes find yourself creating something a bit different, something that you would have never have thought of.

I created a few backgrounds on my gel plate using a combination of alcohol inks and Frescos along with stencils. I love the serendipity of printing; you just don't know what you are going to get and you never get the same result twice!

In my projects today I'm going to build up layered backgrounds, playing with colour combinations, and then add some fun bouncing hanging stamped images, coloured with Mattints.


Frescos: Cerulean, Aqua Duck Egg, Snowflake, Dirty Lime
Stencils: PS442, PS441, PS428

When I added my colours to the gel plate I was quite careful about the colours I put together to avoid making mud. If you choose colours from the same colour family, or cool or warm colour combinations a you can avoid making murky prints. Opposites on the colour wheel will make brown (so blue and orange for example) - a good tip to remember.


I began my print-making session with alcohol inks and Frescos. Alcohol inks dry fast, so once dry on the gel plate you need a layer of acrylic paint to pick up your print. In the past I have used alcohol inks on my gel plate with stencils a lot, but this time I did it a little differently.

I began by splashing alcohol ink on the gel plate along with a little blending solution which dilutes the colours a little for a more pastel result. I then put a protective glove on and spread the ink a little on the plate with my hands. While it was wet I laid the stencil over this and the ink immediately flooded under the stencil creating a pattern. I then just rolled kitchen roll over the top to remove some of the ink and then let it dry for a short while (remember alcohol dries fast!). Finally I lifted the stencil and simply brayed a thin layer of Snowflake Fresco over and took a print while the Snowflake paint was still wet. 

I repeated this a few times using different colour combinations. 


I then tried something else a little different. I placed my stencil directly on the plate and brayered a thick layer of Snowflake Fresco paint. I lifted the stencil, let it dry, and then built up several light layers of blues and greens with a brayer, letting it dry in-between. This creates a nice grungy look! Once the layers have dried a final layer of white allows you to lift the pattern.


I'm really happy with the various colours and patterns I have created here, and this gives me plenty of choice for building my backgrounds. Sometimes prints can look messy and untidy when you first do them but once you trim them and start using them they take on a whole new life.


Stamp: KC003

Next, I needed some coloured images for my little projects. I stamped, and then coloured with Mattints. I find Mattints are perfect for adding colour to your stamped images. They blend easily and you can build up the layers to create strong colour.

Backgrounds next! I chose to layer several prints over each other each time getting a little smaller. Here I am working on two little projects at the same time. This is when it is so useful to have a few prints to play with, you can experiment easily with different colour combinations.

Stamp KC008


Before I start gluing things down, these backgrounds and images need a little more work. I like to add depth to my stamped images with a Stabilo All pencil. The stamped images have micro dots for shaded areas so this a good guide for where to add the Stabilo shading. You can go really quite dark in these corners, it helps your images to pop! And then of course, a white Posca paint pen is great for adding highlights.


But Poscas aren't just for images, they are great for adding nice scribbles to your background too. I let the pattern created by the stencil guide me for this.


Once you glue or tape your background layers together, a bit of texture stamping over the top of everything looks great especially if you use corresponding colours and just a touch of black.

Stamps: KCM001, KCM002

In something like this, stitching is completely optional as it is purely decorative and not functional, although it is an alternative to wet glue! I love the look of stitching though, so I just use a regular sewing machine with a regular needle and add stitch away!


My very final background layers are always a touch of Stickles Glitter for a bit of sparkle, and a touch of metallic paint, usually by junk-stamping with loads and old cards or lids. These final touches do help to bring the layers together.


To add my floating-bouncy hanging images I used Grafix DurLar clear film, simply cut into narrow strips and glued to the reverse of my background panel.


If you missed any of my recent tutorials in the PaperArtsy People Facebook group, head over there to the guides section, and under the Kate Crane Guide you will find the following...

Monday, 12 February 2024

2024 Topic 1: Miniature {by Ann Barnes} on the PaperArtsy Blog


Hi everyone, Ann (aksbarchitect CREATES) here with you today. We have had a spell of cold and rainy days lately and I have been sipping tea and dreaming about warm weather, sunny skies and clear blue seas.

Perhaps it was all the tea, or maybe just a longing for the peacefulness of the underwater world; but when I began thinking about the miniature topic, I envisioned using teabags as translucent pages in a miniature book. Pages, that when stacked together, would create the illusion of the vast depths of the sea. Today I am sharing a few of the things I learned during the process of creating my book and incorporating larger images into a miniature piece.


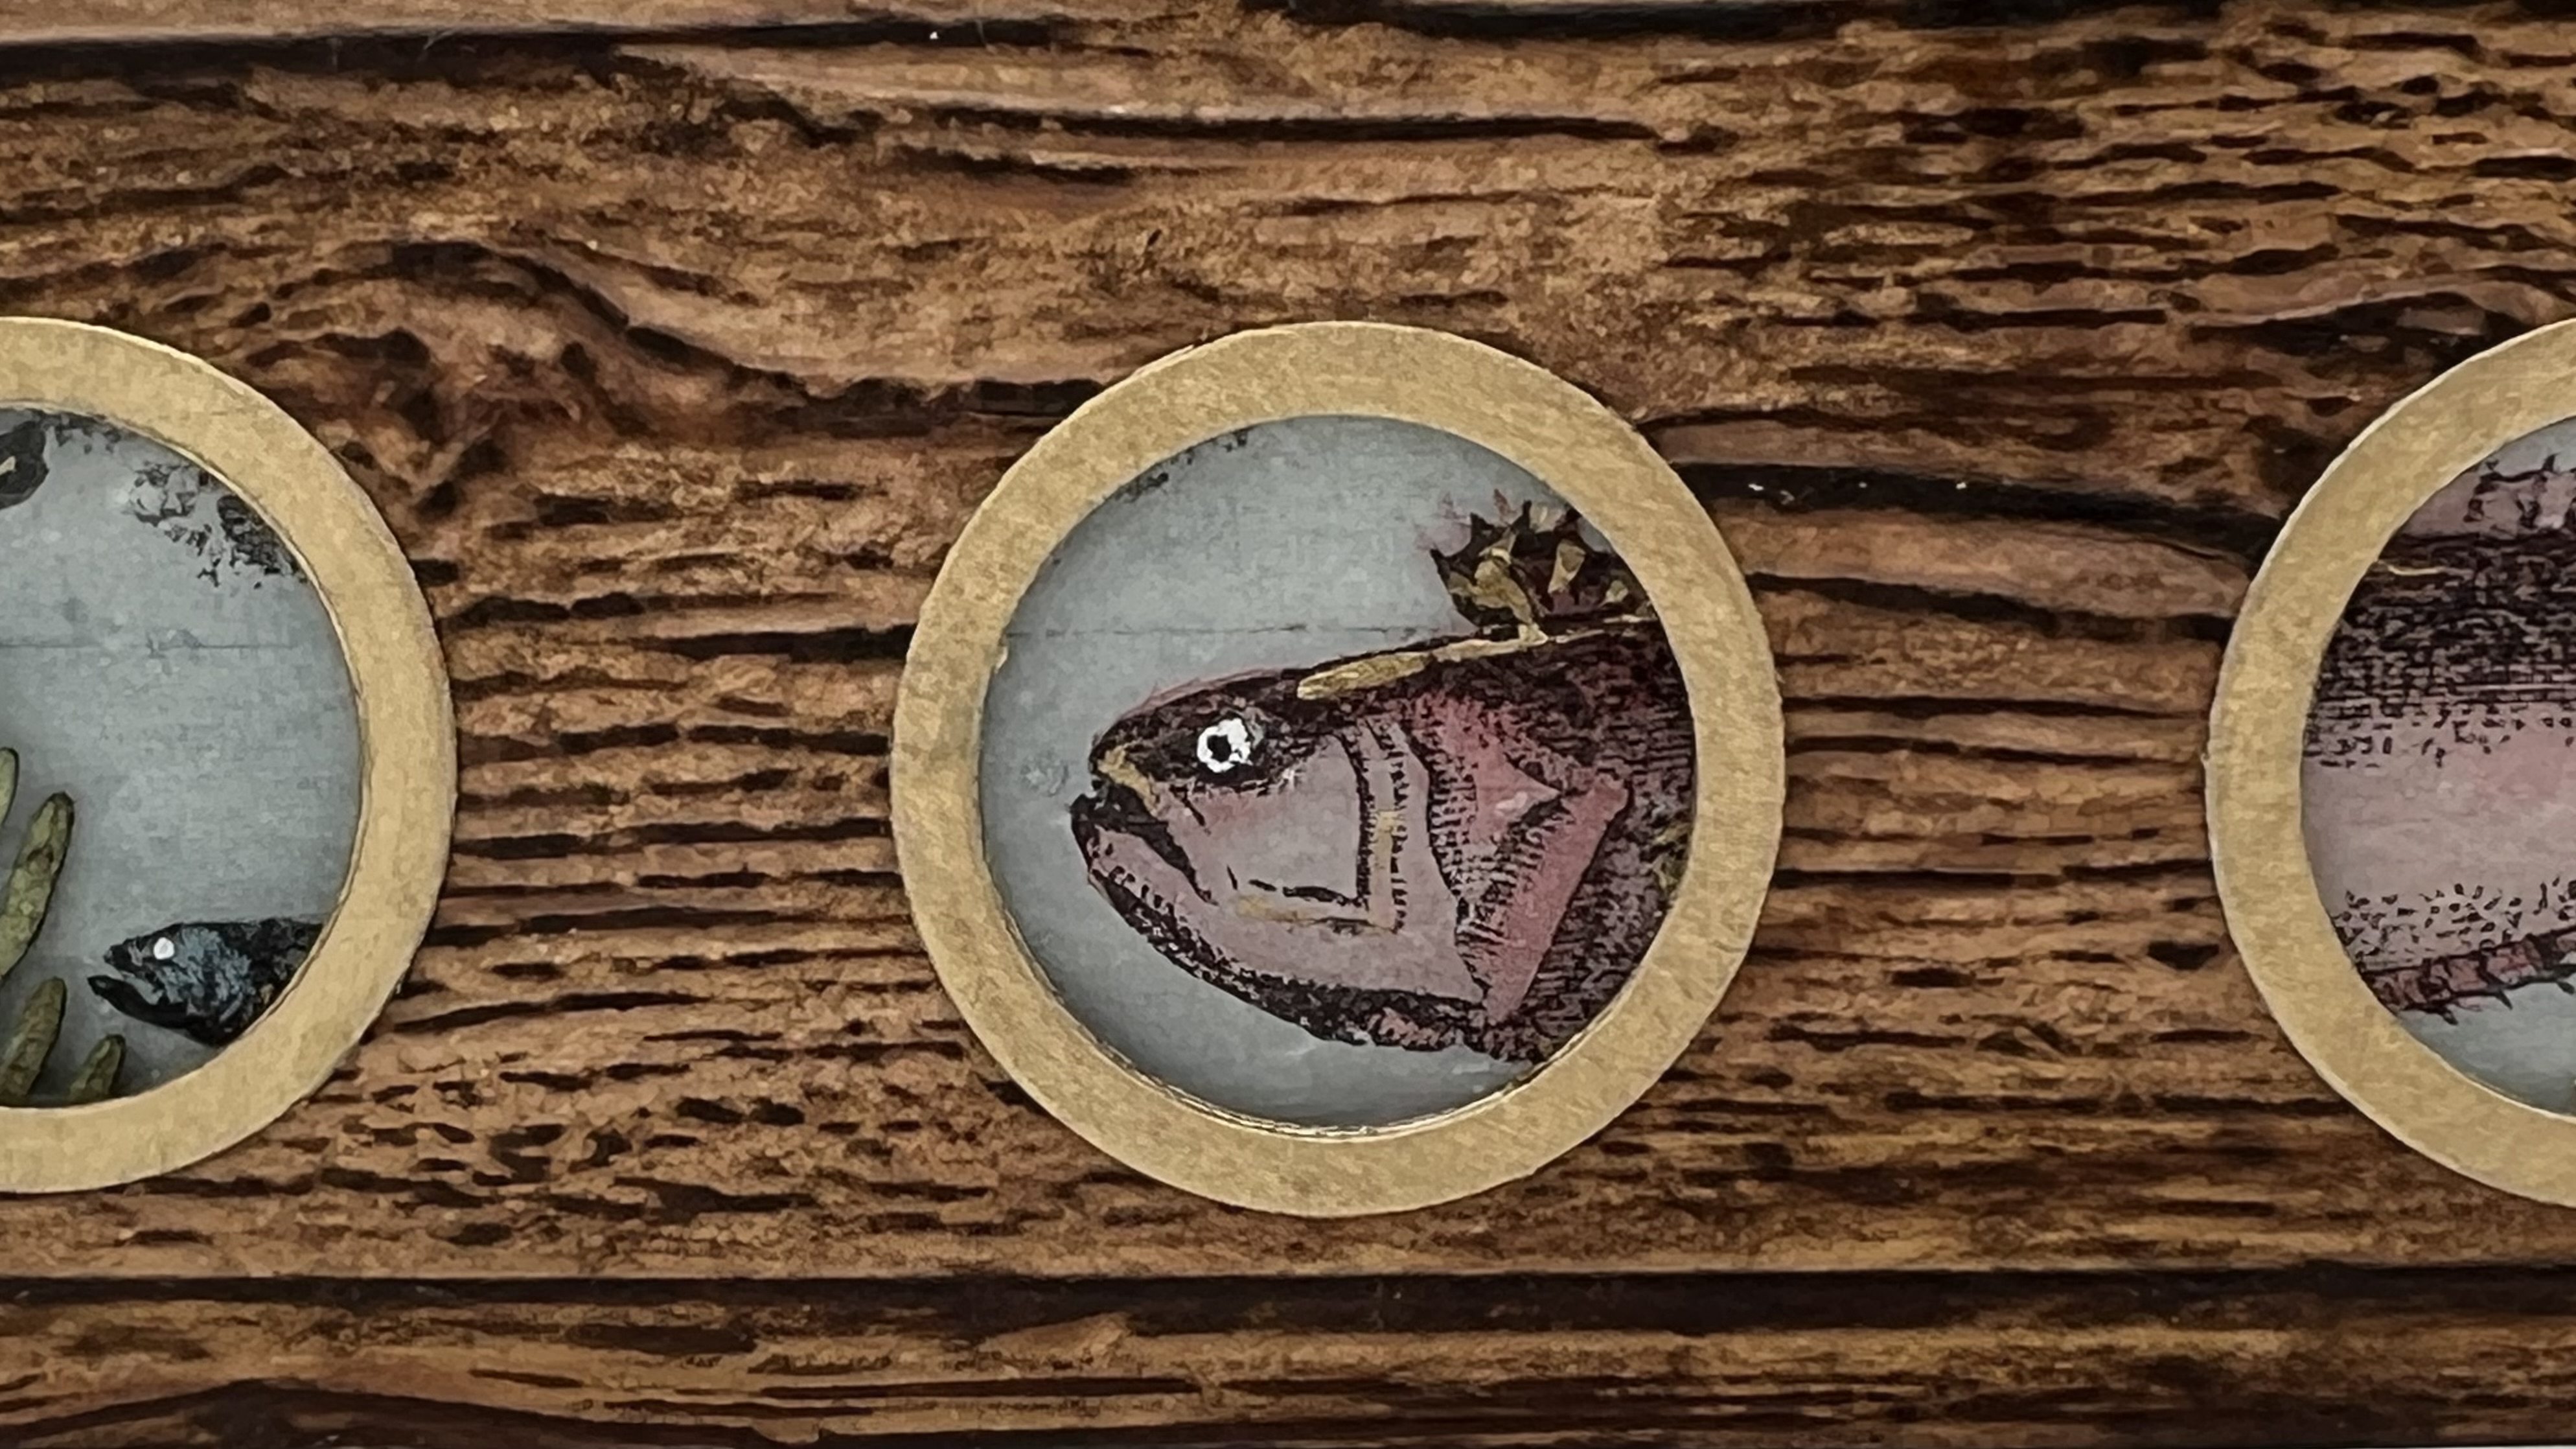
I love how the book came together, especially the glimpse of things to come through the portholes on the cover. I found a tried and true way for the stamped image on the page to align with an opening on a previous page that I will be sharing with you.


With the intention that my teabag pages would be representing water, I knew they would need to be colored a shade of blue. To help me decide, I selected three different translucent blue PaperArtsy paints: Fresco Finish Chalk Acrylics (South Pacific FF45, Inky Pool FF46, and Glass Blue FF102), as well as PaperArtsy Fresco Matte-tint (Mattint) in the Shark blue (Mattint Shark). I only chose the translucent products to maximize the view through the pages when they are stacked. I created washes by adding some water to each different color/product in my palette wells. I then painted teabag samples for each color and once they were dry, I was able to determine which would work best for my project. Seeing the gorgeous results, I know that even the castoffs will be fun to use in future projects!


When the colored teabag pieces were stacked on top of one another, the ones that were created with PaperArtsy Fresco Mattint Shark were the most translucent. This was very important to me since I wanted to be able to see through the layers. With the background color decision made, I gathered a number of plain teabags and set about making a lot more "pages."


Now it was time to select the stamps that would be included. I love the detailed fish included on the Hot Picks stamp sets 1201 (HP1201) and 1202 (HP1202).


Since each of my pages is a long rectangular shape, I knew that I would need to get creative with the stamp placement. Some of the fish would easily fit within the page parameters. Other times I would only be able to use a portion of an image. I wanted to create the most impact from the partial images. In order to see exactly what would end up on the page, I used a helpful technique.


I stamped all of the images on a piece of clear plastic and cut them out individually. This does not have to be perfect, as it is only going to be used as a guide for placement on the page. These pieces are easily moved around the "page" to figure out exactly how I wanted it placed. It is easy to see which areas would fit within the boundaries and which would not. You can turn the pieces and manipulate the scene to your liking. When you have located it exactly as you wish, simply align the stamp with the image on the clear plastic then close the stamping platform lid. When you lift the lid, the stamp sticks to it and you can move your plastic piece out of the way; then it is easy to ink up the stamp and print onto the page in the desired location.


Knowing portions of the first page of the book would show through the three "porthole" openings on the cover, I thought it would be fun to have one of the fish heads peaking through a hole. My clear plastic technique came in handy to ensure that the image was placed exactly where I wanted it. I simply traced the cover outline as well as the openings onto a scrap paper, layered my page above it and then placed the plastic piece in the correct location. You can see below how the fish head will show through the hole once the cover is in place. You can also store any of your plastic pieces with the corresponding stamp set for future use.


I wanted a school of tiny fish on some of the pages. I noticed that the large ship image on Hot Pics stamp set 1202 had a few smaller fish images at the bottom, so I very carefully cut them away from the larger image with my Exacto knife. I was then able to use these stamps with a small acrylic block to create varied compositions.


I continued stamping pages, creating a variety of compositions.


When all of the pages had been stamped, it was time to add color. I flipped the pages over and I used watercolor pencils on the reverse side of each image. Pencils that have a lot of pigment work really well since they make it easy to create shading, going from very opaque to just a subtle hint of color.
 

By coloring on the back side, when the pages are viewed from the front the stamped images remain crisp and the color does not take away from any of the details.


Thinking about our current theme "glazed" and how I might be able to incorporate it into my book pages, I decided to add some 'bubbles" to the watery pages. To do this, I watered down a bit of PaperArtsy Mattint (Shark) then added a few drops of PaperArtsy Fresco Finish Chalk Acrylic (Metallic Glaze FF24). I flicked droplets onto the pages and allowed them to dry. The droplets will give a shimmery illusion of air bubbles to each page with a touch of metallic glaze.


To create interest and texture, and a bit of grungy green, I decided to add some ocean plant life among the pages. I die cut tiny plants out of watercolor paper and then used PaperArtsy colored stains Infusions (Olive Tree CS16, The Sage CS03, and Green Man CS18) to color them. I attached them to pages randomly throughout the book along with some gold die cuts.


I love the poem The Ocean by Nathanial Hawthorne and thought it would be perfect to incorporate it into my book. I printed the poem on clear vellum and cut out each line to add onto my pages. I used the string from the teabag tags to sew each piece in place.


Wanting to add just a little bit more grungy texture to the pages before binding it all together, I spread drips of glue along the bottom of some pages and sprinkled sand on it. I let it dry overnight. In the morning, I shook off any of the sand that did not adhere.


The pages were finally ready to be bound into a book. I stacked them in the correct order, added the front and back covers and bound them with a simple binding technique.


I am so thrilled with my little teabag book. I love turning the pages and seeing the colorful sea life. The bits of sand give an authentic feel to the pages, and the grungy pieces of green sea plants add layers of depth.
   

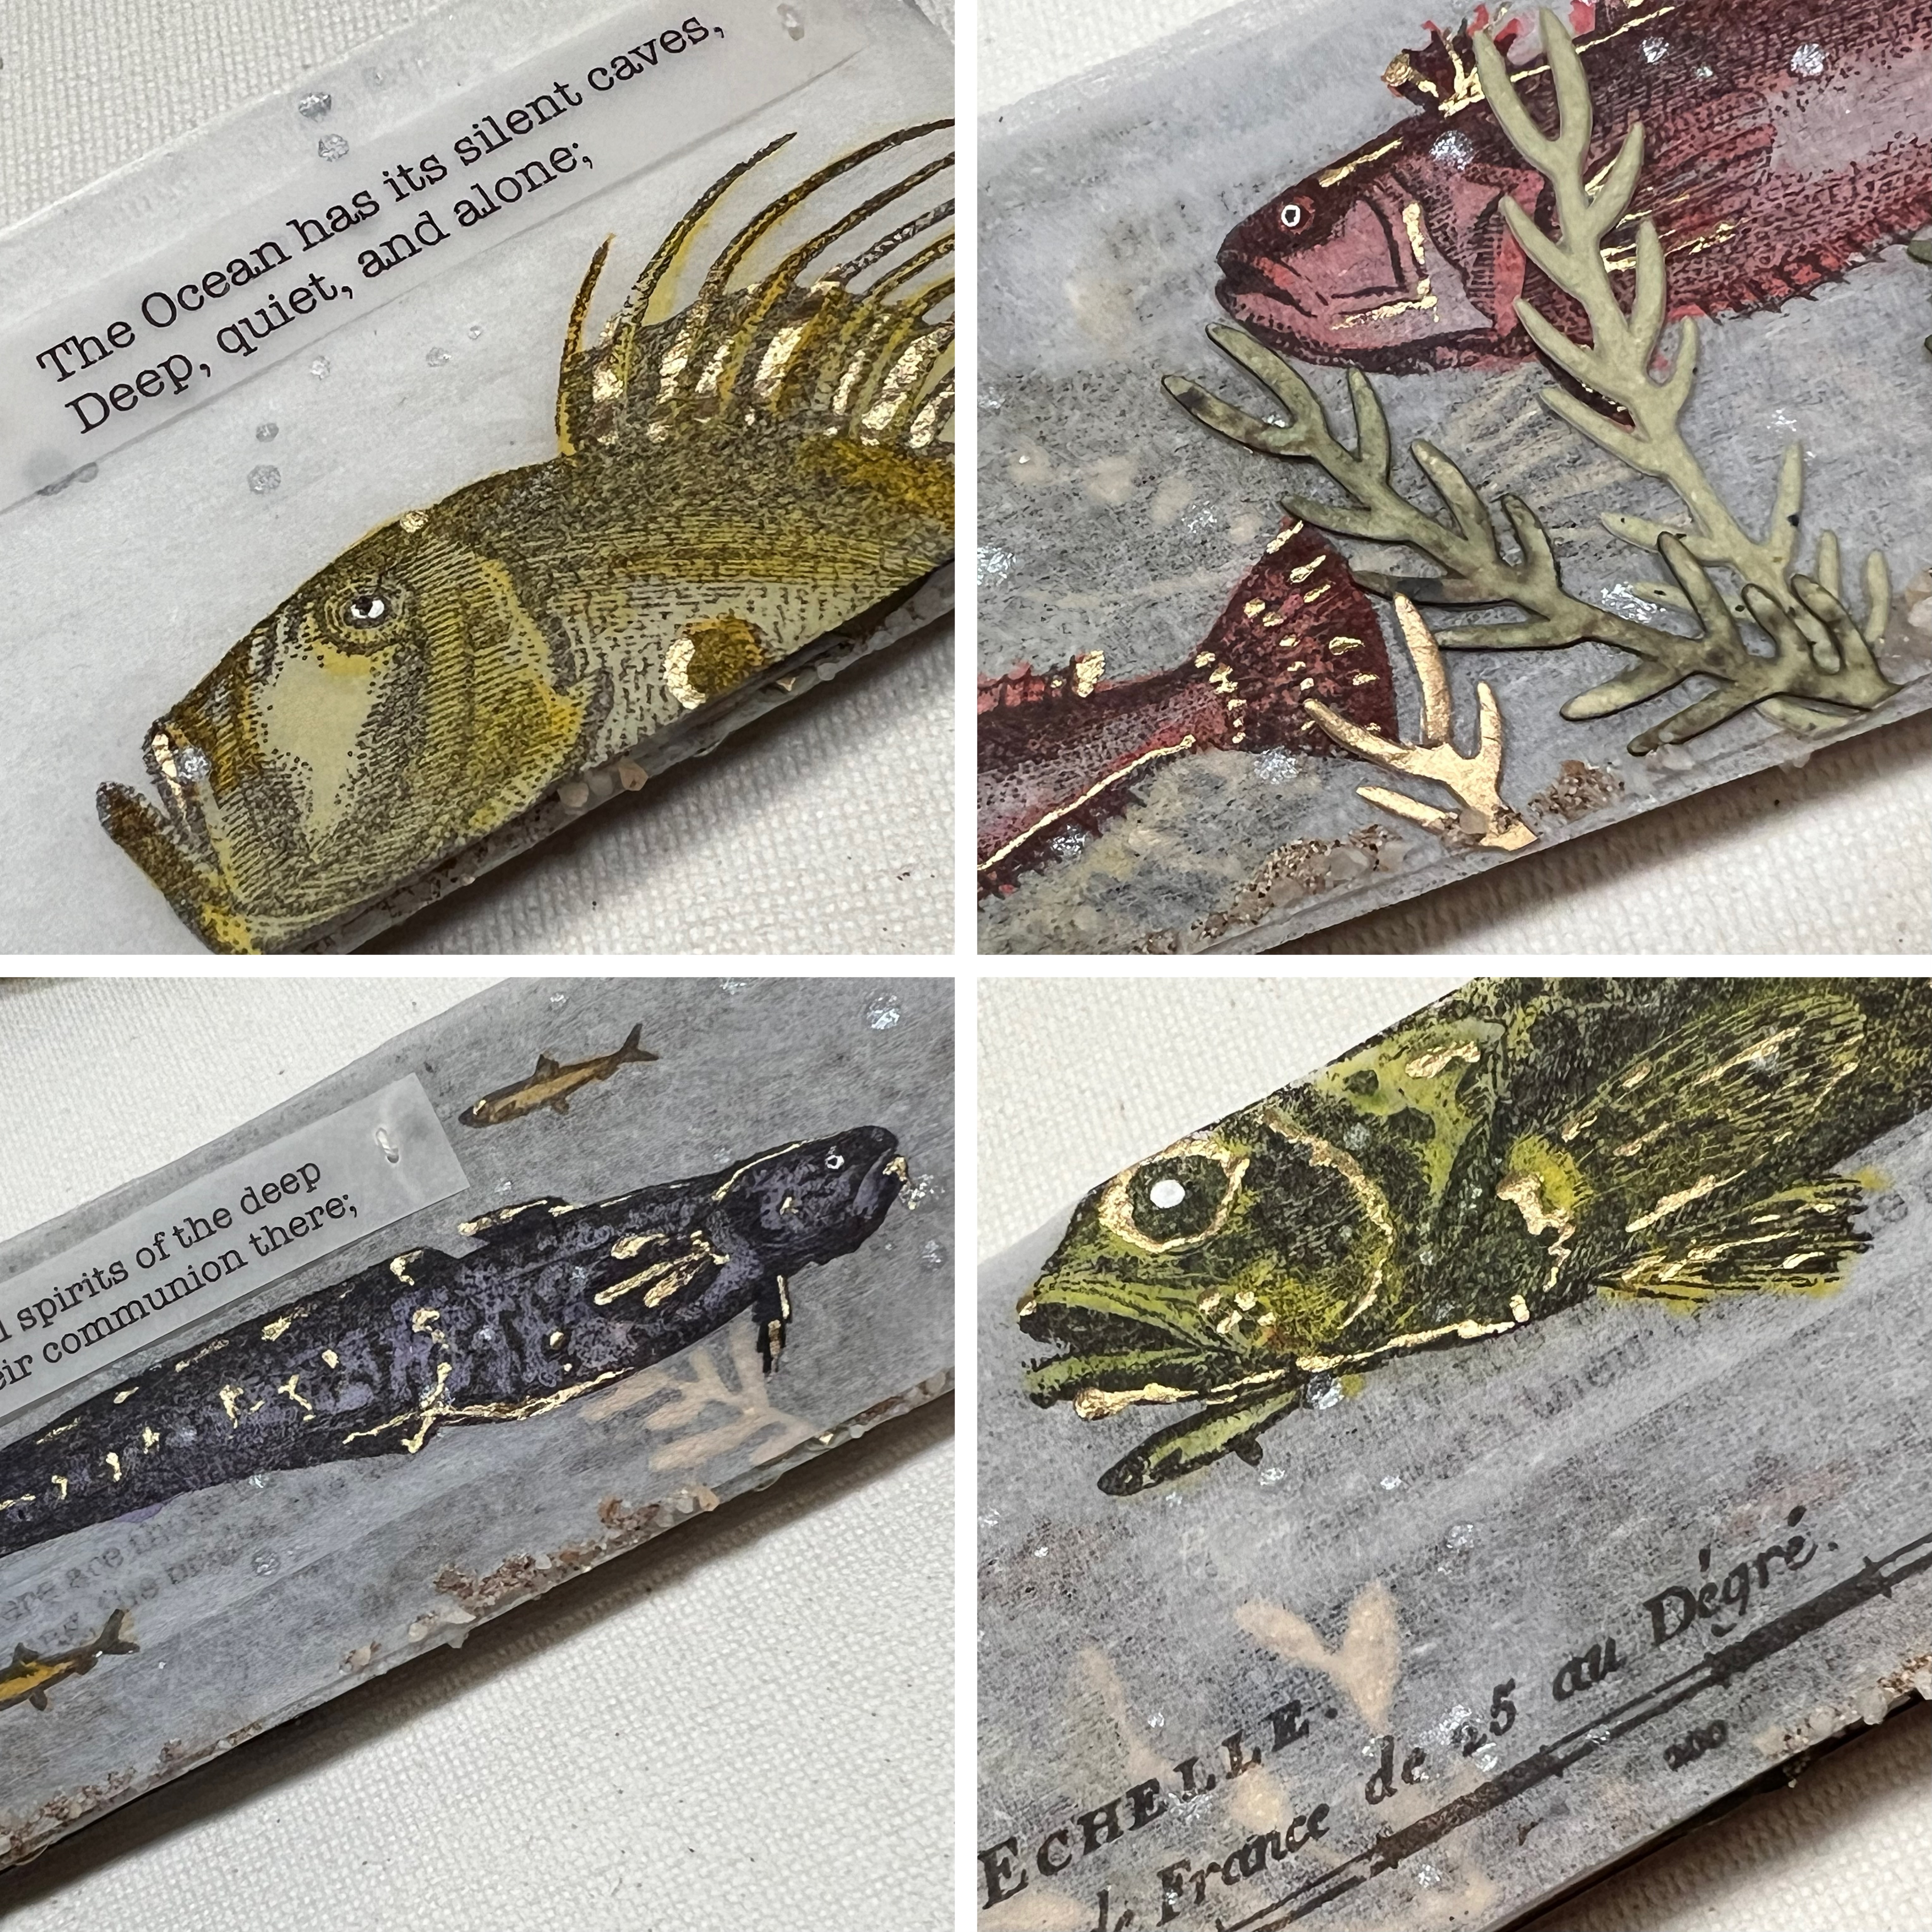
As I turn the pages and read The Ocean, my thoughts are transformed to a glorious undersea world. I especially like how you can see into the depths. These are a few close ups of my favorite pages:


I love the way this miniature book turned out. The layers of pages and textures create a deep sea adventure where you can let your imagination soar. Over the remaining winter days, you may find me sipping tea and flipping through my book dreaming about a peaceful kingdom under the sea. Perhaps you would like to create your own version, filled with fields of flowers or your favorite things. The Hot Picks stamp collection has a wonderful selection of different stamps where you are sure to find something to spark your imagination.
Ann
xx