Hi everyone, Kate Crane here with you today.
I've been busy gel plate printing lately, although to be fair I do a lot of gel plate printing all the time! I looked through my stamp collection and picked out the closest thing to nature! Fishies chasing each other, and of course the humble tree.
When I'm printing I like to print quite a few backgrounds for a couple of reasons. Firstly it can be a bit messy so you might as well do a few while you're on, and secondly I like a few colour combinations to choose from. It stops me from overthinking about what goes with what. If you have a few prints you can just grab and go, and sometimes find yourself creating something a bit different, something that you would have never have thought of.
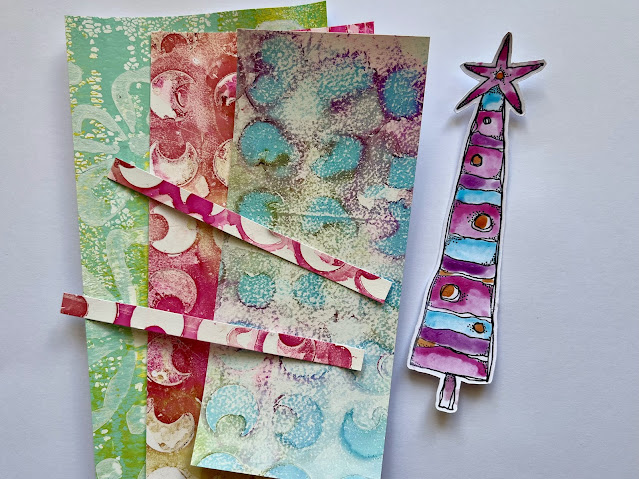
I created a few backgrounds on my gel plate using a combination of alcohol inks and Frescos along with stencils. I love the serendipity of printing; you just don't know what you are going to get and you never get the same result twice!
In my projects today I'm going to build up layered backgrounds, playing with colour combinations, and then add some fun bouncing hanging stamped images, coloured with Mattints.
Frescos: Cerulean, Aqua Duck Egg, Snowflake, Dirty Lime
Stencils: PS442, PS441, PS428
When I added my colours to the gel plate I was quite careful about the colours I put together to avoid making mud. If you choose colours from the same colour family, or cool or warm colour combinations a you can avoid making murky prints. Opposites on the colour wheel will make brown (so blue and orange for example) - a good tip to remember.
I began my print-making session with alcohol inks and Frescos. Alcohol inks dry fast, so once dry on the gel plate you need a layer of acrylic paint to pick up your print. In the past I have used alcohol inks on my gel plate with stencils a lot, but this time I did it a little differently.
I began by splashing alcohol ink on the gel plate along with a little blending solution which dilutes the colours a little for a more pastel result. I then put a protective glove on and spread the ink a little on the plate with my hands. While it was wet I laid the stencil over this and the ink immediately flooded under the stencil creating a pattern. I then just rolled kitchen roll over the top to remove some of the ink and then let it dry for a short while (remember alcohol dries fast!). Finally I lifted the stencil and simply brayed a thin layer of Snowflake Fresco over and took a print while the Snowflake paint was still wet.
I repeated this a few times using different colour combinations.
I then tried something else a little different. I placed my stencil directly on the plate and brayered a thick layer of Snowflake Fresco paint. I lifted the stencil, let it dry, and then built up several light layers of blues and greens with a brayer, letting it dry in-between. This creates a nice grungy look! Once the layers have dried a final layer of white allows you to lift the pattern.
I'm really happy with the various colours and patterns I have created here, and this gives me plenty of choice for building my backgrounds. Sometimes prints can look messy and untidy when you first do them but once you trim them and start using them they take on a whole new life.
Stamp: KC003
Next, I needed some coloured images for my little projects. I stamped, and then coloured with Mattints. I find Mattints are perfect for adding colour to your stamped images. They blend easily and you can build up the layers to create strong colour.
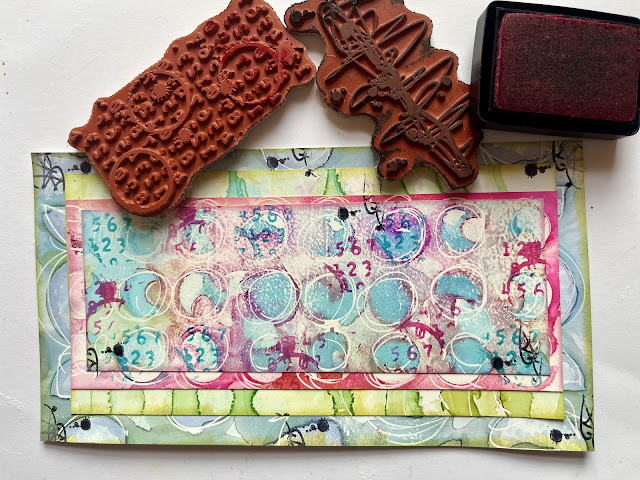
Backgrounds next! I chose to layer several prints over each other each time getting a little smaller. Here I am working on two little projects at the same time. This is when it is so useful to have a few prints to play with, you can experiment easily with different colour combinations.
Stamp KC008
Before I start gluing things down, these backgrounds and images need a little more work. I like to add depth to my stamped images with a Stabilo All pencil. The stamped images have micro dots for shaded areas so this a good guide for where to add the Stabilo shading. You can go really quite dark in these corners, it helps your images to pop! And then of course, a white Posca paint pen is great for adding highlights.
But Poscas aren't just for images, they are great for adding nice scribbles to your background too. I let the pattern created by the stencil guide me for this.
Once you glue or tape your background layers together, a bit of texture stamping over the top of everything looks great especially if you use corresponding colours and just a touch of black.
Stamps: KCM001, KCM002
In something like this, stitching is completely optional as it is purely decorative and not functional, although it is an alternative to wet glue! I love the look of stitching though, so I just use a regular sewing machine with a regular needle and add stitch away!
My very final background layers are always a touch of Stickles Glitter for a bit of sparkle, and a touch of metallic paint, usually by junk-stamping with loads and old cards or lids. These final touches do help to bring the layers together.
To add my floating-bouncy hanging images I used Grafix DurLar clear film, simply cut into narrow strips and glued to the reverse of my background panel.
If you missed any of my recent tutorials in the PaperArtsy People Facebook group, head over there to the guides section, and under the Kate Crane Guide you will find the following...


2 comments:
Brilliant Kate x
I love this technique with the acetate and it's ages since I last used it, think it was with your balloon dogs. Happy crafting, Angela x
Post a Comment