Showing posts with label Foil. Show all posts

Thursday, 20 August 2020

2020 #14 Fusing Foils with VID {by Helen Chilton}

 2020 Topic 14: Fused


A striking collage of Vintage PaperArtsy stamps pops to life with gold foil fused with sticky ink as the connector to the canvas below. 
~ Leandra

Hi everyone, it's Helen with you today, and I'd like to share with you my canvas using foils.

For this project I've used Vitrail transparent glass paints which I've had in my stash for years.  I applied them direct to canvas and my images to create a surface to fuse the foils onto. This glass paint is solvent based, transparent and very sticky when first applied, so you can apply the foil directly onto it without the need for more glue. I gave a workshop once using this technique and it works a treat.


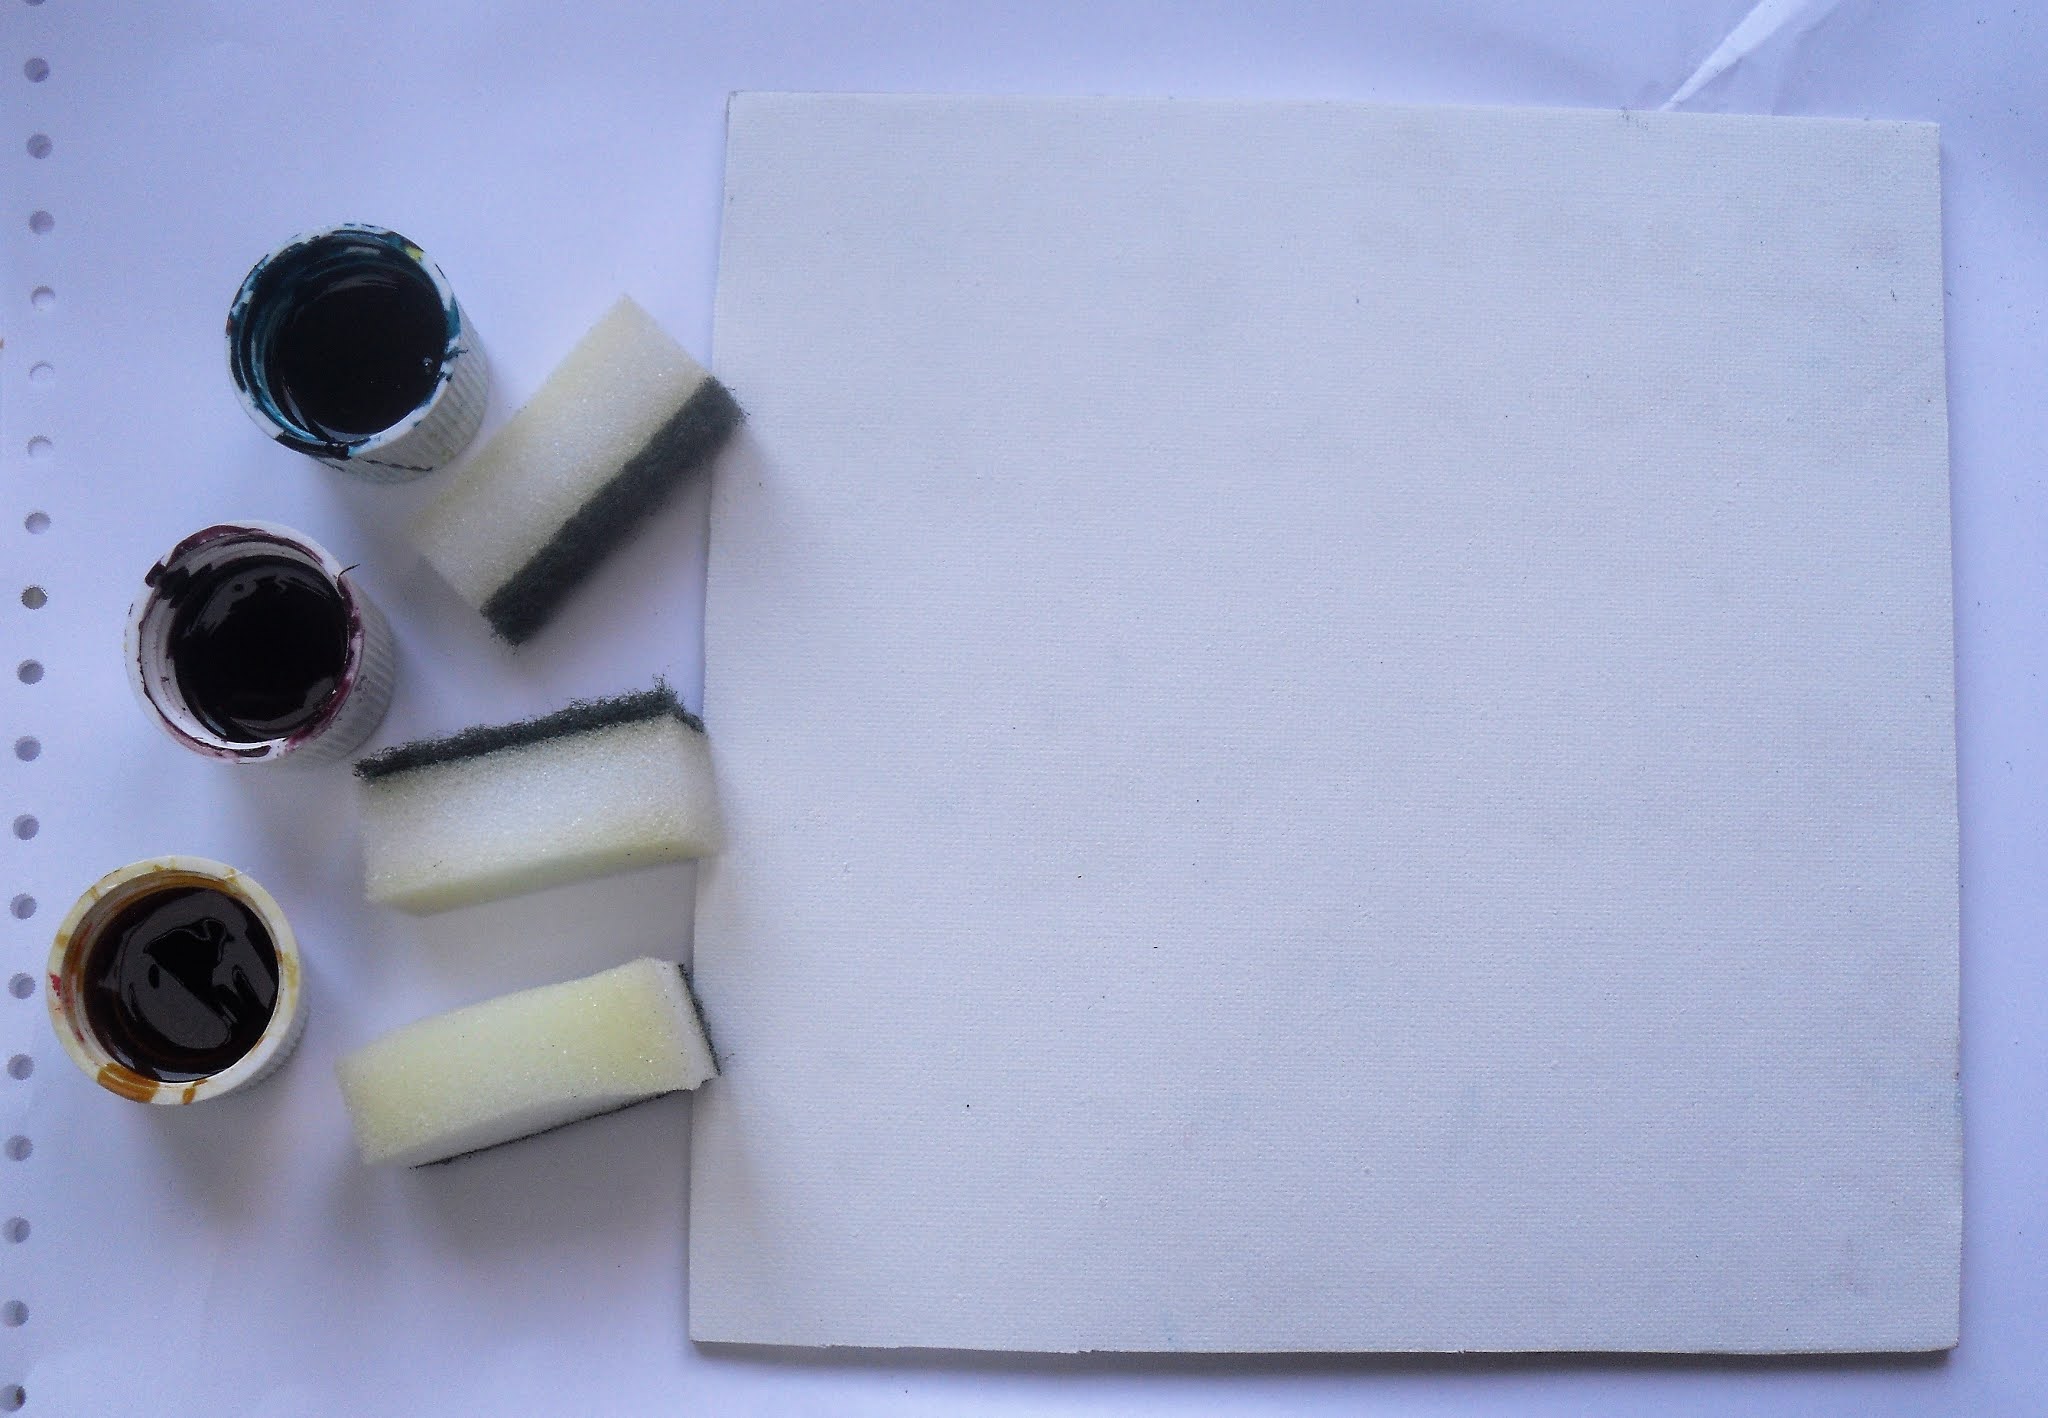
Get your Vitrail colours ready - I've used Turquoise Blue, Yellow and Old Pink and cut up a cheap sponge to apply them with.


Dab it on and mix as you go. I like the texture of the canvas showing through.


Stamp your images onto glossy card - it need to be glossy so the paint doesn't soak in - and then dab on colour in the same way.I used the Vintage Ink and the Dog Collection. These are some of the images from I&D in a larger format on A5 sheets, great for journalling or larger size projects. 


Let dry for a couple of minutes and apply the foil - you can see this piece has been well used already. You only want touches of foil, not great solid areas as you'll lose the image underneath.


Use a stencil in the same way. Pressing the foil through the pattern.


And there you go. This works better with a stencil with a definite pattern rather than a more random one.
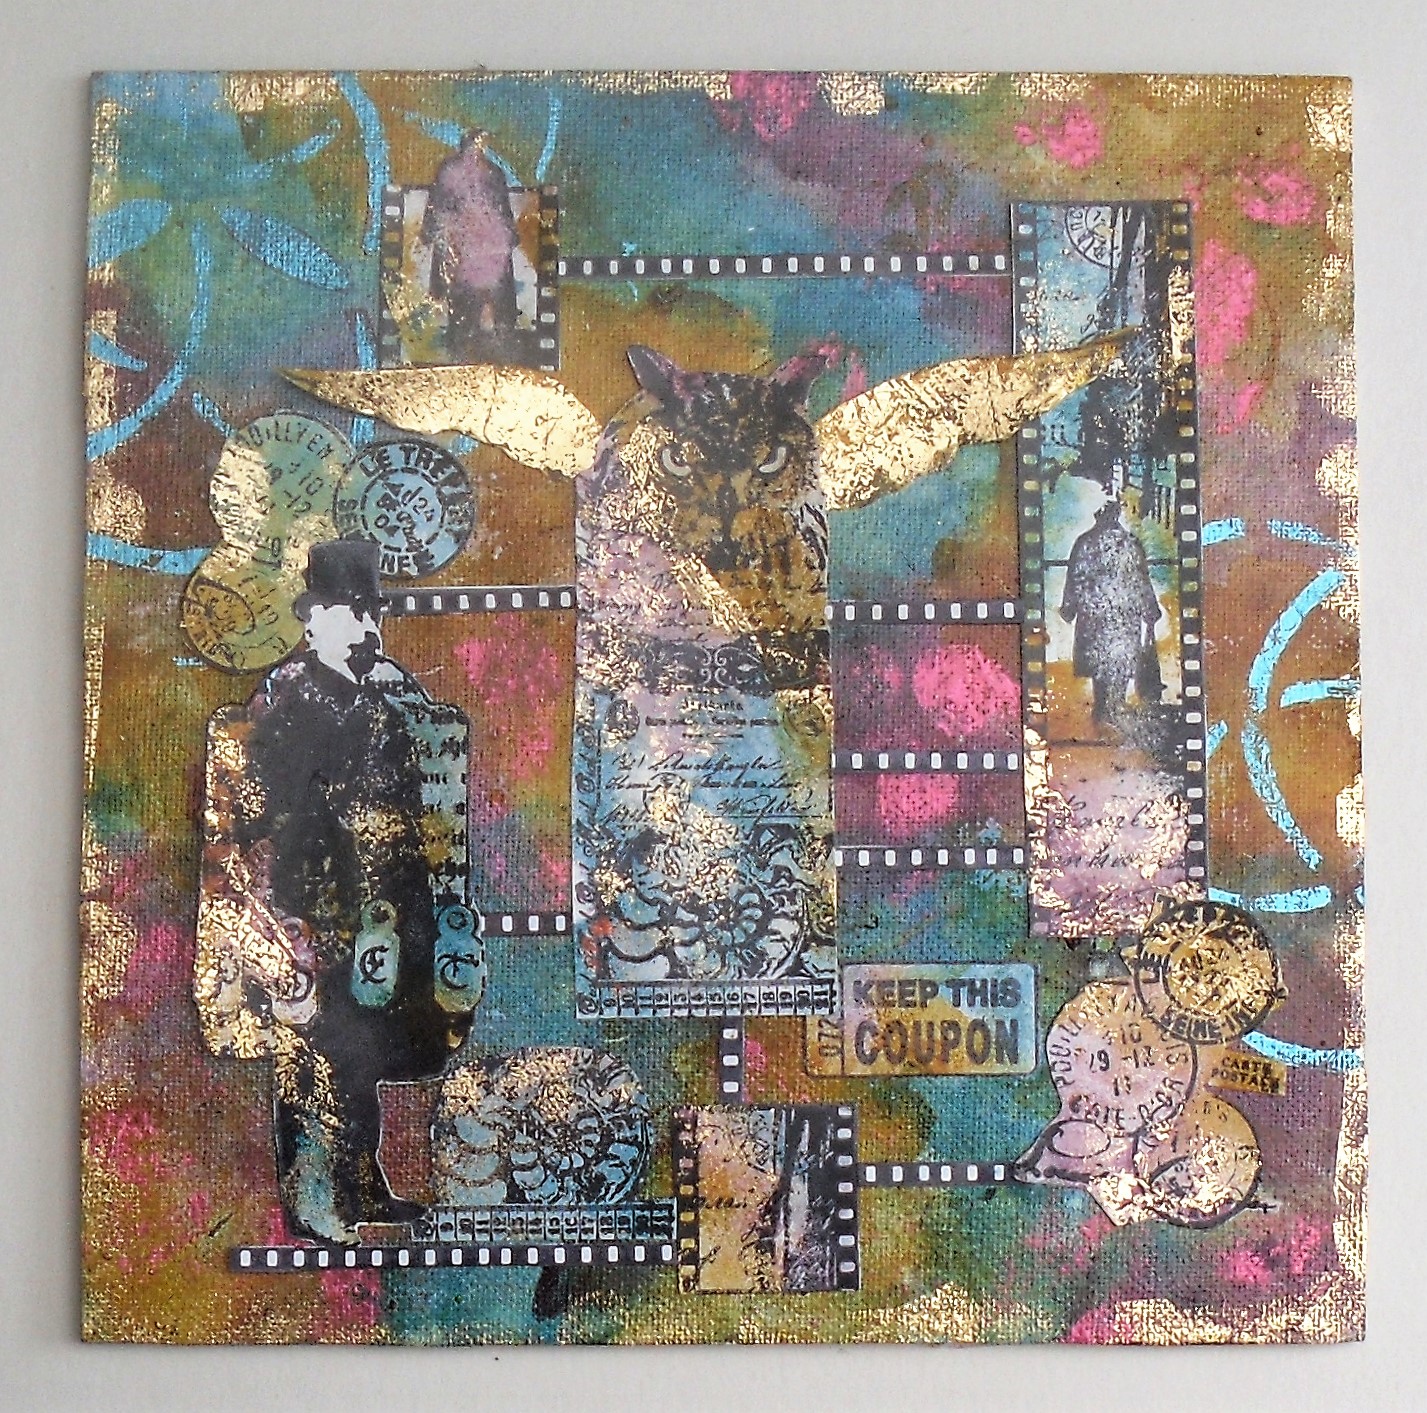

Here you can see the foiling.


I've pulled it all together with stamping and filmstrip lines.


To finish I doodled round the edge with a black outliner.


These paints work so well because they're sticky. The stickiness does have some disadvantages though as if you don't like getting messy this probably isn't the project for you (I managed to get it in my eyebrow - don't know how!) and you also have to wait quite a while for it to dry if you want to add stamping over the top. Having said that, I find this a really easy way to foil projects - no more waiting for the embossing powder or glue to dry to just the right point to get the stuff to stick. It's also a great way to use up those scraps of foil that have been used but have bits left on. Lynne Perrella stamps would work really well with this technique - you keep the detail of the images and add a touch of glitz at the same time!

Helen

Blog: A Splash of Colour

Saturday, 24 November 2018

2018 #20 Foiling: My Cup of Tea with {ESC} by Josefine Fouarge

 2018 Topic 20: Foiling


Such a delicate effect with this super-interesting technique from Josefine! I love how subtle it is, but I bet the gilding pops perfectly when you hold the card to the light! ~Leandra

Hi everyone! Josefine here and today I'm sharing two tea themed cards with you using foil flakes. These are torn up and crumpled pieces of foil in gold and silver that add a great effect to mixed media projects.

They are a little bit messy to use, but it's so worth it. The shine and the texture that they add to projects is just super unique. And I think that every tea cup needs that bit of glamour, don't you think?


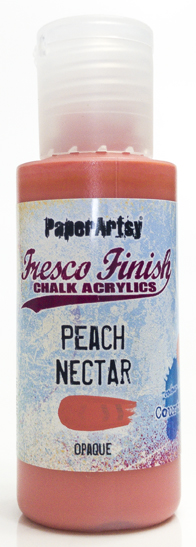
I started by picking some "tea" colors for my background. In particular Lemon Meringue (FF142), Banana (FF91), Peach Nectar (FF144), Prawn (FF98) and Cerise (FF136). 


To create a grungy look, I spread them out on my craft mat using a brayer and then brayered these colors onto my background. One color at a time, starting with the lightest. Once I added the darkest color, I went back to a lighter one, till the background looked done to me.


Then I added a few more layers of interest to the background. 


The ESC16 stamp set comes with a great variety of stamps, perfect for backgrounds. 


Next, I stamped the tea cups using my Misti stamp platform. First in black, then I brayered adhesive on top of the stamp. It's super important to clean the stamp immediately!


Once the adhesive was tacky, I added the foil flakes on top and brushed them into the paper. I used silver flakes for one card and gold flakes for the second one.

Tip: use a container of some sort. These flakes get everywhere and are super static.


To finish the cards, I added the sentiment, adhered the panels onto a black piece of card stock to frame them and then adhered both to the card base.


I'm in the mood for tea now ;)


What do you think of these flakes? Isn't that an interesting effect? I hope you liked these cards as much as I do. If you have ever used these flakes, I would love to see your projects. And if you haven't, now is a great time to try it and enter the challenge with your foil project.

Thanks so much for stopping by!

Facebook: HolyLise
Instagram: @HolyLise
YouTube: HolyLise Designs

To join our challenge and win a PaperArtsy £50 gift voucher:
Simply make something arty relevant to the topic, and link your creation from any social URL (eg. Instagram, Pinterest, Blog Post etc) sharing your original make to this challenge page.

The current topic link Topic 20: Foiling will close 17:00 (London Time) Sunday, 25th November 2018, and the winner will be announced 2 hours later at 19:00.

Please make sure we can contact you as a prize winner - it helps if you share your contact info from the platform you opt to use.

Good Luck! If you have any questions, don't hesitate to ask!

Friday, 23 November 2018

2018 #20 Foiling: Adding Subtle Texture with EAB {by Autumn Clark}

 2018 Topic 20: Foiling


Such a beautiful colour palette tonight and i have never seen Sara and Kay's stamps used so perfectly together before! Take all that, add a bit of foilng and you are good to go! Superb from Autumn! ~Leandra

Hi everyone, it's Autumn Clark with you today, and I'd like to share with you some artsy greeting cards featuring gel printed backgrounds with subtle foil textures.

Similar to embossing, foiling offers the opportunity to contrast between glossy and matte I am so very fond of.  When added in moderation, elegant textures can emerge from even the grungiest mixed media.  You'll see just how easy it can be!


I set out to make some lively greetings with a jewel toned palette of PaperArtsy Fresco Chalk Acrylic Paint in Amethyst, Eggplant, Jade and Midnight, thinking it would be the perfect contrast for my silver foil.


After playing with my paints and gel plate until I was happy with my two prints, I cut away a portion of each for the base of my cards and used the scrap for my stamping.  I embossed images from PaperArtsy Eclectica³ {Kay Carley} Collection (EKC01)


... and PaperArtsy Eclectica³ {Sara Naumann} Collection (ESN17) in white, and fussy cut them.


To add my foiling, I rubbed a glue stick through PaperArtsy Stencil 108 {Scrapcosy}.  I lifted as much of the globby glue as possible with a scrap paper, then added my foil.  I turned the stencil over and rubbed the remaining glue over other areas for an opposite pattern.  This created bits of pattern here and there.  I added a couple of foiled flowers by using Ranger Heat and Stick embossing powder and the tiny images in the Sara Naumann set. 


Finally, I tucked my images beneath a band stamped with PaperArtsy Eclectica³ {Alison Bomber} Collection (EAB07) sentiments. 


I was pleased to find the Peacock Feathers Distress Oxide pad and Seedless Preserves Distress Ink pads coordinated perfectly with my beautiful Fresco Chalk layers.  I did a little scratching into the paint with my awl to make "frame" around the panels.


It is truly amazing what a bit of glue and a strip of foil can become.  I hope you'll give it a try and wow yourself today!  Make sure to scroll back through this topic to see the other designers' inspiring ideas...

Happy foiling, Autumn

Facebook: Autumn Clark
Instagram: @sewpaperpaint
Pinterest: Autumn S Clark

To join our challenge and win a PaperArtsy £50 gift voucher:
Simply make something arty relevant to the topic, and link your creation from any social URL (eg. Instagram, Pinterest, Blog Post etc) sharing your original make to this challenge page.

The current topic link Topic 20: Foiling will close 17:00 (London Time) Sunday, 25th November 2018, and the winner will be announced 2 hours later at 19:00.

Please make sure we can contact you as a prize winner - it helps if you share your contact info from the platform you opt to use.

Good Luck! If you have any questions, don't hesitate to ask!

Wednesday, 21 November 2018

2018 #20 Foiling: Grungy Christmas Tags with ESC {by Raquel Burillo}

 2018 Topic 20: Foiling Techniques - Grungy Christmas tags


More fantastic techniques from Raquel to create some fabulous tags with her 2016 Christmas stamps. Love how she uses grungy infusions with crisp foil! Awesome contrasts. ~ Leandra

Hi everyone, Raquel here from scrapcosy. Today I’m sharing with you how to use foil in 6 different ways to create 4 different grungy vintage christmas tags. I’ve prepared a video so you can see all the details of each technique.


As usual I like to experiment, so I didn't stick to one technique only. Instead I prefer to share with you different options, so you have many choices. I really enjoyed creating each tag. I hope you like them too. Pictures and details below.

Rough diamonds - GP and foil


For this first tag I’ll use the following property: foil sticks to a rough surface if you rub it against it. I first created a background with Infusions (olive tree and golden sands) and then I added Grunge Paste (completely dry) as my rough surface to rub the foil against. I use a lollypop wooden stick to rub it. A gentle foiling effect with a droplets of shine.


For this technique I first used Acorn Achival ink through the stencil to create a complete diamond pattern and then I applied some Grunge Paste through my stencil PS074


PS074

The foil will not stay permanently if you re-wet the surface, that is why you can see some shiny foil escaping from the diamonds, because I added more infusions after I rubbed the foil for the first time, to make my diamonds darker. You can see the entire process in the video. Instead of GP you could rub it on a rough wood surface and it would work as well.


Christmas sticky stripes


For this second technique I use the fact that foil sticks to sticky surfaces (adhesive), so I’ll use the double sided tape to transfer the foil into my project.This gives sharp, defined foiled sections.


I’m adding stripes of double sided adhesive tape to over an infusions background using the same colour combination as before (olive tree and golden sands) then adding a piece of foil and with a wood stick I make sure it stays in place and I add more texture and marks on the foiled parts.


This is a super simple and quick technique and I think it would also look awesome on a red background too!


Walnut crystals all the way


For the next technique I’m using the following principle: foil sticks to hot and rough surfaces, so I’ll use the walnut crystals that are part of the Infusions dye stains as the rough and hot points, that when are not 100% dissolved will make the foil stick to them once passed through a laminator.


The results of this technique are very subtle and can only be seen when the light hits them in the right way. But when the light does hit them... Oh, my! Magic happens!


I love the results you get with this technique. Just make sure that the crystals don't get  too much dissolved when you spray water (blot them with a paper towel so you stop the action of the water on them).


Golden mulled wine - Alcohol and foil


For the final tag I’m using a different type of stickiness, I’m using alcohol inks that when not fully dried and if they are very concentrated they become sticky enough as to get the foil adhered to them when foil is pressed against the surface. My surface is a piece of yupo paper glued onto smoothy heavy cardstock to create my tag.


This technique needs a little bit of practice, to know how dry the ink needs to be and how much ink is needed. I used Cranberry and Lettuce Tim Holtz alcohol inks. 


I love how random and striking this technique is, you just drop the ink and blow through a straw (or an empty pen) so you create puddles while drying your ink as well. And when pressing the foil against your surface, you can also add foil lines using a wooden stick (lollypop), to add more texture, as I did on the corners. 


Golden sentiments - Stamp with glue


Then for the sentiments I used 2 different techniques. For this one I used glue (mod podge, like a PVA glue) that I put in a piece of cut-n-dry foam so I could use that foam to “ink up” my stamps with glue. Then I stamped my sentiments, one at a time on a piece of smoothy heavy cardstock and passed it through the laminator. Make sure you clean your stamps straightaway! A spray of water followed by drying it with a towel will do. I used ESC09 (my vintage frames stamp set) for my sentiments.

ESC09
I find it gives very nice results, still a lot of details on the stamped and foiled image


Toner ink maker and foil


And the final technique I tried was using the Minc toner ink marker to ink up my stamps (just the Merry Christmas in the picture above) and stamp the sentiment with them. Toner ink has an iron component (micro particles) that when passed through the laminator they become really, really hot, so the foil sticks to them. That is why printed images via toner ink printer can be used for foiling, whereas regular laser jet ink will not work for this technique. Instead of printing, I’m a fan of stamps (as I’m sure you are as well) so I wanted to find a way of adapting this technique to stamps and I could only achieve it by using a toner ink pen (if anybody knows about an inkpad of toner ink, please shout! I was not able to find one when I looked at this a year ago or so, I then tried to create my own toner inkpad and I didn’t succeed. I guess it’s a pretty unstable substance as to make it work on an inkpad, since even toner printers have the toner ink in dry mode…) 

Here are some extra pictures if you want to see more details.


I hope you liked my different experiments. Now I have 4 tags ready for Christmas, to decorate some of those special gifts. Let me know if you’ve tried any of these techniques in the past or which one you’d like to try now that you've seen them.

Thanks very much for reading! Here are some places where you can find me, Raquel:


I'll be teaching 2 classes at Creativation 2019 sponsored by PaperArtsy, full Creativation 2019 schedule here details about my classes below:

- With Seth Apter on 17/01/2019 11:00 AM - 2:00 PM - W102: Perfectly PaperArtsy (Part 1)

- On my own, on 18/01/2019 10:00 AM - 12:00 PM - W209: A Cup of Vintage Tea - Infused with Mixed Media Techniques

To join our challenge and win a PaperArtsy £50 gift voucher:
Simply make something arty relevant to the topic, and link your creation from any social URL (eg. Instagram, Pinterest, Blog Post etc) sharing your original make to this challenge page.

The current topic link Topic 20: Foiling will close 17:00 (London Time) Sunday, 25th November 2018, and the winner will be announced 2 hours later at 19:00.

Please make sure we can contact you as a prize winner - it helps if you share your contact info from the platform you opt to use.

Good Luck! If you have any questions, don't hesitate to ask!