Showing posts with label Gold Leaf. Show all posts

Thursday, 20 August 2020

2020 #14 Fusing Foils with VID {by Helen Chilton}

 2020 Topic 14: Fused


A striking collage of Vintage PaperArtsy stamps pops to life with gold foil fused with sticky ink as the connector to the canvas below. 
~ Leandra

Hi everyone, it's Helen with you today, and I'd like to share with you my canvas using foils.

For this project I've used Vitrail transparent glass paints which I've had in my stash for years.  I applied them direct to canvas and my images to create a surface to fuse the foils onto. This glass paint is solvent based, transparent and very sticky when first applied, so you can apply the foil directly onto it without the need for more glue. I gave a workshop once using this technique and it works a treat.


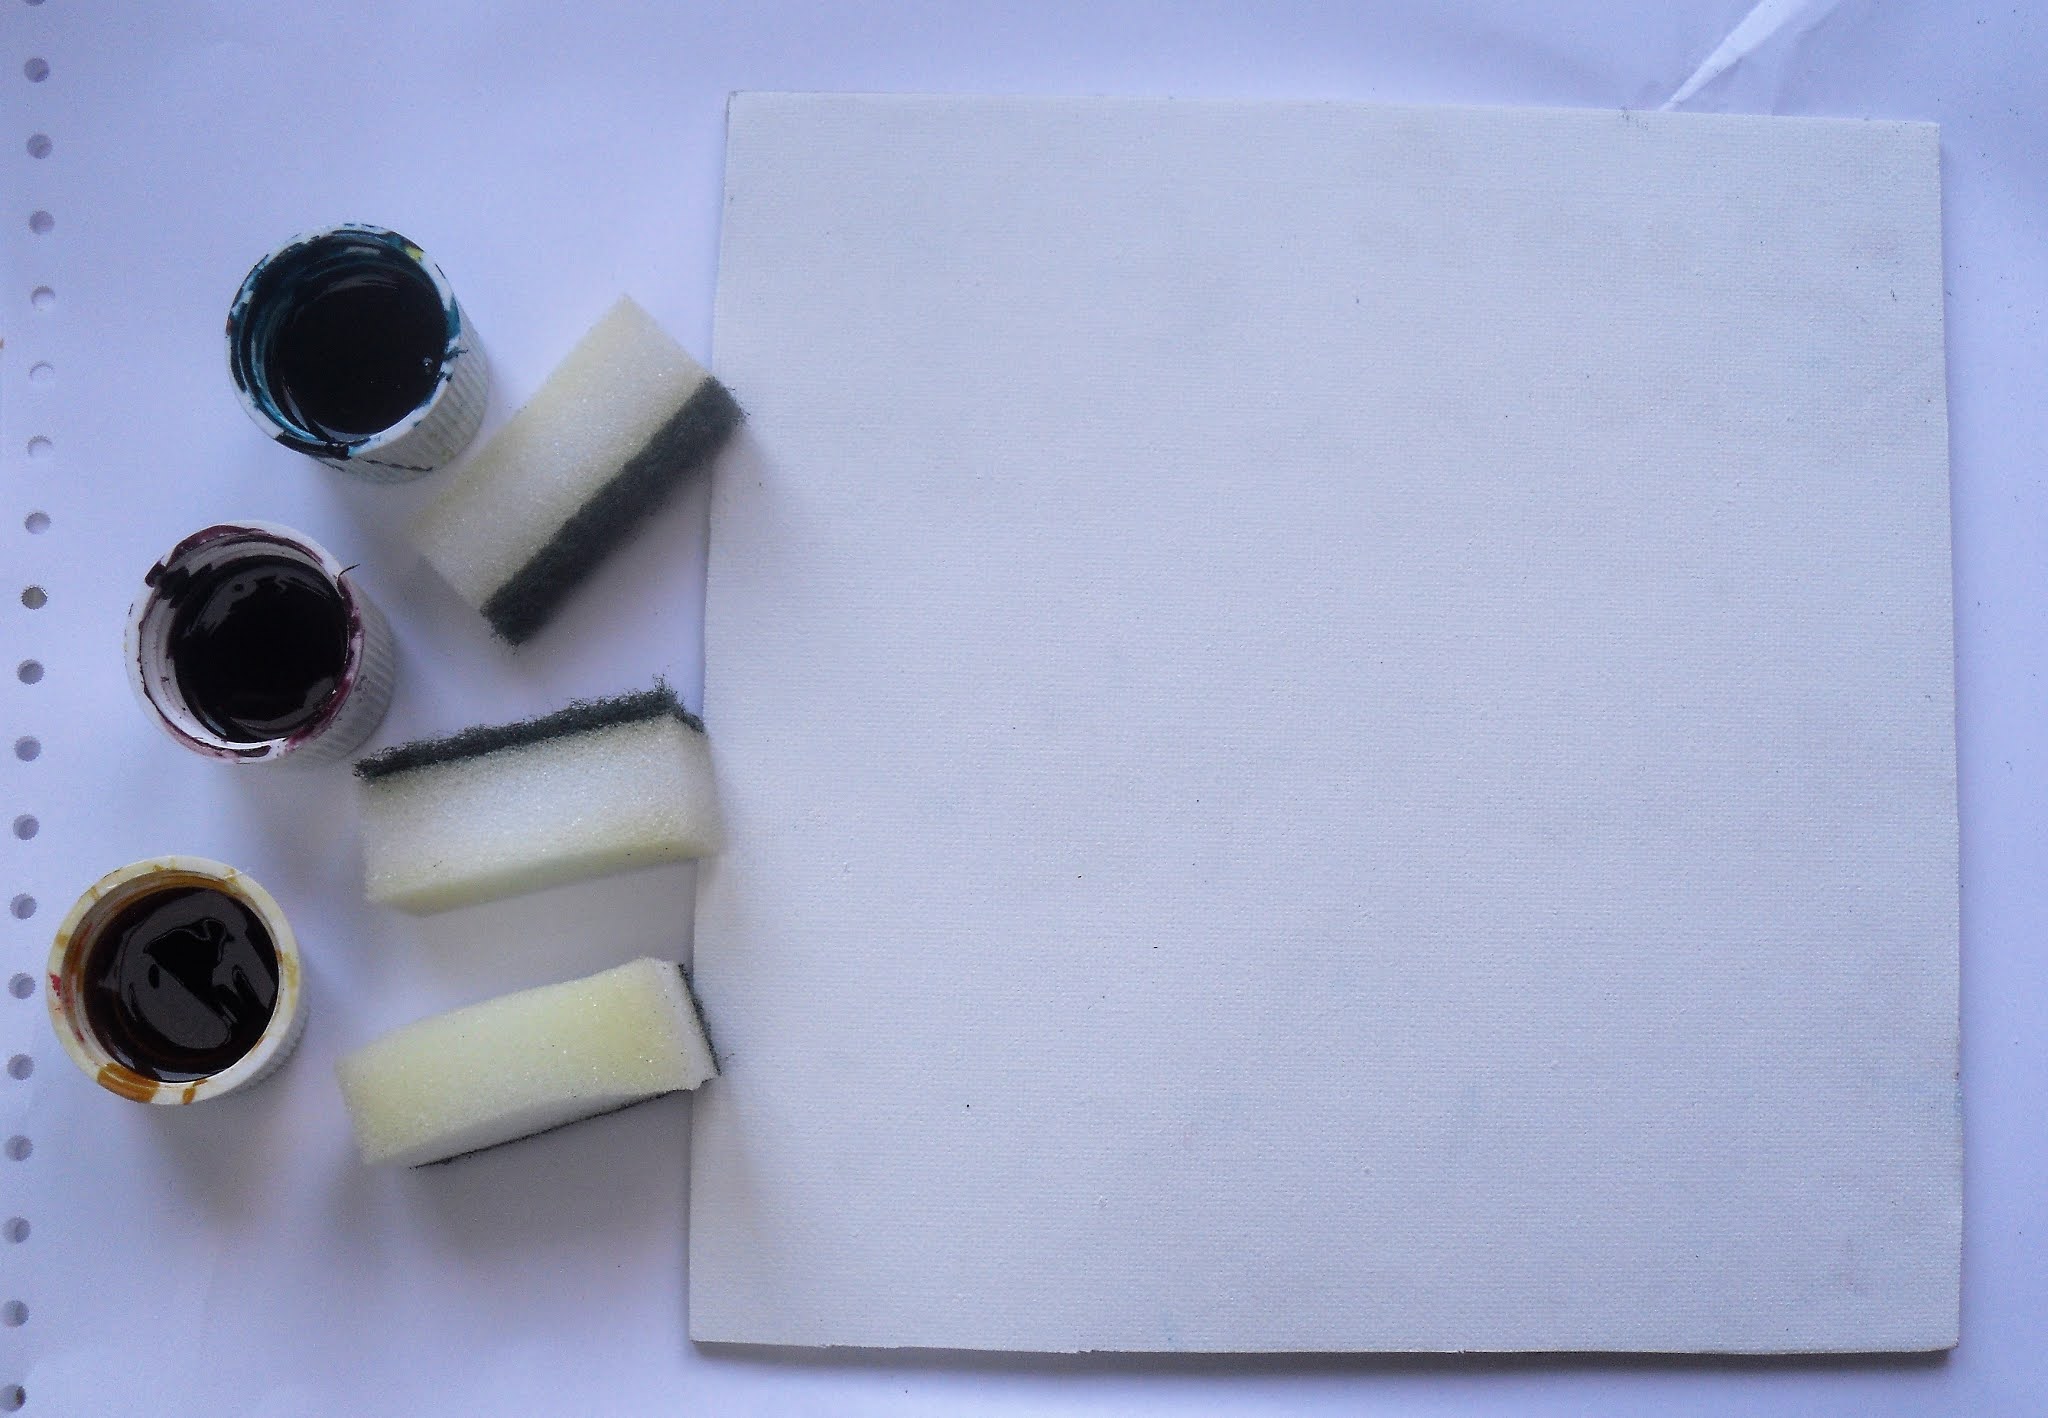
Get your Vitrail colours ready - I've used Turquoise Blue, Yellow and Old Pink and cut up a cheap sponge to apply them with.


Dab it on and mix as you go. I like the texture of the canvas showing through.


Stamp your images onto glossy card - it need to be glossy so the paint doesn't soak in - and then dab on colour in the same way.I used the Vintage Ink and the Dog Collection. These are some of the images from I&D in a larger format on A5 sheets, great for journalling or larger size projects. 


Let dry for a couple of minutes and apply the foil - you can see this piece has been well used already. You only want touches of foil, not great solid areas as you'll lose the image underneath.


Use a stencil in the same way. Pressing the foil through the pattern.


And there you go. This works better with a stencil with a definite pattern rather than a more random one.
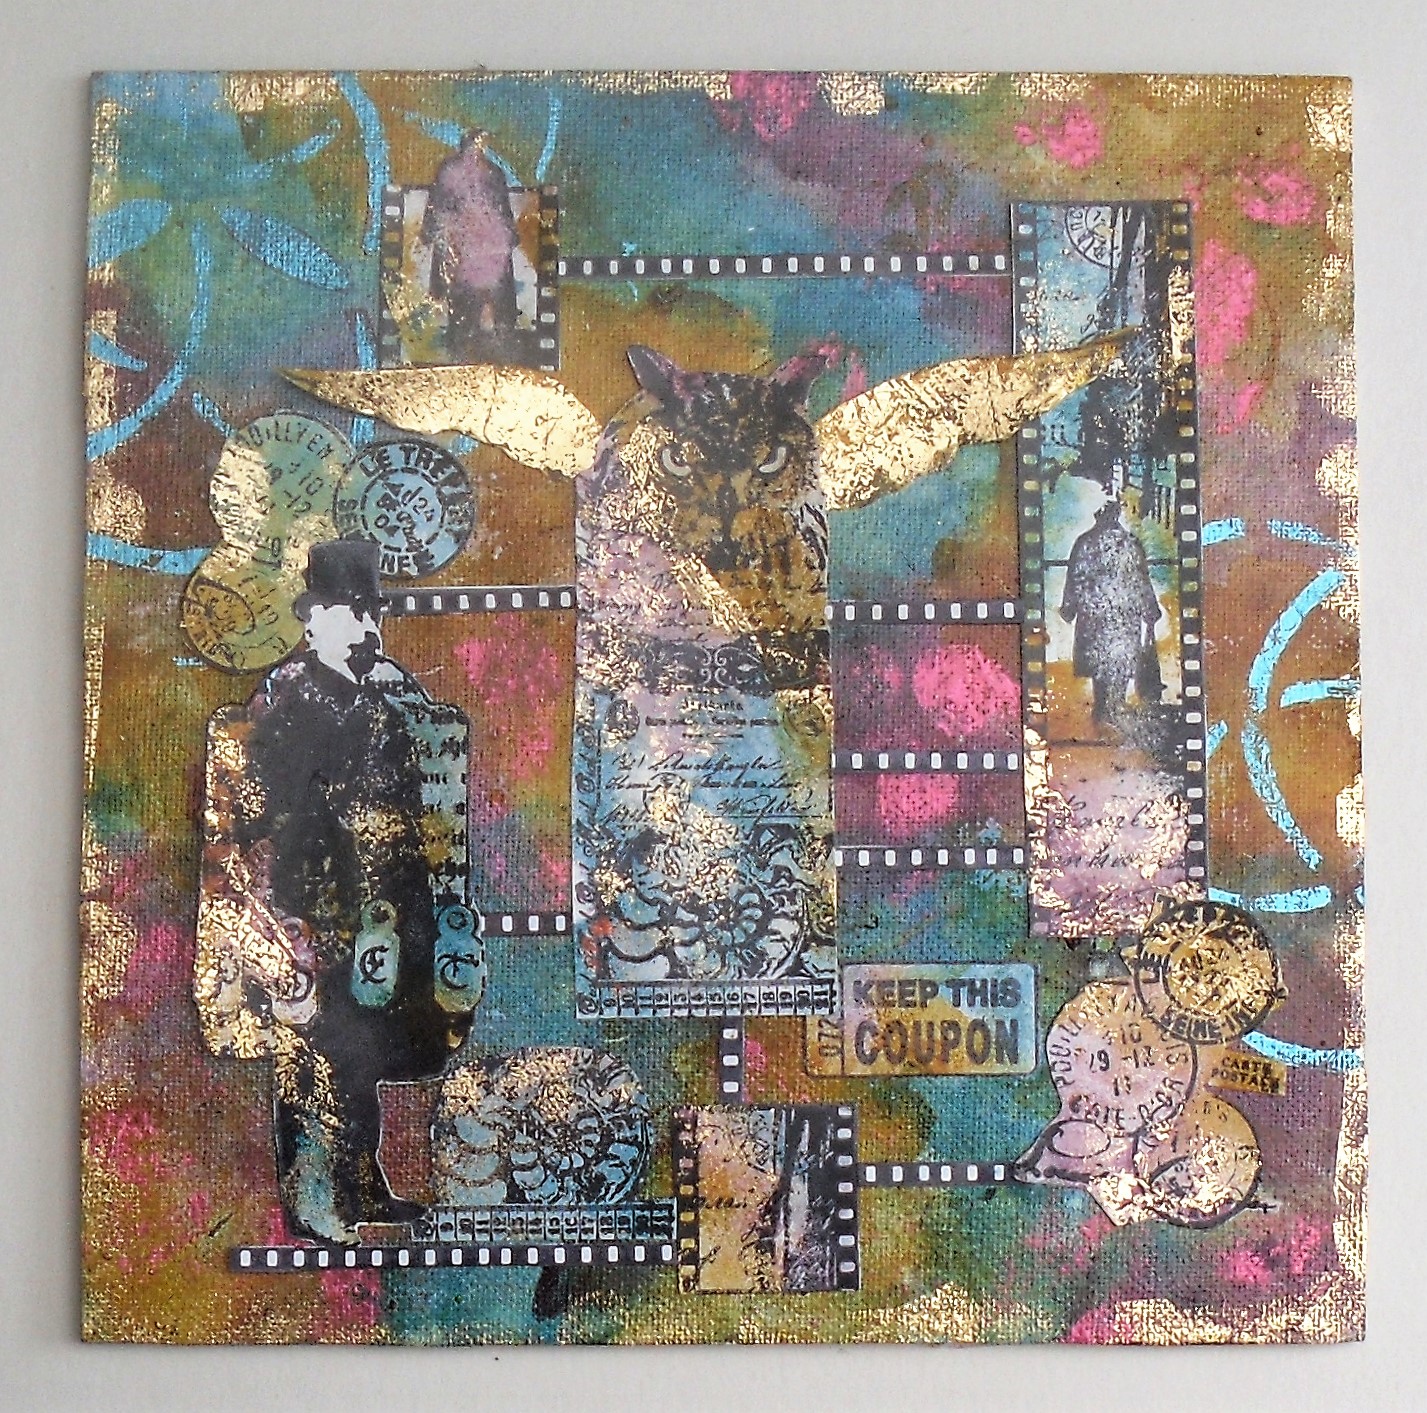

Here you can see the foiling.


I've pulled it all together with stamping and filmstrip lines.


To finish I doodled round the edge with a black outliner.


These paints work so well because they're sticky. The stickiness does have some disadvantages though as if you don't like getting messy this probably isn't the project for you (I managed to get it in my eyebrow - don't know how!) and you also have to wait quite a while for it to dry if you want to add stamping over the top. Having said that, I find this a really easy way to foil projects - no more waiting for the embossing powder or glue to dry to just the right point to get the stuff to stick. It's also a great way to use up those scraps of foil that have been used but have bits left on. Lynne Perrella stamps would work really well with this technique - you keep the detail of the images and add a touch of glitz at the same time!

Helen

Blog: A Splash of Colour

Monday, 19 November 2018

2018 #20 Foiling: For the Wall with I&D Stamps {by Leandra Franich}

 2018 Topic 20: Foiling


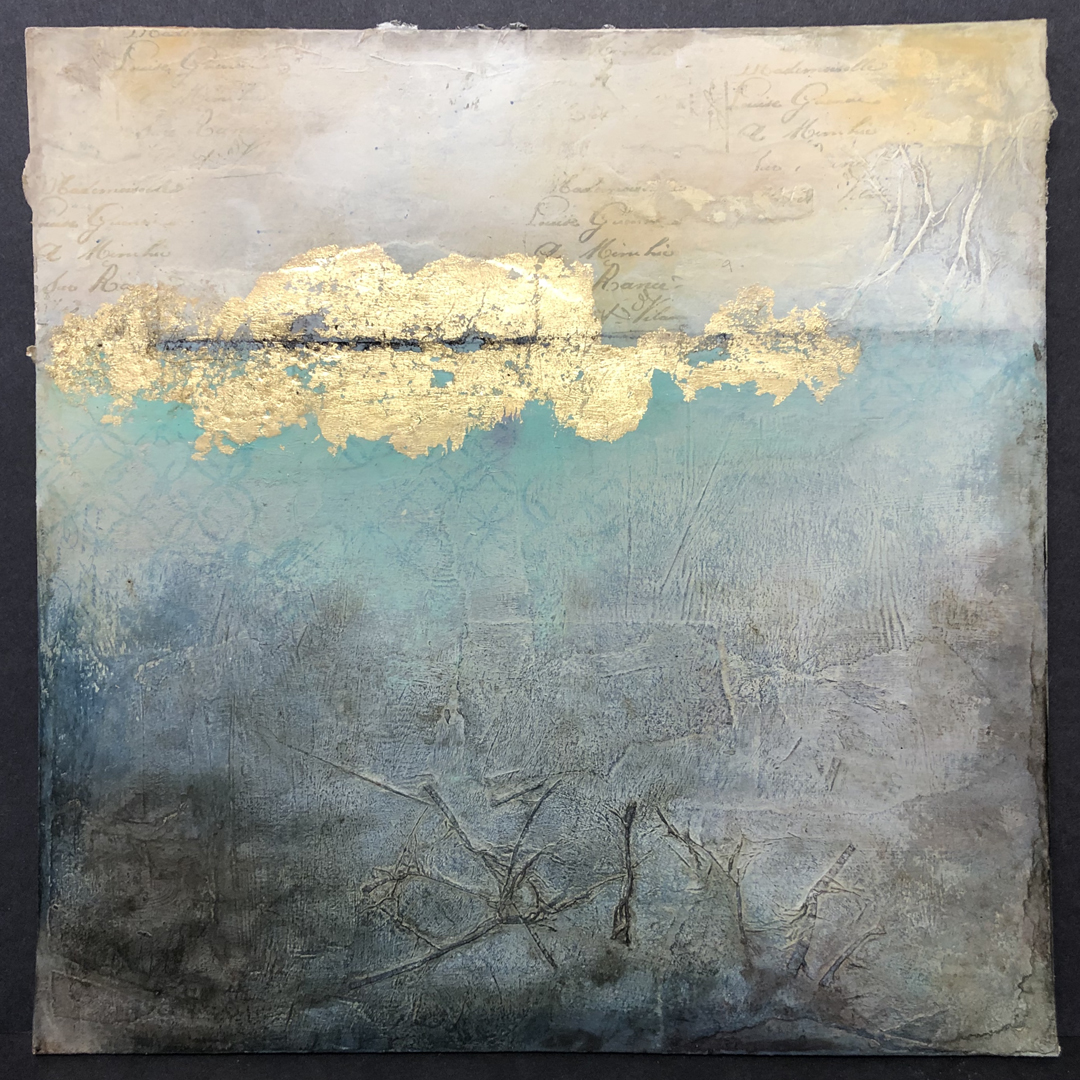
Tonight it's my turn to share an idea with foil. I'm obsessed by abstract art, and the Rothko style of canvases with blocks of colour is the basic idea I was emulating. I was also struck by an utterly gorgeous background that Debi Adams recently blogged here for stencil girl. 3 hours later, a new piece for my kitchen to fill a gap where a clock recently fell off the wall and broke. ~ Leandra

Hi everyone,
In this post I thought i'd go back to the old school gold leaf, the flaoty stuff that gets everywhere! Well i have a tonne of sheets that you certainly should use in a draft free zone!

I was thinking I would use Debi's colour palette as linked in the intro, but as usual, turquoise had to enter into the equation. Which actually turned out OK, because the wall in my kitchen is also that colour! So the piece has a home!


So I usually start with putting something on the blank surface, in this case, I decided that it didn't need to be too lumpy, so grunge paste was out, and instead I opted for layers of old papers and tissue. Knowing that they would likely be obscured, but also liking that they would still catch the paint, so I did deliberately ensure there were wrinkles in the tissue.
 
Here they are in place, directly onto a Canson Mixed Media board, they are quite thick, a bit like grey board, but more sucky of moisture...which means they do tend to buckle. As ever keeping things vertical and horizontal, just in case words ended up visible later on. Call me pedantic! But, I cannot cope with stuff on angles!


No process pics sorry, but I was literally using my whole hand to add and spread the paint (I was NOT going to pick up the phone to take photos!).
How to apply, well, paint a blob on, and then I used all my fingers to massage the colour into an area. A fine misting of water to blend it out was helpful, as Fresco dry soooo fast. If things got too heavy and opaque, I did use a baby wipe to knock things back a bit. It is just a matter of adding, blending , rubbing and so on until you get it how you prefer.


I tried to keep Midnight, Chocolate Pudding, Mahogany and Sargasso to the lower section. 


For the upper third, Buff, Terracotta, Stone and Chalk were my selections.


I did occasionally use Seth's technique of painting onto a piece of card, and pressing that onto the surface, and that worked really well with the paler shades at the top section to pick up the highlights. Overall, start dark, then work to your lighter shades so the depth is trapped in the lower layers.


I only added Sargasso after building all the other colours, I created a defined line between the two zones, knowing the foiling was going to be used as a bridge. There was a natural division with the straight edge line of some papers I had deliberately placed at the beginning. I do fine, when you add a contrast colour, you immediately get something 'wow' with contrast.


I found some foiling adhesive from a cazoodle years ago that had literally gone off in the bottle. I remember it as a thin, runny glue, and it was now thick and gluggy and curdled. Once dry, it stays tacky to accept the leaf, so  I figured it would still work, and used a finger to rub it along the 'line'. Within a minute of so I plonked a gold leaf sheet over the top, and found a soft brush to apply some pressure onto the gold leaf. As expected, it stuck to the adhesive, and fell away from the unglued areas. Another bonus of chalk paint, gold leaf will not stick to it!


I then added some stamping in archival inks. I knew I was going to add more paints on top, and I had lost my words underneath from the tissue, so I figure I might try to reinstate some stamped interest.


The round pattern is from Seth Apter Set 08 (ESA08)


and the rest are old Ink and the Dog sets.
Clocks Set 6 (C6)

 Words Set 4 (W4)

Here's a close up of the foil. I tried to rub it away so it wasn't totally solid.
 

And you can see some of the stamping on the backgorund here...although once again, not to stay visible for too long!


So my next plan was to try and soften both the upper and lower sections with more paint, ideally chalk or buff. I kind of wanted peeks of the deep colours showing through, but an over all white-ish, minimalist piece. However, distracted in trying to get the balance right,  every time I added white, I kept going back to adding more midnight, more chocolate, more buff, and so on until the words had all disappeared again!


And then I had it pretty much neutral, but added infusions (Black Knight, In the Navy) to the lower section. I also used a water based pen to add a black line along the 'dividing line' and then used a damp brush to blend that out for a bit of structure.


Next to the frame. I have a bunch of 12x12 wood frames that arrived here with the glass all smashed. I kind of knew this piece would need something to pop off. There was an insert, plywood, which I painted black, and then rubbed a dark Treasure gold over that so it looks almost chocolate colour. Onto that I stamped Words Plate 1 (W1) in Jet Black Archival ink.


That was dropped into the Little Black Dress painted frame, onto which I pressed Midnight pre-painted onto card randomly, to create a subtle contrast.


And here is the finished piece on the wall, in daylight. 


Chuffed how this has turned out, however I just wish it was bigger! I MUST buy a huge canvas and create a much bigger version for a wall, maybe the lounge. We have recently had it redecorated, so there are spaces waiting for something!

Thanks for joining us again, and I hope you get a chance to do some foiling before the challenge closes on Sunday!

To join our challenge and win a PaperArtsy £50 gift voucher:
Simply make something arty relevant to the topic, and link your creation from any social URL (eg. Instagram, Pinterest, Blog Post etc) sharing your original make to this challenge page.

The current topic link Topic 20: Foiling will close 17:00 (London Time) Sunday, 25th November 2018, and the winner will be announced 2 hours later at 19:00.

Please make sure we can contact you as a prize winner - it helps if you share your contact info from the platform you opt to use.

Good Luck! If you have any questions, don't hesitate to ask!