Showing posts with label ESC32. Show all posts

Saturday, 9 December 2023

2023 Topic 12: Designer Focus: JoFY {by Autumn Clark}


Hi everyone it's Autumn Clark from SewPaperPaint here with you today.  I've been enjoying some creative time lately, focusing on creating cards and gifts. This designer focus on Jofy had me thinking about building a stash of handmade birthday gifts. So I decided to alter some small canvases with Jo's beautiful stamps.  I hope you'll enjoy this simple process and get inspired to create some gifts of your own.


I really enjoyed experimenting with a new background painting technique using PaperArtsy Fresco Chalk Acrylics and mixing that with watercolor, a favorite of mine.  I hope it inspires you too!

What I loved most about these canvases is that they were as easy to make as a greeting card, but pack a bigger punch and can be displayed on a small easel throughout the year, long after one's birthday celebrations have ended.  


For this project, I didn't have much of a plan in mind, other than wanting to use some beautiful florals and ended up choosing my favorite  set, PaperArtsy stamp set 114 by Jo Firth Young (JOFY114).


I had picked up a small two pack of 5x7" canvases at our Dollar Tree store in the States, which ended up being cheaper than two sheets of 12x12" cardstock!  Score!  I was looking forward to mixing things up with these as substrates.


I scoured my collection and chose two stamp sets that would work together nicely from each designer.  First up was PaperArtsy stamp set 114 by Jo Firth Young (JOFY114).  I really enjoy coloring, but am lazy and cheat a bit - ha ha!  Here I've used cheap brush markers to add a variety of colors to the petals, then I simply used a water brush to blend the colors out.  It's easier than working in layers, but the result is beautifully variegated.  


Here are all of my happy little petals, colored and cut out nicely.  I wanted to create two different compositions with the flowers.


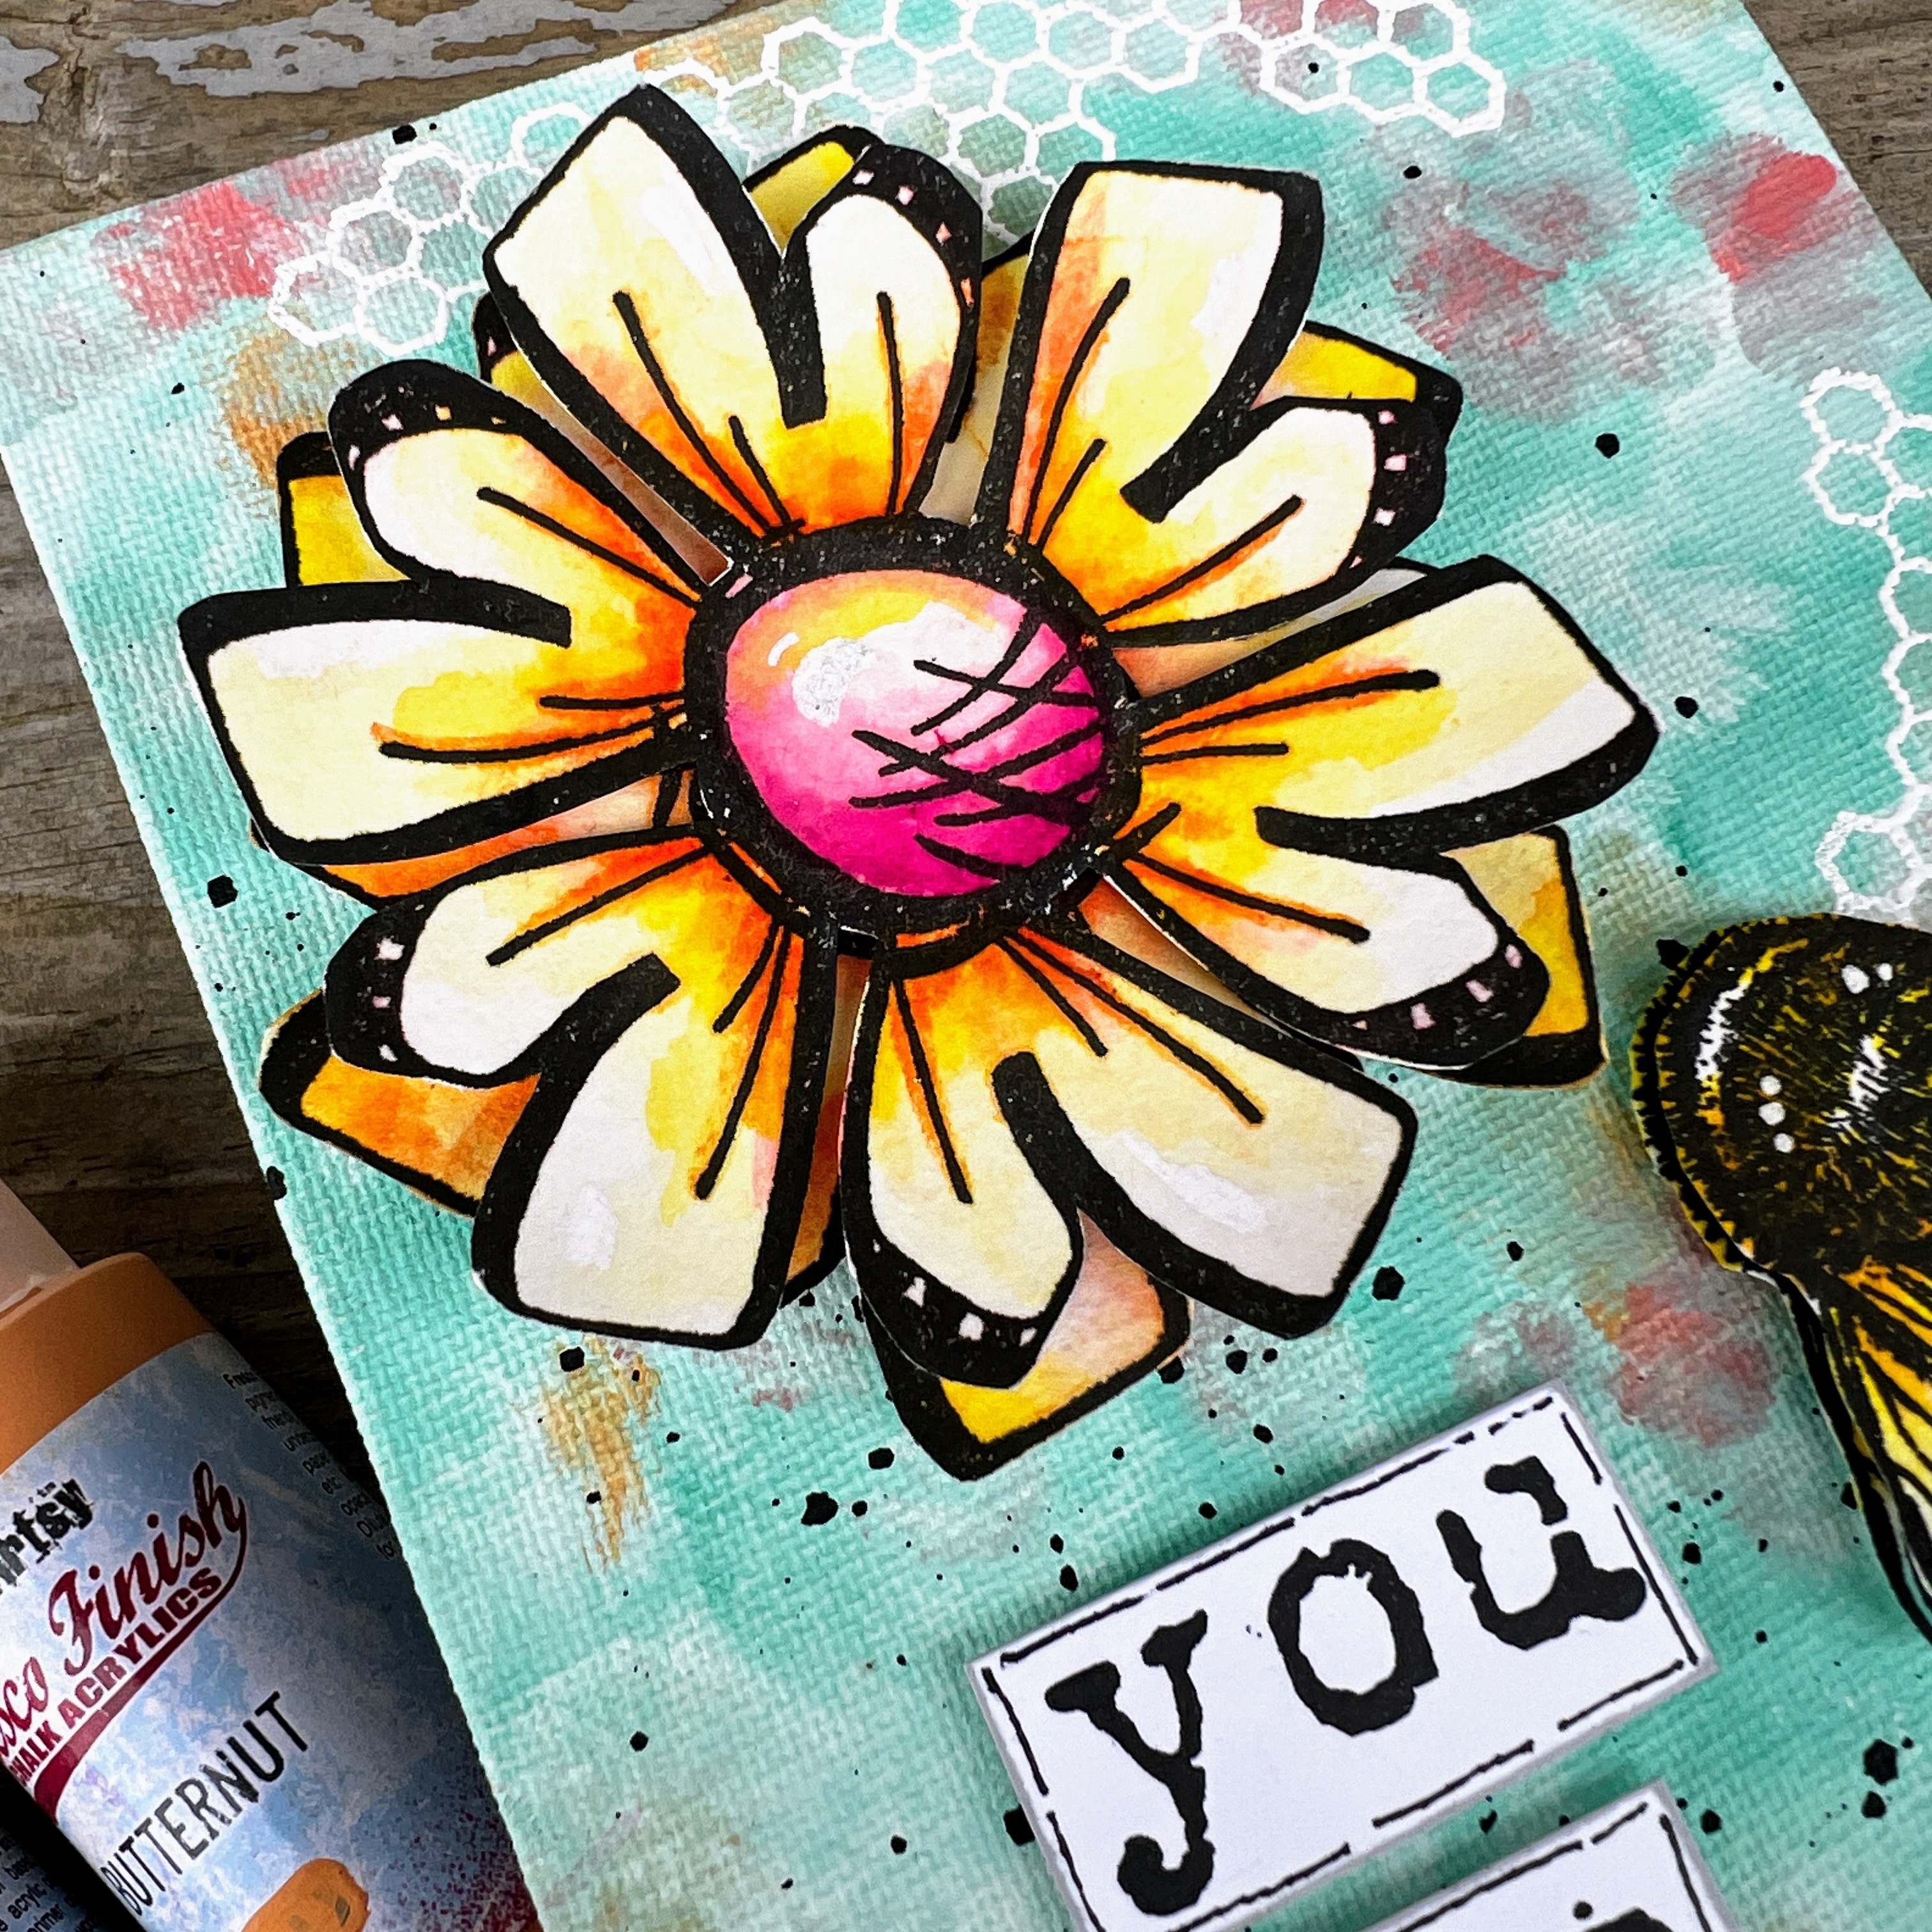
My second choice of stamps was PaperArtsy Eclectica stamp set 32 by Scrapcosy (ESC32).  I knew these darling bees would work beautifully with my blossoms.  I stamped two images and colored, then cut away the body of the second bee.  I curled the wings of the second images and used mounting tape to create 3D critters.
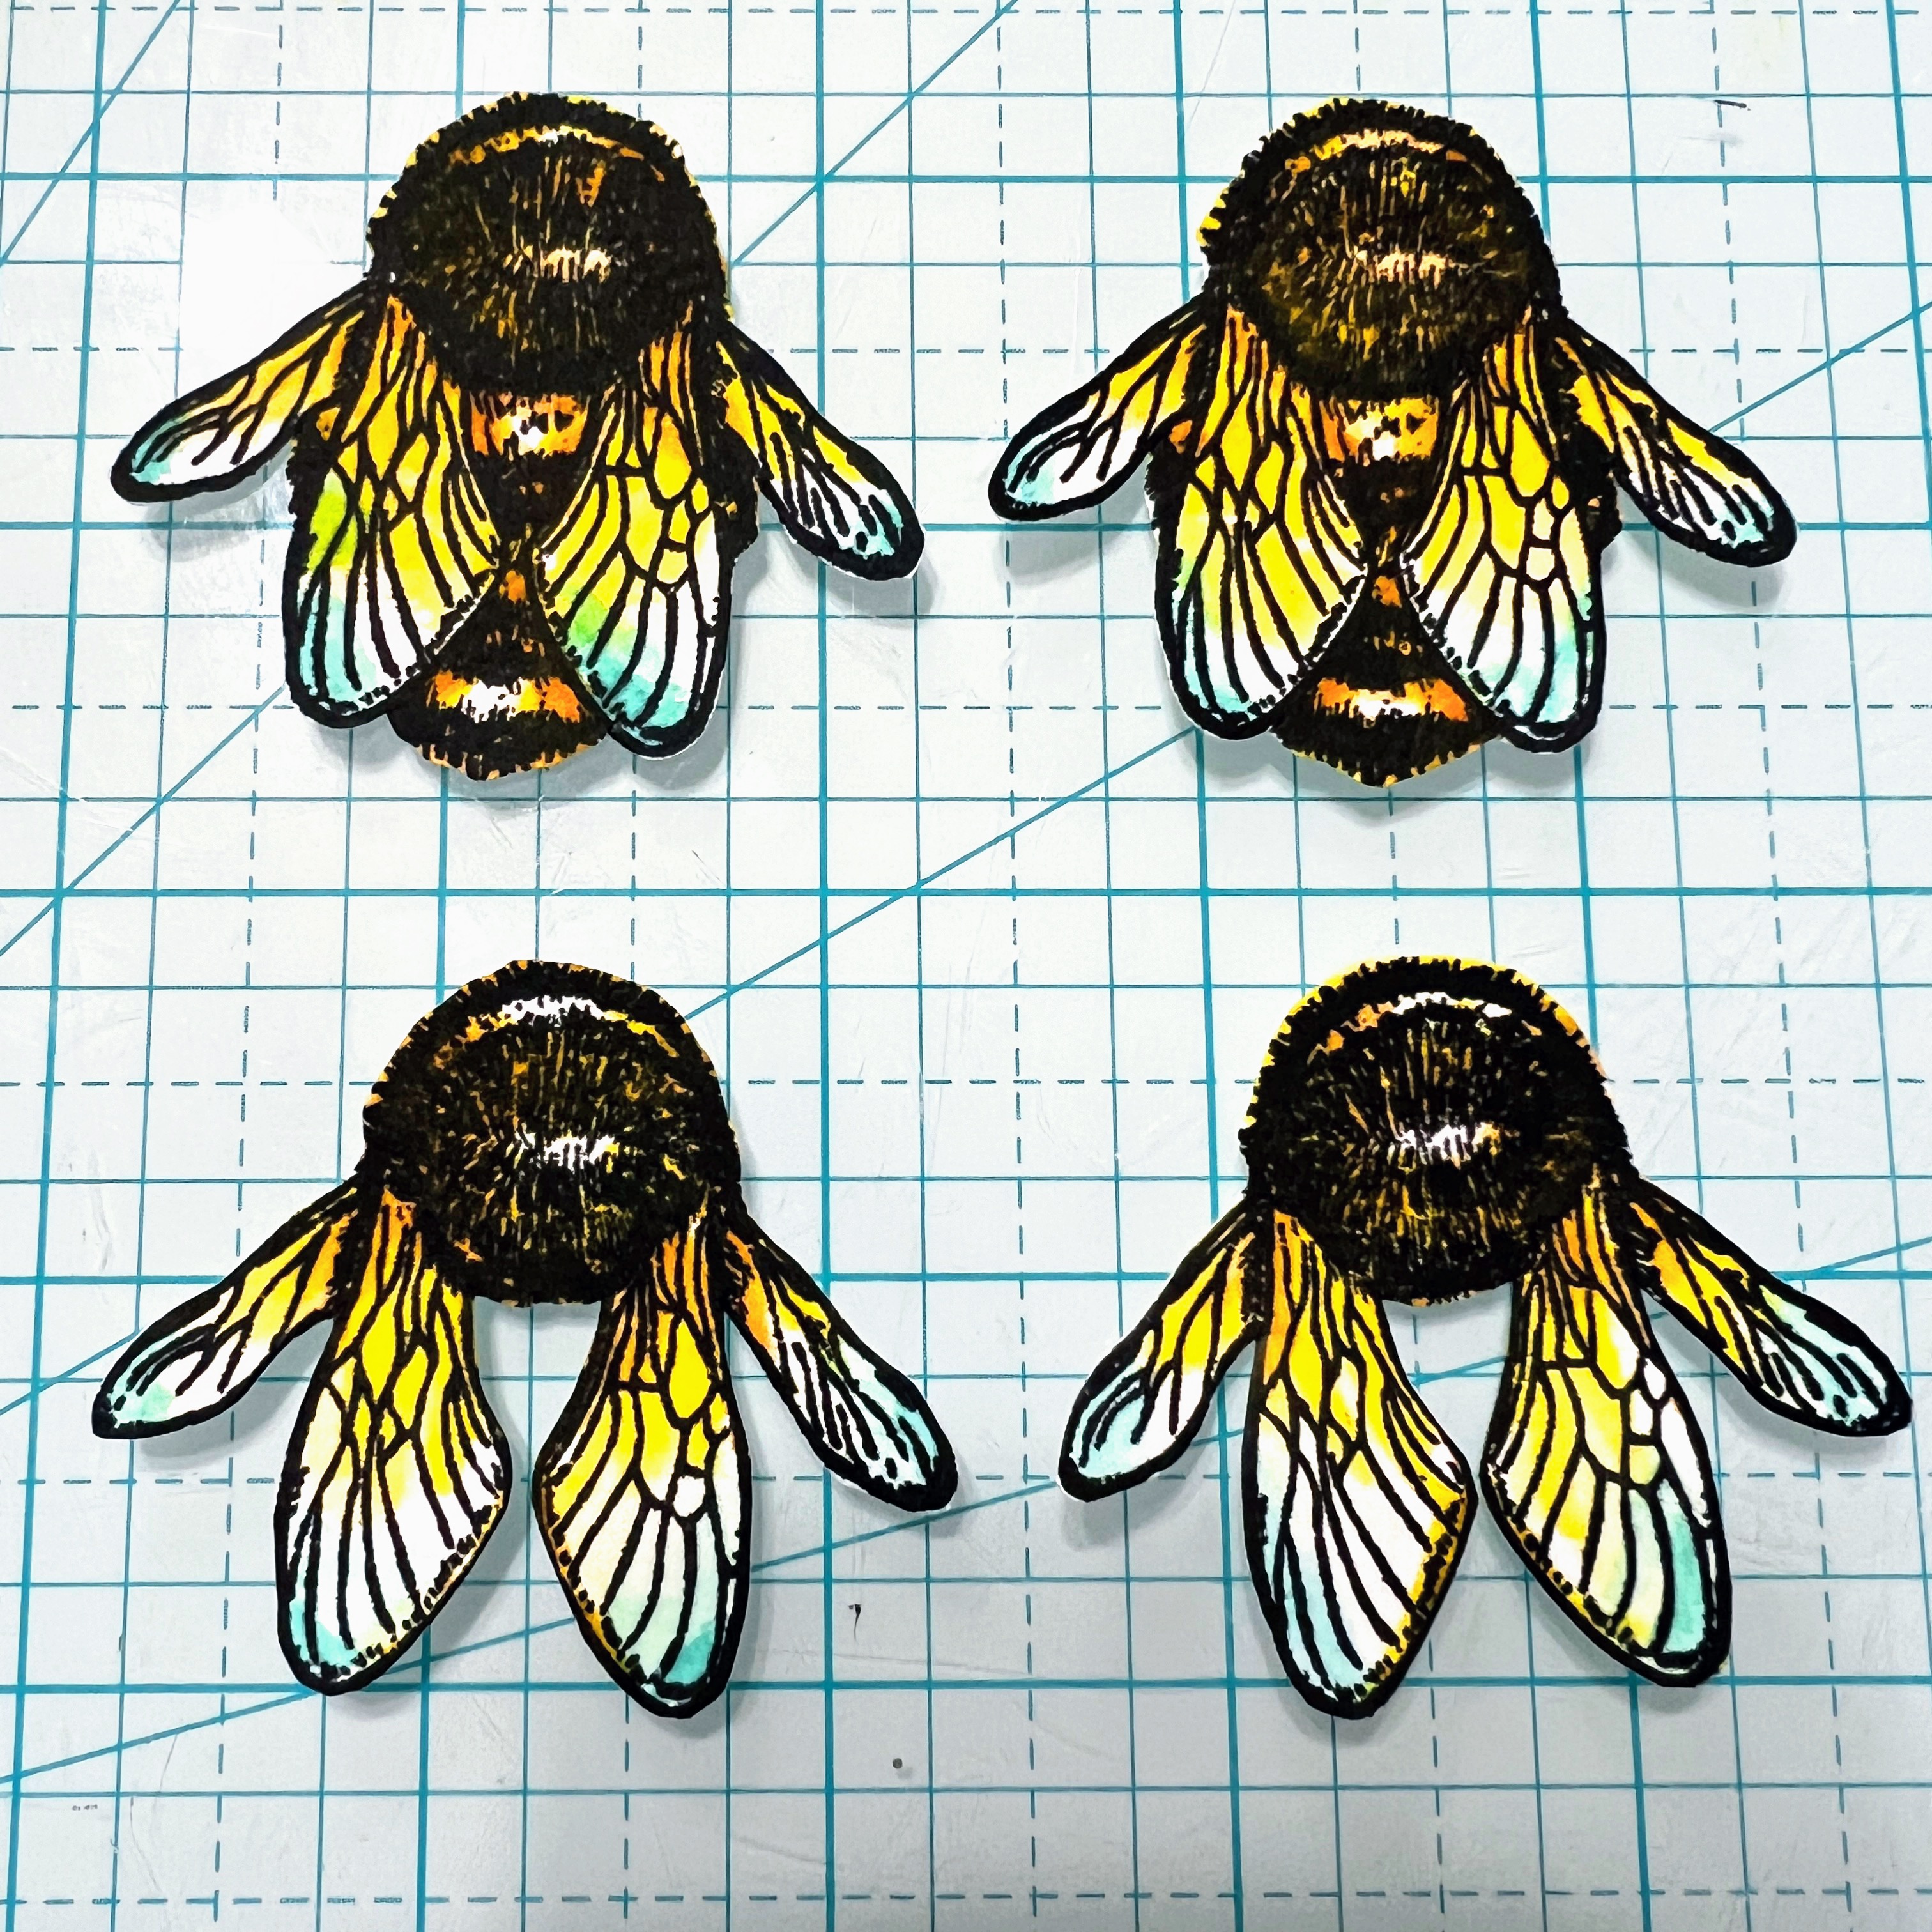


I just love how these bees turned out and the dimension they added to the canvases.  


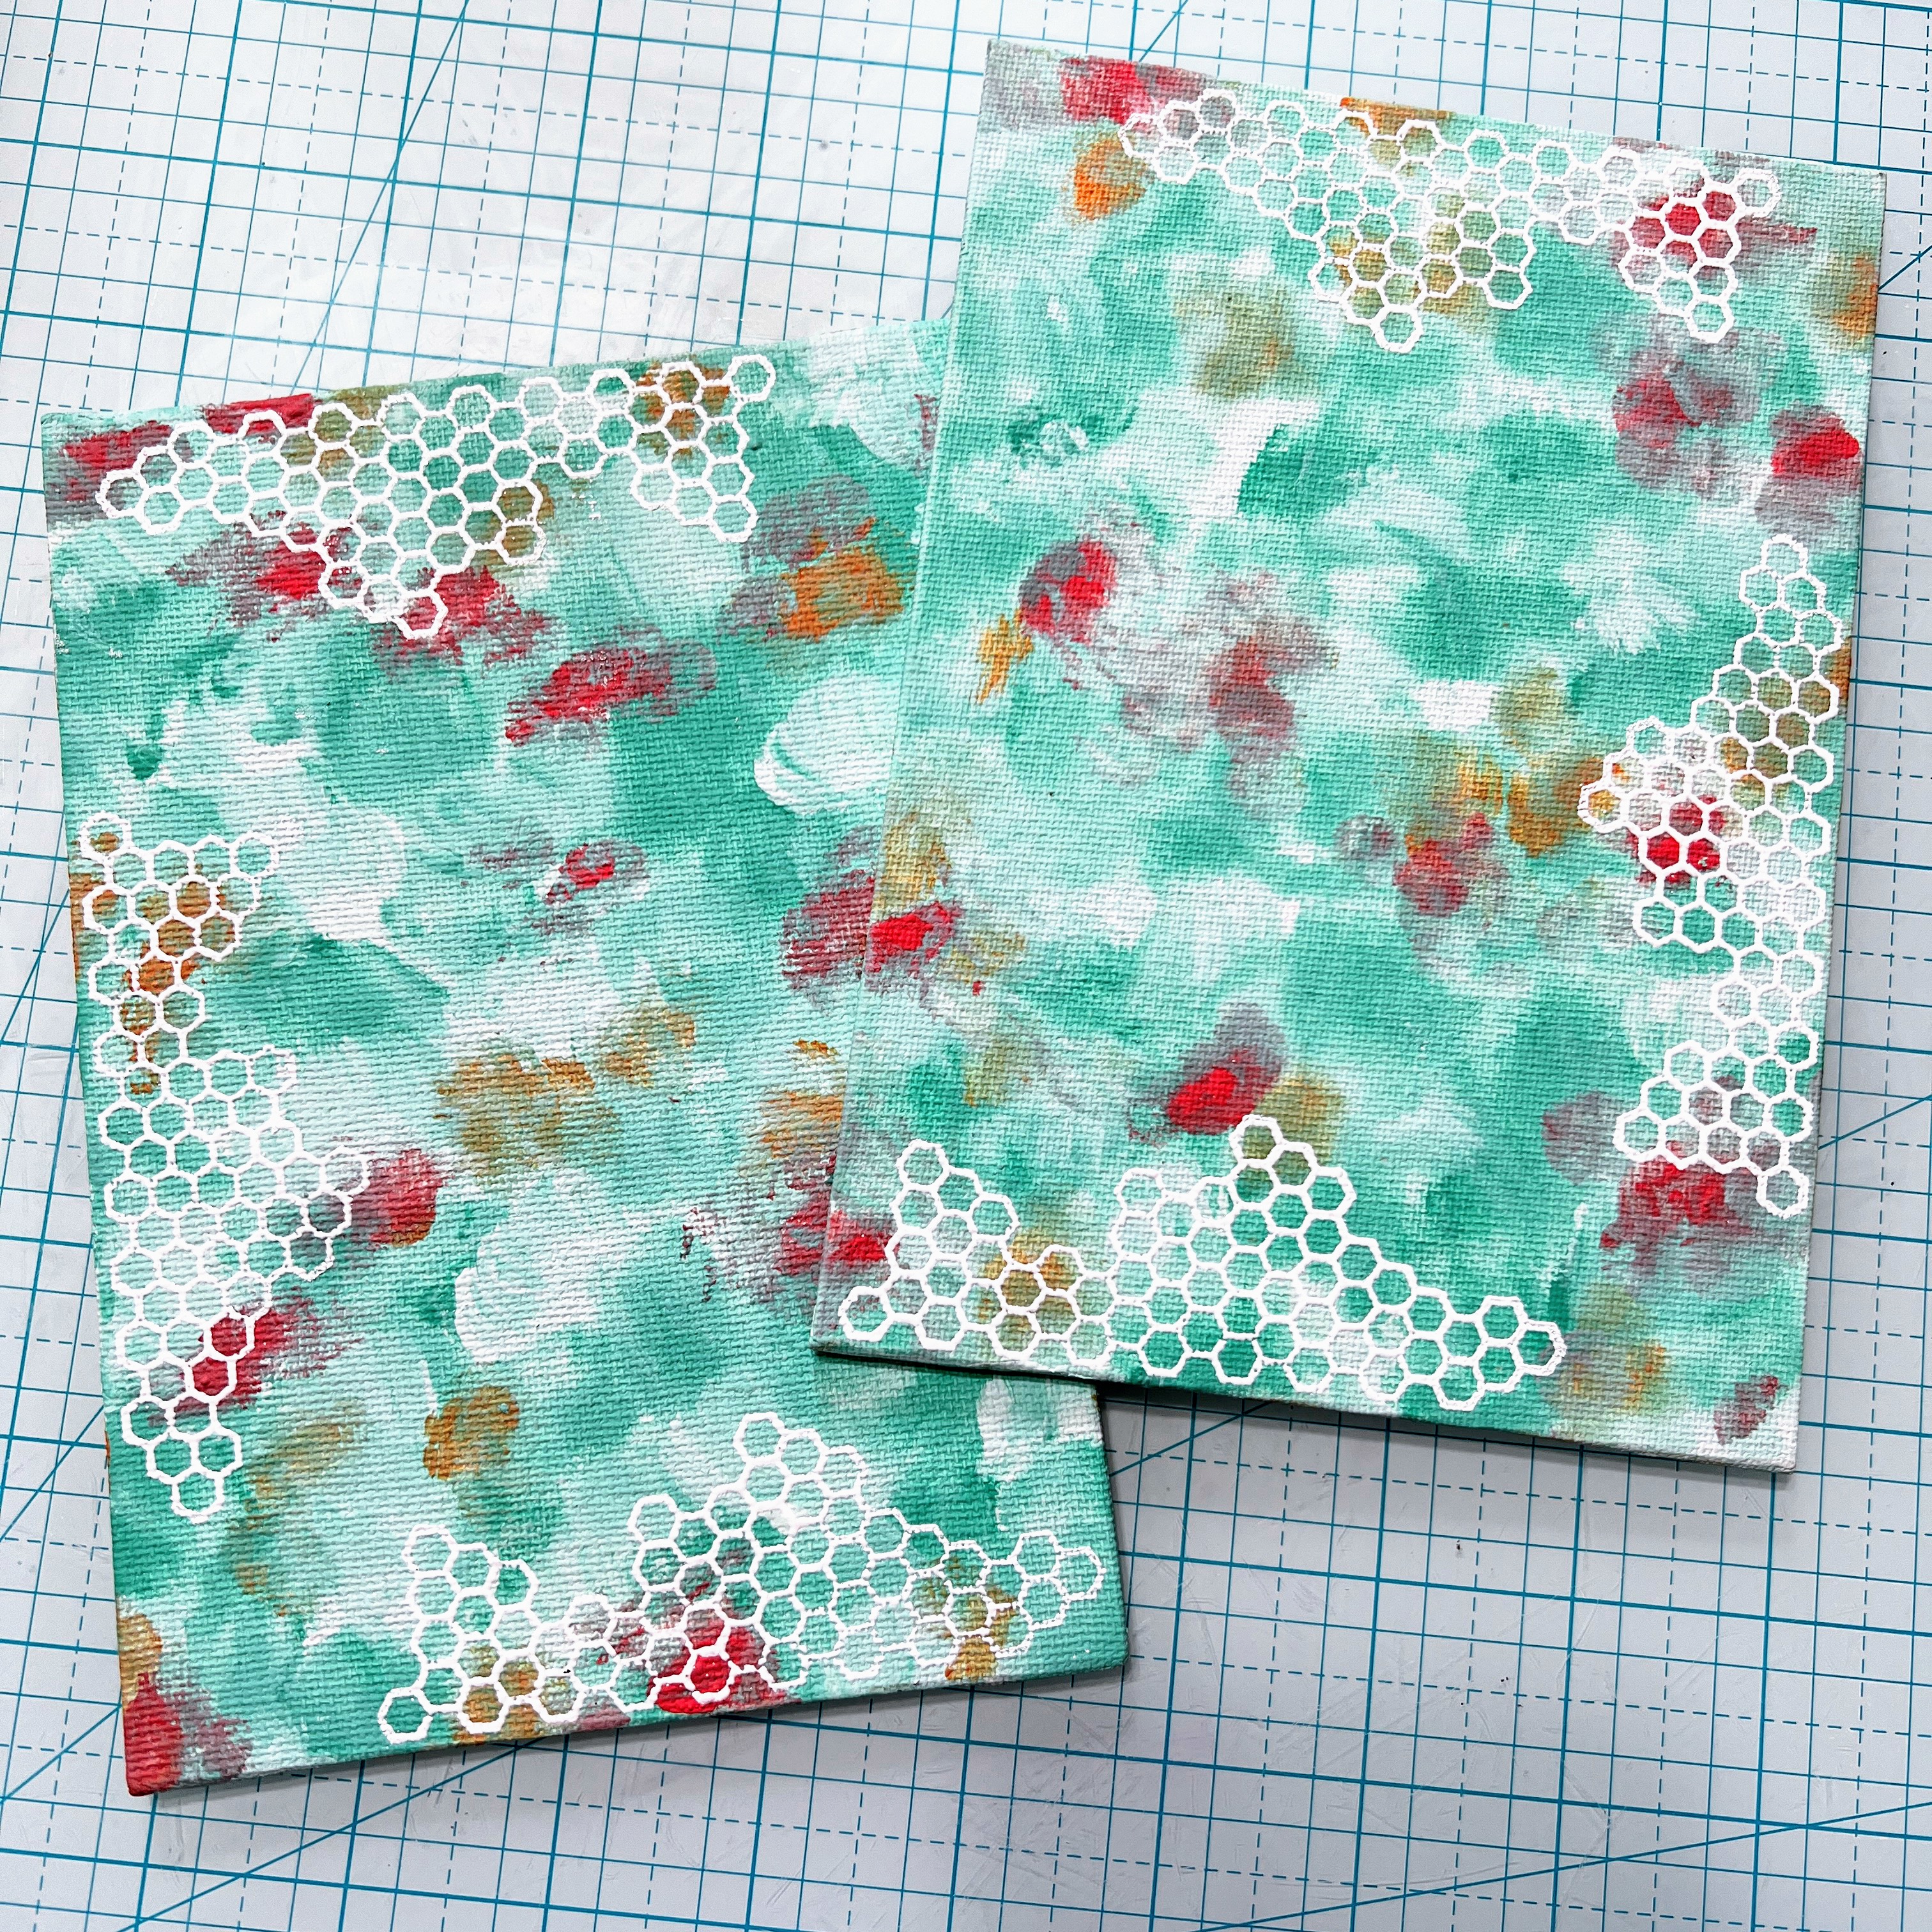
I waited until I had colored my focal images before deciding upon paint colors.  I was really getting excited at this point and could see the project coming to life. I landed upon a beautiful combination of PaperArtsy Fresco Chalk Acrylics to include Butternut, Peach Nectar, Peppermint and Sargasso.  


I started by painting blobs of Sargasso and Peppermint onto the canvases, as shown.  


Next, I added smaller amounts of Butternut and Peach Nectar.  Once my painted layers were dry, I stamped the honeycomb from ESC32 with embossing ink and embossed in white on the panels.  


I started this project back in October because I was going to be away for a month.  When I finally came home at the end of November and was ready to photograph my canvases, the watercolor had sun bleached from laying on my art table in the open sun.  The trees in my front that normally shade my window had lost their leaves and the sun had been beaming in.  You can see how the color is altered in the pic below verses the coloring sample above.  To fix my pieces, I simply added more watercolor.  I actually like the more faded flowers in the end, though I was initially distraught!  Though, I'm going to look deeper into the lightfastness of my inks going forward...  I wish I had photographed them then and could do a side by side comparison.  


I decided to add some encouraging words to my gift panels and picked a very favorite stamp set, PaperArtsy Ink & the Dog Words 2 stamp set (W2) to spell out my chosen text.  


I cut apart each word and dabbed a grey ink pad along the edges, then drew in some black outlines.  
 
 
I really like the pop of white against the colorful backgrounds.  
 

I think the canvases are quite cheery and the colors work together very well. I'm so happy I was able to salvage the faded flowers with a fresh coat of color!


I think I'll search for some simple white frames for the panels or perhaps add some wire and bead hangers for the next set.  I'm also thinking of creating some of these canvases with Jo's fabulously fun snowmen stamps and giving them as Christmas gifts this year.  The possibilities are endless!  I truly hope these projects have made you smile and encouraged you to get stamping.  

xx, Autumn


YouTube: SewPaperPaint
Facebook: Autumn Clark
Instagram: @sewpaperpaint
Pinterest: SewPaperPaint

Tuesday, 9 August 2022

2022 Topic 11: Stamp Mash-up {by Ellie Knol} with Tracy Scott, Nicci Battilana and Scrapcosy stamps


Hi everyone, it's Ellie Knol with you today, and I'm here to share with you the process of creating three connected MDF tags; yes, I cut them myself with a table-saw. To make big tags was my first thought; no real plans; it unfolded as I went.
I did have my eyes on the postage-stamp frame stamp from one of the ESC sets from day one. What if I can use that as a frame for a photograph, to just slide in and being replaced in any later stage with a newer photograph. 
To create I have three very different styles of product of three very different designers, that's for sure!


I've always wanted to create some paper beads and while creating the colourful master board, I decided that NOW was the time to go for it, to be used as a very unique embellishment for the project.


Starting off with creating the master board in my own unique way, I might say. I've done a tutorial in a previous theme, creating a masterboard.

I've added the pictured stages of this step so you can see it unfold to a beautiful and huge 30 by 42 centimetres unique background to be used all over the project and more.
The photographs speak for themselves; if not go check the tutorial; same technique, different product. I will add a few notes though.

I stamped with Scrapcosy stamp set 31 (ESC31) and Scrapcosy stamp set 32 (ESC32)  with Tsukineko - StazOn (Ultramarine) ink random all over the paper and fill it up.


Rub PaperArtsy Fresco Finish Chalk Acrylics Cherry RedYellow SubmarineTangerine TwistZesty Zing and Mustard Pickle to the paper with your fingers, blend colours to make gorgeous new colours as you work.


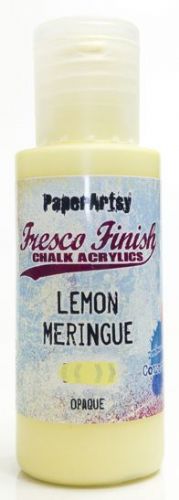
several light and opaque PaperArtsy Fresco Finish Chalk Acrylics - SnowflakeLemon Meringue and Cherry Blossom.


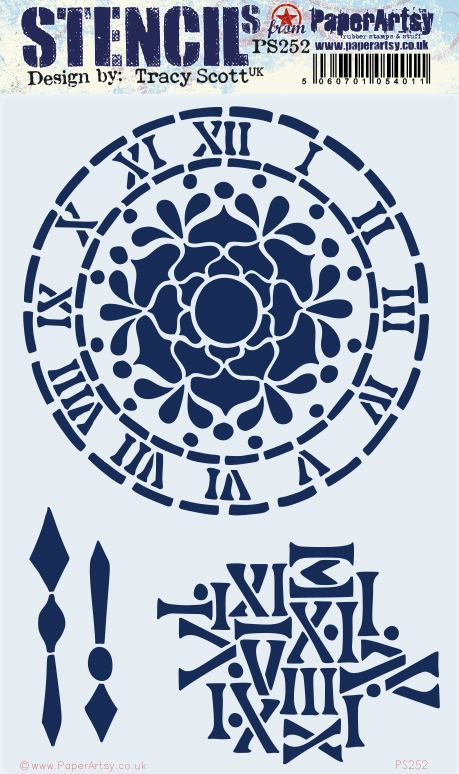
Next it was PaperArtsy Stencil by Nicci Battilana (PS290) to dab PaperArtsy Fresco Finish Chalk Acrylic - Cherry Red and Brown Shed to the surface.


The cross stitches pop, especially on top of the lighter colours.


To finish the masterboard off, I stamped with stamps from Tracy Scott stamp set 41 (TS041) with Tsukineko - StazOn (Ultramarine), a dark blue.


On the photo below you can see my first ever made paper-bead (details of how to make these colourful beads is coming up son in this post). 

But first, let's take a look at the MDF tags. To be able to drill the holes all in one go I taped the three MDF tags in a stack. The middle tag needed holes on both sides of course.


For the sake of the post I explain the stages of these tags in the photo below: sanded, the first layer (white gesso), and the second layer painted with PaperArtsy Fresco Finish Chalk Acrylic - Snowflake. It was only necessary to paint one of the sides.. the other side will be covered with the colorful master board paper.

 .

I've always wanted to create some paper beads!
Below is the test-run first bead. It still is my favorite of the whole batch, even though this was my initial test of the process. I covered it with Glossy Accents but also thought of doing the whole batch later on with UTEE (or clear heat embossing) with a heat tool, or in a melting pot as Leandra showed in a post and a video on the PaperArtsy YouTube channel (The Leandra Bead).


With the leftover masterboard paper (after covering the MDF tags on the unpainted side), I cut the strips of paper for the paper beads into long triangles...all different sizes and lengths...


... next to roll from fat to thin end, and glaze them with clear heat embossing. Toothpicks were used to let them cool on. 


.. and this picture (below) is the batch I've created so far. I also added different sizes of eyelets to finish them off. I still had paper left and of course I made more in a later stage.
Some of them look like porcelain Royal Delft Blue pieces ..  we call it Koninklijke Delfts Blauw here in the Netherlands.


As mentioned, the paper from the master board was used to cover one side of the MDF tags. I finished it off with a fussy-cut stamped ladybug from Tracy Scott stamp set 27 (TS027).


The front side of the MDF tags were also decorated. First I stamped images onto the white surface.


The postage-stamp frame from Scrapcosy stamp set 31 & 32 (ESC31 , ESC32)  in action:


I stamped onto a white sturdy cardstock, fussy cut it, adhered it on top of a piece of transparent sheet cut to size, adhered that on top of thin strips of painted-white greyboard to make them raised enough for a photograph to be inserted easily on the left, right and bottom of it so the top will stay open. Adhered it to the tag as shown.


This close up shows that I applied embossing paste through the very versatile PaperArtsy Stencil designed by Nicci Battilana (PS290)


It's very subtle in the background, but the sponged blue Distress Ink makes it a little more visible.


The three tags can stand upright all by themselves.


The beads were used to embellish the tags; attached and knotted with Scrapper's Floss. 


Lots of beads left .. 


Pieces of leftover paper were slid into the frame and can be used to adhere photographs to or taken out.


Happy ending to a happy project that took more hours to create than I envisioned when starting off...Oh well...I had fun!


As far as I am concerned I went a bit overboard with the number of beads added to the project, but hey: I have some left still and who cares anyway.. never too many beads!


LOVE how this project unfolded itself through the process of creating.


I am not nearly finished with creating paper beads, (happy-sigh) it's very addictive!
I have quite a few ideas for making paper beads; adding other product too. The ideas pop up in my head all the time. I shall call it WIP, or INSPIRATION-for-the-near-future. It also bugs me that I still haven't made paper beads the way Leandra did them in her You Tube video. 
Note that I can easily remove the ladybug as it's been adhered to a tiny piece of 3D tape. 
Will I go another route if I would ever create something similar? Maybe start off with another color of stamping ink! I had to change plans during the creation process because of the color of the ink. On the other hand some of the beads look kind of 
Royal Delft Blue porcelain; the ones that have a lot of white in them. So, that's good!

I really hope you got inspired by my project and go create with inspiration on any aspect of the techniques shown in this post.

Happy day! Ellie Knol

Facebook: https://www.facebook.com/EllieKnolCrea/
Instagram: https://www.instagram.com/ellie.knol/