
2021 Topic 12: Sustainable Crafting

Hi everyone, it's Keren Baker with you today, and I'm here to share with you a little upcycling and an attempt to waste less.
I
had several products I wanted to make better use of, and was determined
not to buy anything new so headed off to my local charity (or thrift)
stores. I'd already bought a vintage tape measure and an old botanical
style flower book so wanted something to use them together.
Creating
it had more twists and turns than the average 'who dunnit' ! First it
was going to be just a crackle glazed box, then a shrunken sized ATC
holder. It wasn't coming together so then I decided upon a piano (right
shape) that didn't work and then after painting it in Snowflake (&
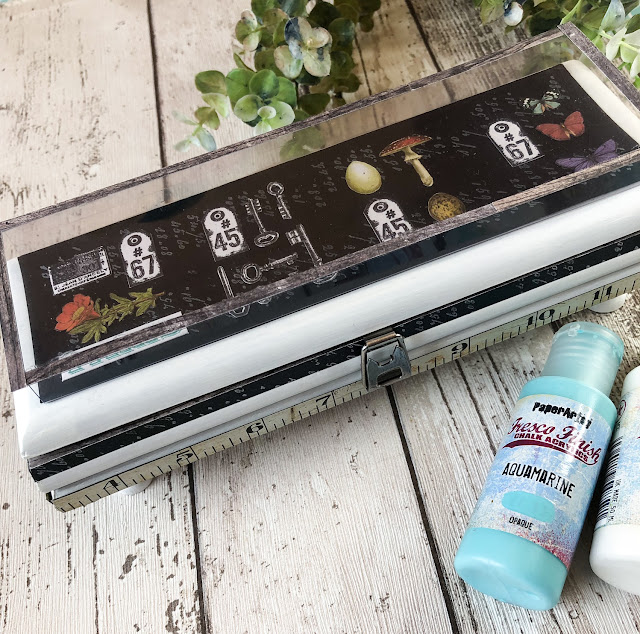
looking a little like a casket) I wanted to make a miniature Museum
style display case.
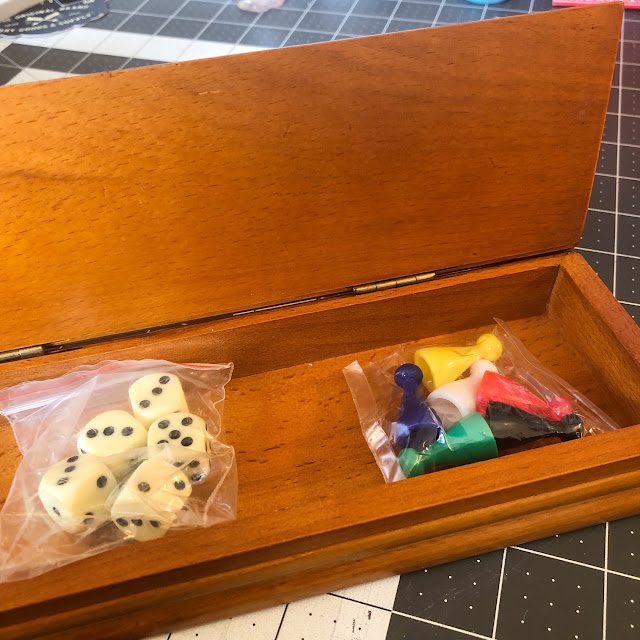
So, how did I begin- with a little games box I picked up in a charity shop for £2.
Most
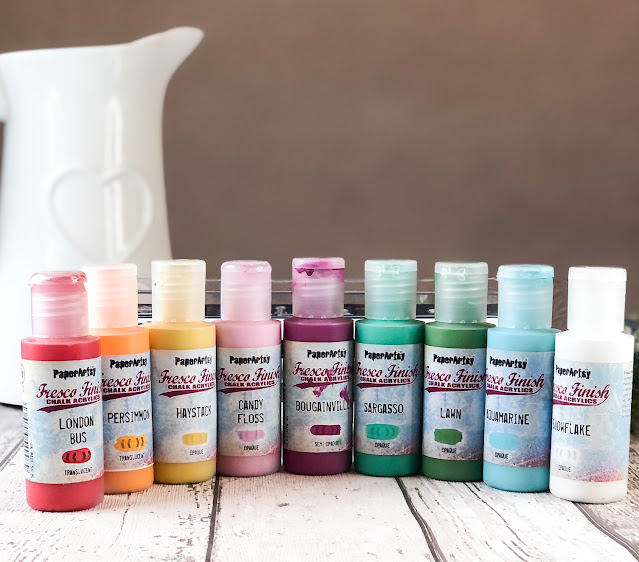
of the painting was just using Snowflake Fresco Finish Chalk Acrylic
but later I painted some flowers with lots of rainbow colours, so here's
all the paints I used.
I
had 3 issues I wanted to solve; 2 were about not wasting products. Part
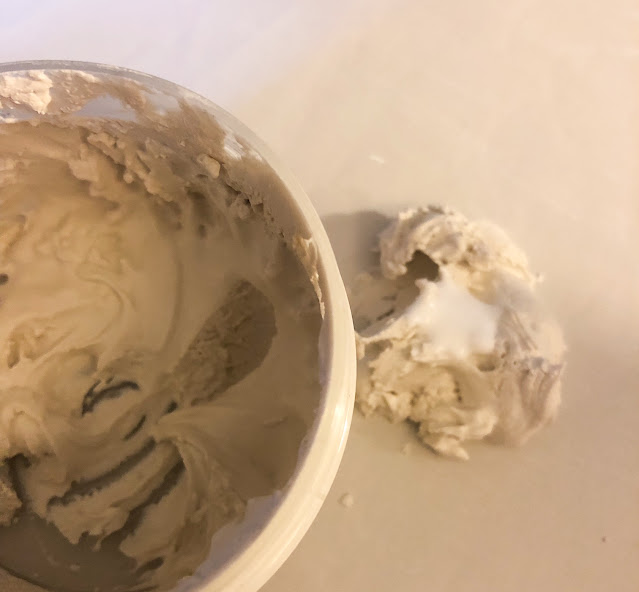
of being sustainable is reducing wastage. I was at the end of a post of
Grunge Paste and the remainder was quite stiff (due to me not putting
the top back on in good time!). I wondered if I could create some
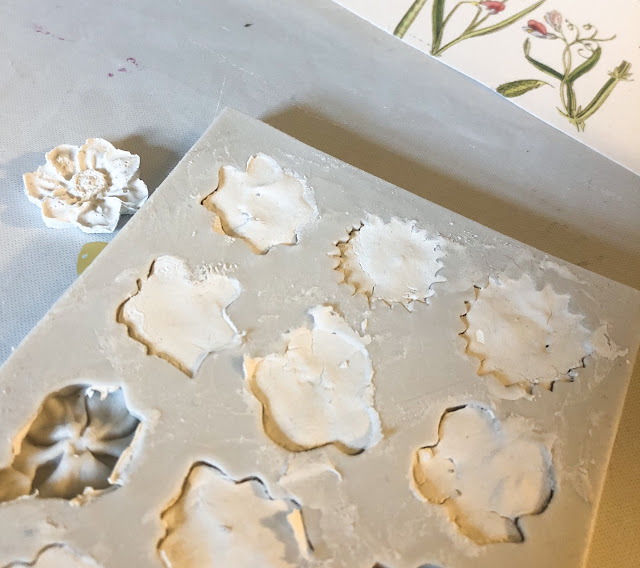
flowers with it using an old silicone mould. I knew that there needed to
be a little flex so wondered about adding in some PVA glue.
I
allowed them to dry overnight (as it was a much thicker layer of Grunge
Paste) and I was amazed after gingerly removing them from the moulds
that they'd actually worked. The surface was quite rough but they looked
natural and perfect for the inside.
The
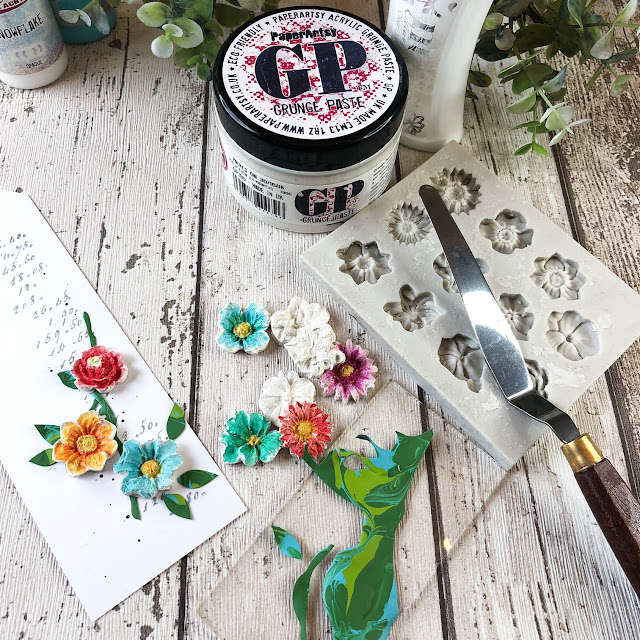
second issue was I don't like wasting the leftover paint- and it's
nearly impossible to get some of it back into the bottle. I knew that
Fresco Finish Chalk Acrylic paint creates little skins so thought I'd
swirl the leftover paint from a project and leave overnight (on the
PaperArtsy craft mat) and see if I could cut out leaves and stems from
the 'skin'.
It
was a perfect solution and trimming out paint skin is lovely- it's sooo
smooth to cut! But what about the main project - what did it all mean?
I
created a museum display cabinet as we are becoming increasingly aware
that if our situation (and us personally) don't change, then our museum
cabinets may hold much more of our past than we ever want them to.
Being
personally responsible for how I live, consume AND craft is important. I
can't moan about governments and corporations if I don't take steps to
reduce unnecessary waste, purchase more ethically and consume more
considerately. I try to avoid fast fashion where I can, and buying
products from charity shops is a good alternative. We'll always need
consumables (like adhesives, paints etc.) and buying specifically for
projects seems to be a better fit for me rather than just
because..(although I'll always enjoy a little crafty retail therapy).
So
I created the 'glass' from acetate, using a heavyweight acetate so it
wouldn't bow in the middle. I scoured all of my Hot Picks sets, because I
was looking for small stamps that might fit in with the theme.
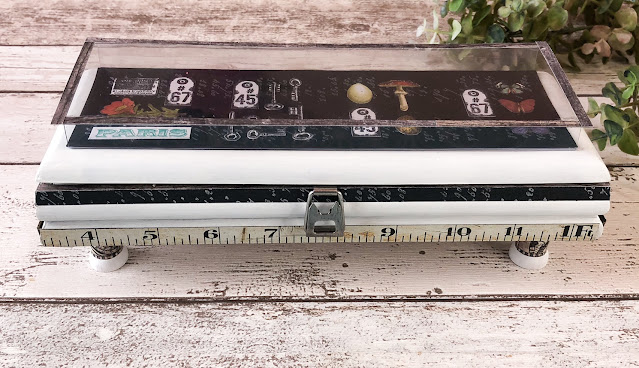
You can see stamps like the labels from HP1109. Granted, I needed more than just 2 numbered labels,
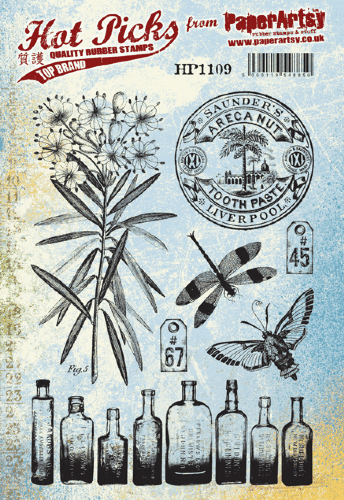
..plus the keys from HP2101. There are lots of keys to improving the way we life and choose. Being thoughtful about this topic is definitely one of them.

There
is an official document and 'Paris' in the end of the cabinet. Paris,
because of the international treaty on climate change (adopted by 196
parties in Paris in 2015).

...from HP1301.

The ledger style handwriting from HP1302
reminds me to keep recording those things that are important to me;
holding myself to the standards and principles I've agreed on.
Remembering the important stuff.


There
is definitely a sense of urgency about this whole mission which I tried
to reflect in the legs of the unit which were mini wooden reels,
painted and stamped. You can see the lovely vintage metal measuring tape
here too.

They're reels, moving and shifting with the movie of our past mistakes. Using HP1503.

My
third challenge was how to use the book pages. I wanted to add them to
fabric so I could create pockets in the lid- but traditional image
transfer techniques often involve photocopies or photos and these are
colour book pages. So- how about an experiment?!
I got some white fabric, some Gel Medium, PaperArtsy Gloss glaze
and ordinary PVA glue. Grab your piece of book page, coat in a layer of
chosen product and a thinner layer on the fabric and press onto the
fabric. Burnish from the other side of the fabric with a bone folder or
similar.

Leave
to dry overnight and remove the paper, removing any leftover with some
water and gentle rubbing to remove excess. Remember that it will be the
mirror image so don't be too dependent on readable text. The winner
(which did surprise me as I was sure it would be the gel medium) was...

The inside of the box was important to decorate for my treasures.
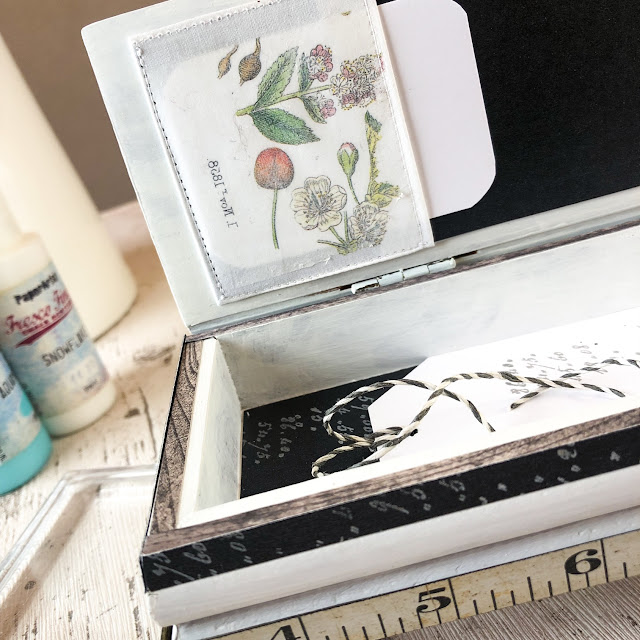

I couldn't use the flowers on the top of the box as they'd get knocked, so I created a simple tag.

Truthfully though, I did think there was a better use for this box - a hiding place for crafting sustenance ;-)


I
hope you enjoyed my quirky mini museum piece. It certainly was a
challenge to create (and photography) but I loved experimenting and
can't wait to find ways to incorporate paint skins again. I think I
enjoy art that encourages reflection more than any other type and I've
loved experimenting and being more thoughtful about my crafting habits.
Thanks for being with me today,
Keren x
Blog:
Twitter:@craftstampink
Instagram: @craftstampink
Pinterest: @craftstampink
Blog:
Twitter:@craftstampink
Instagram: @craftstampink
Pinterest: @craftstampink


