Showing posts with label Face sketch. Show all posts

Tuesday, 14 December 2021

2021 Topic 15: Journaling Gratitude with JoFY {by Jo Firth-Young}

2021 Topic 15: Journaling Gratitude

A lovely post from Jo where she creates a panel of gratitudes. I am sure every time she catches a glimpse of this, it will induce her to pause and reflect.As she says, the thought bubbles no doubt will vary, but I am sure that having a piece like this nearby is going to have more of an impact on her daily life than she might expect, in the same way that affirmation quotes on the fridge do. ~Leandra

Hi everyone, it's Jo Firth-Young with you today, and I'm here to share with you a journaling panel I created. 
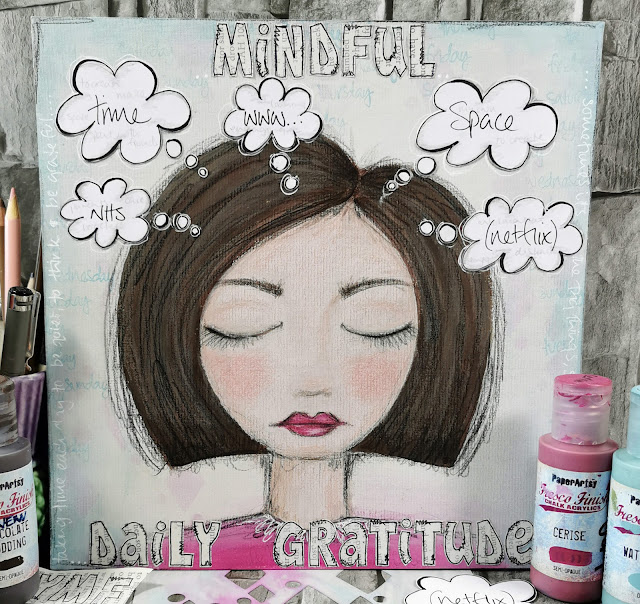
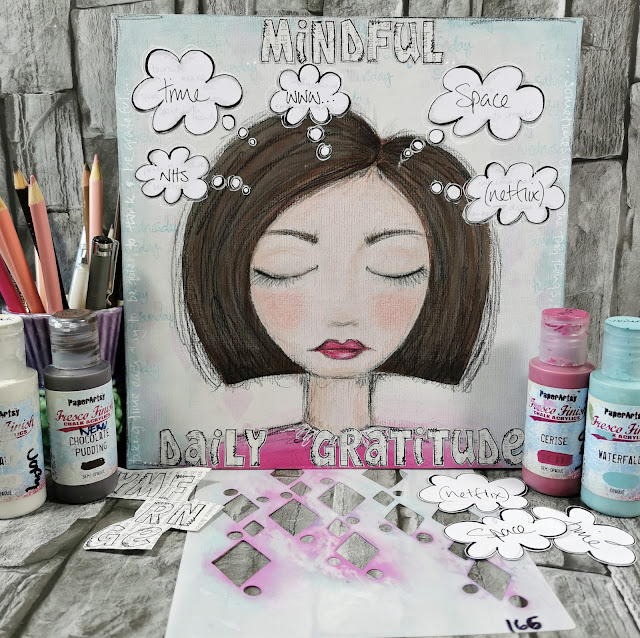
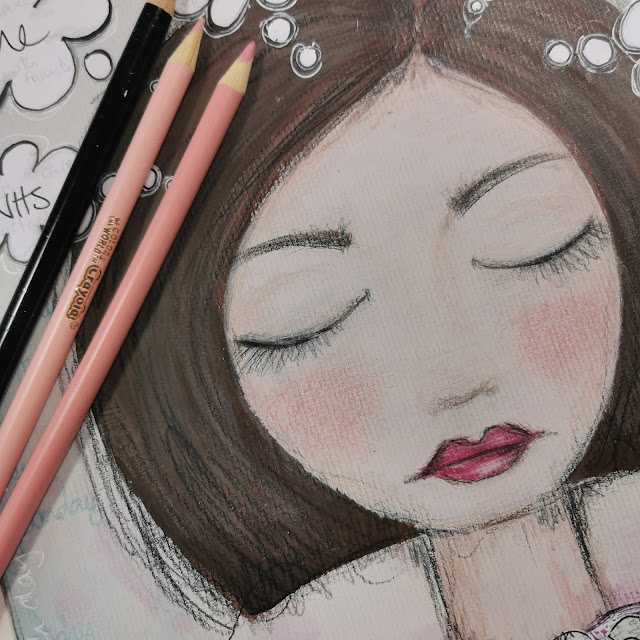
When I first started thinking about this theme I sat down with the idea of creating a small gratitude journal, one that was ongoing and could be added to as and when... but then my mind went off in all different directions - What was the subject? Could it be limited to a week of finding one 'thing' each day to be grateful for? Could it be 10 things I'm grateful for during Christmas/ summer/ my home.... the themes were all going round in my head and so to quieten the noise I opened up my sketchbook (where I do my thinking) and brainstormed quietly for 5 minutes - and this is what came out.... a woman (maybe its me?)...(a very stylised me lol) sitting, eyes closed, thinking.


Sometimes its good to just sit quietly and listen, think and focus.
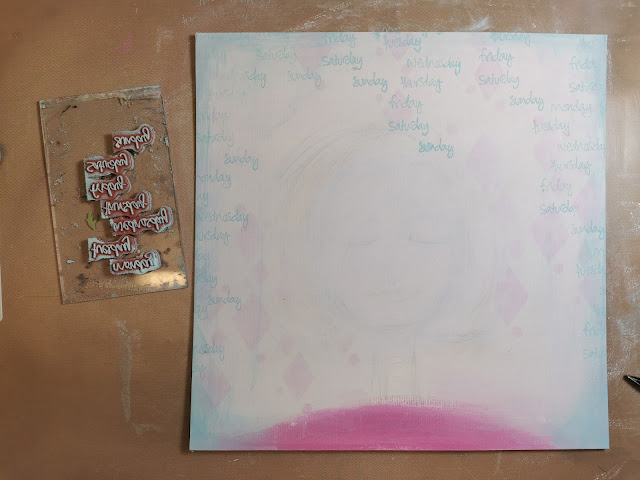
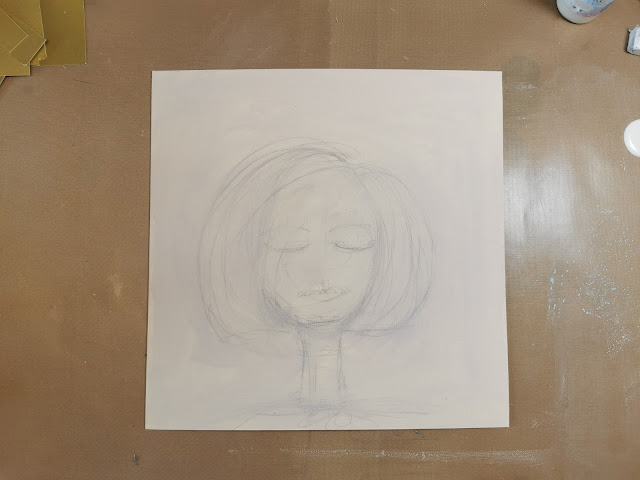
I started with a 10in square panel of mount board (the type used for framing art) - the one I used is cream and has a texture. I sketched out the shape of a head and them washed over the surface of the board with slightly diluted Eggshell Fresco Finish paint. The face is going to be the focal image of the panel and so I want it to be faintly visible through the layers I'll be adding.

I wanted the panel to have stenciled details in the background but I also wanted the panel to be 'calm' (because the woman at the centre is being calm, meditative) and to achieve that each time I added a layer of colour/pattern I washed over it with Chalk Fresco Finish - knocking the pattern/colour back.
In the photos below you can see how I added 2 layers of stenciling using Cerise Fresco Finish paints, each time finished with a diluted Chalk wash.
At the bottom of the head/neck I added a block of Cerise in the shape of shoulders.


Waterfall looks great with Cerise so I dry brushed that on to the edges of the panel.


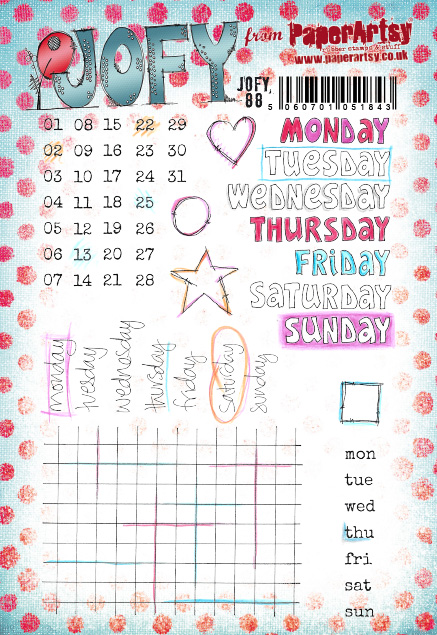
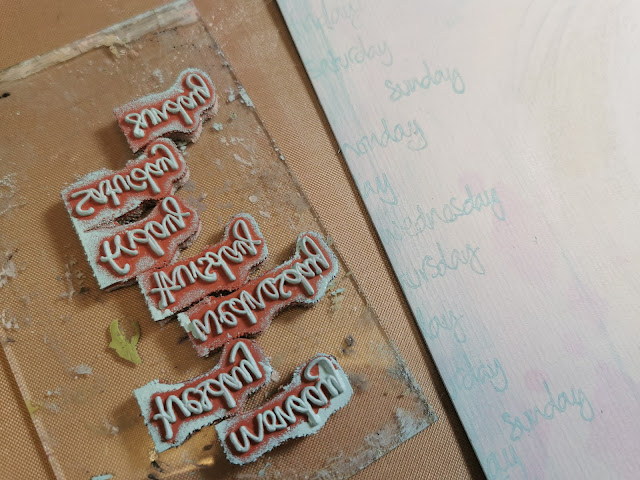
The handwritten days of the week stamps from JOFY88 are stamped in Waterfall. 


I like how the words fade in and out of the background when they are on top of the Waterfall used on the back ground.

With the background finished I moved onto detailing the woman on my panel. I'm not going to explain in detail how to do this as there are many tutorials on the internet dedicated to creating faces - I encourage you to take a look, they are inspiring.

Following the ghost lines of the woman still visible through the painted layers I resketched the shape and details in pencil.
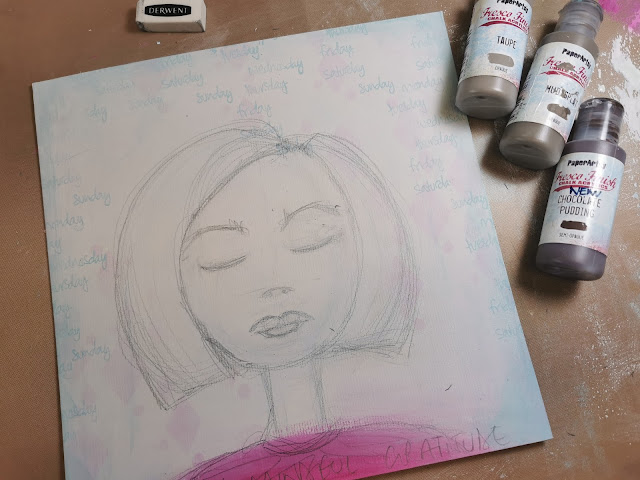
 

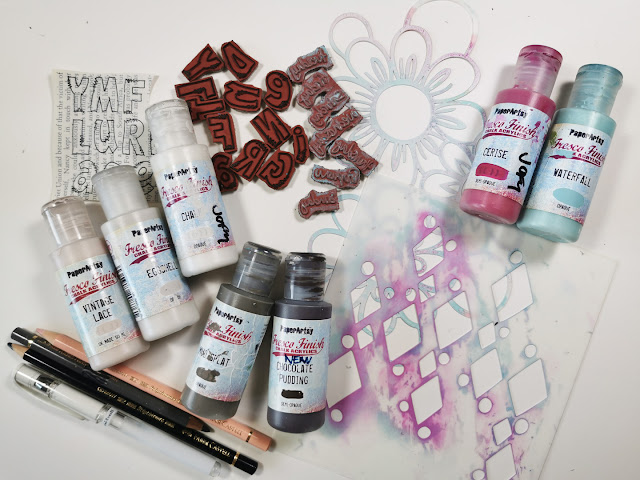
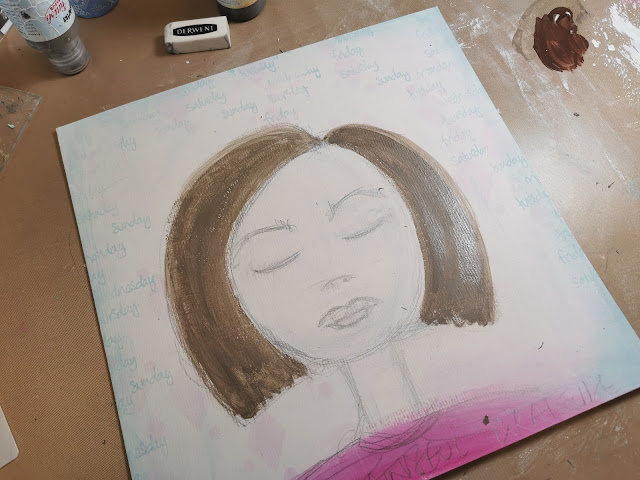
I painted her hair in Chocolate Pudding and Mud Splat, and her skin in Vintage Lace and Chalk.


All the details on her hair and face were created with coloured pencils.
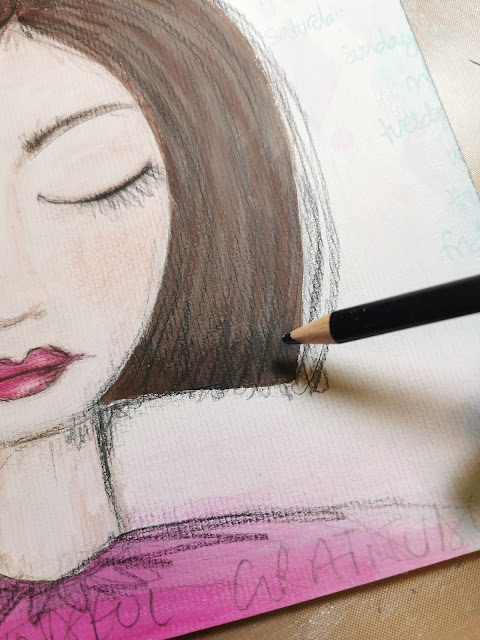

I really like the texture the mountboard gives the piece, similar to canvas.
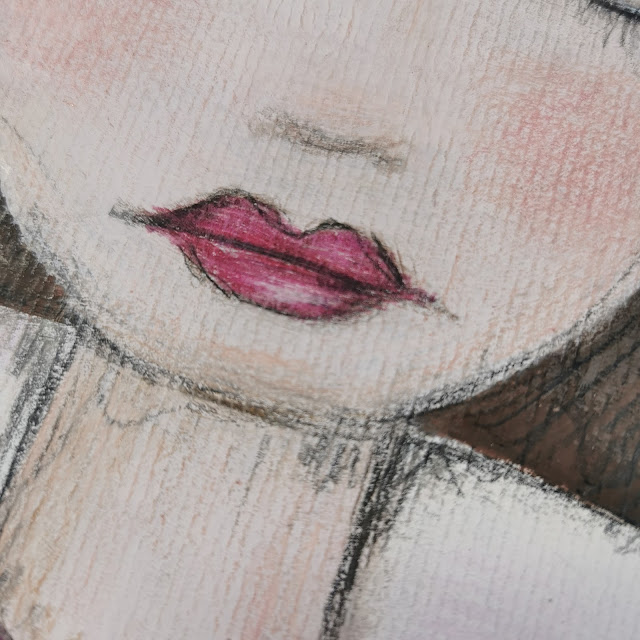
 

My preferred drawing style is quite sketchy so when the main paint colours were dry I added sketched coloured lines on top of everything.

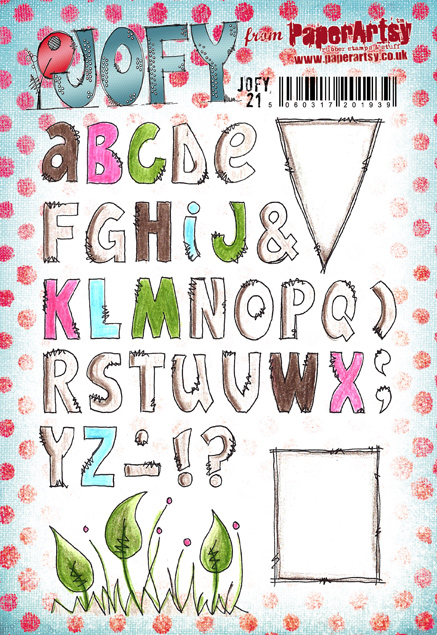
I always like to add words onto journal pieces - so after trying out several different alphabets I settled on the one on JOFY21 - really useful alphabet if you want to add block colour with an outline or as I've done here patterned paper... I often use book pages but I specifically chose it for this project to link it to words and thought that go round in our heads all time.
 

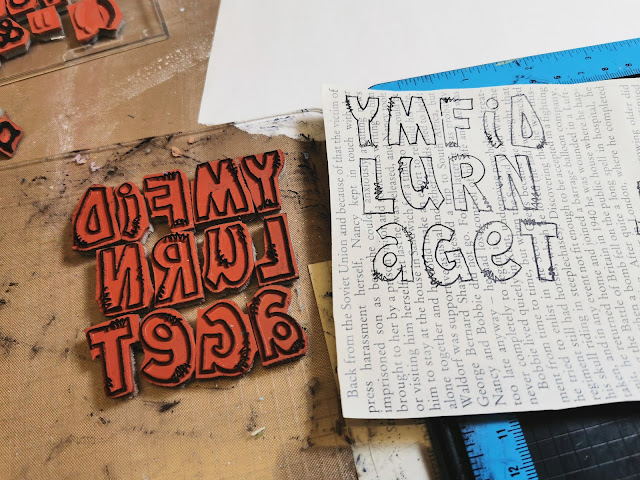
The letters are stamped onto book pages that were washed with diluted Chalk Fresco paint.

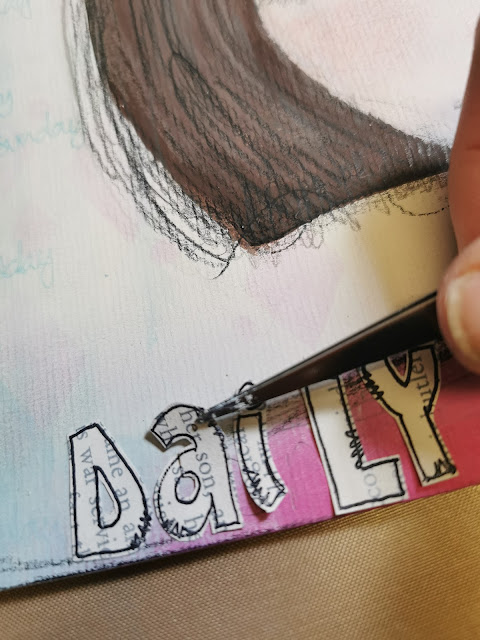
The letters were carefully cut out and glued onto the panel.

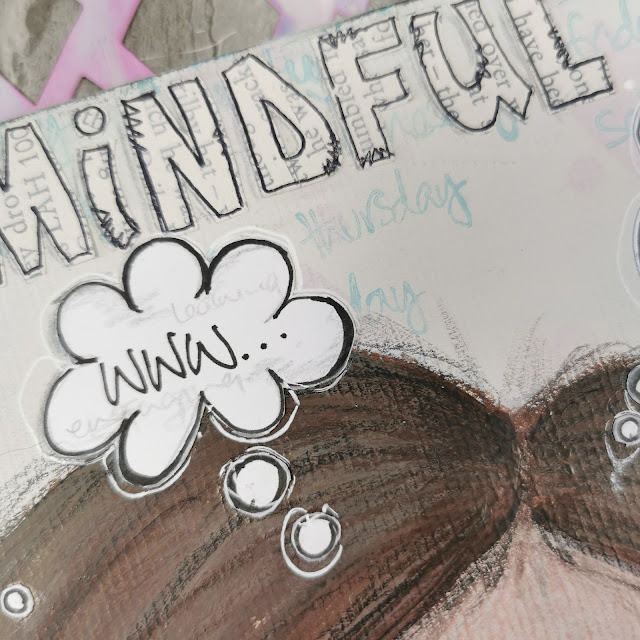
The final pieces added to the panel were the thought bubbles.  What to include??
This project had become quite personal so I chose 5 things I'm grateful for - these of course can change on any given day.
A couple of my choices were light-hearted - 'Netflix' for example... though I really am quite grateful for it - it keeps me company in my studio while I'm working by playing my favourite musicals, and music, on repeat! lol
I sketched the bubbles onto Smoothy card, cut them out and added them to the panel.
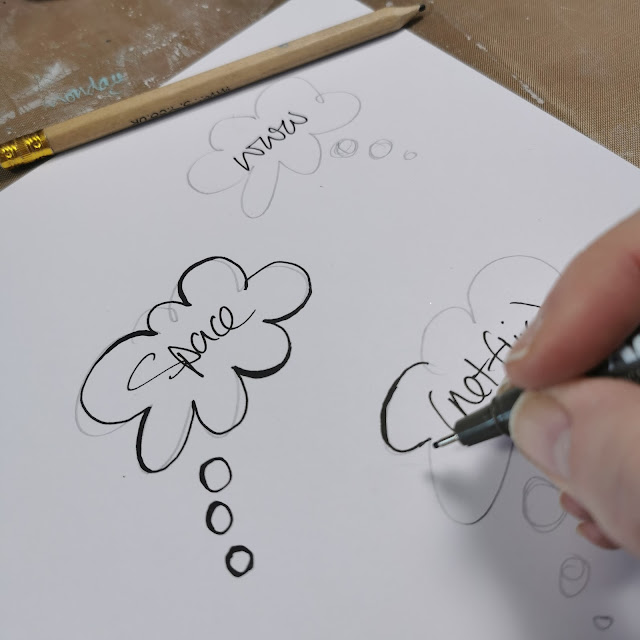

I wrote the main item in black pen and then wrote the 'reasons' for my choice in grey pencil so they are there but you'd have to really look closely to see the details.
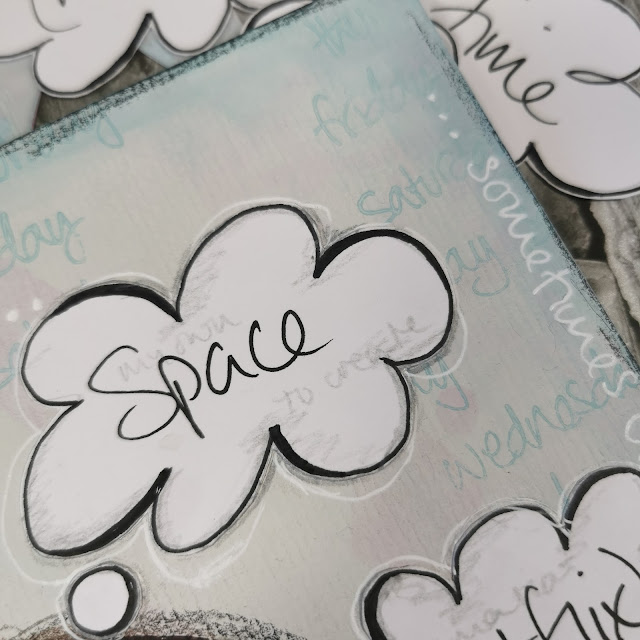


Just a thought - wouldn't it be fun if those thought bubbles weren't glued onto the background and could be changed each day?!  Or if the thought bubbles were plain, the panel was covered in clear self-adhesive plastic and then the 'gratitudes' of the day could be written on the bubbles and wiped off the next day!  So many options!

I added some journaling around the edges of the panel using a white gel pen.


I hope my project has inspired you in some way... maybe to draw some faces, brainstorm things you are grateful for (lists are good for this, I love a list! lol) or create a mini gratitude journal.

Finally, I am grateful to PaperArtsy for lots of things, including this blog topic which has been a really enjoyable theme to work on.


This is my last blog post for 2021, so I'll take the opportunity to wish you all the very best for the festive season and coming year.

Take care

Jo, x


Blog: jofirthyoung.blogspot.com
Facebook: JoFYJamboree!! group
Twitter: @jofyjo
Instagram: @jofyjo

Pinterest: @jofyjo 

Saturday, 9 October 2021

2021 Topic 12 : Sustainable Crafting with EEV {by Leandra Franich}

  2021 Topic 12: Sustainable Crafting

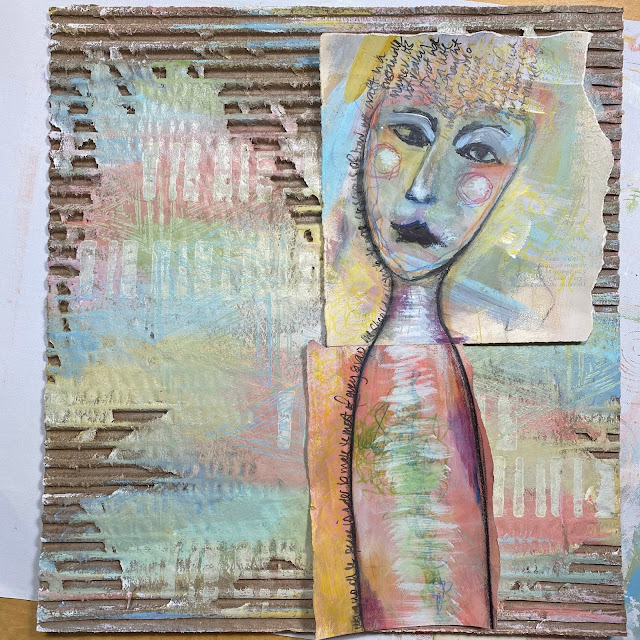
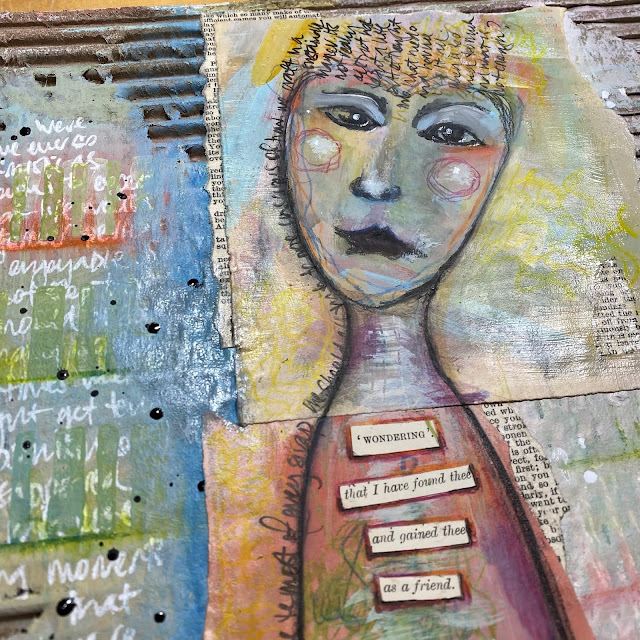
Today, Leandra, that's me ;) is back on the blog sharing a distressed cardboard surface turned into a canvas. You could also put this kind of thing in a journal spread too, however, we have lots of walls that desperately need art, so I think more of these are required. Perhaps I need to put a bit of thought into the colour combinations! As luck would have it this square size (25cm)cardboard comes from the ends of our rubber boxes, so there are always plenty of those available here for recycling...I wonder if I could make them at the rate we press rubber....I could have a whole gallery wall done in a month! There's a challenge!
~Leandra

Since I last blogged I am a step closer to having a craft space. The excitement is wahoooo level of YAY! We have created a temporary office in a 'spare' room - it was a water-damaged space that we closed the door on for the best part of a year, and in Spring we got cracking to make some of it a bit more functional. It is by no means finished or perfect, as the long term solution for this space is not clear yet, but for now it is office-functional, warm and has pretty good light too. 
 

I now have my Ikea office cupboards (that still look OK after 20 years and 3 house moves), and a few Vintage finds that were left behind in the barn. This means finally a space to put a few crafty things within easy reach. I am still working with a restricted number of supplies, and that is what ties in so perfectly with this topic. Like it or not, I am totally on board with the idea that you can do a lot with a little if you put your mind to it! Oh and I found my Stabilo ALL pencil that I have been searching for in random boxes for months, so all is well, what more do you need!
 

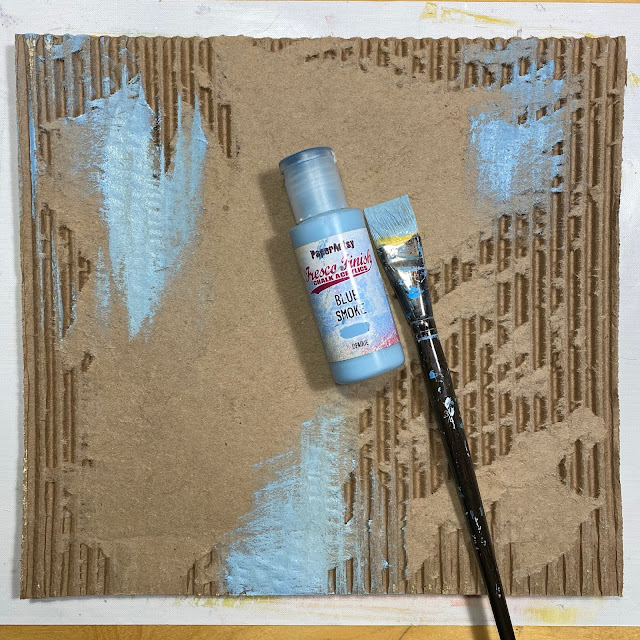
I love de laminating cardboard to create an interesting surface. Lin and I would often demo at shows on cardboard, and we did a huge ArtsyCrafts project one year too. It's super satisfying nibbling away at the card then building your layers. I started with these 4 colours, but as you can probably imagine, more oomph was added with Zucchini, Coral, Mermaid and Pumpkin Soup.
 

The background is no drama. Smooch a bunch of colours with a flat brush until the paint is gone, then switch colour. If you just put a dot of paint directly on the end of a flat paintbrush then you don't end up wasting paint, and there is nothing to clean up. Win-win.


I added 2 stamps by Ellen Vargo, a chunky and a fine detail, EEV02 & EEV03


For this project I really wanted to focus on drawing a sketchy, quirky face. I did a Suzi-blu class oodles of years ago, and she would always say that sketchy or cartoony quirky style faces allow you to get away with wonky proportions and remove that barrier of right/wrong. Wide or long faces, oversized eyes or mouth...the less realistic the face is, then the less you feel you need to make a face that looks like a face! Anything goes. So in this post I wanted to try show some detail about how this character evolved. LIke all things, the more your practise the better you get. And I still have a long way to go but I am feeling more comfortable with what I draw than I used to!
 
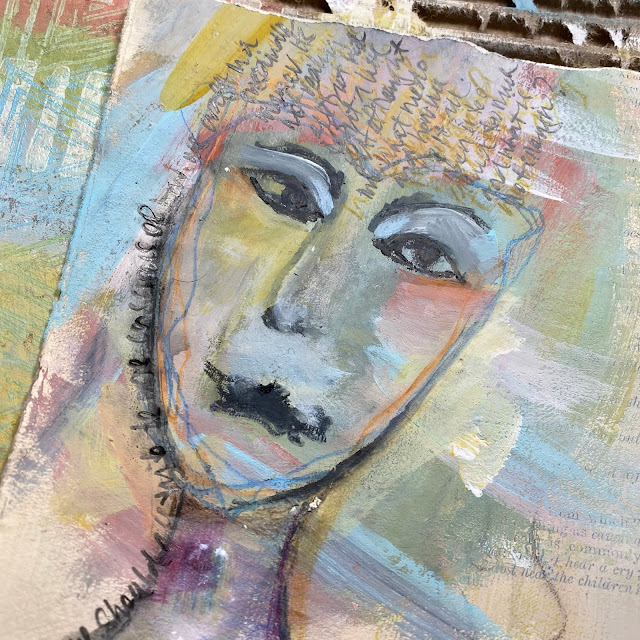
While making the background above, I also cleaned off the brush onto a piece of book paper. I then sketched out with pencil the eyes, eyebrows, nose and mouth. Then I jumped in with a charcoal pencil, and literally scribbled all those features over the pencil 'plan'. I didn't add the face, just 2 vague jaw lines to the left and right. For the next girl in the series I will do this with my non-dominant hand, to get that jagged imperfect effect instantly!
 

I added some more paint and colour to the face. I like using random colours on faces, especially blues and greens, I couldn't figure out hair so I decided to use handwriting for that instead. I knew i would be coming back to the face to 'edit' features as I figured out what form she would take. When you step away and come back you often see what you could do next more easily. So this evolved over a few days. A nice relaxing evolution that also works well in a journal - you can have a few of these on the go at once.


She was gifted a dress, the same colours but using the corals, yellows and some Inktense pencils too. I decided the background was too samey to the character, so I decided to knock that back with a whitewash first, and then adjust it from there.
 
 
Whitewashing is kind of fun, it looks like you have obliterated everything, but as the water evaporates off, the colour always pops back through, so don't panic when it is wet!
 

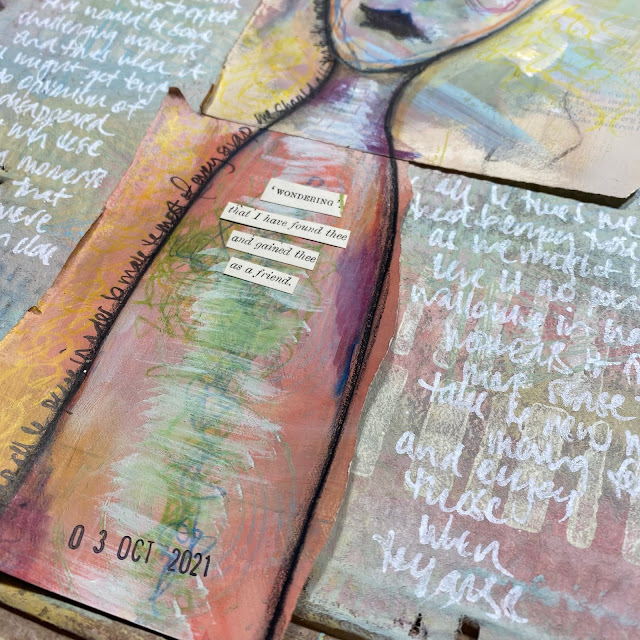
Another way to make the background fade is to journal or write in white paint pen (I love the Sharpie fine point paint pen - sometimes hard to find) It has a much finer point than Posca pens. They last for ever, and they don't dry up. I also use the Uniball white gel pen too, again, a wonderful white ink and it doesn't stop until you are out of ink! 

This is where illegible handwriting can have its uses! I always get told off for my unreadable writing - and it is perfect for this kind of background. If you are a neat and tidy writer, just try to be messy OR you could try your non dominant hand to do scribbles and such! They always look more interesting and organic.

 
I decided that I would bring a bit of colour back over the writing, so back out with the stamp and some structured bold lines were  stamped over the top, I could have also done this in white for a softer effect too.
 
 
I added some Inktense lines for a bit of structure. Still not sure about them, they may get knocked back some more again, or perhaps some tissue paper could be glued over the top. The thing I love about the Fresco-Inktense combo is you can test, then edit so easily. A damp cloth could knock back the Inktense colour, or even remove it. A bit of white paint could soften the intensity of colour. That ability to push and pull at whim I absolutely love! This means that you can keep experimenting without fear! While I had out the inktense colours, I added lines around the edge of her face with my non-dominant hand and cheek circles, outlined the words and so on


She was looking thoughtful, sad, angry...and then suddenly  I just felt like her head was just too big and her body too small, so this is where I started editing things a bit more dramtically. The downside was I lost the sketchy style of the original face. But it's all part of experimenting and playing. Also can we talk about that nose! It was bugging me more by the minute. Initially I thought it didn't matter, but then it was all I could see, and that really started bugging me .... so I just had to change that. Voila, new nose, big hair, wider dress.
 
 
I added deeper paint colours to her left side, I really love adding bold colour.
 

  I think she is ready to have a friend or two join her now. After all, her words demand it!
 

I hope this gives you the confidence to have a go drawing a wonky face, or a perfect face, or just do some abstract stuff on corrugated card. There are lots of ways that you can develop this kind of idea to suit you. Let's start using up some of those collage scraps you have got in your stash and making something with them and other found substrates!
 
Thank you for joining me today,

Tuesday, 4 February 2014

GD: Clare Lloyd #3 Make A Face (Part 2)

Hello it is Clare back again. I wonder how many of you made a face; either on paper or just because you thought you couldn't do it...LOL! I do hope some of you took that leap and just remember,  it is all about practice. You will get there the more you try.

Anyway, moving on. Today I share with you my background and finished art journal tag using the portrait I created yesterday....I hope you made a face to go on your tag!


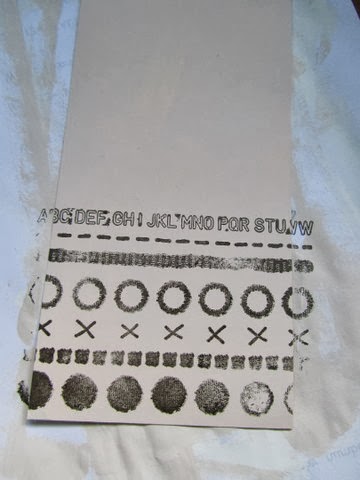
I started with a large Manilla Tag #10 and covered it in Nougat Fresco paint. Then stamped the whole tag using Potting Shed ink and  Ink and the Dog: Frames (Plate 4).


I sponged through a  StencilGirl Damask stencil using Bora Bora Fresco paint.


Next I used this beautiful flower stamp from the E Lin Brown 01 set and stamped it all over my tag using Rose Fresco paint. 


Tying in all the colours I used in my portrait yesterday, I also stamped some Haystack Fresco paint using a stamp from the E Sara Naumann 06 set. 


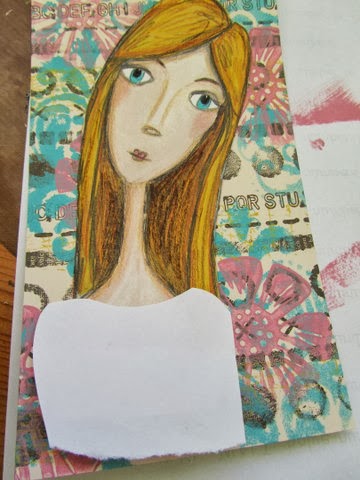
I cut out my figure leaving some extra at the bottom (but this is not essential) and decided where to position it on my tag.


Using a scrap left over from my tag I decided to make my girl a top to wear, to restore her modesty...LOL! 


I made my own little top template (white paper)


traced it onto the left over tag painted it with Rose Fresco, 


and again stamped using Ink and the Dog: Frames (Plate 04). 


I added a little sketching/ shading to the top and then stuck it all down onto my tag.


Now for some textured finishing touches. I painted a couple of Prima Wooden bellies using Bora Bora Fresco paint.


Then used a stamp from the E Sara Naumann 06 set using Rose Fresco paint to over stamp the bellies.


Next, I stamped up some journaling words from the E Sara Naumann 06 set and added them all to my page. To frame my figure and the words. a good techniques is to add a little dark brown or black pencil/ crayon/ paint around the edge and then use a water brush to soften.


That's it from me for another month. I'm having so much fun so far, thank you for all your support. See you all next month.

~Clare~

Leandra Says: Love everything about this tag, the fresh colours, the top you made for her, and the simple embellishments, they all come together perfectly. I'm so excited to see people have a go at making their own face tags this week in the challenge!

Gillian Says: Fantastic seeing how you brought this project together, like Leandra said the top and colours look great, a really clever finale project Clare, thank you.

If you would like to join in this week's challenge and play along with Clare's techniques, then do link up your creativity here, and go in the draw to win some PA stamps of your choice! You need to link your entry by 17:00, Sunday February 9th 2014.