Showing posts with label ESC33. Show all posts

Sunday, 23 October 2022

2022 Topic 14 : Colour Study: Triads {by Etsuko Noguchi} with Lynne Perrella stamps


Hi everyone, it's Etsuko (My favorite things) with you today, and I'm here to share with you winter decoration and cards using a selection of stamps my favorite designed by Lynne Perrella.


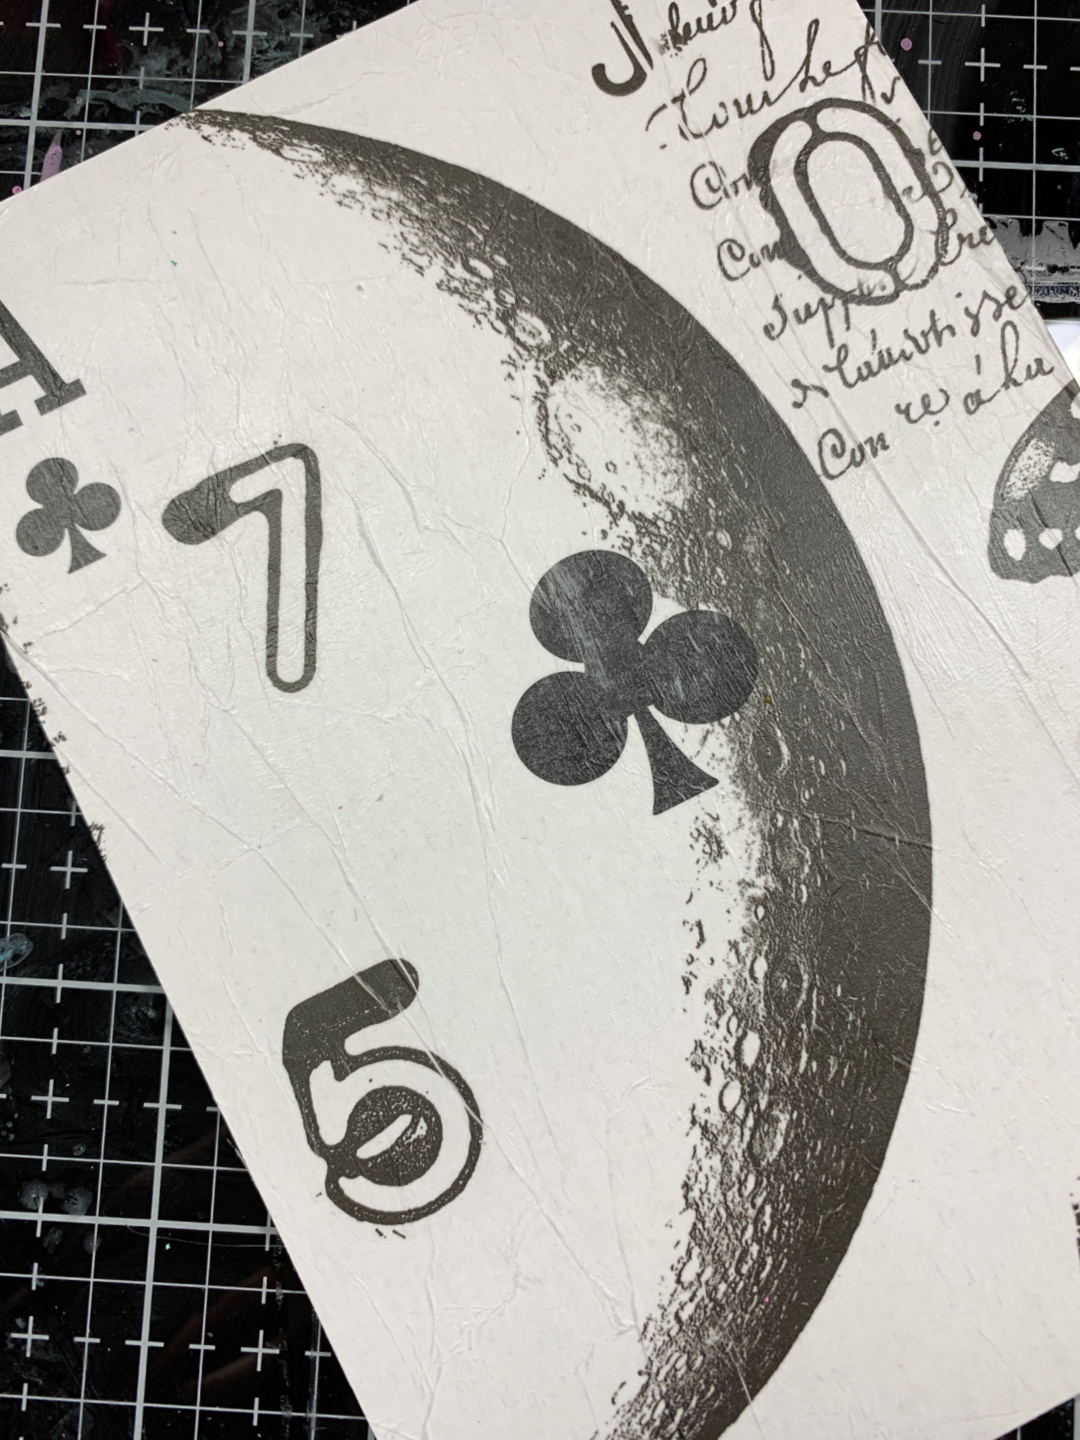
My current topic is Colour Wheel - Triads and I chose PaperArtsy Fresco Finish Chalk Acrylic - Lemon Meringue (FF142), Summer Sky (FF150) and Prawn (FF98) as the base colours. My chosen colours are separated 2 segments apart as No. 1, 4, 7 as shown on the colour wheel below. They are cool colour combination so I made these three items because I thought they would be perfect for decorations and cards this winter.


I used Lemon MeringueSummer Sky and Prawn as base colours. I combined opaque and semi-opaque colours to create a thick and beautiful colour and I chosen the coolest triads 3 colours possible. I made it while looking at the tone difference between the colour wheel segments, so I didn't have the luxury of making extra my three colours. I made it again while looking at the sample of the wheel later.


First I made triads 3 colour sheet used brayer and added PaperArtsy Fresco Chalk Acrylic - Heavy Cream to the blue green and light yellow sheets to tone down the colour and it some variety, on the reddish purple sheet placed a little Prawn and the white areas are the gaps between the paint.


When I thought about how to connect these three colours to my work, I first stamped the same stamp Lynne Perrella set 061 ( LPC061) on each piece of paper, cut it out and thought it would be nice to make a mosaic, so I used it as the background.
 

I did a rough experiment with what would happen if I put the Lynne Perrella set ( LPC059 ) lady's profile in the new PaperArtsy Printed tissue Frame circular frame against the mosaic background.


I decided to making the background with that mosaic idea and paste the cut papers onto the Smoothy (Heavyweight) A4 white card with a glue stick so that it would be a 6 inch square as much as possible. 


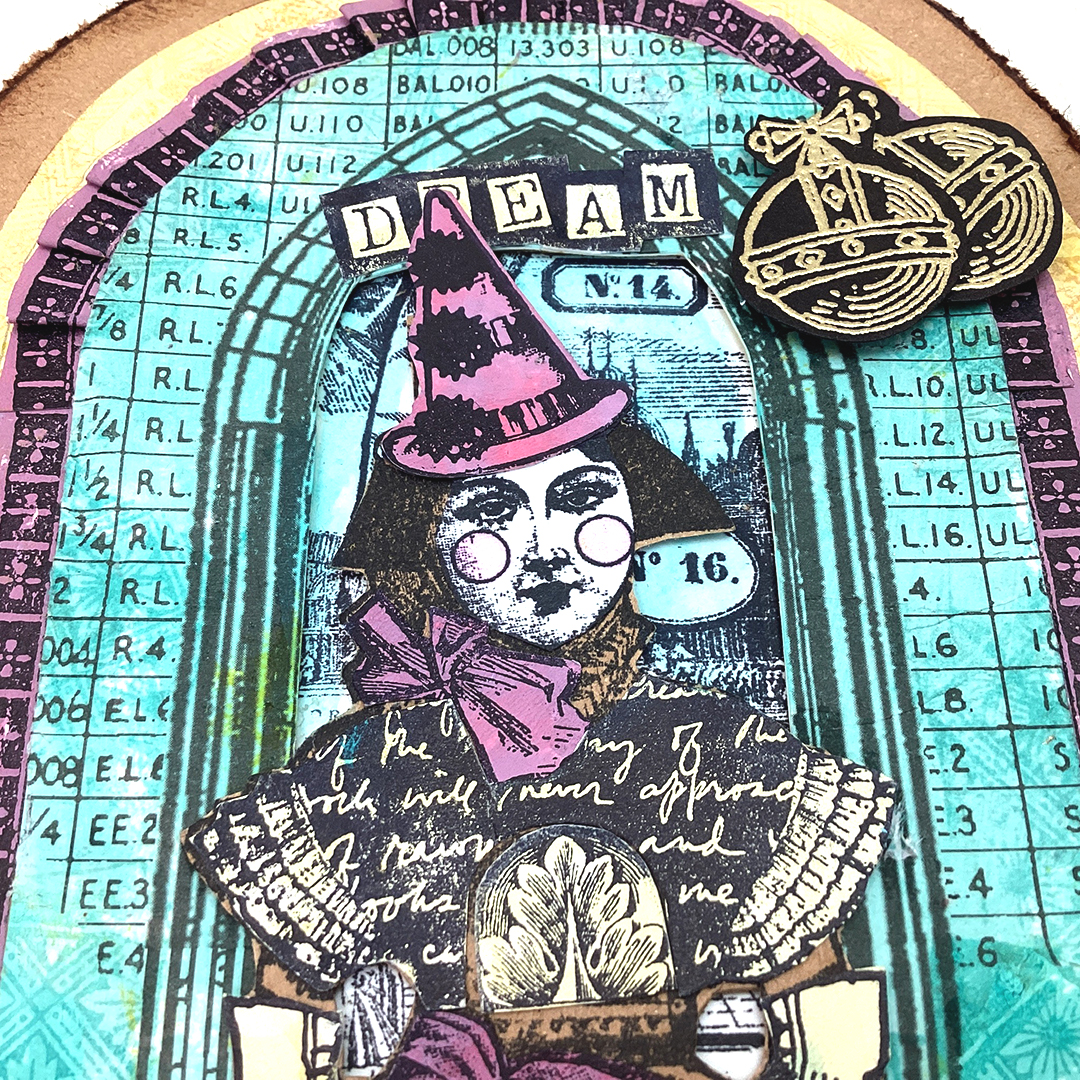
I wanted to try with the 3 colour a bit more so I used it for decorative trimming on these two cards. For the first card, I used the Lynne Perrella set 061 ( LPC061 ) lady to make it the 7th segment of the colour wheel, a card centered on reddish purple. I used infusion blue and PaperArtsy Fresco Finish Chalk Acrylic - Gold for the lady as a focal point.


I used gold embossing powder for the Scrapcosy set 30 and 33 ( ESC30ESC33 ) frame and script stamps for the center frame and background.


Made the second card trim using LPC059 stamp.


 I used LPC059 stamp for the lady and PaperArtsy tissue paper for her frame.


This is the completed image of the panel. The background of the circular frame was collaged of the LPC061 skirt image. At first, I thought that a monotone black stamp would be enough for the image of the lady, but I added colour and the crown of Lynne Perrella set 07 ( LPC007 ).


The panel side edging was trimmed with Scrapcosy set 33 (ESC33 ) stamp image embossed by gold embossing powder on the black cardstock. For the center circle of the focal point, four gray boads of the same shape were stacked underneath to create a height, and 8 mm high paper painted with gold was wrapped around the edges so that it could not be seen from the sides.


The circle frame and the lady popped up with foam tape.


Finished image the first card, I used LPC061 lady to make it the 7th segment of the colour wheel, the card centered on reddish purple, Used blue Infusion and Gold for the focal point lady.


The finished image of the second card.


As you can see the close up of the top part.


And bottom part--
Ranger Archival ink- Sky Blue stamped with the LPC059 book cover pattern on the green-blue background. Merry Christmas used Scrapcosy set 29 (ESC29).


The colour wheel- Triads and two previous topic colour wheel were very helpful to me, until now I used complementary colours or my own senses to find out the colours. I realized how it had narrowed my colours choices. I hope this will be a leap forward in my future.
Thank you so much for visiting.
Etsuko xxx


Blog: My favorite things

Instagram: Pixienest
Pinterest: Etsuko N
Facebook: Etsuko Noguchi


Thursday, 4 August 2022

2022 Topic 11: Stamp Mash-up {by Laurie Case} with Tracy Scott, Nicci Battilana and Scrapcosy stamps


Hello and welcome!! It's Laurie with you today to share a project full of twists, turns and ups and downs! When creating, sometimes things don't go exactly as planned and that's okay! At the end of this process, I learned a lot, ended up with THREE finished designs and most importantly, had so much fun "Mashing Up" three different designers!!


Recently I came across the technique of altering playing cards. I've done a couple of standard sized cards which were fun and quite simple due to their size. However, while perusing Amazon one night, I discovered large playing cards, 5X7 inch cards!! I thought, how fun! I must alter these!!!


These are the supplies I initially gathered. You'll find as I go on, I've either added product or not used it at all! This was a highly evolving project!!


I want to start by showing you the first card I created. I didn't end up using this card on my feature project because there were a few things I didn't like about it.


I love the colours and the collage! Downside Number 1: my Copper paint seems to have settled a little bit, so when I mixed it with Grunge Paste, it gave this gorgeous pink colour but this was not the look I was going for. Downside Number 2:  I felt that I covered too much of the card. I really wanted people to know that this was a large playing card, not just a piece of cardstock or card board!

So it was back to the drawing board!!
 

I pulled another card from the deck and chose a different area of the Printed Tissue. This area was less densely packed with images. I used gel medium to adhere.


I love that you can clearly see that this is a large playing card! I also love the images I was able to get from the tissue!


This is a regular sized card. I thought it would be fun to create some layers using the exact same card and suit.


I place the regular playing card in the centre of the large card, trying to match the centre club as best as I could. I laid the PS290 stencil over the top and applied Grunge Paste in a diagonal from top left to bottom right.


Now, this is where I thought I'd try something new. I sprinkled some embossing powder over the top of the Grunge Paste. I've seen this technique done before but in this case, it came out with mixed results, haha! Some of the powder flaked off the paste, some stayed on...at this point, I just went with it!!


I added some Mouse Ears and Bubble Gum Fresco Finish Paints. I used A LOT of water to get that splotchy look!


After the paint was applied and dry, I added a thin layer of white gesso to dull the colour slightly. I rubbed away whatever embossing powder that wasn't set into the Grunge Paste. This actually gave a very nice, matte look.


You can see some subtle stamping on the background. This comes from the AMAZING new set by Scrapcosy (ESC33). This stamp set is a must have!!

It was finally time to add the "wow" factor to this project!  I stamped a few images from TS043 and ESC33 onto some white cardstock. I heat embossed the large frame using the same embossing powder I used on the background. I didn't end up using most of these but it never hurts to have extras!!


I used alcohol markers to colour everything in but chose to use only the floral images. I fussy cut around the large flower. I also coloured two of these!


I placed a small circle die, cutting side up, with tape already on it over the Club on the large card. I lined the regulation sized card up with the stencilled Grunge Paste and pressed down, making sure the die adhered. I ran this through my die cut machine. It's not perfectly centred but close enough!  I thought this looked super cool!


Before adhering everything together, I added some finishing touches with a white paint marker. I love the look of stitching! I really must try it with a sewing machine one day, hahah!
To make each layer stand out, I added some black ink around the edges. Now let's put this together...


I used A LOT of foam adhesive on this! I wanted each layer to pop from one another. The small card, the frame and the flowers all have dimension!  You can also see that I stamped a small quote in the middle of the circle. This comes from the ESC33 set and was gold heat embossed.


This project turned out nothing like what I had in my mind. I started, then started again then started AGAIN!! I made 4 of these playing card backgrounds! This is the one I just happen to like the most. Never fear, I did keep the other backgrounds and actually finished them.


I always have to remind myself that the idea I start out with isn't always what I'll end up with. In the end, I wound up with 3 beautiful, altered playing cards and an extra one to play with! 

Thank you so very much for spending some time with me today!


Laurie


Blog:  https://itsallcutanddie.blogspot.com/
Instagram: crazycardlady