


Hi everyone it's Autumn Clark from SewPaperPaint here with you today. I've had a lovely time playing with paints lately. This Tetrads topic was a new concept to me and I had to Google it, which led to some fascinating discoveries. I would urge you to do the same and take a second look at the Introduction Post HERE, which shares such a wealth of information. I decided to break out my new collection of Zinis, Elena Zinski's darling house stamps, and I am looking forward to sharing with you how I combined the two.


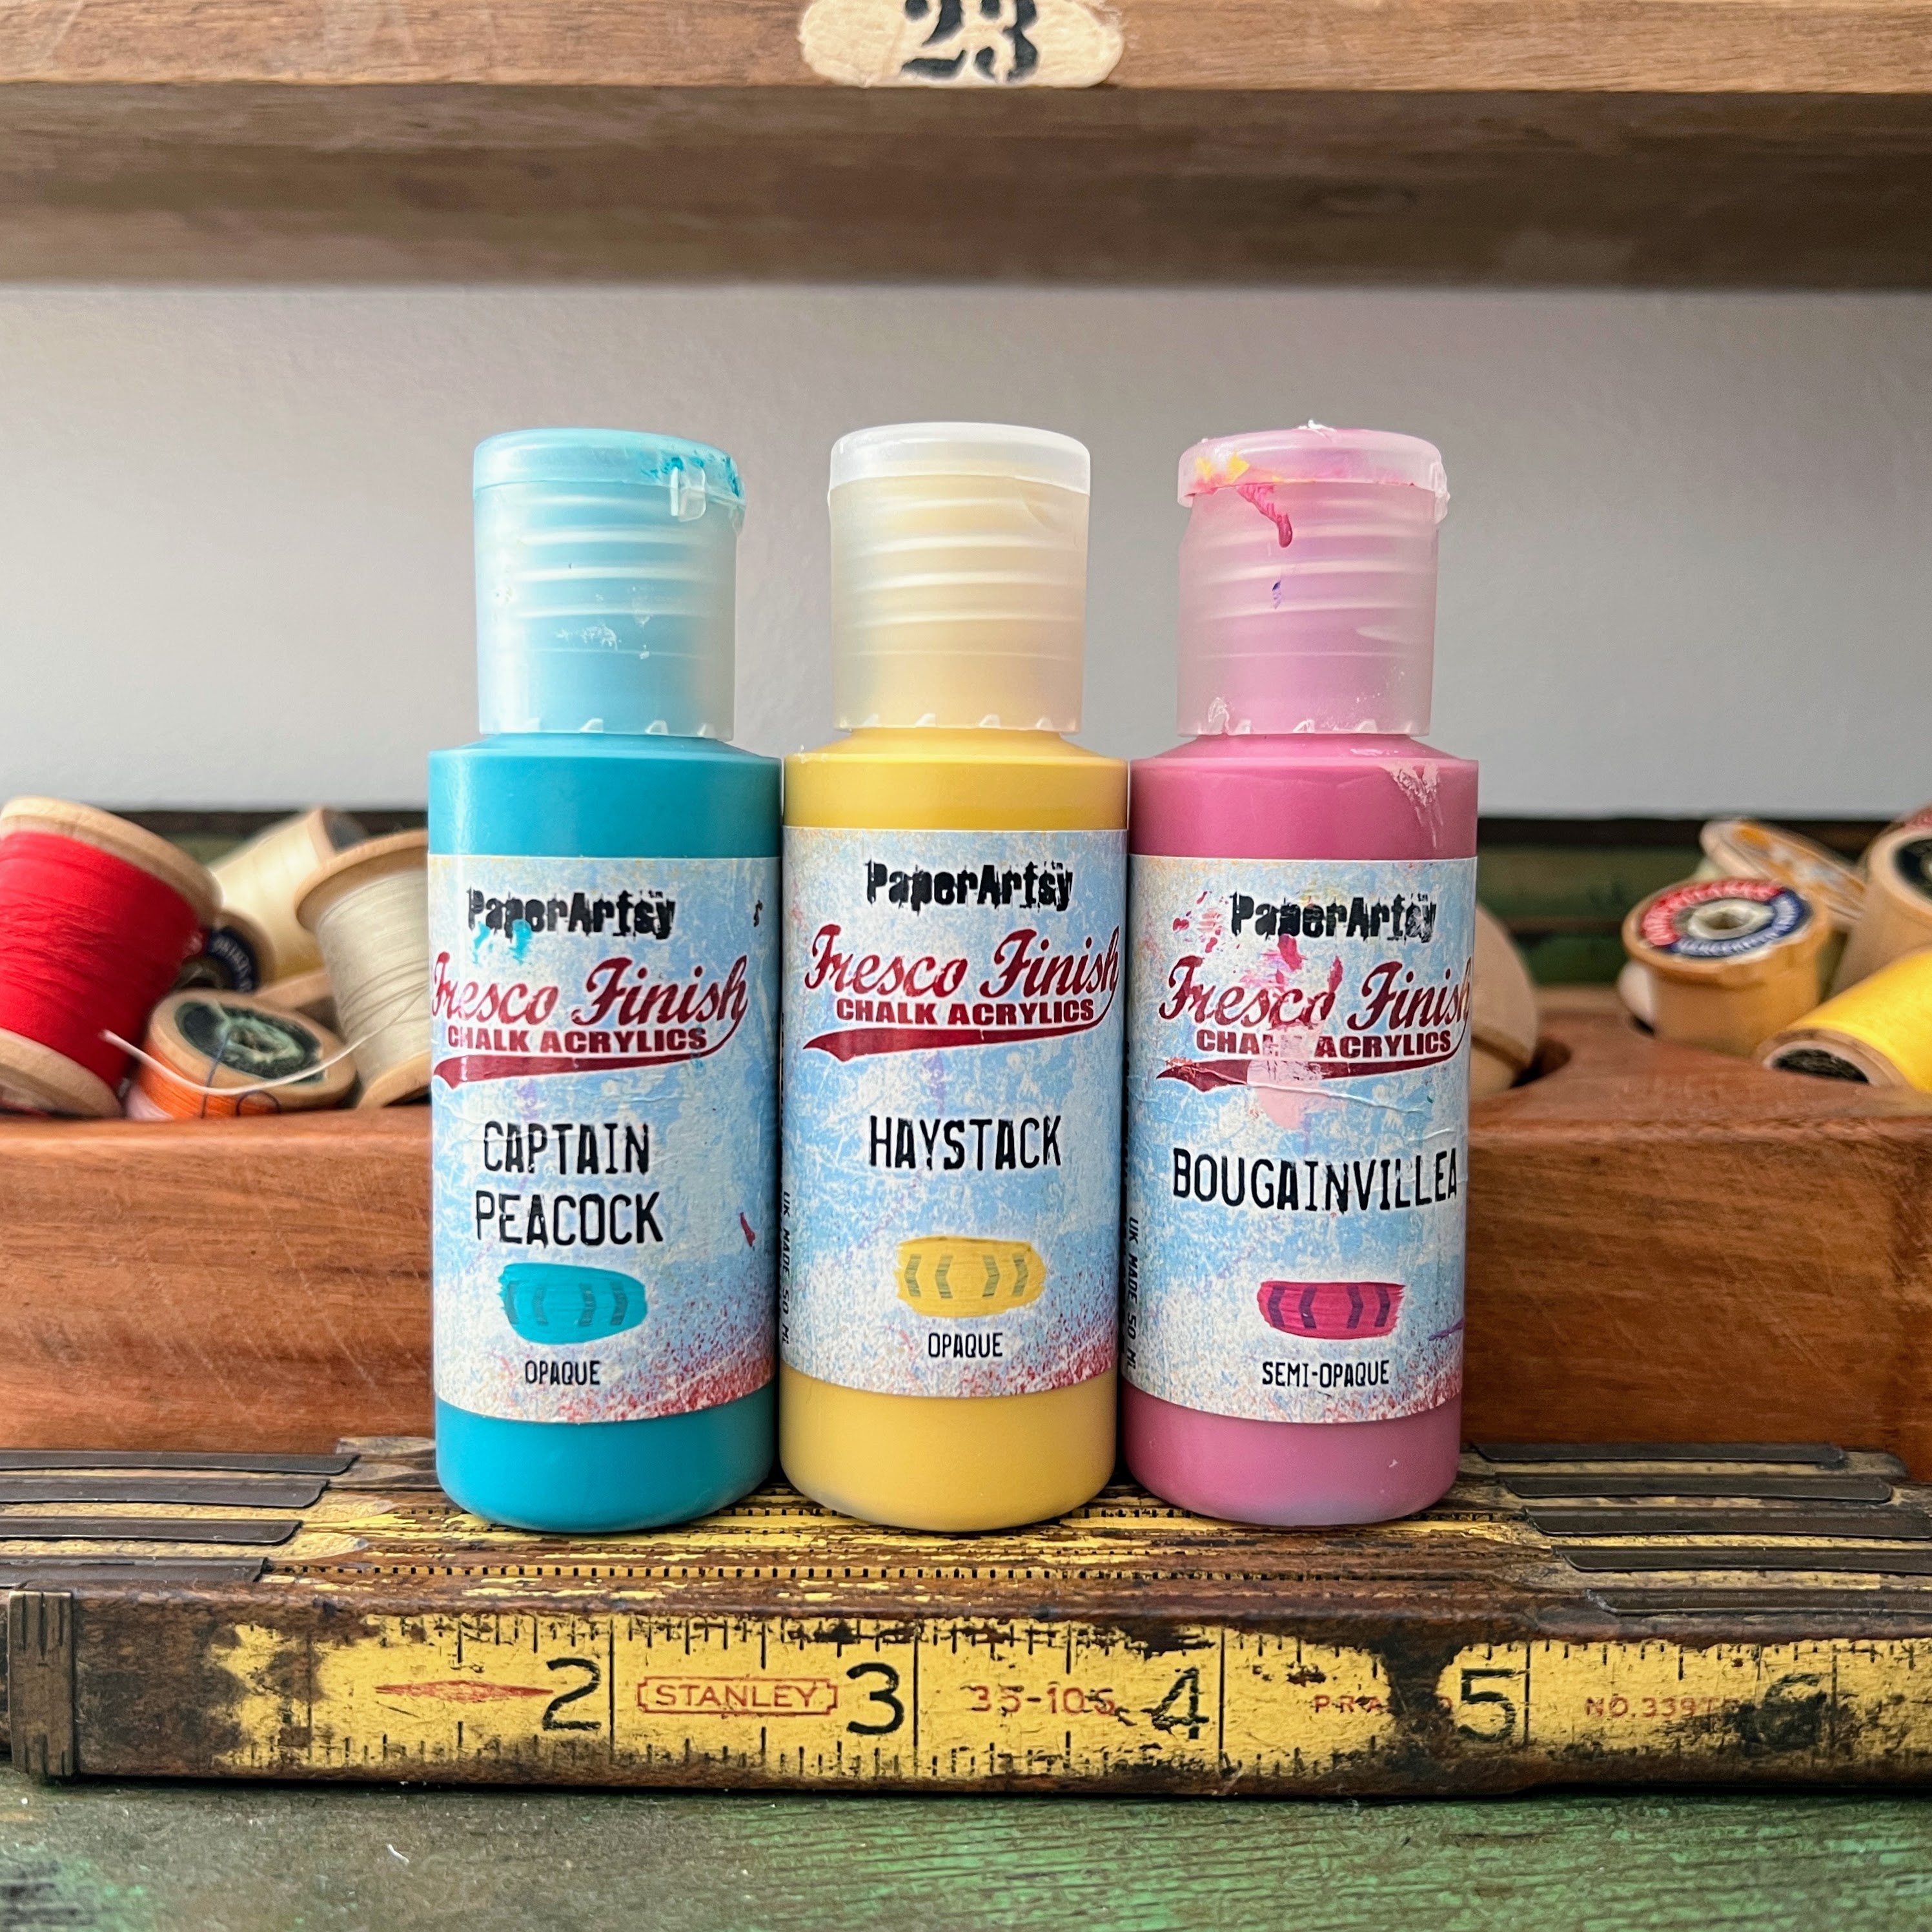
With each color wheel progression, the PaperArtsy bloggers have been encouraged to experiment with different primary shades. This was a real challenge for me! My very literal brain had trouble selecting non-pure primaries, but I switched up a little with PaperArtsy Fresco Finish Chalk Acrylic - Haystack (FF02), a warm and rustic yellow, PaperArtsy Fresco Finish Chalk Acrylic - Captain Peacock (FF110), a turquoisy blue and PaperArtsy Fresco Finish Chalk Acrylic - Bougainvillea (FF93), a deep pink. I was pleasantly surprised by how these colors still made for a somewhat traditional color wheel in the end, with all the classic colours identifiable.
I knew when I first saw the Elena Zinski release post HERE that I wanted to create an exploding card box. I was waiting on the perfect opportunity to create such a box. Originally, I designed a larger box, but had to scale it down to better fit the stamps. I cut a sheet of watercolor paper to 11x9" then scored on the 11" side at 4" and 7". I scored on the 9" side at 3" and 6", then cut the corners away and the longer sections into points as shown. I cut a roof for my box at 4.5 x 3.25" and scored along the 4.5" side at 2.5".


Here are the latest Zinis from Elena Zinski's Art, ZN 49 to 56. It's hard not to fall in love with this selection of stamps with so many quirky house designs. I love that just one house could be colored a different way and look like a totally different stamp!

I purchased a new palette, as my smaller, older palette only had 10 sections and it's easier to work through the printable color mixing wheel (which you can find HERE, in the Files section of the PaperArtsy People Facebook Group) with a 12-section palette. Next time I think I'll stick to a paper plate because I found this larger palette to be cumbersome on my small work table.

I noticed my mixed colors lent to some pinky oranges, a "perfect" purple and really lively greens.

I chose a square tetradic palette as I felt like I could go in any direction with it. I painted the three possible square combos in columns and decided on the center one because I really liked how the pure PaperArtsy Fresco Finish Chalk Acrylic - Haystack (FF02) brightened up the palette. The finished colors are represented in blocks 1, 4, 7 and 10.


I was trying to decide on the best way to use my mixed colors to decorate the many houses, so I added them to my gel printing plate, as shown, and pulled a couple of prints.

One of my prints didn't pull very well, so I took a paint brush and blended some additional color onto the paper. I decided at this point to lighten things by adding in a touch of PaperArtsy Fresco Finish Chalk Acrylic - Cloud 9 (FF149). I always try to add a touch of black and white to most projects for balance. This gave me a stampable, precolored surface for my houses.


I painted the front of my house box, intentionally omitting the blended Bougainvillea color so that that color would really pop when the box was opened. I added some water to lighten areas during blending.

And you can see the color does really pop inside!


I stamped the tiny flowers from (Elena Zinski) Zini mini stamp 54 (ZN54) along the edge of the grass and stones. I also stamped and cut out the trees from Zini mini stamp 52 (ZN52). I cut a small strip from my gel printed paper and rolled it into a circle with some small flaps to adhere it to the center of the garden. I added stamped shrubs around the adhered trees.


I ran into an unexpected complication of needing larger flowers to fill in the garden. I chose PaperArtsy stamp set by Tracy Scott (TS069). You can see here the color variation from the gel prints.


Now it was time to get my houses arranged! I used my stamping platform to repeat stamp the images onto my gel prints, for a super vibrant black outline. I used Zini mini stamp 49 (ZN49), Zini mini stamp 50 (ZN50), Zini mini stamp 51 (ZN51) and Zini mini stamp 56 (ZN56).


I had glued some scallops to the edge of my roof to hold the box shut. I used plain black cardstock for this and wanted to add some additional detail in the background, so I stamped PaperArtsy Mini stamp 122 (MN122) in the coordinating ink color for each side panel and in embossed white. I chose this stamp because it mimicked tile or brick and flowed with the Tracks theme.


As a final touch, I painted the house windows white to tie in with the embossing and gave the roof a splash of watery Cloud 9.

I gave the inside of the box a splash of the same and a second splash of Haystack.


I don't always use bold colors in my creations and was challenged by the vibrant colors I had mixed. I think the addition of white and black helped balance the rich color. I've seen exploding card boxes and thought the house box idea would be a unique twist. It turned out to be very simple to work out. I would have liked to have some floating or pop up elements inside the box and think next time I could use acetate to make hidden hinges or floaters. Our goal as bloggers is to encourage you to try an idea and we hope that you will take it to the next level. Mine was an experiment and yours will be a triumph! I hope both this color wheel and project idea have inspired you today and your mental "Tracks" are kickstarted.
xx, Autumn

Blog: SewPaperPaint
YouTube: SewPaperPaint
Facebook: Autumn Clark
Instagram: @sewpaperpaint
Pinterest: SewPaperPaint


















