Tuesday 31 July 2018

2018 #13 Mint, Sage, Claret & Gold with EKD {by Lucy Edmondson}

2018 Topic 13: Mint, Sage, Claret & Gold (Colour Topic)


Lucy is great at making interesting wearable crafty items OR items with a purpose. In this post, she shares a great technique that does both those things. ~Leandra


Hi everyone, it's Lucy from Lucy's True Colours with you today, and I'd like to share with you some wooden bangles I have decoupaged, using a selection of Kim Dellow's stamps and stencils, and Fresco Finish Paints in the colour theme Mint, Sage, Claret, and Gold

I love wearable art: I have always loved clothes, and being able to make something in a particular colour palette of your choice is always fun. You can buy wooden bangles for decoupage in different shapes and sizes or cover one you already have and don't like. Unfortunately I had completely finished this project using narrow bangles when I decided I wanted to remake it using a wide, 4 cms bangle, as I felt it would show off the stamped images more fully, rather than simply looking like an abstract design.


The other difficulty I had was the 32 degree heatwave we were having when I started making this, as the paint was drying very quickly, so I used a little Fresco Drying Retarder with the Gelli Plate. I've never needed to do this before. A couple of days later, there was a little more breeze and I found I no longer had this problem, so it must have been extreme conditions!  I was getting frustrated at spending so much of my crafting session cleaning my stencils, despite popping them straight into cold water as I always do. What I discovered, which I hope may help somebody, is to dissolve a dishwasher tablet in hot water before I started crafting, and drop all my tools into that solution as I went along. It worked like magic!


So, for my bangles, I cut a stack of pieces of tissue paper to fit around the bangle length ways and width ways. Why did I do loads? it seems to be a recurring theme with me that I have loads of leftovers. I used a Gelli Plate and Kim's stencils 034, 036, 046, and 048 with Fresco Finish Paints in Bougainvillea, Claret, Mermaid, Lake Wanaka, Haystack, Zesty Zing, Banana, Winter Green, Hyde Park, and Snowflake to build up layers on the tissue pieces and create the challenge topic colours.


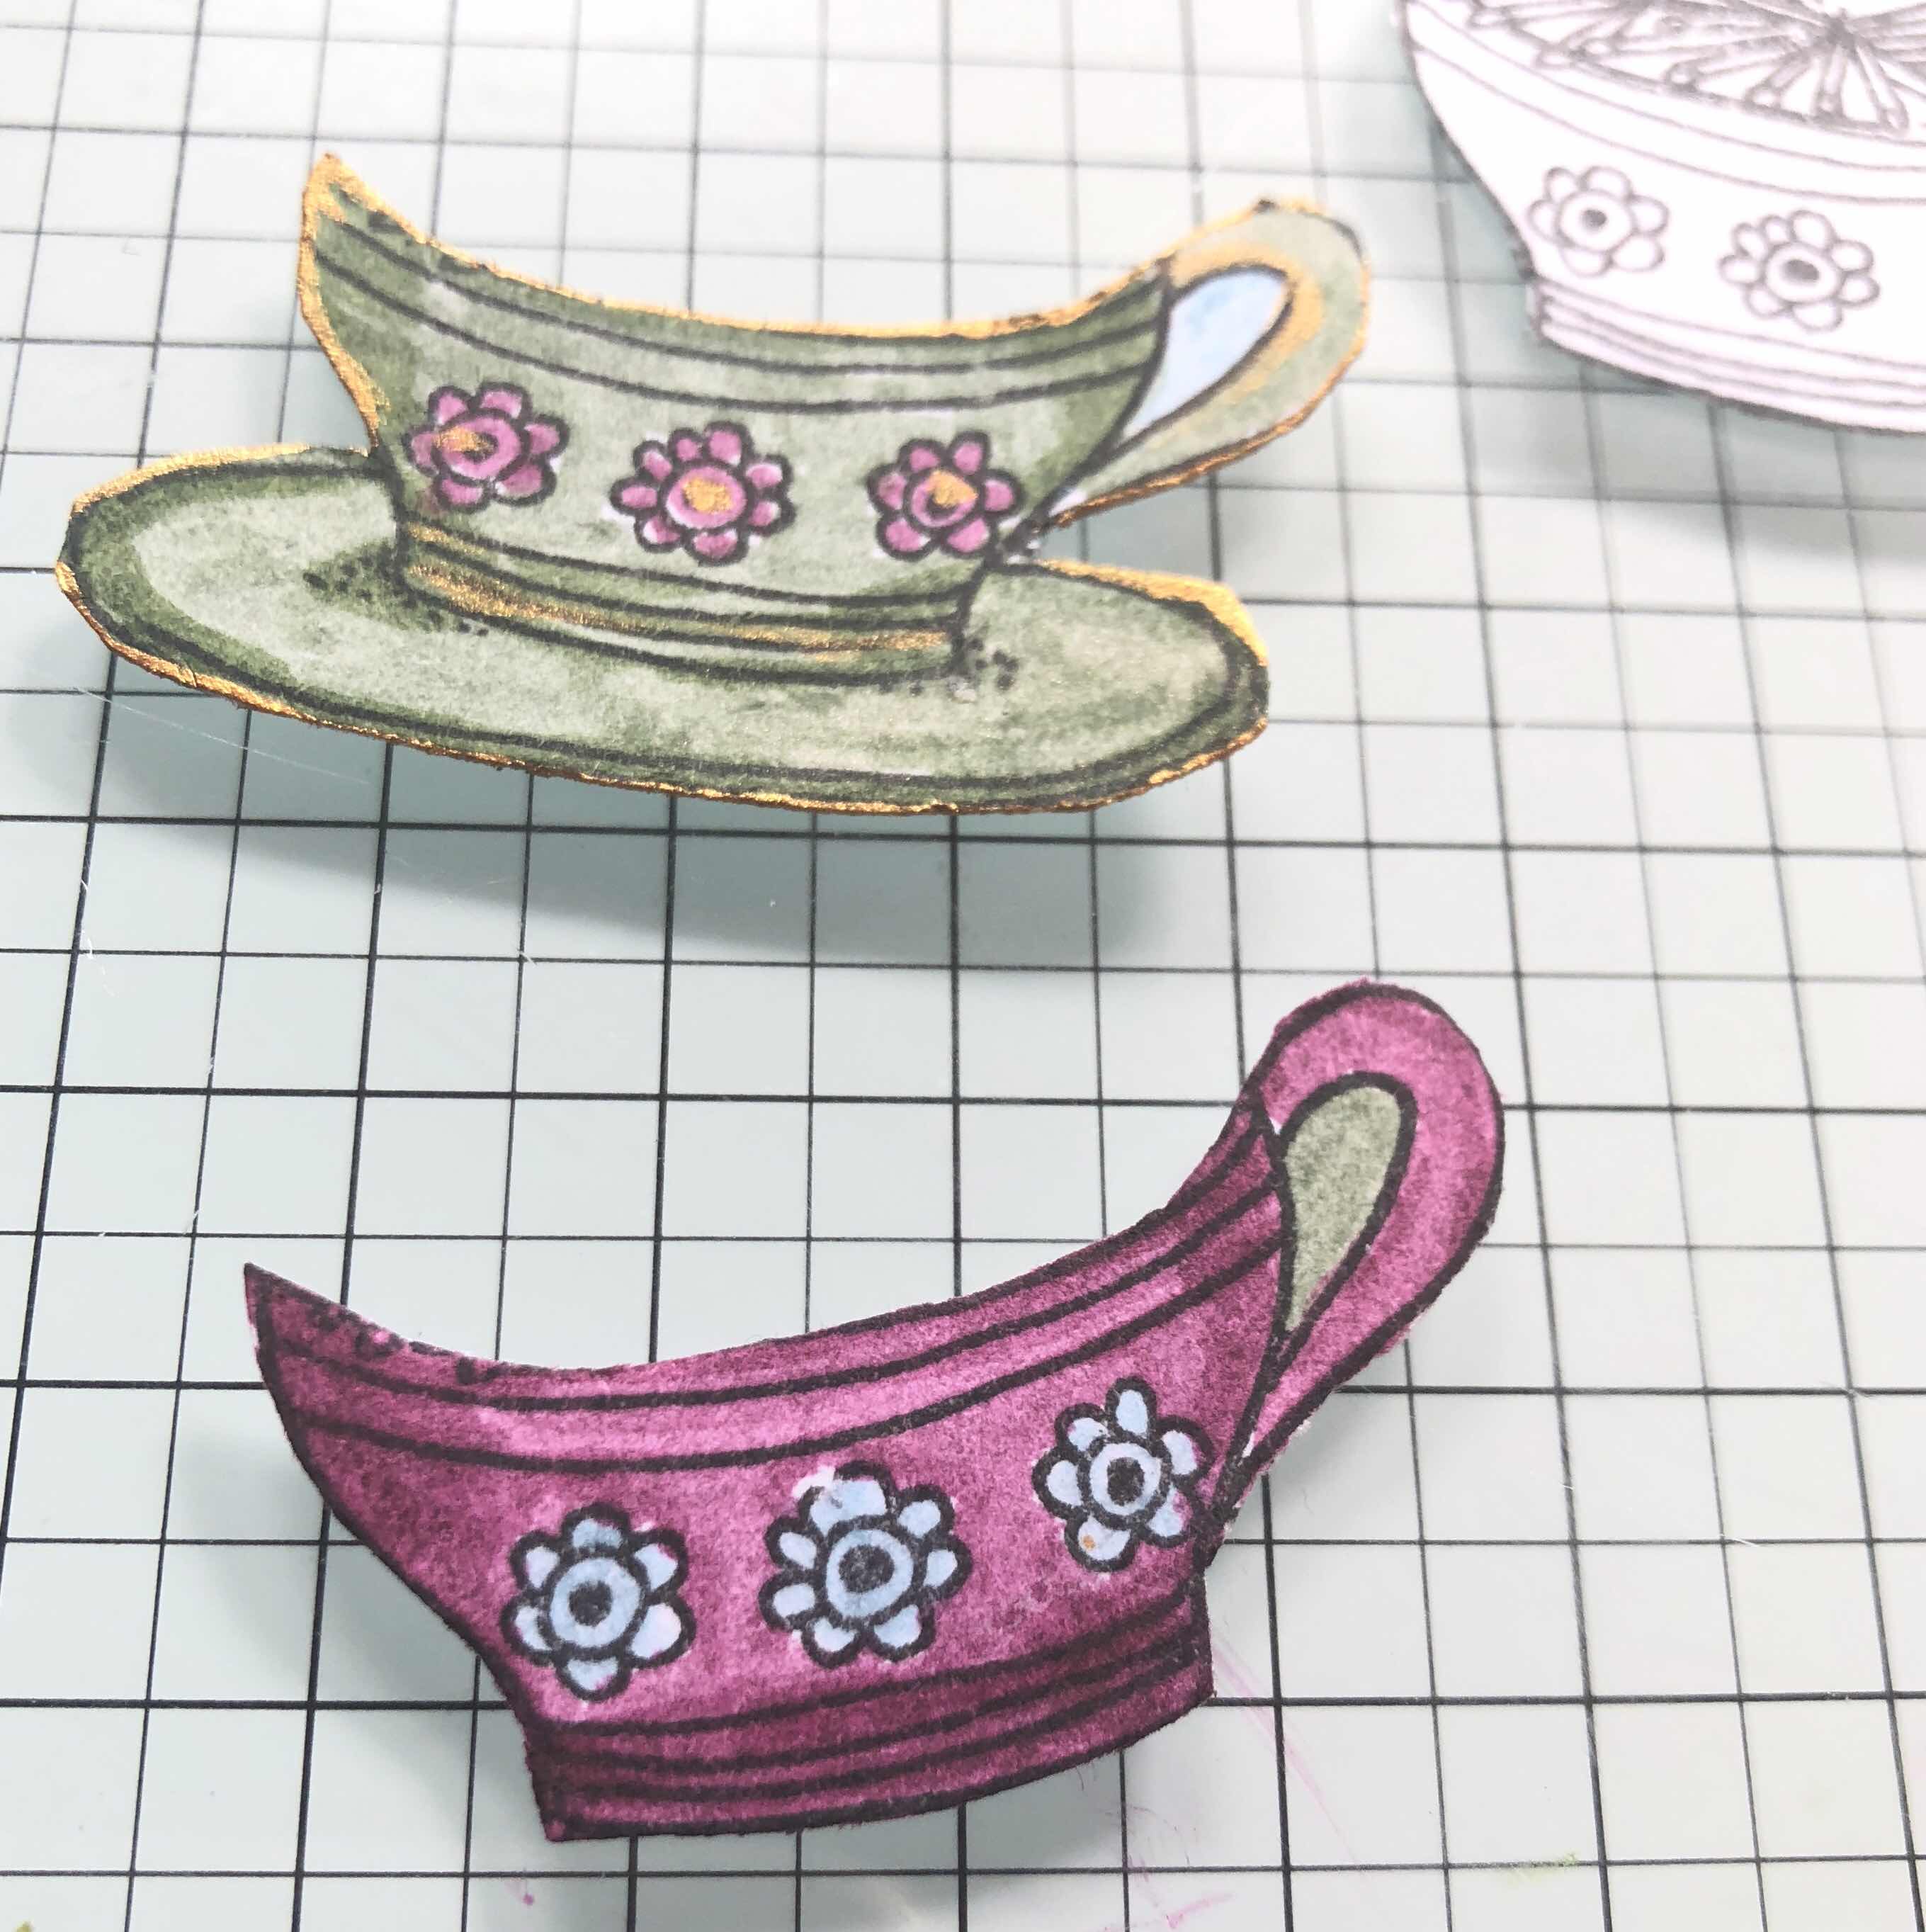
I then used a selection of stamps from EKD04, EKD05, and EKD06 with the same Frescos to add additional colour and details to the pieces of tissue.


Here are some more of the tissue pieces I made:-


I wanted to use some text, and also add some white paint, so I used the lovely stamp from JoFy 31 with Fresco Finish Snowflake.


I then used gel medium to adhere the tissue to the bangle, blasting with a heat gun to get rid of any wrinkles.


For the inner curve of the bangle, I snipped at one inch/2.5 cm intervals with scissors to make it easier to fold the pieces of tissue in.


I finished off with a couple of coats of Fresco Finish Gloss Glaze, both for protection and for glossiness.


Here's a final pic of the three bangles together:-


It was such fun making this project, and I made myself an extra bangle with the addition of Wisteria, to match a particular summer dress. I am planning on using the left over pieces of tissue to make a matching necklace with some wooden beads. I do hope you will have a go, and I would love to see what you make!

Lucy

Blog: Lucy's True Colours
Twitter: @CraftyLuce


If you teach: add venue, dates, booking info with links here for the next 2 months 

To join our challenge and win a PaperArtsy £50 gift voucher:
Simply make something arty relevant to the topic, and link your creation from any social URL (eg. Instagram, Pinterest, Blog Post etc) sharing your original make to this challenge page.

The current topic link Topic 13: Mint, Sage, Claret, Gold will close 17:00 (London Time) Sunday, August 12th 2018, and the winner will be announced 2 hours later at 19:00.

All links go in the draw to win a PaperArtsy gift voucher. Please make sure we can contact you as a prize winner - it helps if you share your contact info from the platform you opt to use.

Good Luck! If you have any questions, don't hesitate to ask!

Sunday 29 July 2018

2018 #13 Mint, Sage, Claret & Gold with ECL {by Debs Wainwright}

2018 Topic 13: Mint, Sage, Claret & Gold (Colour Topic)


A fantastic deli-paper background technique fro Debs in this post which will no doubt provide enough layers for many backgrounds! Addictive! This looks wonderful Debs! I love the stacked teacup!!! ~ Leandra

Hi everyone, it's Debs with you today with a journal page using some lovely stamps from Clare Lloyd, and the four colours above. I also used a technique with the Fresco Finish paints which can be used on any substrate of your choice, and gives a really lovely effect. So let’s jump straight in and I tell you what I did. 


So I gathered the Fresco Finish Acrylics in Hint of Mint, Claret, and Sage, some deli paper and my Gelli Plate with a few random stencils and created lots of different papers. I loved this colour combo as the greens and gold (which comes later) blend beautifully together and the claret adds such a gorgeous contrast.


Next I attached more deli paper to my craft mat with masking tape and with the same colours and my brayer I built up the layers. Using one colour at a time and then drying it before the next colour was used. I do love how the mix of opaque and translucent paint creates such an interesting pattern on the paper.


Now comes the fun part, once all the papers are dry, tear them up randomly, creating different sixes and shapes. Keep your piles separate. As both sets of papers have the same gorgeous colours they will mix and match once stuck down. I loved playing around with the different shapes as I stuck them with matte medium to my journal page. As mentioned earlier you could use these on any substrate as deli paper is similar to tissue paper, it is very flexible and will go round things as well as in things, the choice is yours.


Once completely dry I added my gold. I chose to add it all round the edges and then random splashes across the page.

The stamp set I used was
Eclectica³ Clare Lloyd Set 10: ECL10

I stamped the face onto watercolour card, as it is such a lovely size to paint and I think I’m more skilled with watercolour onto stamped faces than I am with acrylic paint.


The other elements I stamped onto smoothly heavy card stock as the patterns were so delicate and I needed to use a fine tip pen.


 I also added gold to the teacups to give them a regal look. 


I loved how I could cut out the teacups to provide a stack, all the stamps were easy to cut out which is so useful when you want to build layers on a journal page, but don’t want to stamp directly on the page.


Using the paint this way was so easy, and I think it created a background that is interesting to look at, as it is so different. You could try experimenting with different stencils on the Gelli plate, or try using string and cotton to create a resist. It really is anything goes! Mixing it with the plainer brayered Paper also adds to the fun. You could also stamp onto the paper repeat patterns with ink or paint to add even more dimensions. 

This colour pallet was quite subtle, so the stamped elements worked perfectly, but you could intensify the colours more, or go even lighter. I would love to see what you create using these ideas.

Take care for now
Hugs
Debs 


To join our challenge and win a PaperArtsy £50 gift voucher:
Simply make something arty relevant to the topic, and link your creation from any social URL (eg. Instagram, Pinterest, Blog Post etc) sharing your original make to this challenge page.

The current topic link Topic 13: Mint, Sage, Claret, Gold will close 17:00 (London Time) Sunday, August 12th 2018, and the winner will be announced 2 hours later at 19:00.

All links go in the draw to win a PaperArtsy gift voucher. Please make sure we can contact you as a prize winner - it helps if you share your contact info from the platform you opt to use.

Good Luck! If you have any questions, don't hesitate to ask!

Saturday 28 July 2018

2018 #13 Mint, Sage, Claret & Gold with ETS {by Anneke de Clerck}

2018 Topic 13: Mint, Sage, Claret & Gold (Colour Topic)


You know, it's bonkers how the same colour scheme can be interpreted so many ways. As Anneke has a few peeks of 'white-ish' space, it looks so different, but also how different bloggers balance the colours (red heavy or sage heavy, or mint heavy) can make such a difference too. I love seeing how it can be taken in differetn ways! ~ Leandra

Hi everyone, it's Anneke here today. I'd like to share with you a mini book I created for the 'Mint, Sage, Claret & Gold' colour topic. I folded the booklet out of 1 sheet of paper, A4 size. I love to make small books like this. They are super easy to put together. There are no bookbinding skills required. Clean and simple projects, that's what we prefer during summer, doesn't we?


These are the Fresco Finish Chalk Acrylics I worked with: Hint of Mint, Claret, Sage and Gold. I'm usually choosing brighter colors for my work but I'm very happy with how this turned out.  Love this colour combo! I'll definitely use these colors again in the future.


I worked on a sheet of A4 paper. I colored the paper using the 3 inch square gel printing plate from the Gel Press Petites set. I attached the plate to an acrylic block and used it as a stamp to make the prints. I smeared small amounts of paint on the plate using my fingers. Before making the print I scribbled into the paint with a Dina Wakley Media Tool. As you can see I didn't cover up the whole plate with paint. I wanted the white background to peek through in some areas.


I 'stamped' dots on top by putting small dots of Fresco Finish Chalk Acrylics GoldClaret & Snowflake to the gel printing plate. I overstamped areas that were to dark with a bit of Snowflake as well.


After drying I folded the paper lengthwise in half to make a fold and I made 3 folds in the opposite direction as well. I tried to work precisely and I used a bone folder to make crisp folds. After opening the folded sheet of paper again I've cut a split. (see the dotted lines in between the green arrows).


HERE you can find a video tutorial on how to fold a book like this. There is no glue involved but I preferred to stick the pages together with double sided tape.


To decorate the pages I used various stamps from the ETS08, ETS09, ETS14 and ETS15 stamp sets.


I did the stamping with paint as well as with Archival Ink Jet Black


I stamped my favorite flower from  the ETS15 set on the cover in black and let it return on each page in another color.


I added small marks in white and gold using fineliners.


I made 2 holes at 1 inch from both head and tail so I could add some ribbon. This step is optional, just for decoration.


I finished the pages off by adding white details to the stamped images. I outlined the dots with both a white fineliner and a pencil.


To keep the folding easy I would recommend you to use medium weight paper (120-200 grs  max).
I glued the pages together after I finished all the stamping. I prefer to keep the surface I'm stamping on as flat as possible to end up with crisp prints.

My pages turned out rather busy but you could definitely add less stamping or marks and use the book for art journaling. Why not stamp a nice quote on each page, add some photos or a sentiment and send it as a nice little present to a special friend? The possibilities are endless.

I hope I could inspire you to try this Mint, Sage, Claret & Gold color combo yourself and maybe make a little book like this. 
I can't wait to see what you come up with!
To join our challenge and win a PaperArtsy £50 gift voucher:
Simply make something arty relevant to the topic, and link your creation from any social URL (eg. Instagram, Pinterest, Blog Post etc) sharing your original make to this challenge page.

The current topic link Topic 13: Mint, Sage, Claret, Gold will close 17:00 (London Time) Sunday, August 12th 2018, and the winner will be announced 2 hours later at 19:00.

All links go in the draw to win a PaperArtsy gift voucher. Please make sure we can contact you as a prize winner - it helps if you share your contact info from the platform you opt to use.

Good Luck! If you have any questions, don't hesitate to ask!

Friday 27 July 2018

2018 #13 Mint, Sage, Claret & Gold with VID {by Jennie Atkinson}

2018 Topic 13: Mint, Sage, Claret & Gold (Colour Topic)


I love how Jennie has used these colours - totally soft and delicate! But they seem 'fresh' with Vintage stamps! very cool!! Her backgrounds are AMAZING!!!! ~ Leandra


Hi everyone, it's Jennie (Live The Dreamwith you today, and I'd like to share with you this masculine card using the fabulous combination of colours for our current challenge.

In my head I had a vision of these colours together and really thought they would work with a masculline set of stamps, but ....... it did take a bit to combine the colours for this masculine look and I had to resort to a bit of rust to bring it all together.


The stamp set I chose for this project is this wonderful set from Vintage Ink and the Dog not just because I love the fabulous gentleman but also for the additional text, number and clock stamps which are always so useful in so many vintage projects. There is also a smaller plate with the same fabulous gentleman but with some other very useful little vintage stamps and is where my title came from.

Vintage Ink and the Dog

Ink and the Dog 


What a fabulous set of colours to combine! I decided to brayer the three colours (Fresco Finish Chalk Claret, Sage and Hint of Mint) onto a piece of 240gms Smoothy Cardstock for my background. I didn't go too heavy with the Claret just dabbing it here and there but the Sage and Mint really did combine well. I do love brayering the colours on as you can keep going until you have the look you want.


I blended a little Vintage Photo Distress Oxide around the edges and gave it a spritz of water. I love the mottled look - it is not too heavy.


I then overstamped this piece with the useful text, number and clock stamps. I used Ranger Archival Ink (Potting Soil) and apart from the clocks stamped off for a lighter touch.


I wanted to create some layers on the background and decided to use this tag which had been my experimental piece to see how well the colours combined. 


I have used the Claret around the edges and then softened it with the Hint of Mint. In order to give it a bit of definition for the card I added a crackle glaze and when dry painted a watery Rust Texture Paste around the edges and added a few splodges here and there.

It took me a little while to decide what embellishments would work having got this far. Sometimes what one has planned in the head really doesn't look that great when you start stamping and layering it up.


I stitched my tag onto the background as it was rather thick for glueing and this adds a nice bit of texture behind the wonderful gentleman. He then got stamped in browns, blacks and greys and I couldn't decide what worked best, but went with the Ranger Archival Watering Can in the end with some vintage brown around the edges.


I added a bit of gold by way of some embossing powder - I love little round stamps to add detail and this little one from the stamp set really fits the bill.


I used gold embossing powder for the title and in order to add a little more Claret to the piece painted some string with the Claret Fresco Finish Acrylic Paint - what a mess! but worth it.


I still felt the Sage and Mint needed a bit more of a lift and found some greyboard nuts and bolts. I have to be honest and say they have been painted in just about every colour I had on the desk but it was the stronger Claret that I felt worked the best in terms of the overall design. They also cover up a bit of wonky stamping!


I am pleased with the overall effect of the colours for a masculine card, but in hindsight might have chosen a more feminine or flowery stamp set to really show the colour combination to their best!  However, I hope this inspires you to think about more unusual colour combinations for birthday cards for the male members of our family. My husband actually really liked the colour combination and he's a "died in the wool" navy/white/brown fan!

As always thank you for joining me and I hope you have a great weekend and some happy crafting!

Jennie x

Blog:  Live The Dream
Facebook: Jennie Atkinson
Instagram: atkinsonjennie


To join our challenge and win a PaperArtsy £50 gift voucher:
Simply make something arty relevant to the topic, and link your creation from any social URL (eg. Instagram, Pinterest, Blog Post etc) sharing your original make to this challenge page.

The current topic link Topic 13: Mint, Sage, Claret, Gold will close 17:00 (London Time) Sunday, August 12th 2018, and the winner will be announced 2 hours later at 19:00.

All links go in the draw to win a PaperArtsy gift voucher. Please make sure we can contact you as a prize winner - it helps if you share your contact info from the platform you opt to use.

Good Luck! If you have any questions, don't hesitate to ask!