Hello lovely creatives...It's Floss here with you today with the 3 things challenge.
I was excited when I opened the box with the three surprise supplies in and found; stamp set Lynne Perella LPC006, The Hot Picks stencil PM018 and Shark Mattint (available from stockists).
I knew in that moment that I wanted to do something with fussy cutting. I'd incorporate my free motion stitching as a feature based on the Panacea Pizpireta image I'd seen a few weeks before that I found inspirational by Lisa Kokins and that I would hide stamped images in folds to incorporate the hidden element for this quarters PaperArtsy theme.
I was itching to get started and so went to find a fairly thin hard back book.

I folded eleven pages roughly in the centre of the book using the deep margin as my measurement...and glued those folds down. I then folded the remaining pages in half lengthways but did not need to glue these. The idea behind this was to use the book as storage for my fussy cuts. The front half of the folds to store the rough cuts, the back half for those that had been fussy cut and the middle pockets for anything in between.
With a thicker book, if I'd have folded all the pages in half it would have given me an open rolodex book holder, but I wanted to be able to close this one and potentially be able to flip through the pockets and tuck spots so I took a few pages out too...Being able to close the book would hold all the fussy cuts securely in place and this was important so I could have it with me wherever I went. My reel shows me shaking it about and nothing falls out :)
Using my gel plate, PaperArtsy stencil PM018, and their slimed and desert bush fresco paints I created some papers which I would use for the concertina edging which would hold the centre pockets together and bring some colour to the project.
I measured the depth of the page for the length of each segment and made each segment wide enough to allow the pages to open enough to access the pocket area and also enough space to stamp the hidden feature within the folds. I chose to stamp some images using Ranger Archival Plum Ink as I thought it suited the greens beautifully.
I used my stamping platform to create a whole stash of prints to fussy cut...again I used Ranger Archival Inks in black and plum for this. I used the Shark Mattint to bring a little interest to some of the prints using a small brush.
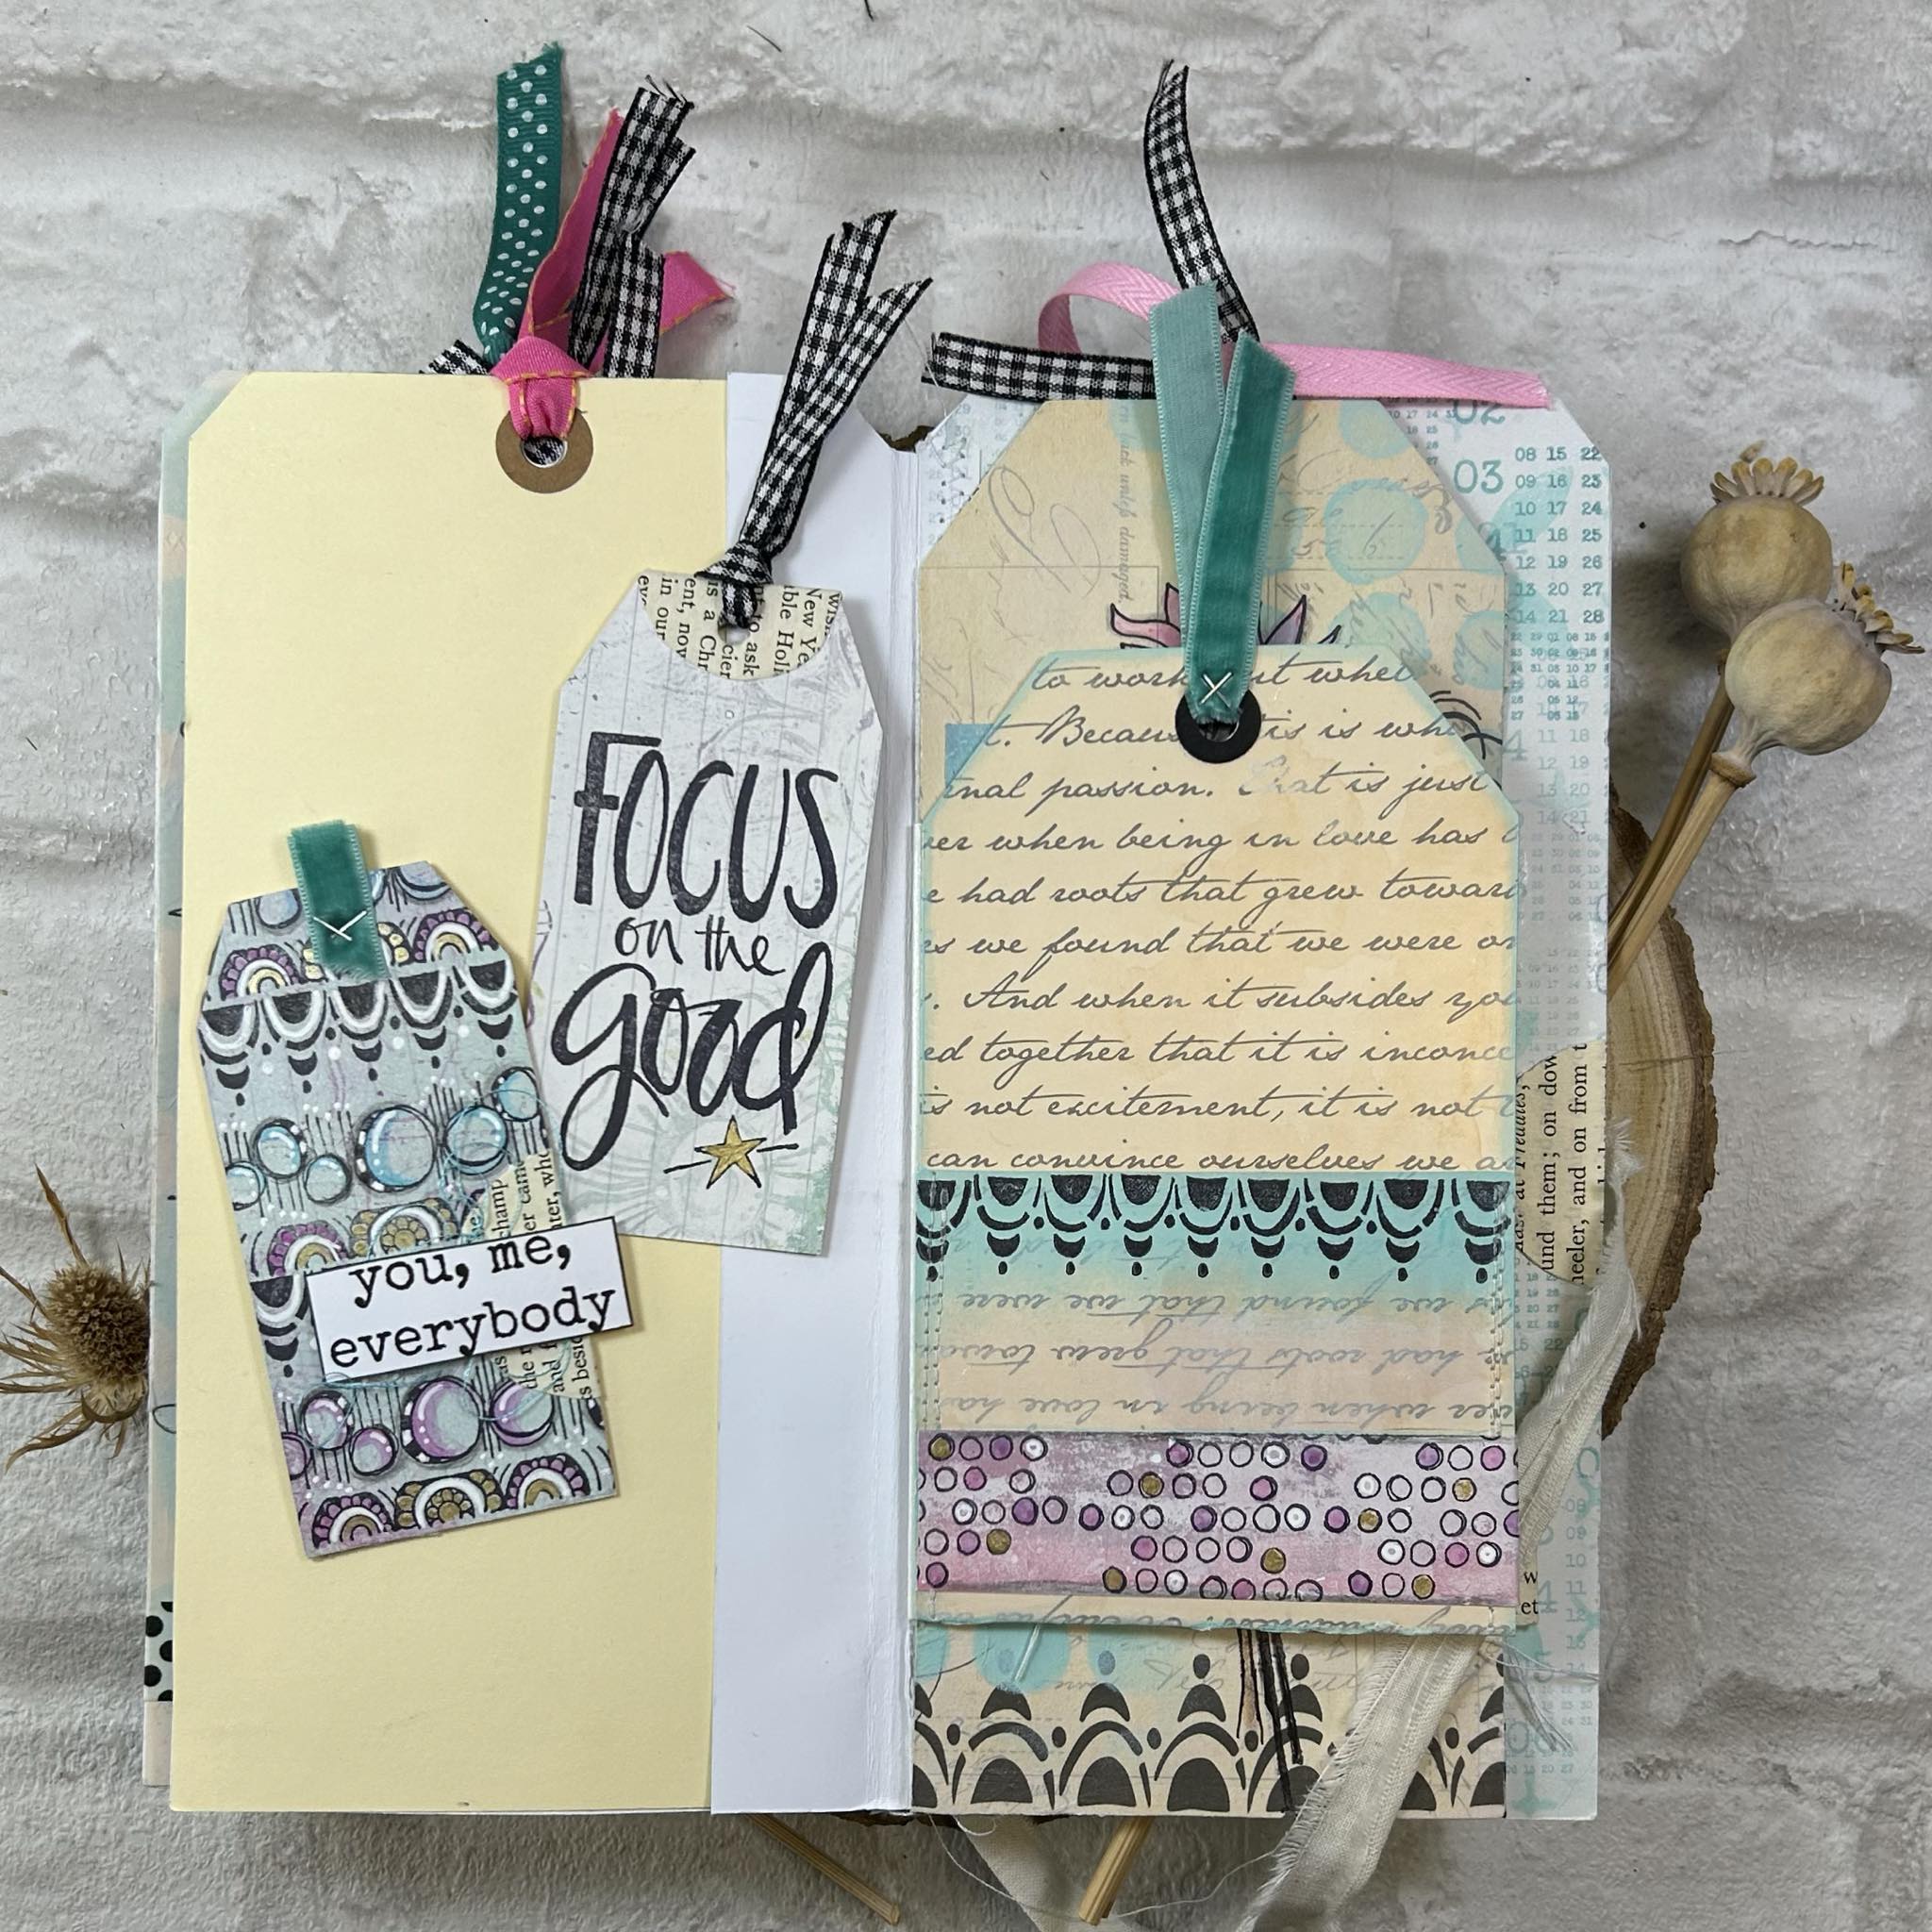
I really liked the idea of the hidden images in the folds...with two segments between each page it gave me an opportunity to mix the images up by stamping directly on to some of the concertina folded sections and fussy cut and glue black and white stamps on to others making this hidden detail more visually stimulating.
I wanted to explore using the shark Mattint further and wondered what it would look like on mulberry paper...It looked/reacted as I hoped it might and was definitely a YESSSS moment!
I squirted the Mattint straight onto the mulberry paper and spread it to cover the surface using and old store card. It absorbed deeper into the areas where the mattint was squirted than where it was spread and so it left some 'streaks' which was, for me, a bonus. But it was the way the mattint worked with the little fibres inside the paper that was what I wanted to test...The fibres remained white giving me another visible texture. You really must try this technique if you like mulberry paper.
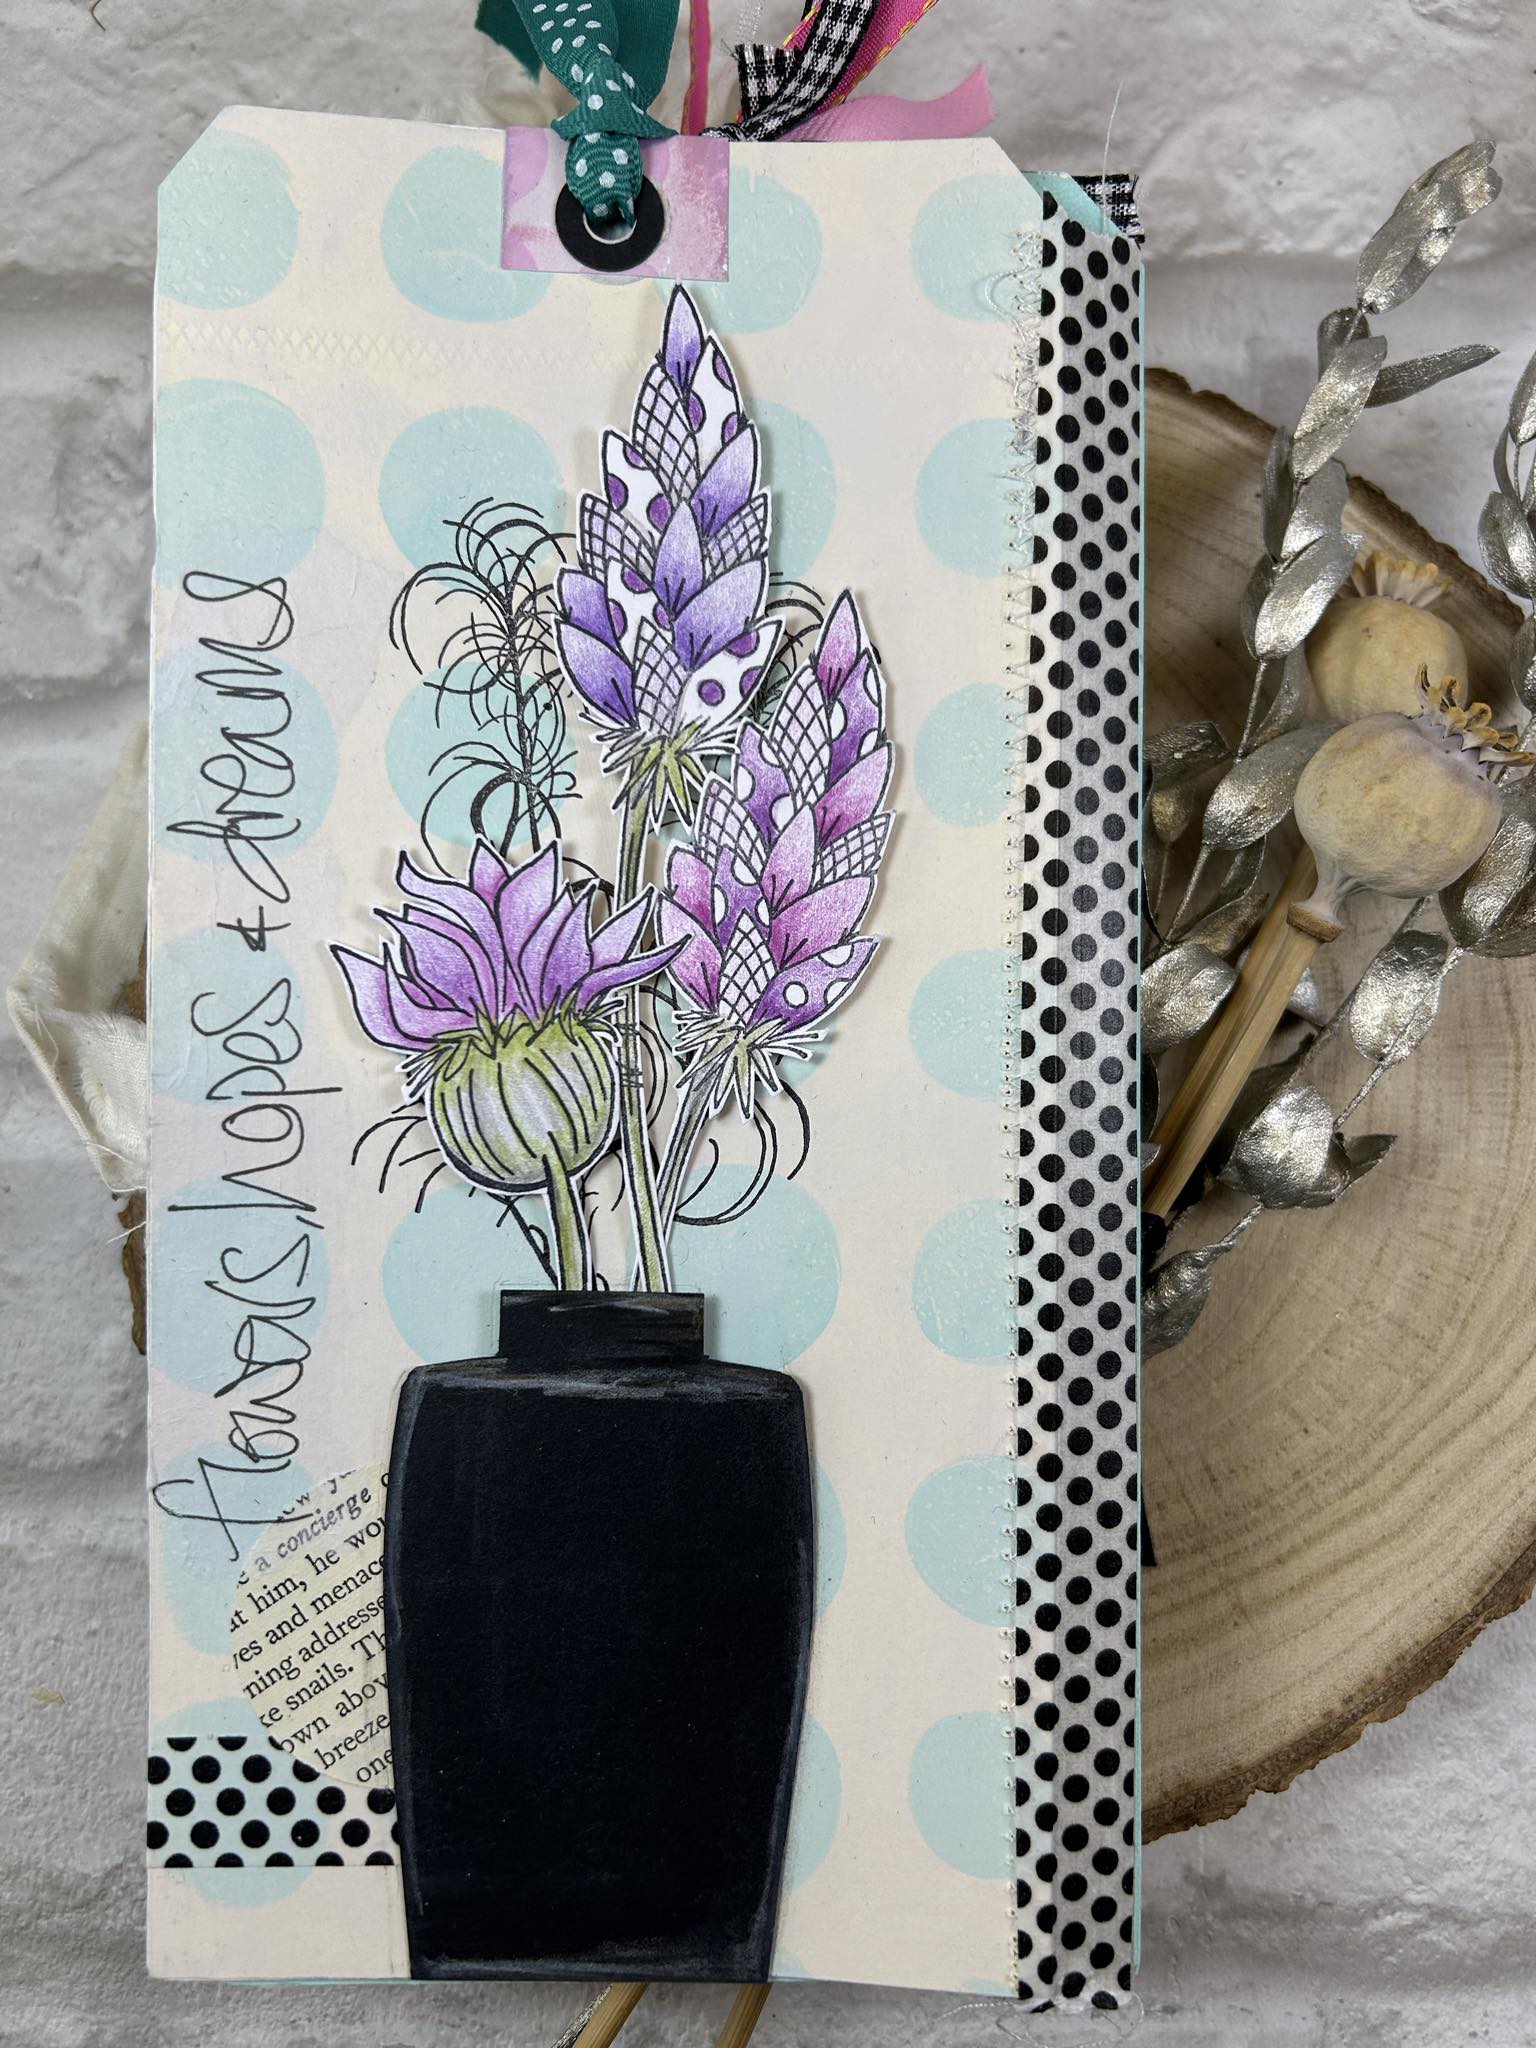
I glued tissue paper, fabric and paper 'Lynne Perrella' flowers made with stamp set LPC006 for a further variety of texture and surfaces onto the mulberry paper. I enjoyed using different parts of the stamps to give me colour density variation too. My free motion stitching around the flower using plum and cream coloured threads gave me a little more attention to detail and interest with another on the reverse. I then glued this onto the book creating the cover.
I used a lace ribbon to secure the tuck folder book together keeping all the fussy cuts safely stored away ready to be used on other projects.
I now have somewhere safe to keep my fussy cuts; it's organised sections means I can take my tuck folder book anywhere with me and I can trim to my hearts content at any given moment!
I really enjoyed making this project and I shall be putting a class together for this soon so do give me a shout if you are interested in doing this in person or online.
I must say one of the things I really like about doing the 'with 3 things' blog posts for PaperArtsy is that I have absolutely no idea what same (or very similar) three products/supplies the three blog artists will receive and then how we all make something so very different. You'll already have seen one fabulous post by Autumn yesterday and so make sure you look out for the third with 3 things using the same supplies by Mags tomorrow.
Until next time
Sending lots of creative love