Hi everyone It's Etsuko from My favorite things here with you today, and with my Art Dolls using lovely Darcy's stamps. I have loved making art dolls since I started stamping so far, I have made them using a variety of materials, including boards, fabrics, old brushes and tin cans. When I turned over my craft boxes to see what kind of doll I was going to make, I noticed two small wooden boxes and pieces of copper leftovers I had used in solder work. I put them together and decided to make the dolls. I thought of making a dolls face with a bezel and pouring resin into it, then making the lid of the box look like a door, drilling a heart-shaped hole in it, and attaching acetate to it to make a window. I believe that the resin and acetate I use will be our quarterly theme of transparency.
A simple technique of lifting the base with transparent paint applied to the box doors using PaperArtsy Fresco Finish Chalk Acrylics and Infusions over the base of Grunge Paste.
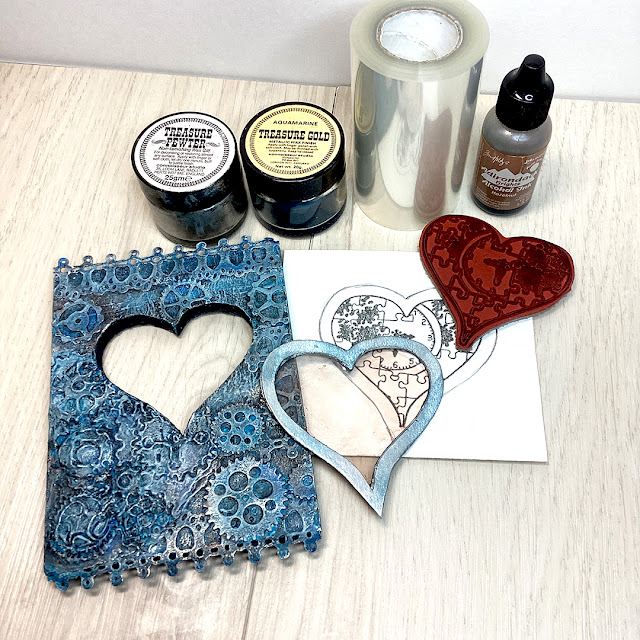
These products that I used, Darcy stamp set 02, 20( EDY02, EGY20 ), PaperArtsy Stencil by Tracy ( PS201 ), PaperArtsy Fresco Finish Chalk Acrylic - Blue Lagoon ( FF131 ), Southern Skies ( FF95), Pea Coat ( FF27 ), Infusions - Royal Blood ( CS10 ), In the navy ( CS15 ), Frankly Scarlet ( CS19 ). First I laid out the products that will be used in this project. And the leading role this time is Grunge Paste,
These are piece of leftovers copper and the bezels were in the process of being made.
Here is a brief description of my bezel and how I used the resin. First I using an appropriate cylindrical rod, I bent the copper cord into an oval shape and made it the size of each face. (I used a rolling pin to bend). Cover them tightly with adhesive copper foil tape on the sides and back, apply flux with a brush (Soldering accelerator) and solder them. I used Darcy's doll face stamps and stamped it on paper then colored it with watercolour.
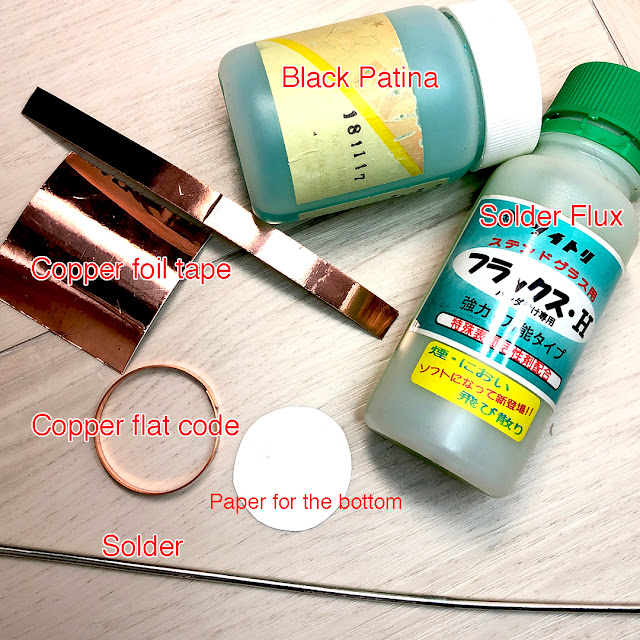
There is my copper and solder set for the bezels.
Apply a piece of paper the same size as the bezel to the bottom and attach thin foil tape to the sides and wide tape to the bottom.
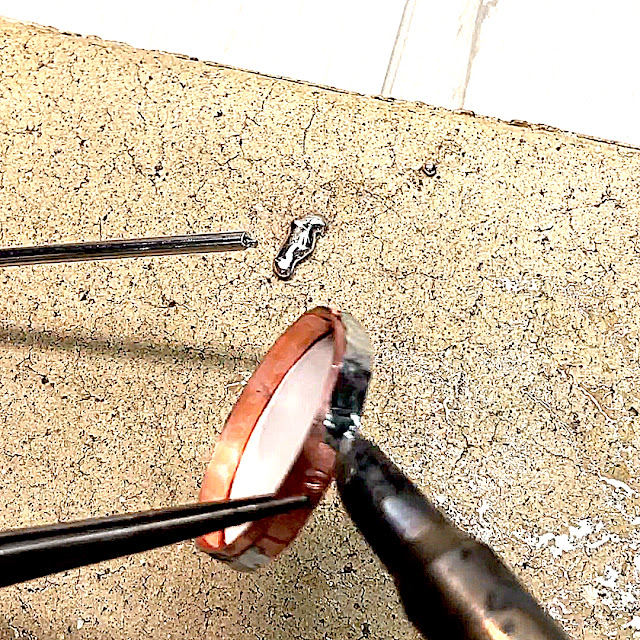
And apply flux around the copper foil and solder the entire surface using a soldering iron.
The resin solution I used consists of liquid A and B. Gently mix the required amount of resin in 1:1 ratio of AB solution for 5 minutes, and let it cure for a day and night. At which time the small bubbles disappear. (Caution - Please always wear anti-immersion gloves)
Sara Naumann also explains how to use the resin in detail on her Facebook.
Before pouring resin into the bezel, apply a thin coating of paper sealer to the surface of the face paper. ( to prevent the resin from smudging the paper.)
These leftover wooden boxes i used here. I cut out the shape of the ECY02 hearts to be the window in the lids, which I thought was good.
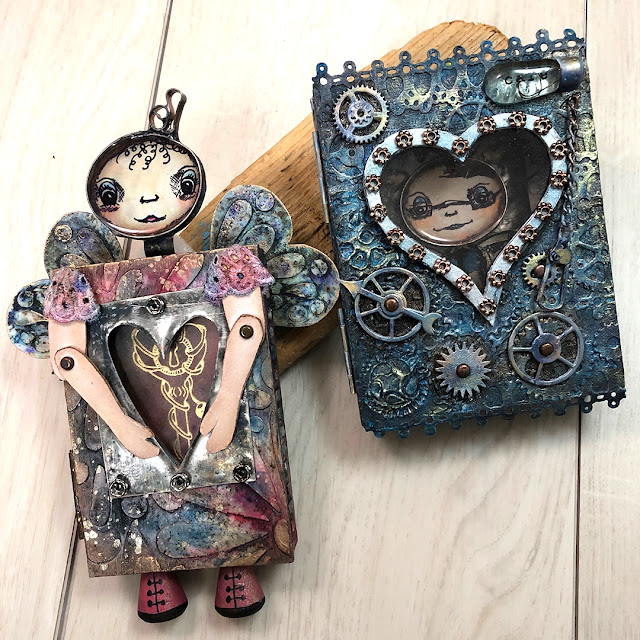
This is the finished view of the box on the left as you face it.
To start on the lid, I tore off a piece of PaperArtsy Printed Tissue ( PT01 ), stuck it on using Mod Podge, let it dry applied Grunge Paste to the left side, let it sit for 5 minutes and then used EDY02 gear stamp. Whenever I use Grunge Paste for stencils it always comes out beautiful! But stamping doesn't always work. This time stamped beautifully on the prototype but fell apart a bit on the production run. I think because there was too much paste and not enough wait time to accommodate it. Amanda Pink showed good tutorial the PaperArtsy blog here.
Painty on the lis with PaperArtsy Fresco Finish Chalk Acrylic - Southern Skies, Blue Lagoon ( FF95, FF131 ), then I the gears were washed with water in Little black Dress to make them stand out.
The frame for the window made in the shape of the EDY02 heart was made by layering several sheet of paper and using the outside of the same stamp, coloured with wax and beads were attached like nuts.
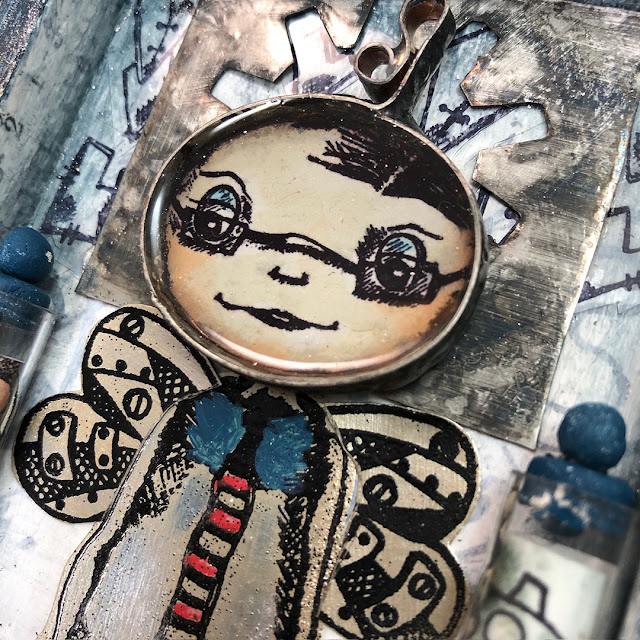
I made this fairy boy and his wings by stamping the body of EDY20 and the butterfly of EDY02 in Versafine Clair - Nocturne on Pewter painted paper.
Painted tissue ( PT01 ) and heart stamp were used create the background for the interior of the box, and the back of the lid was Pea Coat mixed with Satin Glaze for both sides. The box was a little thicker and the size was just right, so I made a design that looks like the fairy boy (EDY20 ) peeking out of the window. Also the window was made of acetate with some brown alcohol ink to give the window a smoky appearance. The use of acetate is an expression of transparency, which is our quarter theme.
I thought the texture was not enough for the door, so I added gears and other embellishments and waxed the door to complete the fairy boy doll.
The journal inside the girl fairy-doll is visible through the big heart window.
PaperArsty Stencil by Tracy ( PS201 ) used with Grunge Paste and coloured with PaperArtsy Infusions Royal Blood and Frankly Scarlet then sanded with Sanding Blocks and used colour waxes.
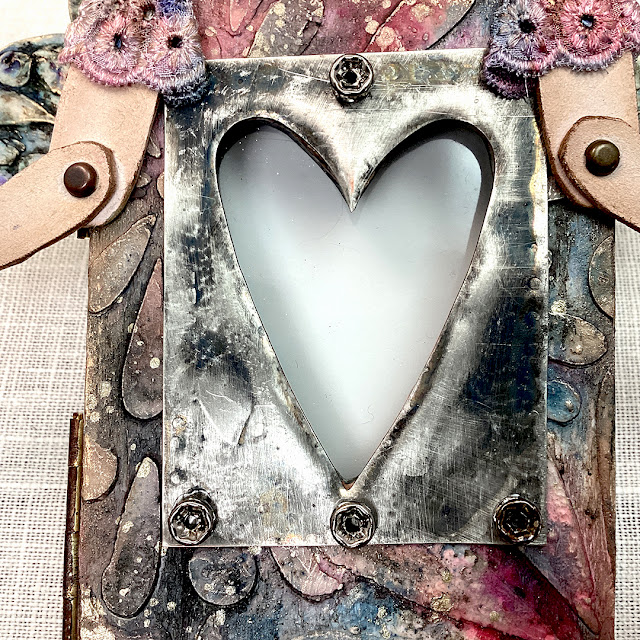
Die-cut leftover of heart to be installed in the window was soldered and finished with black patina for a vintage colour and attached few beads.
Her wings were made by using the same PS201 stencil with Grunge Paste and coloring it with Infusions - In The Navy and A Bit Jaded while adding water then stamped and cut out the EDY02 heart from the back.
I had a little trouble matching colour tones to create the box surface and wings using Infusions. Since I used Grunge Paste, I couldn't redo the process many times, so I had to adjust the colours by water or wiping them off with baby wipes.
Colour waxes were added at the end where the colour was weak. However the girls feet came off several time so I used strong adhesive.
I was puzzled by the stamping on the Grunge Paste and the colour adjustment by Infusions for this project. Many things happen in the process of making but I am always happy when I get a good finish on my doll making. I hope you are inspired to make one after seeing the Art Dolls theme this time.
Thank you so much for stopping by.
Etsuko xxx
Blog: My favorite things
Facebook: Etsuko Noguchi
Instagram: Pixienest
Pinterest: Etsuko N











1 comment:
I really love ❤️ every think you made wow
Post a Comment