Showing posts with label TS070. Show all posts

Friday, 27 January 2023

2023 Topic 02: Tetradic Colours {by Nikki Acton} with Tracy Scott Stamps

Hi everyone, Nikki (@a2acraft) here with you today for our Quadratic/ Tetradic Colour topic under the Tracks theme.

When I first saw the idea of combining the quarterly theme and the topic for each project I thought it might be a bit difficult, but now I love it. As as long time crafter I have quite a large selection of supplies - and I think this is sometimes a barrier to creativity. I find the focus that these challenges bring aids my creative process and enjoyment.

The theme of TRACKS made me think of routes and paths and patterns. But are these a conscious decision or could they be random?  Incorporating a random element into a pattern seemed a little risky as part of the creation is out of my control.... but I went with it.... and liked how it turned out.


My finished projects are two 6x6 inch wall panels. The pattern of the coloured squares was created using a random number generator (with just a little input from me as you will see later).


My inspiration for this was two-fold. Firstly, Tracy Scott's pattern play is great fun and secondly,  I have an interest in the philosophy of free will (that's a bit deep!) and the concept of incorporating chance into the creative process.


I selected 2 of Tracy's stamp sets - one with squares and one with circles. For the main pattern I have only used 2 stamps (shown above) - but used 2 more later for decoration. This idea would certainly work just with one stamp set.

As the topic is Tetradic Colours - I selected three PaperArtsy Fresco Finish Chalk Acrylics - Tangerine Twist (FF92),  Bougainvillea (FF93) and Caribbean Sea (FF94) to build my colour wheel. Using a yellow/orange rather than yellow, a bright pink rather than red and a blue/green rather than blue makes the process more interesting and the addition of PaperArtsy Matte Glaze - Fresco Finish (FF52) added another dimension.... more later.


I created my colour wheel and selected four tertiary colours to use. The quadratic or tetradic combination of colours are those that form a rectangle or square on the colour wheel. My 4 selected colours form a rectangle and are shown below.

Here are the initial backgrounds I made by sponging 2 of the colours onto some card (doesn't look that great at this point - but more layers to come). I paired the blue/greens together and the red/purples. I was a little shocked to get these 2 colours using Bougainvillea! Bougainvillea + a little Tangerine Twist = red (or close enough to call it red.)


For my first layer on each of my backgrounds I grabbed a PaperArtsy Stencil by Tracy Scott (PS211) and sponged through with PaperArtsy Fresco Finish Chalk Acrylic - Chalk (FF83). I used masking tape to make sure I only used the bits of the stencil I needed.


I repeated this on both painted backgrounds.


For the stamping, I chose not to use a stamp platform - but used the stencil lines as a guide. As I was doing 2 identical designs I wanted them to be as similar as possible (as I knew they would be combined). However there are some areas in the finished piece where you can see this was certainly nowhere near perfect!
I used Tracy Scott stamp sets 070 (TS070 and 068 (TS068).


Backgrounds complete - now for the fun part...


Now it was time to 'merge' the blue/green with the red/purple to create the random pattern.  In order to do this I cut each background into 36 pieces. I carefully measured them on the back and marked each square with a number. You can't see it here, but if you do this, make sure you can distinguish your 6 from your 9 etc. - I underlined some numbers to be sure.

Here we go - 72 one inch square pieces ready and waiting.


As there are 36 pieces in each final pattern I decided one colour should be dominant - so decided to select 14 random numbers that I would swap. This gives 22 of one colour and 14 of the other which is very close to the Golden Ratio / Golden Number - often used for compositional design.

I used a random number generator to select these numbers. You can see below that one is duplicated so initially I only had 13.


When I started doing the swap I was shocked that I had a nearly full row of one colour. I know if I had chosen the pattern I would not have done that! There was also a corner with no replaced squares, so this is where I cheated a little and made 2 additions - adding numbers 5 and 12 - to give it a little more balance. (Note - my numbers run from right to left as you look at the front.)


I mentioned earlier about my fascination with Bougainvillea and Tangerine Twist. I got a little distracted and played with this further. By adding various amounts of Tangerine Twist and / or Matte Glaze you get some fabulous colours.


The addition of Matte Glaze gives increased translucency and longer drying time (more time to move the paint around). I had added to the backgrounds originally - you can see how the darker green shows through the lighter green.


The best laid plans! I had made my patterns 6x6 inches but when I measured the wooden panels I was going to mount them on they were a slightly different size. So I carefully adhered my pattern to black card - which then allowed me to trim off a few millimetres.


I prepared my panels by painting the border and edge in PaperArtsy Fresco Finish Chalk Acrylic - Little Black Dress (FF19). I selected some additional squares to stamp from Tracy Scott stamp set 70 (TS070) to create a focal point. I played around with colours here (still using the 4 in the colour wheel). For the 'red' I used one of the examples shown above using Matte Glaze, as the pure colour from the colour wheel was too dominant.


See below where my patterns do not quite line up.
 

Once I had secured the main pattern to the wooden panel, I added my additional elements.


I hope you enjoyed this rather long post. To simplify, I created 2 identical patterns on 2 different colour schemes and then chopped them evenly into pieces which I numbered. I used a random number generator (you could pick numbers out of a hat) to produce the final pattern. This is my interpretation of our Tracks theme - producing a pattern I had no control over.

I am tempted to try this again with the actual pattern (stamped imagery) changing as well as the colours!

In addition this project included our colour theme of using Quadratic / Tetradic colours. I used a rectangle that gave me two sets of 2 colours - ideal for this design. I also introduced Matte Glaze to change the translucency of some of the colours.

What I really enjoyed about this numbers game was losing a bit of control over the finished piece - letting chance takeover! Fancy giving it a go? - I would love to see what you make.

Nikki


Monday, 25 April 2022

NEW PaperArtsy Products: Tracy Scott {April 2022}


A note from Leandra:
Today we have Tracy here to share her awesome new stamps stencils, and 4 new paints! What a great way to start the week! You know she will  have been up to all sorts to make this wonderful for you! Enjoy!
 
I'll leave Tracy to share with you her stamp and stencil insights. Remember, all these products are available EXCLUSIVELY from our approved stockists until July 2022. We encourage you to support retailers in your geographic territory, see the list and links at the bottom of this blog post or from the tab at the top of the blog. 

Tracy will be live in PaperArtsy People at 7:30pm UK time, today, Monday April 25th to share her samples and ideas, and our stockists will be there to share their links too! Replay will be in the group.
 
Hi everyone, Tracy here

I'm here today to share my newest release... how do these releases always seem to come around so quickly?... So this time I have 3 stamp sets and 3 stencils but I also have 4 new awesome paint colours to add to my growing collection. 
And of course everything coordinates perfectly with all previous releases too so you can create endless possibilities.
Sit back, grab a cup or glass of something nice (depending on where you are in the world!!) and let me take you through the new products.


Price: RRP €21.92 +VAT    Size:5" x 6" (13 x16.5cm)
All stamps are individually trimmed onto cling foam with a laminated storage/index sheet.

  
Tracy Scott Set 069 (TS069)

So those of you who have been following my DoodleADay challenge on my Facebook group will know that funky flowers have been making a regular appearance and I just knew that some of these creations were just calling out to be made into stamps. I just love the quirkiness of these stamps and know that they will be perfect for all types of crafting projects.....


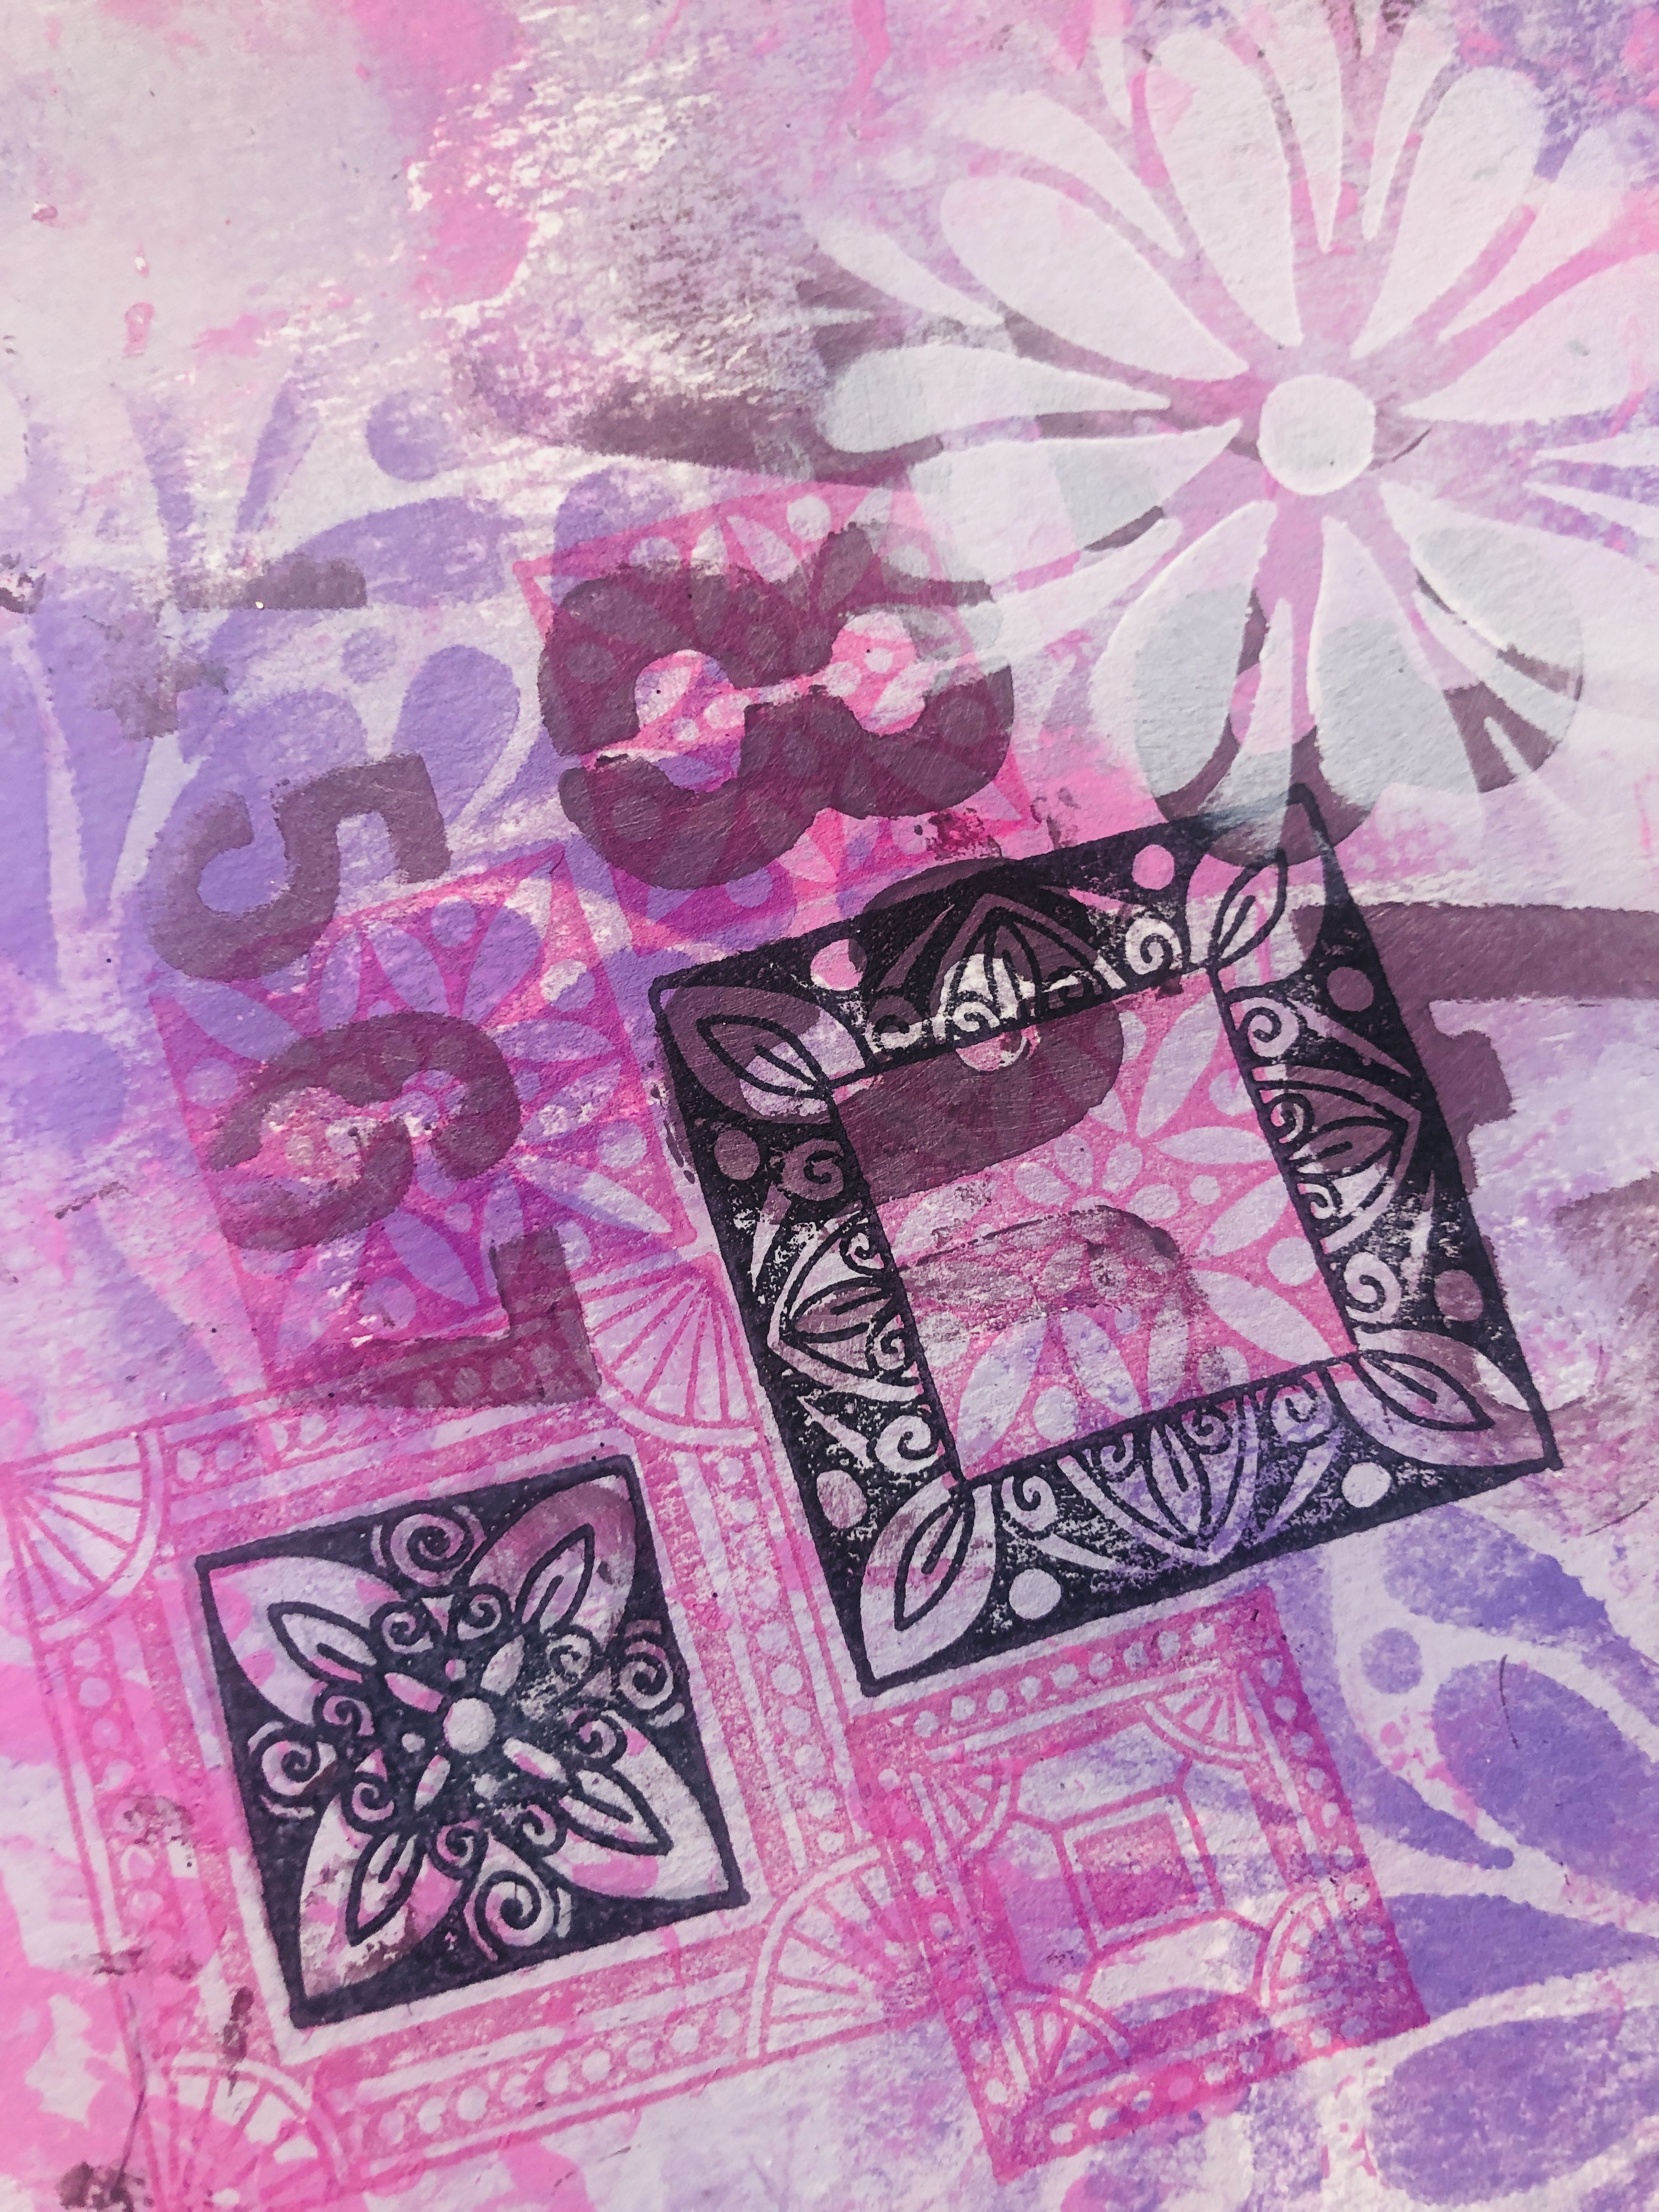
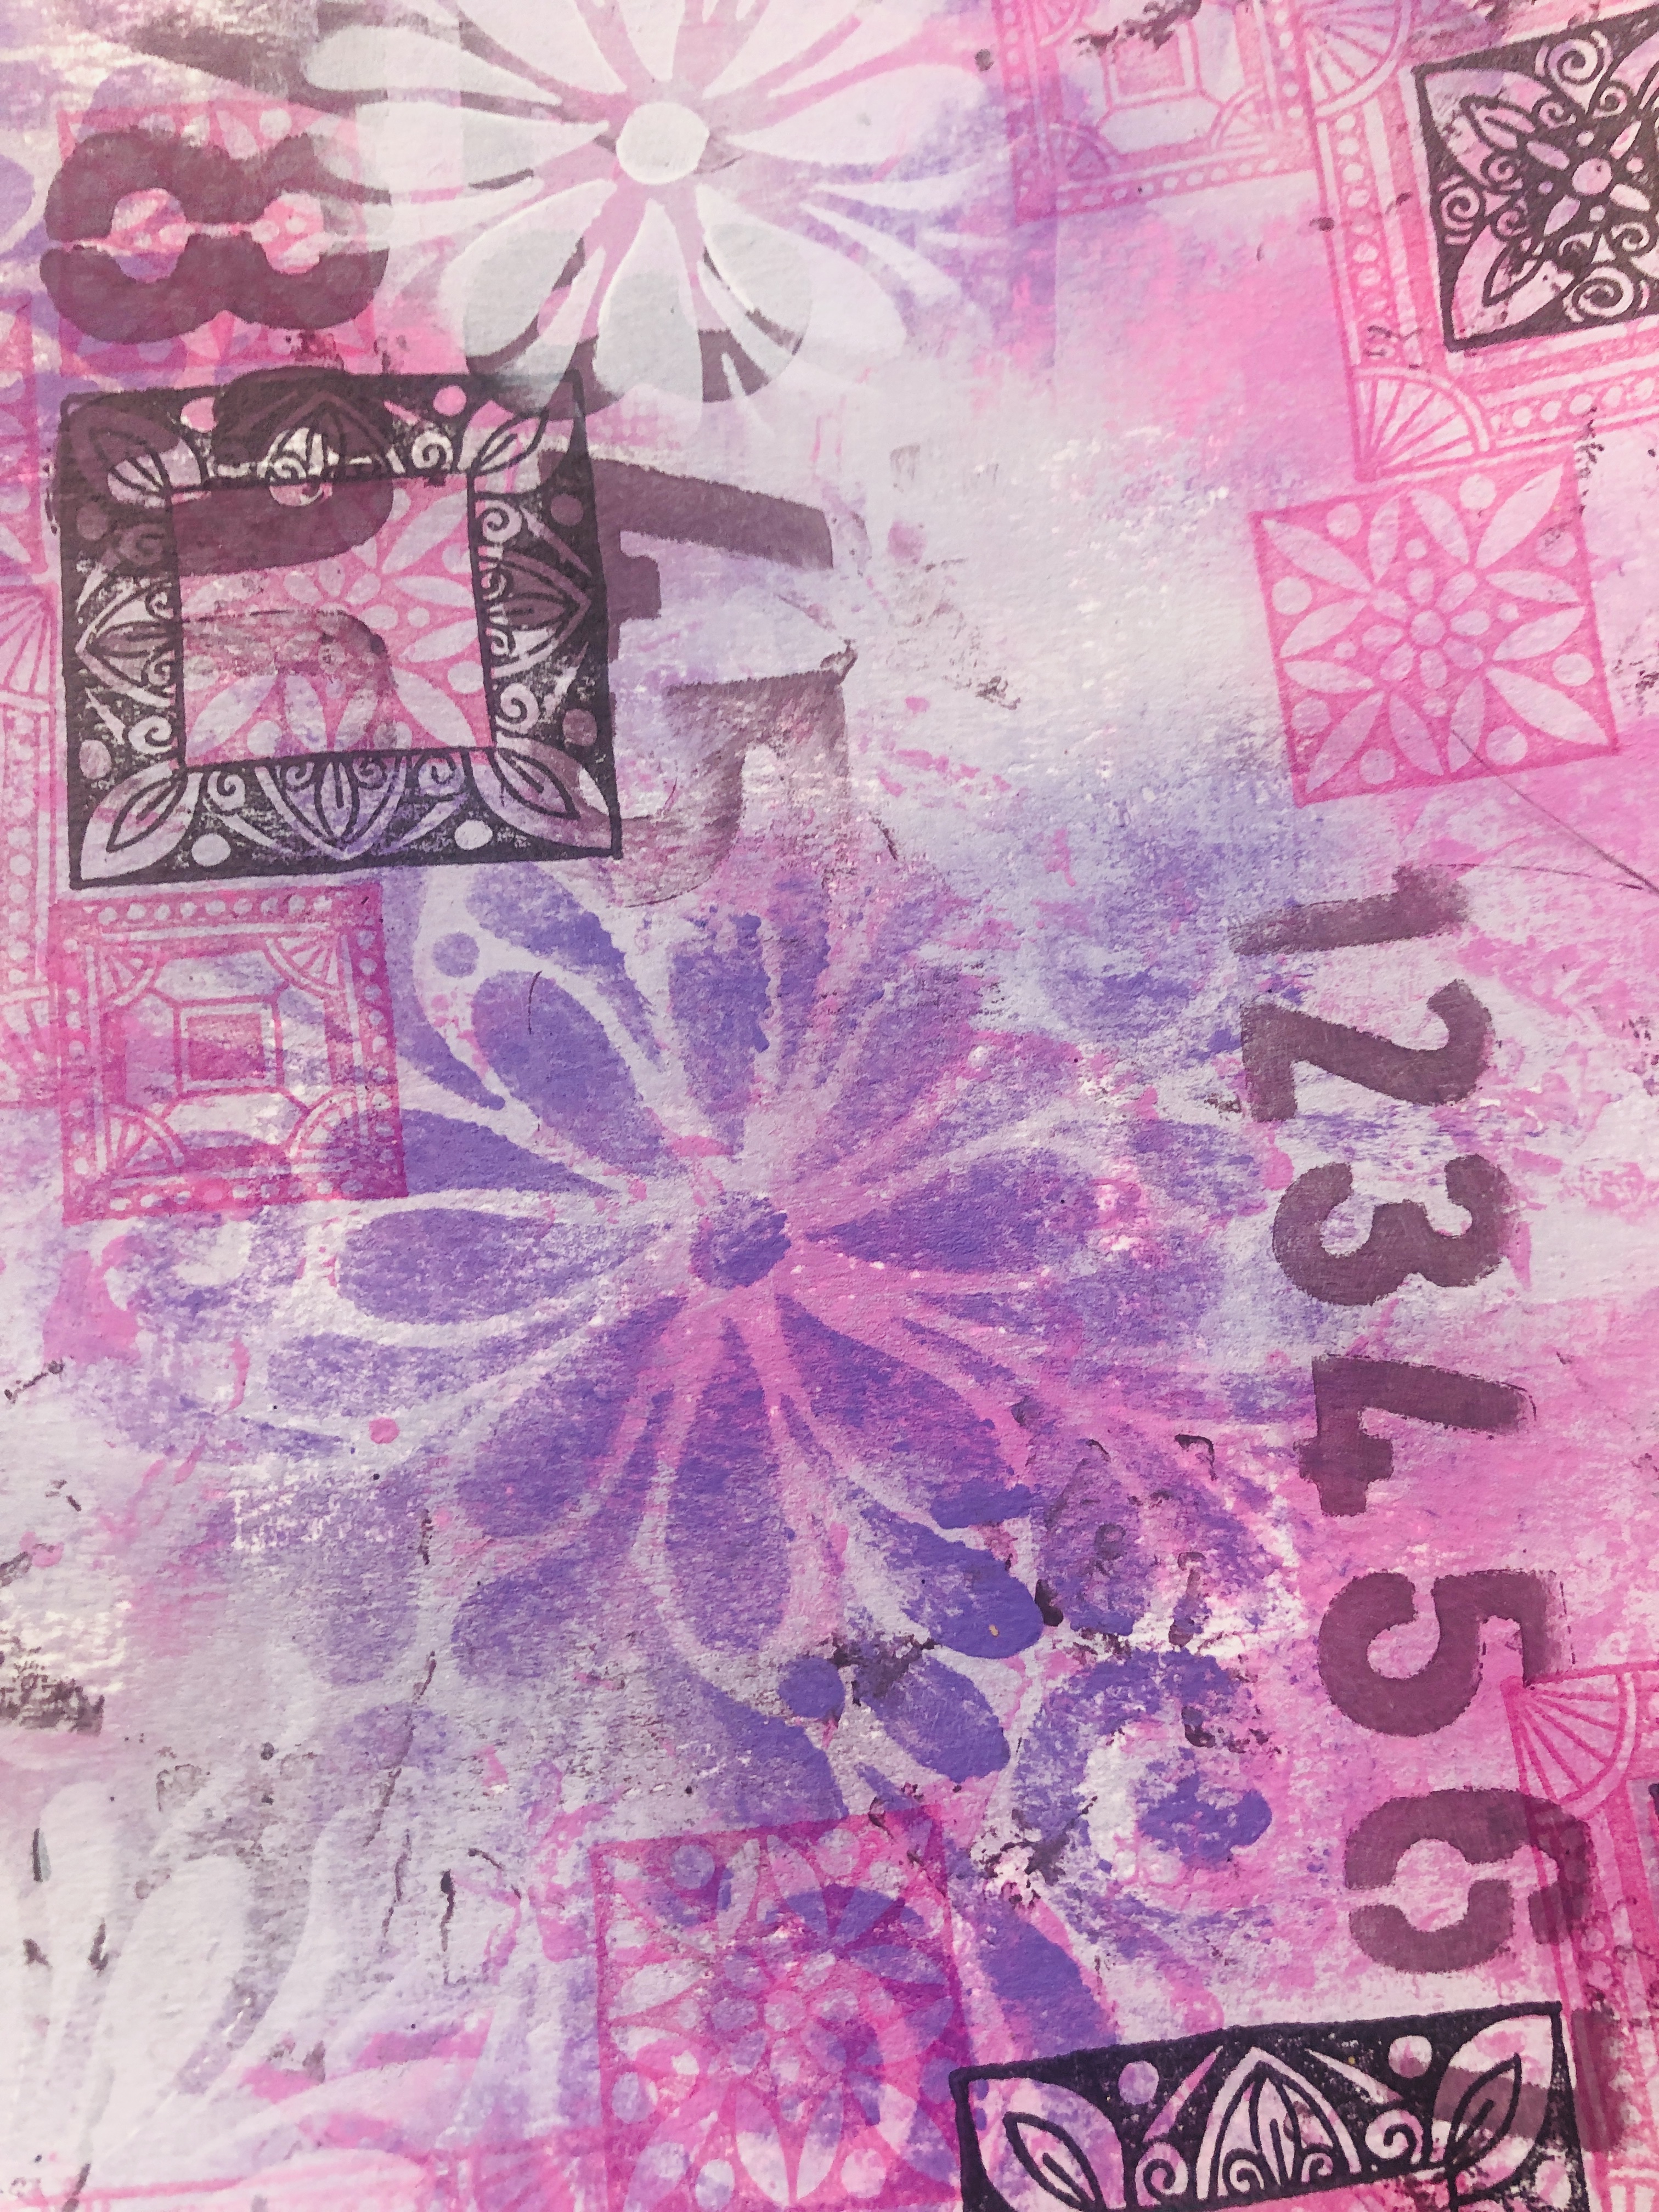
This set is perfect for art journal pages as in the photos above, you can see that I've used the stamps not only as the focal image for the page but also to create a wonderfully colourful background.
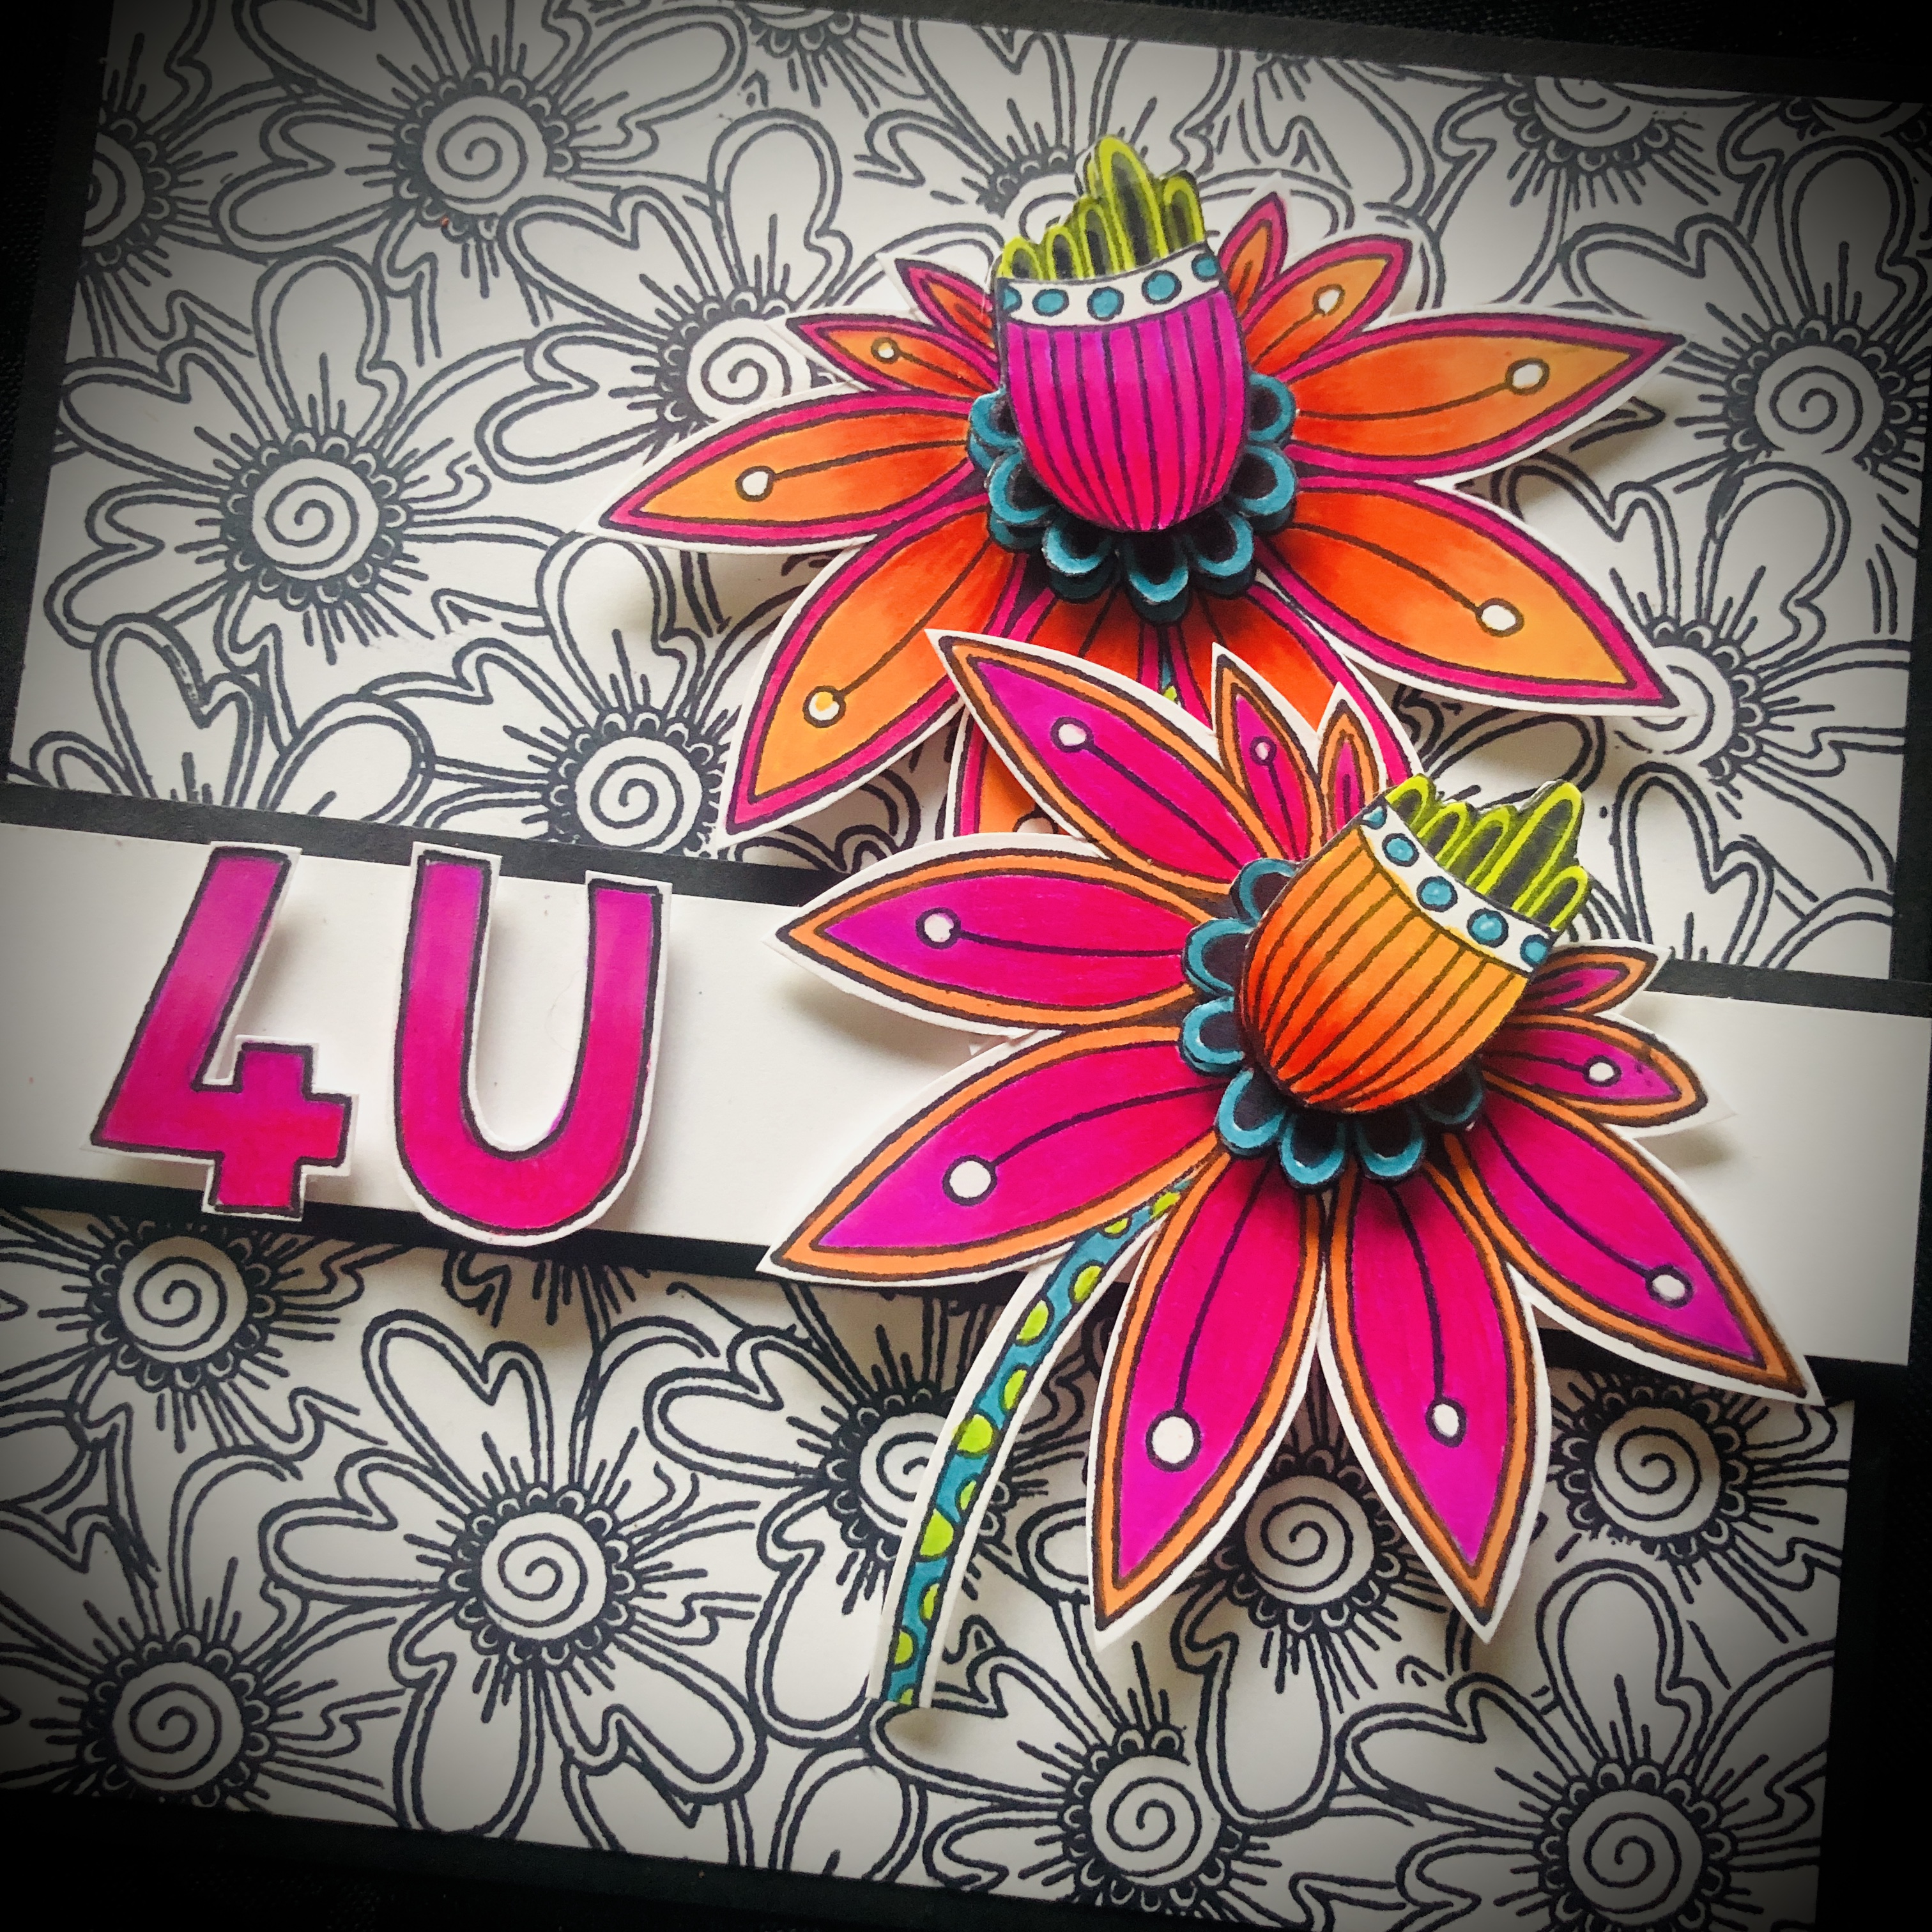
I also created this simple card below using a small stamp for the black and white background and then the largest image coloured in, and you will also see those flowers pop up in other samples as you read through this post.....


Tracy Scott Set 070 (TS070)
 
Whenever I design stamps, I have a general idea in mind of what I want them to do, but then sometimes when you start playing with them they just give you so much more than you imagined!
This is definitely one of those sets..... they are designed so that they can be used individually or they can fit inside one another to create a large number of variations (remember the circles set from the last release?....)
Once started using these I just knew they were going to be so versatile and have many uses.


First I created a simple card using couple of the square stamps for the background in black and white, and then extended out one of the larger square frames to create a larger label to house my word.


Most of you know that when I get new stamps I usually have a play with them in a cheap sketchbook to see what they can do.
Usually I only do this with black ink as per the first photo above, but this time as I took this sketchbook on my holidays with me I started to colour in some of the patterns to get a feel for what they would look like with details and colour added..... I think they came out pretty awesome don't you?


My last sample above I decided do something different, I'm having so much fun with coloured pencils at the moment and after playing in my sketchbook and creating jewels and gems within the square frames I knew I had to create this page. These frames look perfectly at home on this piece of jewellery and just using a few supplies and the stamps has created a stunning page in my sketchbook.

Tracy Scott Set 071 (TS071)
 
You all must know by now how much I adore a mandala and I'm always looking for ways to create stamps so that you get as much variation in a set as possible. 
Obviously if I created an entire mandala I would be size-restricted and you would only get one stamp on the set with maybe a few small add on stamps..... so my solution was to create a section of a mandala that could be stamped repeatedly and voila we now have four large mandalas on one stamp set and of course they can all be mixed and matched to create various other possibilities.


For my first sample I created an accordion style book incorporating each style of mandala, I've only stamped out half a mandala on each page but you can see how it works, my background on this book was created with two of the new paint colours (Berry Nice and Lily the Pink) and two of my existing colours (Cerulean and Banana), they just work so well together.


Again, a little play in my sketchbook to get a feel for the stamps, they work perfectly too with the square frames to create some interesting variations, these combined with the frames. I think would be awesome on scrapbook pages too.
I found with these that because they are all drawn by hand, there is a small variation in the size of the sections, stamping out first in my sketchbook means that I now know which ones need to be stamped butted up next to each other and which ones can be stamped with a small gap in between, I highly recommend stamping onto scrap paper first to get a feel for the spacing before stamping onto a project or alternatively stamp and cut the sections to create a 3 dimensional layered project.

Large Size: 6.25" x 9.5" (16 x 24cm) Price: RRP €6.28 +VAT
  
PaperArtsy Stencil 320 (PS320)

So the first of my stencils is a double, these mandala shapes are the perfect size for quick cards as well as perfect in a journal background and can also make a fabulous focal point.


In the journal page above I've used one of the mandala shapes to create a focal shaker window using embossing powder, and cutting out the centre,  I just love how this stencil can be used for more than background details and just look at those gorgeous new paint colours and flower stamps.... just perfect together.

PaperArtsy Stencil 321 (PS321)

Everyone needs letters and numbers in their kit, perfect to be used in backgrounds eras a template formal your lettering or numbering needs.


The page above was created on A3 Kraft card so is quite large but the lettering from the stencil fits perfectly and really does create its own focal point and definitely adds to the page with the use of colouring pencils to match in with the flower.
All of the letters and numbers on this stencil have been hand drawn by me and so are not perfect and I love that it really does add the look of hand lettering rather than something that has been produced mechanically. 
I'm sure if you go back through some of the other samples now you will see other places that I have used this stencil either in the background or for focal lettering.

PaperArtsy Stencil 322 (PS322)
 
Ok so last stencil for this release, who doesn't love swirls and teardrops?  I adore this stencil, this one is going to become a firm favourite and will definitely get repeated uses over and over again, its just so pretty in a background for art journalling but would be perfect for cards and scrapbook pages to add beautiful details.
 

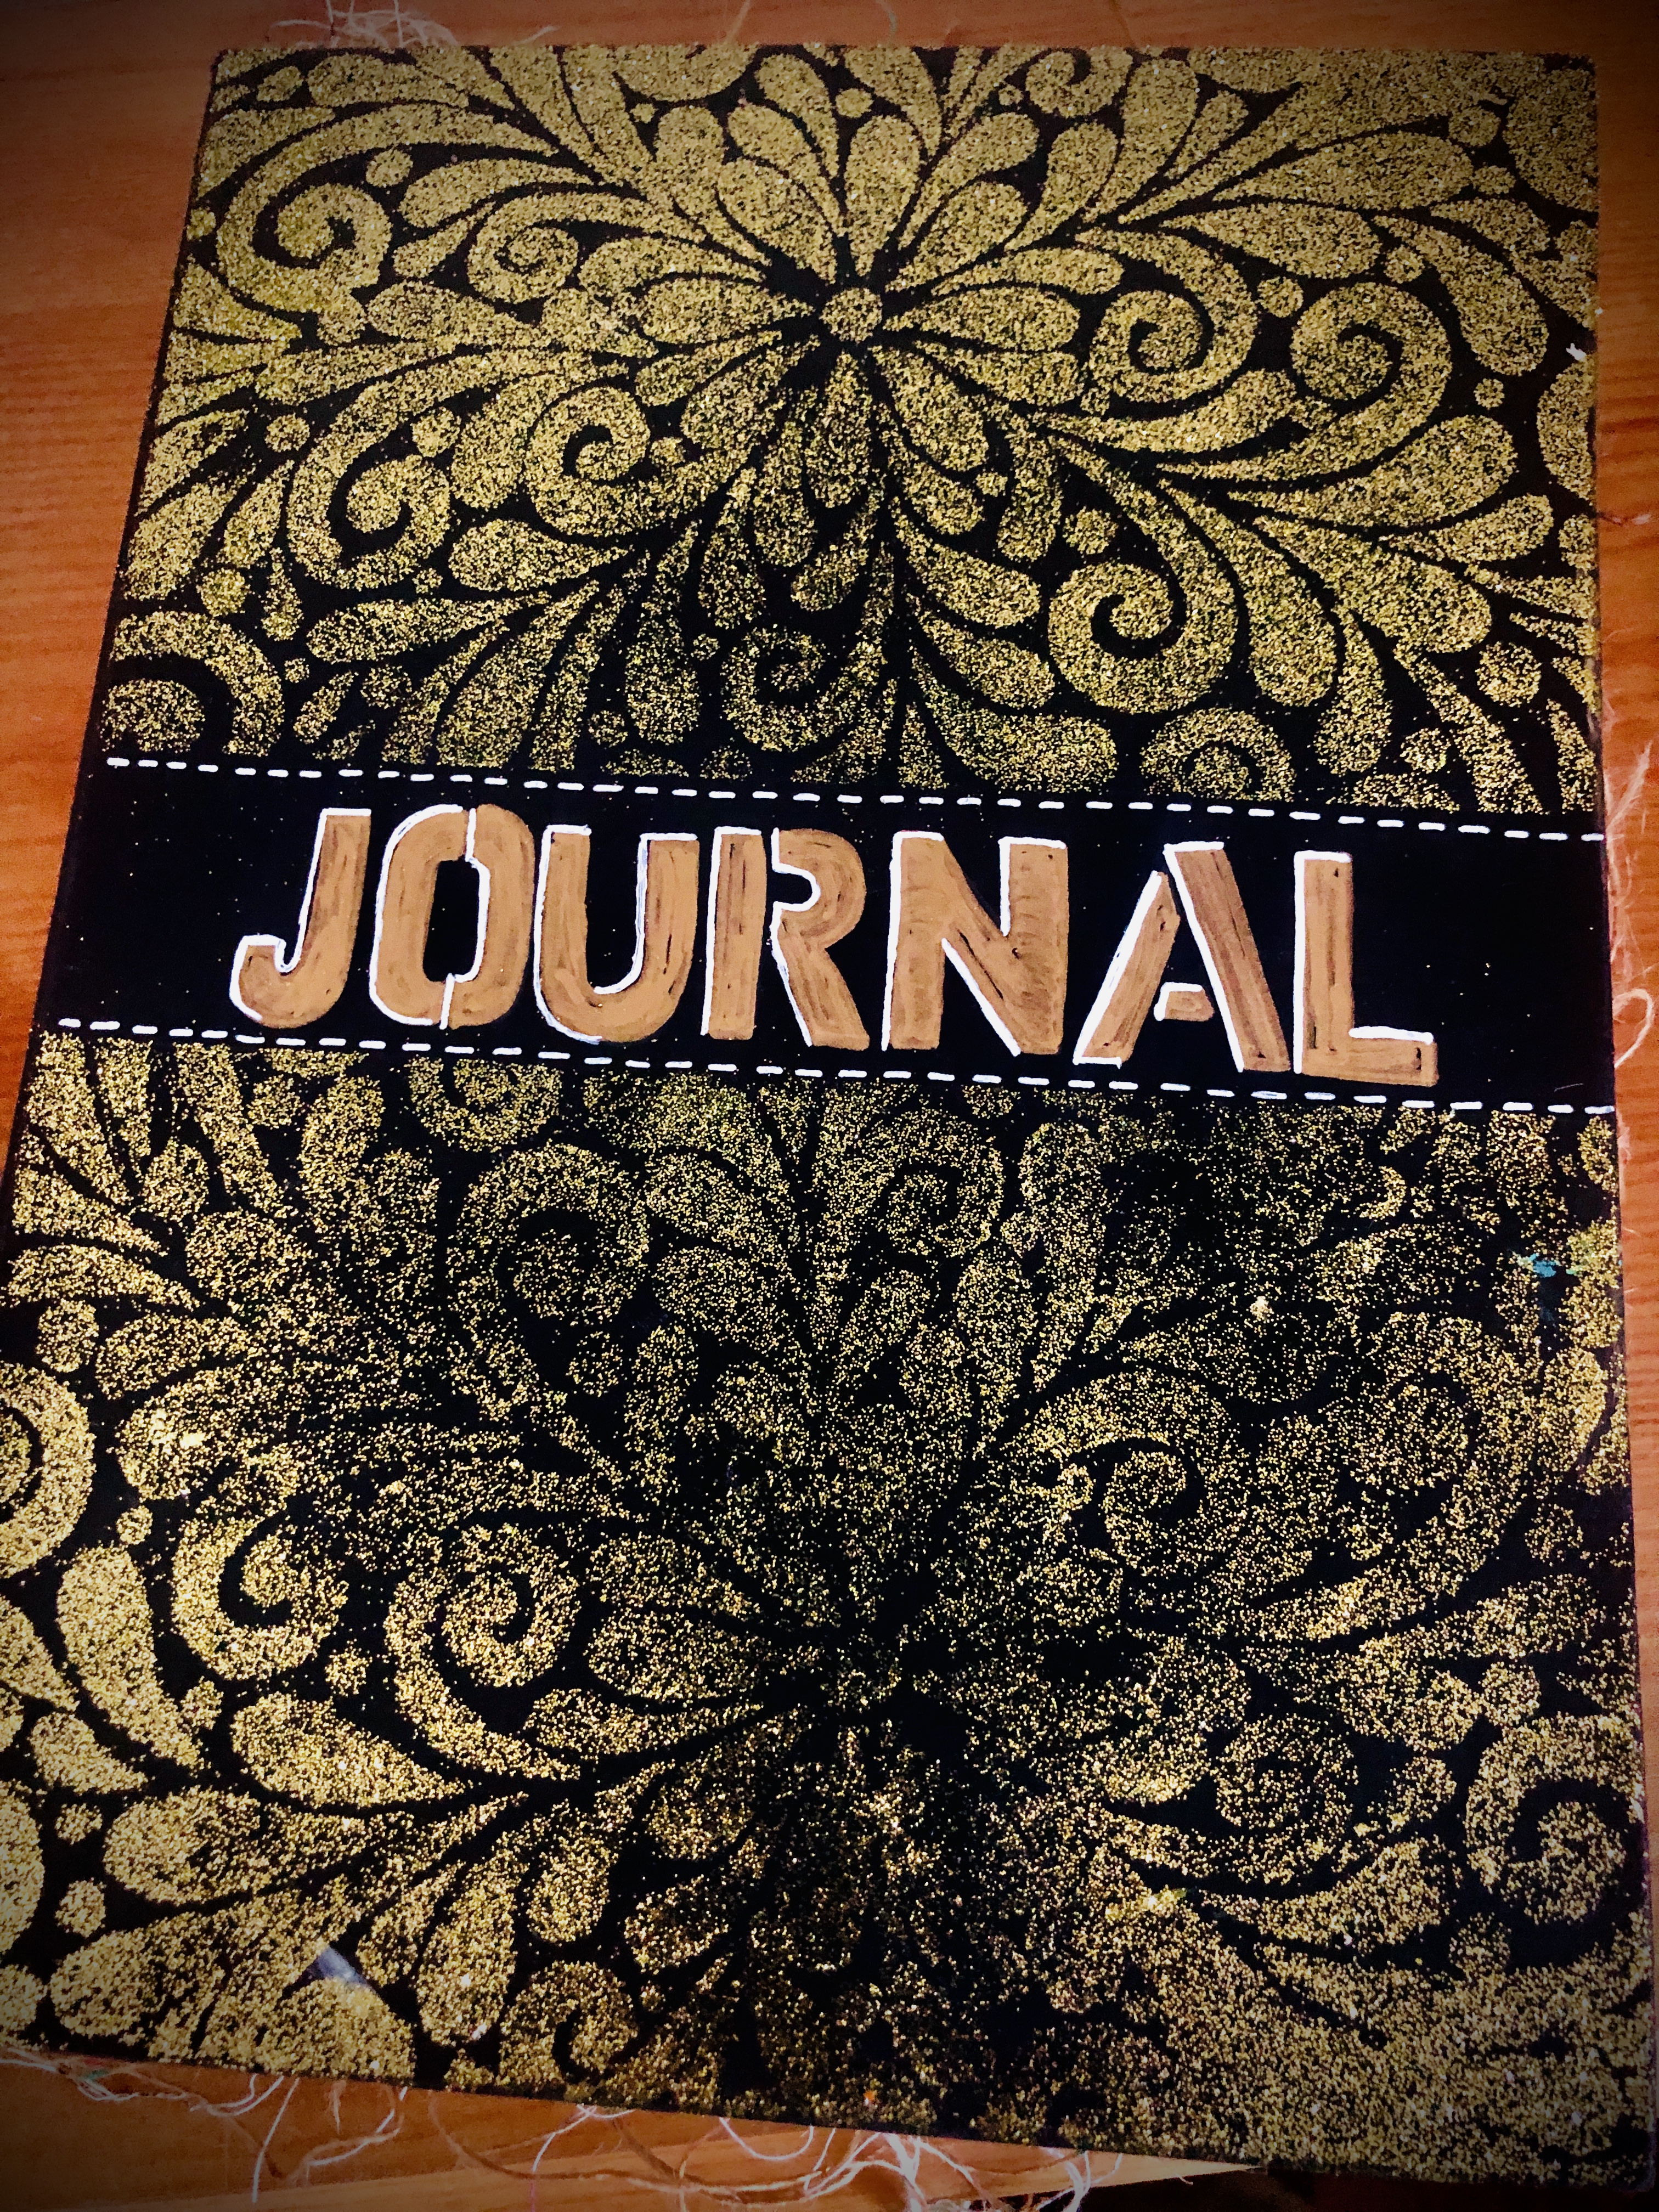
I had great fun adding a worn embossed look to the from cover of this Dina Wakley mixed media journal,  I really wasn't very careful when I stencilled through as I didn't want it to be too perfect but of course you could take the time to add perfect stencilling if that is your preferred look.  The stencil was big enough that I could create this divided look to my cover and then used the letter stencil to add my word to the centre. Pretty cool I think and certainly beats the plain black cover.


Price: RRP €4.58 +VAT    Size:50ml


We have 4 new paints from Tracy to share with you today. All of these paints tend towards opaque, and the 2 semis will be opaque if you apply more than one layer.

Chantilly was a much needed off white, it has a yellow undertone, so will sit nicely under her lime green, yellow and orange or mute them down into pale versions.

Haze is a grey with a pink-purple base so again, sits well with her bright colours, and also will make an interesting mixing shade with many other of her colours.

She has often been a fan of bubble gum. Lily the Pink is a more purple pink and unlike any other shade we already have, beautiful with her palette for sure!

Finally Berry Nice is a stunning blue-purple with lots of oomph, and looks amazing with Tracy's bright blues.


Using just the 4 new colours together you get a lovely soft look, they work so well together and I love the way they look on this master board above with a little of Seths Squid Ink added into the mix.  just beautiful!


A gorgeous background with the new paints on this journal page and they really do set off the brighter colours of the focal images.


And on these samples above, I've combined the Haze, Berry Nice and Lily The Pink with the Cerulean and Banana from my existing colours and WOW how vibrant do they look?

Love that the new colours can be muted down or brightened up dependant on how they are used, they coordinate perfectly with all my existing colours and are definitely a welcome addition to my growing collection of colours.

And of course here are the remaining 24 shades in Tracy's line...


Thank you so much for joining me again for the latest release, I truly appreciate your being here and don't forget that I will be going 'live' in the PaperArtsy People Facebook Group at 7:30PM BST to share these samples and maybe a few more!!!
 
Take care
Tracy

Socials...
Facebook: www.facebook.com/myjournallingjourney
Instagram: www.instagram.com/tr4cy1973


 PaperArtsy Stockist List

Our stockists are your go-to  source for all PaperArtsy products, and we suggest that you also use the PaperArtsy People Facebook group to source a retailer in your country. Many are members of our FB group and will happily share links to their online stores.

Australia
Bev's Cross Crafts, Spreyton, Tasmania https://www.bevscrosscrafts.com.au/
Crafters Cupboard, Berwick, Victoria www.crafterscupboard.com.au
Memories on the Murray, Murray Bridge, SA  https://www.memoriesonthemurray.net/
Natalie May Scrapbooking, Dover Gardens, SA https://nataliemay.com.au/
Scrapbook Superstore & More, South Penrith, NSW https://www.scrapbooksuperstore.com.au/
The Scrapbooker's Confetti Box, Swansea, NSW https://thescrapbookersconfettibox.com/
The Scrapbook Store, North Perth,WA http://thescrapbookstore.com.au/ 
Time To Createwww.timetocreate.com.au

Belgium
Cart N Scrap Art, Antwerp, www.cartnscrapart.be
Créatelier Caracolle, Liège, www.createliercaracolle.be

Canada
Clipper Street Scrapbook Company, Langley, BC. www.clipperstreet.com
Paper Art Creations Inc, Leduc, Alberta, www.paperartcreations.com/
Scrapbook Centrale, Dollard Des Ormeaux, Quebec www.scrapbookcentrale.ca
Scrap Addicts, Edmonton, Alberta www.scrapaddicts.ca/
Scrap and Bean, Edmonton, Alberta scrapandbean.com/ 
Scrapbooking Fairies, Drayton Valley, Alberta www.scrapbookingfairies.com/
The Paper & ink Boutique, Calgary, Alberta www.paperandinkboutique.com/
The Scrap Yard, Calgary, Alberta, www.thescrapyardcalgary.com/ 

Denmark
Hobbyboden Scrapworld Samso www.hobbyboden.dk

France
Eirl Bancon Cartoscrap, Midi Pyrenees, www.cartoscrap.com
Fée Du Scrap, Saint Sébastien-Sur-Loire, www.feeduscrap.fr/
Horizon Créatif, Ste Jalle www.horizon-creatif.fr
Instant Créatif, La Possession, La Réunion, www.icreatif.re
Katzelkraft, Ingwiller www.katzelkraft.fr/en/
Kerudoc Creation, St Yvi www.kerudoccreation.com
Le Grenier des filles, Pierre Benite
Page de scrap, Saint Pavace, www.pagedescrap.fr/
Scrap Déco Home, Goutrens, www.scrapdecohome.fr/
Toutencolle, Dun sur Avon www.toutencolle.fr

Finland
Heidin Korttipaja, Istunmaki, www.korttipaja.fi/fi
Piia Paper, Kittiläwww.piiapaper.com/fi

Germany
Stempelbar, Berlin, www.stempelbar.de
Stempeloase Munich, Munich www.stempeloase.de
Stempelfee Shop, Hilden www.stempelfee-shop.de
Stempellaedle, Stuttgart, www.stempellaedle.de/shop

Greece
Scraps N Pieces, Kallithea www.scrapsnpieces.gr

Italy
Immagine SAS di Rapaccini, Rome, www.immaginelab.com
Il Negozio Della Mamma Di Cle, Torino, www.ilnegoziodellamammadicle.com
Marte Savona, Savona, www.martesavona.it
Pezze E Colori, Lissone, www.pezzeecolori.it/ 
Piccole Passioni, Siena, www.piccolepassioni.it

Japan
La Wadao, Odawara, Kanagawa, www.lawadao.com
Tiny Dots, Funabashi-shi, Chiba www.tinydots.shop-pro.jp

Netherlands
De Hobbystudio, Genemuiden, www.dehobbystudio.nl/
Doe@ding,Spijkenisse doeading.nl/
Hobbycompleet de Duif, Leeuwarden www.hobbycompleet.nl
Stampingcorner, Capelle Aan Den Ijssel www.stampingcorner.nl

Norway
Hobbygarasjen, Kopervik, www.Hobbygarasjen.no

Spain
Cien por Cien Manualidades, Barcelona,  www.100x100manualidades.es
Ideas 10 Manualidades Y Scrapbook, Bilbao ideas10manualidades.com/
Marakiscrap, Tarragona, www.marakiscrap.com
Scrap & Papers Experiences, Barcelona, www.scrappapersexperiences.com
The Paradise Corner, Barcelona, www.theparadisecorner.com

Sweden
Butik Elva, Staffanstorp, www.butikelva.se

Taiwan
Mandy's Cards, Taipei www.facebook.com/mandy.card.77

United Kingdom
Amelia's Creative Crafts, Studley, Warwickshire  www.ameliascreativecrafts.co.uk
Art from the Heart, Harrogate, Yorkshire www.afth.co.uk
Blade Rubber Stamps, London www.bladerubberstamps.co.uk
Crafts at The Malthouse, Herstmonceux,  East Sussex, www.themalthouse.co.uk/
Fave Rave, Stourbridge, West Midlands www.shabbychicstencils.co.uk
Loobi Crafts, Leighton Buzzard, Bedfordshire, www.loobicrafts.co.uk
Papermaze, Ipswich, Suffolk www.papermaze.co.uk/ 
Stampers Grove, Springbank, Lilliesleaf, Melrose,Scotland www.stampersgrove.co.uk
The Artistic Stamper Craft Store, Faversham, Kent www.theartisticstamper.com
The Forget me not Kraft KabinRochford, Essex, www.TheForgetMeNotKraftKabin.co.uk

USA
Artistic Artifacts, Alexandria, VA www.artisticartifacts.com/
Artistic Studio Creations, Fayetteville, Georgia www.facebook.com/ASCbyCrystal
Craftiness, Chatsworth, CA, www.craftinessonline.com/
Ephemera Paducah, Paducah, Kentucky www.ephemerapaducah.com
Everything Scrapbook & Stamps, Lake Worth, Florida www.everythingscrapbook.com
Frantic Stamper, Oregon www.franticstamper.com
Free Heart LLC, Denver, Colarado, www.freeheartllc.com/
Golden Hills PaperCrafts, Fairfax Station, Virginia, www.goldenshillpapercrafts.com/
Joggles, West Warwick, Rhode Island, www.joggles.com
PaperCraft Clubhouse, Westbrook, Connecticut, papercraftclubhouse.com/
Qingquing's Stamp Shop, Portland, Oregon
Runaway, Art & Craft Studio, NE Salem, Oregon www.runawayart.com/
Simon Says Stamp, Columbus, Ohio www. simonsaysstamp.com
Topflight Stamps, Irmo, South Carolina topflightstamps.com/

Our brand is only available from established stockists who are VAT/ GST/ sales tax registered and for whom product education is a core principle. We would rather supply a few hand selected stockists, than the greater masses. If you would like to apply to be a stockist, you can find our more about our supply criteria here.

PaperArtsy Links
Facebook Group PaperArtsy People
Facebook Page PaperArtsy