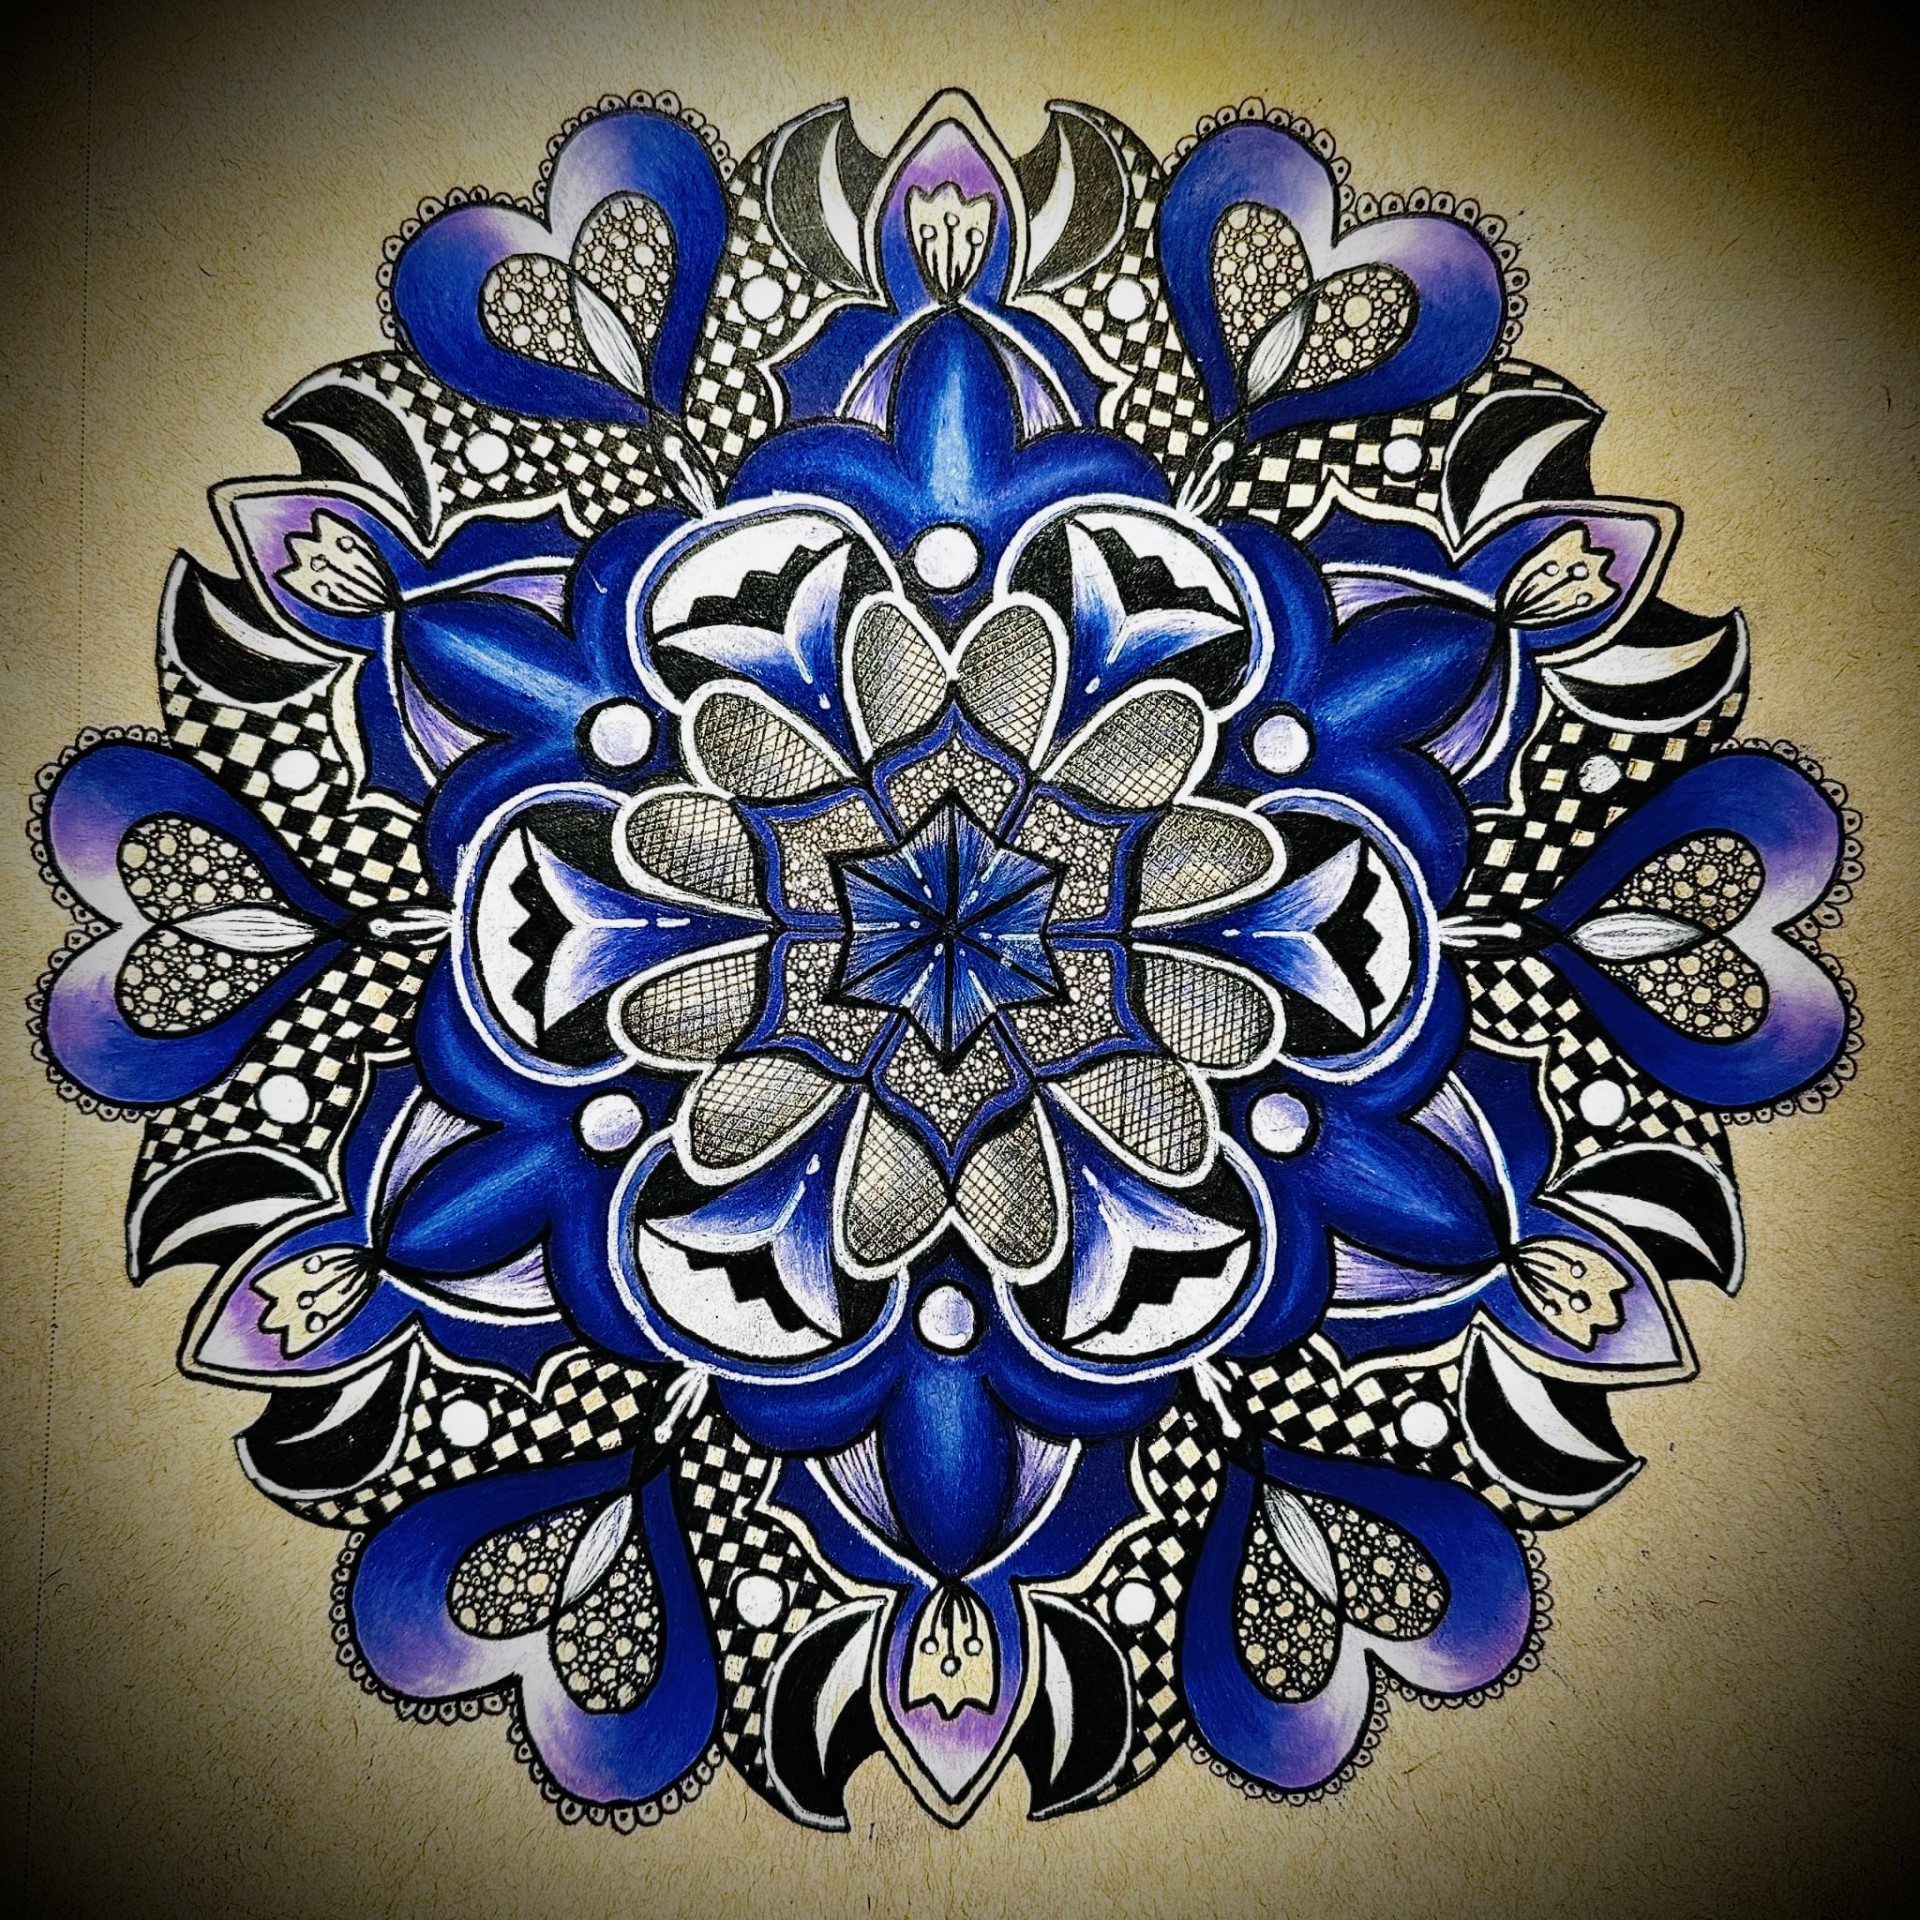
Showing posts with label Mandala. Show all posts

Friday, 10 July 2026

3 Things - The Mandala Girl {by Amanda Pink}


Hi everyone, it's Amanda from p1nkart with you today for a 'With 3 Things' challenge post. 

This feature on the PaperArtsy Blog is where 3 identical items are sent to 3 members of the PaperArtsy Blogging team. Typically we will receive a stamp, a stencil and a colour product but this time instead of the stencil we received a mini stamp. 

We have no clue what PaperArtsy HQ is going to send, the whole idea of this challenge is to do something crafty in our personal style with these 3 items. 
We can incorporate other PA products into the mix if we feel it is necessary.

So let's take a look at what I received from PA HQ ...


As you can see a lovely trio of goodies! Tracy Scott's A5 stamp set 055 (TS055), her mini stamp 19 (TSM19) and one of Tracy's Fresco Chalk Acrylic colours too, Ochre (FF195). 

In the main, my creative style generally errs to the grungy but I also have a soft spot for bold, bright colours (like Ochre) especially when set against / accented with black. I love an intricate mandala too and a strong focal so I've brought all these together to create an art panel/ journal page that I'm sharing today! 


Lets take a closer look at what I made ....


I stamped the mandala from TS055 several times in VersaFine Clair (Nocturne) on panels of PaperArtsy Smoothy (SCA4).


I wanted to stamp all the mandalas in one session before colouring them. I knew that would mean removing each of them from the stamping platform in order to stamp the next but was mindful I may need to restamp the mandalas after painting. So to enable me to achieve perfect alignment and precision if restamping was required I ensured each of the smoothy panels were positioned flush against the top left corner of the platform, drew a arrow on the panels to indicate their orientation and left the mandala stamp in situ on the platform lid.


Next I moved on to some grunge paste stamping. I applied PaperArtsy Grunge Paste (GP190) to some off cuts of PaperArtsy Heavy Smoothy (SCA4H) and stamped into it several times with the small circle/flower stamp, being sure to clean the stamp thoroughly after each stamping.  I was really happy with the grungy impressions and knew once coloured they would make great embellishments for my project. 

I've shared some info/ hints and tips about stamping into/ with PaperArtsy Grunge Paste on  previous posts here and hereIt's also worth doing a search on the blog as a lot of the PaperArtsy bloggers/ designers have shared too. We all have a lot of love for Grunge Paste :). 

NB: Always clean your stamps immediately after using them with PaperArtsy Grunge Paste or Fresco Finish Acrylics. 


Using VersaFine Clair ink (Nocturne) with Tracy's mini TSM19, I stamped the young girl numerous times as I wanted to experiment with different colour combinations during painting. 


Let's take a closer look at what I did ....


I began by painting the mandalas with the colour PA HQ had sent- Fresco Chalk Acrylic, Ochre (FF195), I was really impressed with how striking the Ochre looked against the white card and black stamping and was very tempted to leave it just like that.....but I didn't.


I paired it up with Tracy's Fresco Chalk Acrylic, Deep Sea (FF198), which just happens to be a colour palette high on my list of faves! A bit of research on the PaperArtsy blog also tells me both these colours were 2 of the 4 colours Tracy released back in January 2020. 
The outer edges of the mandala leaves and petals were painted with one of Tracy's most recently released Fresco Chalk Acrylics, Zinc (FF235).


When I'd finished painting the mandalas there were a few places that did need re-inking and as I'd prepped for this earlier, I was able to pop the panels back on the stamping platform and restamp with precision.

A few white pen highlights here and there and the mandala's were ready to be fussy cut!


I also knew my finished design required slicing the mandalas in half. Ouch!


I moved on to colouring the grungy stamped circles. I cut them free of the larger grunge paste panel before painting each with Fresco Chalk Acrylic, Little Black Dress (FF19).

I wanted to catch the raised texture on the circles with Fresco Chalk Acrylic, Ochre (FF195) but because it's a translucent colour I knew it wouldn't show up well on the black background without an opaque or metallic base coat first. So I opted for Fresco Chalk Acrylic, Gold (FF20) then caught the Gold with Ochre (FF195).


I couldn't resist some touches of Fresco Finish Acrylic, Deep Sea (FF198) either for a 'patina' kind of vibe.  Love how they turned out ! 


Now to colour our lovely young girls.
I kept to the 3-colour palette used so far varying the colour combinations of their tops and hair beads. For a delicate skin tone I opted for Tracy's Fresco Chalk Acrylic, Vintage Lace (FF18). Using the paints with water allowed me to control the shading, keeping it light and soft in places, slightly richer and darker in others.


I also rustled up a quick backdrop for whichever young girl I decided to use. This was simply a piece cut from an old dictionary page dipped into Fresco Chalk Acrylic, Ochre (FF195) spritzed with water, knocked back with a gentle braying of Fresco Chalk Acrylic Snowflake (FF15).


After time spent faffing with various orientations I settled on this one for the finished design.


The young girl sits behind a black wooden plinth within a black frame. 


Black and white pen work highlight and add detail to her features and accessories.


Each corner of the frame is embellished with one of the grungy circles.


Manipulating the mandalas before positioning them added depth and dimension to the overall design.  


I hope you have enjoyed seeing/reading about my 'with 3 things' creativity and maybe something I've shared has offered you some inspiration, perhaps even tempted you to have some fun creating in your own style 'with 3 things' .....and maybe just a few more too! ;) 


Thanks for taking the time to stop by today/ tonight.  
Creative wishes
Amanda
x

Facebook: Amanda Pink
Instagram: p1nkart
Pinterest: PinkArt

Monday, 21 August 2023

NEW PaperArtsy Products: Tracy Scott {August 2023}


A note from Leandra:
Tracy has created a series of designs for this release that allow you the opportunity to go in all kinds of directions! Maximum versatility is on offer here. Focal butterflies have always been a favourite design element for Tracy, and here is another that looks magnificent nestled within a Lace Booklet. Flowers that can be layered for depth and coloured for contrast are always a winner, and a long overdue face stamp that can be personalised in so many ways will get you started on face journaling if this is something you have not tried before. Faces also make an appearance in her Printed Tissue release too, just tear, glue, and add colour.
 
Don't forget Tracy will be along to share with you LIVE her new products and ideas over in our facebook Group, PaperArtsy People shortly after this post publishes. I hope you can drop by for the live, or try to catch the replay. it's nice to hear from the designer about each new release and understand more fully the ideas they have with each product!
 
For the next few months, these stamps are available EXCLUSIVELY from our approved stockists. Please check the list at the foot of this post to find a retailer online or geographically near you, it makes sense to order within your country where possible.
 
Hi everyone, Tracy here

I'm super excited to share with you my newest release for PaperArtsy. 3 stamps and coordinating stencils and for this release I also have some printed tissue paper to share.

I love everything about this release, I wanted all of the designs to be super versatile and coordinate with all of my previous releases too. I am so thrilled with the end result. Lots of options, they work perfectly with previous stamps and stencils but are equally at home as stand alone products.

I can't wait to show you my ideas with these products .... let's take a look!

Price: RRP €4.20 +VAT 
Size: 30" x 20" (67 x 47 cm) 4 per pack

This design is based around 3 of Tracy's hand-drawn faces, with plenty of other useful elements for background details (script, patterns), focal elements (butterflies flowers) that can be used to build up a page, tag, booklet insert etc. The faces are designs that will work well glued directly into or over an existing painterly journal page background, or create your own around the design.

We recommend PaperArtsy Fresco Finish Matte Glaze as a nice pouring consistency adhesive. A runny, wet glue helps the tissue to disappear when glued onto your receiving surface, however be careful as a wet glue can also make the tissue more fragile. Our tip (for large tissue sections, like the faces in Tracy's design) is to seal one side of the tissue (work on a non stick surface like a craft sheet), allow it to dry, then seal the other side, before adhering the big piece of Printed Tissue into your journal. For small pieces, no need to reinforce it, just stick it down!

Tracy Scott Printed Tissue (PT04)

Tracy: Oh my goodness I am so excited to share my new printed tissue paper, you get four large sheets in a pack and each one has three printed faces per sheet as well as lots of other focal and background elements. The faces fit perfectly in the large Dylusions journal and are also perfect for the Lace Booklets (approximately A4 size).
You can be sure that you can make lots of projects from these beauties.

These faces take all the hard work out of creating a beautiful journal page, simply adhere to your favourite background , and then add colour... or not!.... and decorate away.
 

You can add as much or as little as you like to these, paint, coloured pencil, markers, embossing powder, or maybe even 3D elements. The possibilities are endless.


I adore the effect of using my gold embossing powder on this Indian princess... it gives a raised effect and definitely adds to her regal appearance. I can't wait to play with these some more.


Price: RRP €23.00 +VAT Size:5" x 6" (13 x16.5cm)
All stamps are individually trimmed onto cling foam, with a laminated storage/index sheet.

  
Tracy Scott Collection stamp set 081 (TS081)

So I think we all know by now how much I not only love a butterfly but also my obsession with doodles and I felt it was about time to design a new one combining the two elements.
This stamp turned out so much more beautiful than I imagined and that led me to leaving it  black and white for this project... 
 

I just adore the contrast on this brightly coloured page with the black and white doodle patterned butterfly.
  
 
As you can see the design on this really does coordinate perfectly with both older and newer stamps sets which h will make it a perfect addition to your stash.
 

On my second project I have used all the stamps in the set to create a perfect backdrop to my photo focal point.
 

As you can see this large. butterfly and coordinating elements are the perfect addition to my scrapbook page and I love that I can use them in this way as well as in my journal.
  

Those beautiful swirls and the flowers in three different sizes are going to be the perfect addition to many other projects in the future.


Tracy Scott Collection stamp set 082 (TS082)
 
Flowers flowers and more flowers.... you can never have enough right?.... I certainly can't stop designing stamp sets with flowers on. The beauty of these ones is that they coordinate perfectly with previous releases and also with the smaller additional flowers stamps in the other sets in this release.

This first sample was created by Amanda Herring in Perth Western Australia whilst I was on my recent tour there and I felt that it needed showcasing.... How beautiful are the colours in this?
 

Just look how the flowers from this set coordinate perfectly with the flowers and elements from one of my previous releasesTS078
 
 
And I just love the way these flowers can be cut apart and layered up to create dimension. 


Sometimes you just want to play with no particular project in mind, I got totally lost in the process of stamping and colouring these flowers, they are an absolute joy to colour and cut out, and will be perfect for a masking technique as they have very simple edges.
 

So you can see on the stamp set that you have the addition of extra petal shapes, the idea of those is that they can be used to build up your flower designs and make them larger for bigger projects either by masking off and stamping to keep your design flat or stamped and cut out individually to stack and layer.
 

The large flower in these images is approx 5 inches in diameter and could be built up even further for a larger project.... the same c an be done with the other stamps in. the set giving you countless possibilities for your projects large and small.


Tracy Scott Collection stamp set 083 (TS083)
 
I haven't created a face stamp for a few years now and knew it was the perfect time for a new one. There's a real trend right now for paper dolls in the art journal world and I just had to get in on the act. Drawing faces were a big part of my early journalling days, so its nice to revisit techniques with them.

For this project I stamped her out on to a toned cardstock and then drew in the bottom half of the dress using some of the addition element stamps in the set to create the pattern for her dress. She is still a work in progress but I love her so far.
 

You probably know by now that I love creating 3D projects in my journals (my journals are usually bursting at the seems by the time I fill them up) but there is something very satisfying and relaxing about being able to stamp up a project add a few hand drawn elements and just take time colouring it in with your favourite medium.

 
And of course like my other face stamp from set TS017 she has a very whimsical look to her which means you can colour her up in any colours you choose... even if it you want to give her green skin.... well - why not I say!
 

I absolutely adore this sample... I already mentioned that art dolls are the trend right now so I just knew I had to make my own. I incorporated the butterfly stamp set into this one too so that I could make her a fairy art doll.
 

All the elements in these sets just work so well together to bring so many options to your creativity.


She really is a beauty and did you notice that her headdress was made from part of the butterfly wings.


Large Size: 6.25" x 9.5" (16 x 24cm) Price: RRP €6.58 +VAT
  
PaperArtsy Stencil by Tracy Scott {Large} 407 (PS407)

So my love of a flower and a butterfly is only matched by my love of a mandala. My favourite and most used stencils I have ever designed are the mandala shapes templates and I knew it was time to add another. This is number 4 in my collection and every single one adds something new to the designs. With these stencils the sky really is the limit.

This first sample was created by Liz Brancato in Sydney Australia whilst I was teaching a mandala maker workshop. How beautiful is that?...
 

There really are countless options for these mandala stencils, even the colours and designs that are added can make such a difference to the final appearance of your project.
 
 
I love that by turning your stencil over and using the back side you can creating a whole new host of shapes, this heart for example is made using one of the swirl shapes on the stencil in reverse... how clever is that?
 

So for this one below, I used this new mandala shapes stencil and also incorporated my very first shapes stencil PS267 to demonstrate how they can all be mixed and matched together.
This is a larger 12 x 12 project but these can b e m aide even bigger than that or smaller... the choice its yours.
 

The beauty of these stencils is that you trace out your basic. empty shape and then you can fill that shape with any patterns and colour you like.
 

Delicate detailed patterns combined with bold colour pencil shading really do give a beautiful finished project.


PaperArtsy Stencil by Tracy Scott {Large} 408 (PS408)

What do you do when you need a large mandala to fit a 12 x 12 project but the stencil size is 6 x 9? You get clever..... Those little extras on the stencil are not there just for decoration.. oh no... they are the extender pieces which allow you to create a full 12 x 12 stencilled mandala.

My first project just uses the stencil as a template, I've traced it out into my planner added in a few extra shapes with the extender pieces and then just happily sat and coloured.


You can see that those little leaf extenders have been used here to create an additional layer of pattern.
 

Using your stencil as a template means that you can utilise your product in lots of additional ways... this project no longer looks like it was made with a stencil due to the way its been coloured and the shapes joined up and now has a real hand drawn quality.
 

And of course this can be used in the traditional was as a regular stencil.  On this one I've stencilled with black ink over a coloured background and flipped the stencil so that I get a full mandala.
 

The black stencilling really does give an amazing pop against this coloured background don't you think?
 
 
Just one more then..... on this project I've used the half mandala and stencilled over a coloured background with gold embossing powder.  It really does look so pretty.
 

Of coursed this same technique could also be applied to a double page journal page or even a scrapbook page... how cool would that look?


PaperArtsy Stencil by Tracy Scott {Large} 409 (PS409)

So my last stencil is another flower shapes stencil, I created one of these a while ago now and I use it so much that I knew I need additional flower shapes,  I just love their versatility.

Here I combined the flower shapes stencil with my alphabet stencil (PS321) to create a striking reverse coloured page


Using the stencil as a template gives you the option to place your design anywhere you want on the page, playing around with composition as you go.
 

Overlapping designs can be created simply and quickly and creates a lovely effect.
 

And of course it can be used as a regular stencil creating pretty floral elements in the background of your projects, whether you create art journal pages, cards or scrapbook pages, this one will work for every project.
 

I'm thinking that this one would work equally well with the gel plates to create some really interesting prints.
 
 
It coordinates perfectly with the flower stamps too
 

Thank you so much for joining me today and don't forget I'll be over on the PaperArtsy People Facebook Group at 7:30pm UK time to share these samples and maybe a few more surprises.

I'd love to see you there.

Socials...
YouTube:Tracy Scott
Instagram: Tracy Scott

Below is a list of the retailers who have already got these new releases in stock ready for you to buy NOW!    

 PaperArtsy Stockist List

Our stockists are your go-to  source for all PaperArtsy products, and we suggest that you also use the PaperArtsy People Facebook group to source a retailer in your country. Many are members of our FB group and will happily share links to their online stores.

Australia
Bev's Cross Crafts, Spreyton, Tasmania https://www.bevscrosscrafts.com.au/
Crafters Cupboard, Berwick, Victoria www.crafterscupboard.com.au
Memories on the Murray, Murray Bridge, SA  https://www.memoriesonthemurray.net/
Natalie May Scrapbooking, Dover Gardens, SA https://nataliemay.com.au/
Scrapbook Superstore & More, South Penrith, NSW https://www.scrapbooksuperstore.com.au/
The Scrapbooker's Confetti Box, Swansea, NSW https://thescrapbookersconfettibox.com/
The Scrapbook Store, North Perth,WA http://thescrapbookstore.com.au/ 

Belgium
Cart N Scrap Art, Antwerp, www.cartnscrapart.be
Créatelier Caracolle, Liège, www.createliercaracolle.be

Canada
Paper Art Creations Inc, Leduc, Alberta, www.paperartcreations.com/
Scrapbook Centrale, Dollard Des Ormeaux, Quebec www.scrapbookcentrale.ca
Scrap Addicts, Edmonton, Alberta www.scrapaddicts.ca/
Scrap and Bean, Edmonton, Alberta scrapandbean.com/ 
Scrapbooking Fairies, Drayton Valley, Alberta www.scrapbookingfairies.com/
The Paper & ink Boutique, Calgary, Alberta www.paperandinkboutique.com/
The Scrap Yard, Calgary, Alberta, www.thescrapyardcalgary.com/ 

Denmark
Hobbyboden Scrapworld Samso www.hobbyboden.dk

France
Eirl Bancon Cartoscrap, Midi Pyrenees, www.cartoscrap.com
Fée Du Scrap, Saint Sébastien-Sur-Loire, www.feeduscrap.fr/
Horizon Créatif, Ste Jalle www.horizon-creatif.fr
Instant Créatif, La Possession, La Réunion, www.icreatif.re
Katzelkraft, Ingwiller www.katzelkraft.fr/en/
Kerudoc Creation, St Yvi www.kerudoccreation.com
Le Grenier des filles, Pierre Benite
Page de scrap, Saint Pavace, www.pagedescrap.fr/
Scrap Déco Home, Goutrens, www.scrapdecohome.fr/
Toutencolle, Dun sur Auron www.toutencolle.fr

Finland
Heidin Korttipaja, Istunmaki, www.korttipaja.fi/fi
Piia Paper, Kittiläwww.piiapaper.com/fi

Germany
Stempelbar, Berlin, www.stempelbar.de
Stempeloase Munich, Munich www.stempeloase.de
Stempelfee Shop, Hilden www.stempelfee-shop.de
Stempellaedle, Stuttgart, www.stempellaedle.de/shop

Greece
Scraps N Pieces, Kallithea www.scrapsnpieces.gr

Italy
Immagine SAS di Rapaccini, Rome, www.immaginelab.com
Il Negozio Della Mamma Di Cle, Torino, www.ilnegoziodellamammadicle.com
Marte Savona, Savona, www.martesavona.it
Pezze E Colori, Lissone, www.pezzeecolori.it/ 
Piccole Passioni, Siena, www.piccolepassioni.it

Japan
La Wadao, Odawara, Kanagawa, www.lawadao.com
Tiny Dots, Funabashi-shi, Chiba www.tinydots.shop-pro.jp

Netherlands
De Hobbystudio, Genemuiden, www.dehobbystudio.nl/
Doe@ding,Spijkenisse doeading.nl/
Hobbycompleet de Duif, Leeuwarden www.hobbycompleet.nl
Stampingcorner, Capelle Aan Den Ijssel www.stampingcorner.nl

Norway
Hobbygarasjen, Kopervik, www.Hobbygarasjen.no

Spain
Cien por Cien Manualidades, Barcelona,  www.100x100manualidades.es
Ideas 10 Manualidades Y Scrapbook, Bilbao ideas10manualidades.com/
Marakiscrap, Tarragona, www.marakiscrap.com
Scrap & Papers Experiences, Barcelona, www.scrappapersexperiences.com
The Paradise Corner, Barcelona, www.theparadisecorner.com

Sweden
Butik Elva, Staffanstorp, www.butikelva.se

Taiwan
Mandy's Cards, Taipei www.facebook.com/mandy.card.77

United Kingdom
Amelia's Creative Crafts, Studley, Warwickshire  www.ameliascreativecrafts.co.uk
Art from the Heart, Harrogate, Yorkshire www.afth.co.uk
Crafts at The Malthouse, Herstmonceux,  East Sussex, www.themalthouse.co.uk/
Loobi Crafts, Leighton Buzzard, Bedfordshire, www.loobicrafts.co.uk
Stampers Grove, Springbank, Lilliesleaf, Melrose,Scotland www.stampersgrove.co.uk
The Artistic Stamper Craft Store, Faversham, Kent www.theartisticstamper.com
The Forget me not Kraft KabinRochford, Essex, www.TheForgetMeNotKraftKabin.co.uk

USA
Artistic Artifacts, Alexandria, VA www.artisticartifacts.com/
Artistic Studio Creations, Fayetteville, Georgia www.facebook.com/ASCbyCrystal
Craftiness, Chatsworth, CA, www.craftinessonline.com/
Everything Scrapbook & Stamps, Lake Worth, Florida https://everythingmixedmedia.com/
Frantic Stamper, Oregon www.franticstamper.com
Free Heart LLC, Denver, Colarado, www.freeheartllc.com/
Joggles, Coventry, Rhode Island, www.joggles.com
PaperCraft Clubhouse, Westbrook, Connecticut, papercraftclubhouse.com/
Qingquing's Stamp Shop, Portland, Oregon
Runaway, Art & Craft Studio, NE Salem, Oregon www.runawayart.com/
Simon Says Stamp, Columbus, Ohio www. simonsaysstamp.com
Topflight Stamps, Irmo, South Carolina topflightstamps.com/

If you are interested in becoming a PaperArtsy stockist contact Dounia@paperartsy.com for more information

PaperArtsy Links
Facebook Group PaperArtsy People
Facebook Page PaperArtsy