Hi everyone
Victoria here with you today.
It feels like I’ve been dreaming of summer for months and in typical UK style, we’ve had more rain than is typical and not a lot of sunshine. So a JoFY floral project was just the ticket to mimic some summer vibes.
The books and journals topic had me thinking about all the vintage papers lying on my shelves, underused, and repurposing some of the books to create a whimsical floral project to decorate the noticeboard in my craft cabin. Can you believe I’ve been in my new art space for almost six months? It’s definitely time to give it the personal touch, with some of my own makes decorating the space, so talk about the perfect opportunity! I decided to create a floral garland because flowers are my jam and I’m a sucker for all the pretty things.

I wasn’t 100% sure where I was going to take this project to begin with, so I can’t wait to share with you some of my decisions and how I got to making my flower garland. It actually turned out to be quite a straight forward project to make, with some really easy techniques.


Before we get stuck in, if you’re thinking of making along, it’s time to gather some supplies. You’ll need a couple of old books to start with, like these old music books that I used. The great thing is that it doesn’t really matter what type of book you use, so grab whatever you have to hand, even some old magazines would work!
I used two JoFY stamp sets, JOFY59 and JOFY62 for all the pretty flowers. These flowers are amazing, a great mix of sizes and the little details offer so many options for colouring… a stamper’s dream!
Finally, to weave in (literally!) this quarters ‘hidden’ theme, I decided to use some of the Tim Holtz Tiny Lights, to give my whimsy some twinkle! I mean, who wouldn’t want a twinkling flower garland in their craft space.


Rather than just using the book paper, I decided to use the covers as my base paper. I applied a thick coat of gesso to both covers, making sure to create some texture with thick and thin parts to the application. Gesso creates a great working surface for stamping and colouring, whilst the white version I used also gave me a blank canvas for the stamps to be stars of the show.

I also left hints of the text underneath peeping through to give the finished project a bit more character and play into that ‘hidden’ theme once again! Once the gesso was dry (you can speed this up using a heat tool if you wish) I stamped the florals.

I decided to emboss some of the flowers, to create an extra bit of texture.

In hindsight though, this made later steps a bit tricky, so it’s fine to just stamp in permanent ink.

I ended up with a mix of both embossed and inked flowers, which created some more visual variety to the finished project.

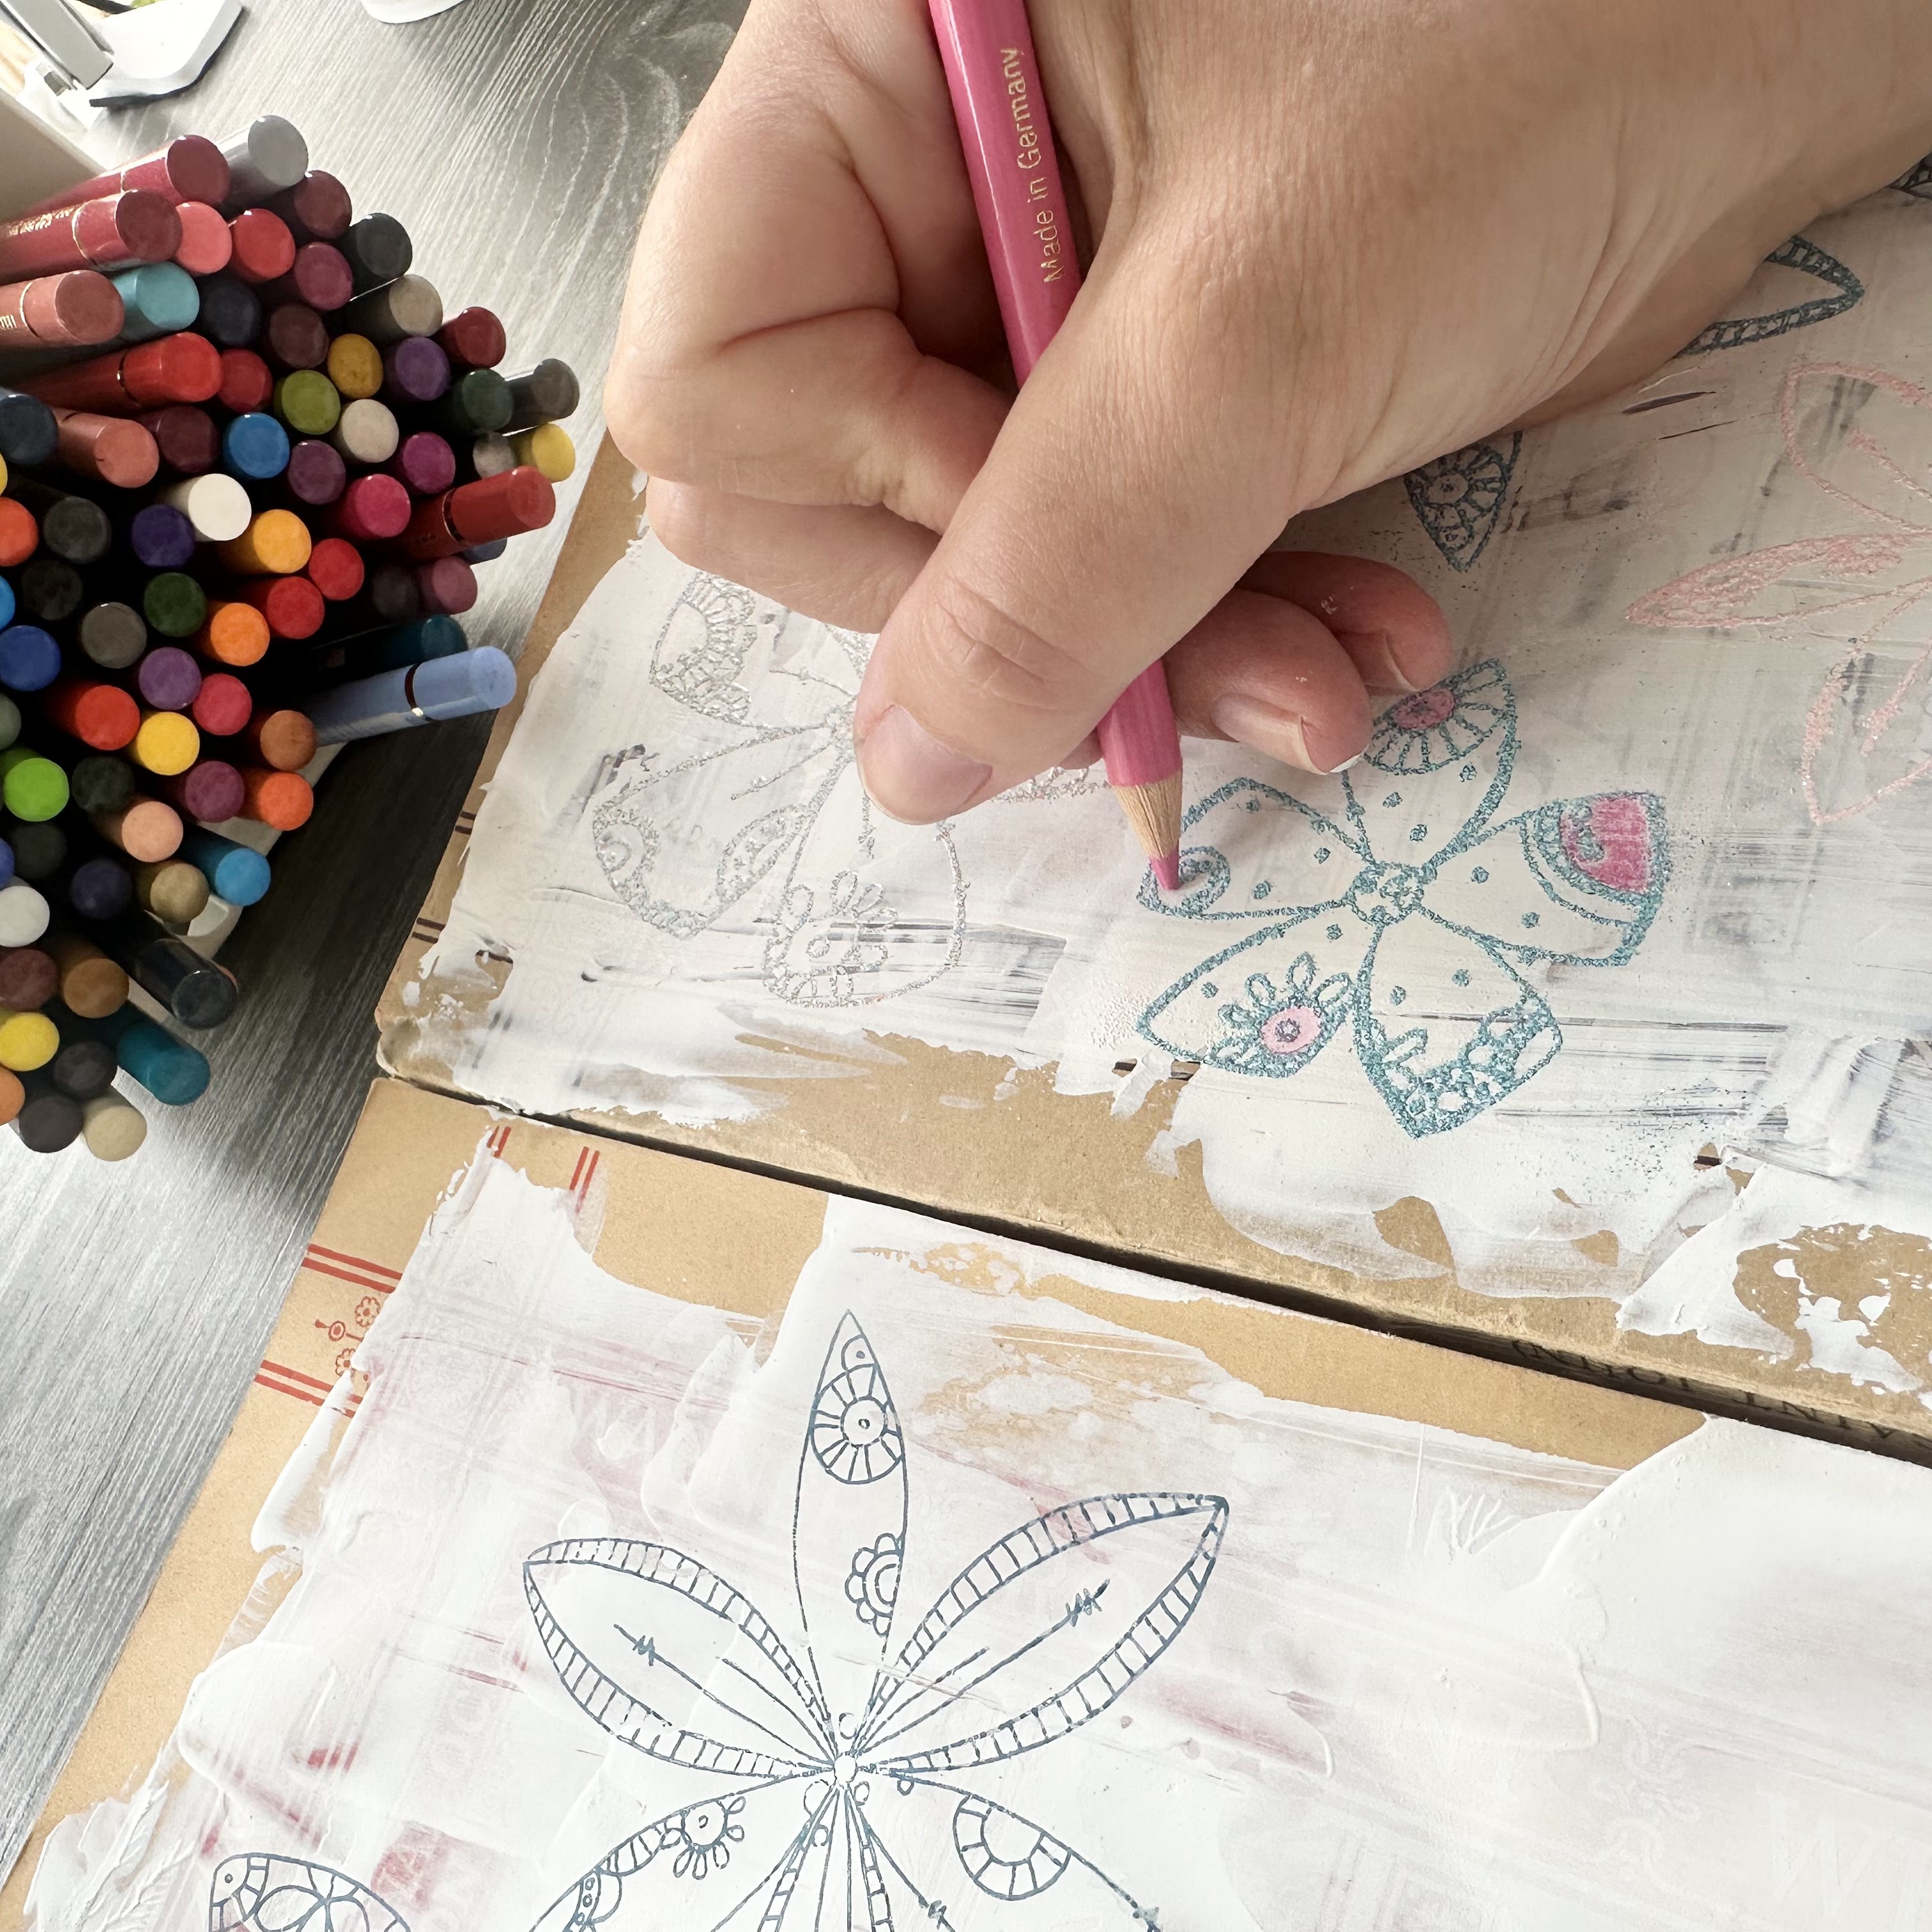
Next up was colouring the flowers. I was undecided which medium to use at this point and was debating some markers, however as they were water based they’d just bead up on top of the gesso. So I decided to use some of my coloured pencils instead, which seemed appropriate as they live just underneath the board the garland is going to decorate.

This was the part where I discovered that embossing power and coloured pencils weren’t the best pairing. The bumpy embossing powder made the colouring a bit tricky, you need quite a sharp point to get into the tiny details.

I kept the colouring really simple, leaving big chunks of white space and just picking out the details. Once they were all coloured, I roughly cut round the flowers.

Then I stuck them onto some printed card stock I had my stash. I still wasn’t sure how I was going to create the garland and attach them, so I wanted them to be a bit sturdier and have a nice backside, just in case.

Once dry I fussy cut them all out.

Don’t they look great! I love the slightly shabby feel to the finished flowers, from the book paper showing through.


Next I twisted the tiny lights around the yarn.

Before adding some more fibres over the top of the tiny lights, keeping them hidden until you switch them on!

And after fiddling with the batteries, voila, the base of the garland lights up like a dream!

Now for the finishing touch and adding my flowers. I decided that I wanted them to hang from the yarn base, so I used a pokey tool to punch a small hole in the top of each flower and put a bulb pin through each flower. If you don’t have bulb pins, you could use jumper rings if you have these to hand, or failing all else, the flowers don’t have to dangle and could just be glued to the yarn instead.

I then pinned them all onto the yarn and that was my project complete.


How pretty do they look hanging on my noticeboard! I love how it turned out. The subtle colouring on the flowers suits the natural colours of the yarn base perfectly. I can’t wait to sit in there at night, with the lights twinkling in the dark, highlighting the flowers gently dangling in mid air.

There’s something different to see on every flower, so this will definitely be a piece that never gets visually old.

I hope you’re Inspired to create your own garland. I’d love to see what you make, so don’t forget to tag me on socials if you share your own versions of this project.
Until next time, wishing you a happy, creative week!
Victoria x

Instagram: www.instagram.com/victoriawildingcreates
Facebook: www.facebook.com/victoriawildingcreates
Pinterest: www.pinterest.com/victoriawildingcreates