Showing posts with label Hazel Agnew. Show all posts

Monday, 23 October 2017

2017 #15 Pearlescent: Snowflakes and Stars with EEG {by Hazel Agnew}

2017 Topic 15: Pearlescent


Good evening, Hazel joins us tonight as our own Pearly Queen, a deserved title as she wows us with a 50 card session. 

Hi everyone, it's Hazel Agnew from Mellifluous Meanderings with you today, and I'd like to share with you my excitement in creating many many Christmas cards using Emma Godfrey and Kay Carley products.


Eclectica³ {Emma Godfrey} Set20
Eclectica³ {Emma Godfrey} Set19
PaperArtsy Stencil 070 (PS 070)
The ideas while using these fabulous products just kept coming and solving the Christmas card problem while having fun was such a bonus.
To be honest, I don't know where to start, but I must calm down and get my head into some order. I don't want to bore you with tedium, so a few details first and then the group pics....a bit like being back at school! 


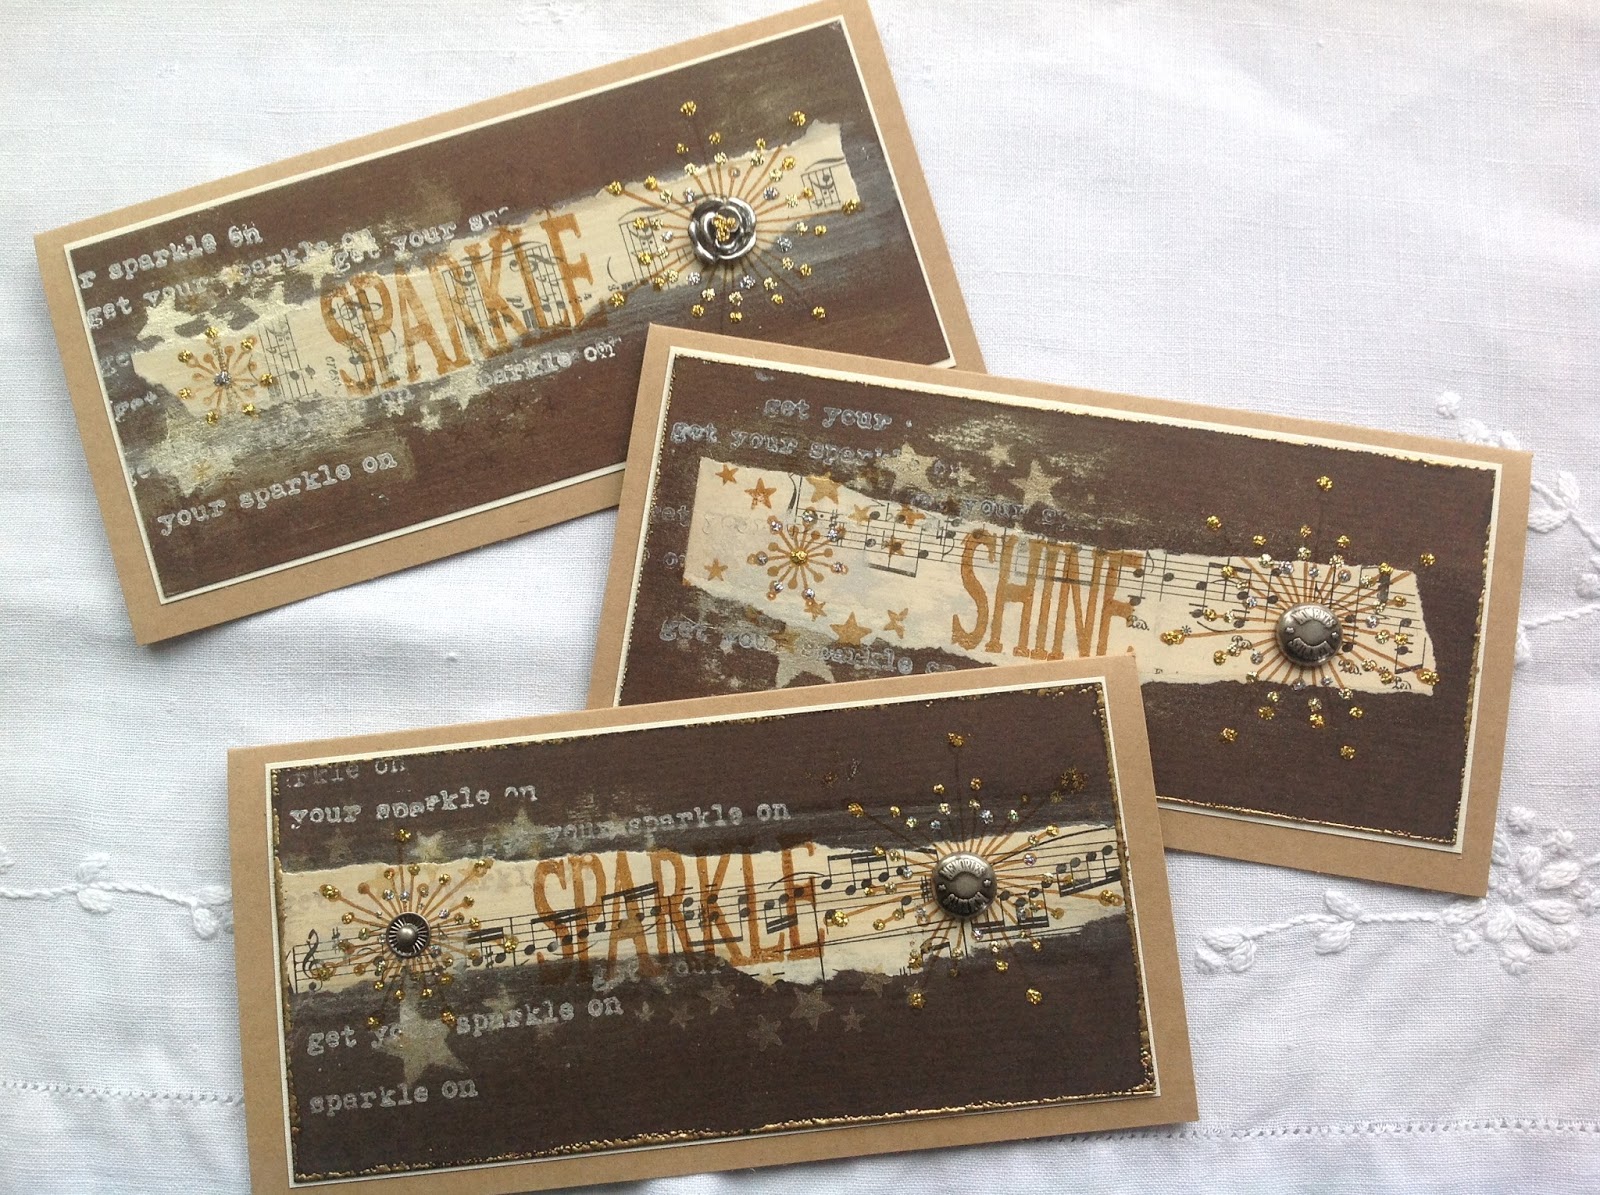
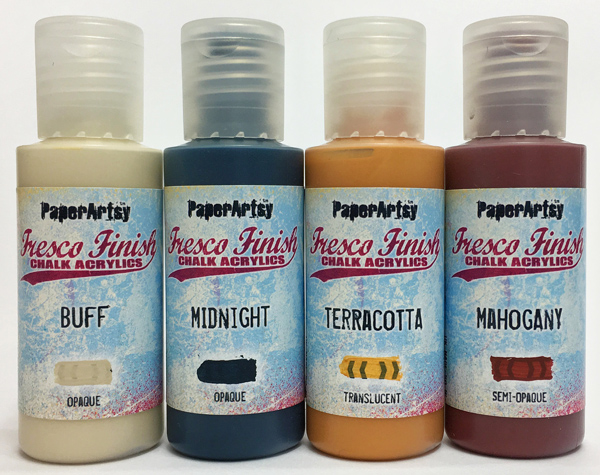
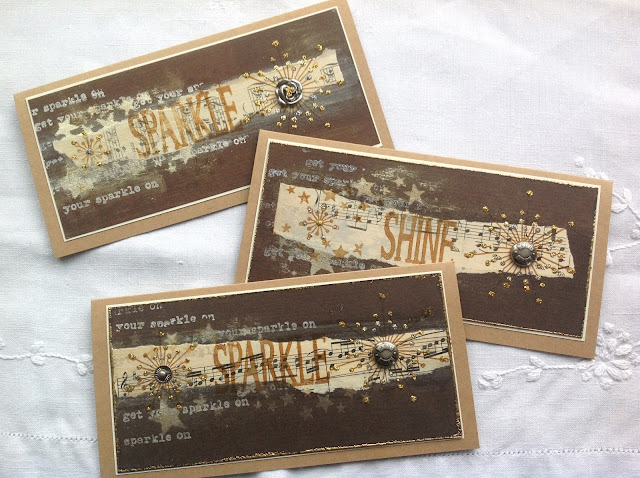
Fresco Finish Metallic White Fire featured a lot in my first creations, as it gave a great sheen to the background. It "aged " the music pages too. Some of the stamping is also White Fire and Pewter. Coffee Archival Ink features too.I enjoyed the rustic nature of these cards. 


Next came the bling!


The background is created by spraying mica mists through Kay Carley's fabulous snowflake stencil. Overstamped with Fresco Finish Metallic Pewter snowflakes. The next picture shows a variety of mica sprays embellished with whatever bling that I could throw at them.


More bling! Simple is best when creating many cards and the sheen is perfect for the time of year.


Same gorgeous stamps but with gelli plate backgrounds. A great way to use up some sparkly additions too.


This close up shows how well the Fresco Finish Metallic Pewter Paint stamps onto black card and how effective simple embellishments can be.


Well, 50 cards in a shoe box ready for writing and still plenty of time to add to them. 
I hope that I have inspired you to begin your card making. These stamps and stencils would be really suitable for creating wrapping paper, gift tags and place cards too. Time to calm down now and have a cuppa!

Thanks for looking and there are more details over on my blog.  Have fun!

Wow Hazel, I would never have believed that you had just 'thrown' embellishments at these cards, every detail seems to well considered as the elements all compliment so well. I don't think I can pick a favourite, I like them all. There will be 50 happy smiles when these plop on doormats this Christmas. ~Darcy

We always hope that you  learn something interesting from our blog

Our creative team love to read your comments so much, so please take time to let them know you've been inspired!  

Why not join our 2-weekly challenge by blogging your create response to the current topic and link it here?

The current topic link Topic 15: Pearlescent will close 17:00 (London Time) Sunday, 29th October 2017, and the winner will be announced 2 hours later at 19:00.

All links go in the draw to win a £50 voucher to spend on products of your choice from the PaperArtsy online store.

Sunday, 30 July 2017

2017 #10 Dark to Light: Facelift anyone?? {by Hazel Agnew}

2017 Topic 10: Dark to Light: Contrasts & Layers

I adore the way Hazel jumps in the deep end and challenges herself to try something different. In this post she bravely experiments with colouring a face dark to light, the absolute opposite of how we would normally work. The good thing about colouring faces with unusual shades is that there are no expectations of right and wrong, so come on...what's the worst that could happen!

Hi everyone, it's Hazel Agnew from Mellifluous Meanderings with you today, and I'd like to share with you a portrait for the non-drawing fraternity and also incorporating some fab stamps from Emma Godfrey.

The topic of dark to light lends itself easily to portraiture, and as some of you know I have practised my face drawing quite a lot since I attended a great class by Dina Wakley a few years ago. I recently discovered a technique to get around the drawing part and you can tweak your squidgy bits too, hence the title about facelifts!


I had so much fun creating this and laughed so much at the grotty stages that my face went through. But it made it, with fuller lips, stronger jawline and brighter eyes! Well, a girl has to do this! 


Here are my colour choices for the flowers and my face. I used opposites on the colour wheel for my background, Pumpkin Soup, Banana and Tikka Fresco Chalk Paints.


Here is my master board for the flowers starting with brayering. You will recognise many PA mini stamps. I used EEG14 flowers and heat embossed with white to make them stand out.


Whoops, happily sponging the background and then realised that I should have left the face area clear. Hand gel to the rescue, it cleared the paint away really well. 


I forgot to mention that printing out your photo in black and white helps you to pick out the contrasts when you are painting. Here is my tracing. I used baking parchment.


This was the scary part, putting down the dark layers first. Then have fun and build up the colours using your photo as reference for dark to light shades.


So, there is my facelift enhanced by Emma's beautiful flowers.

You could have a go with a magazine face if you wished, not so many lines to paint in, or you could paint a picture of a child perhaps.
A good way to start is to make a few copies of your photo and and paint directly onto it  to get the feel of it and then chuck it into the bin.
I hope that I have encouraged the "I can't draw" brigade to have a go!

So, its hi and bye from Hazel, Mellifluous Meanderings, aka craftroomgran and thank you for looking at my ugly, but enhanced mugshot!

Wow Hazel, what an amazing lesson that is! I love your face lift! I also love how you have cool colours, but it looks like towards the end you have a few warmer layers in there too! Looks like a lot of fun to me!! ~ Leandra


We always hope that you  learn something interesting from our blog

Our creative team love to read your comments so much, so please take time to let them know you've been inspired!  

Why not join our 2-weekly challenge by blogging your create response to the current topic and link it here?

The current topic link Topic 10 (Dark to Light) will close 17:00 (London Time) Sunday, August 5th 2017, and the winner will be announced 2 hours later at 19:00.

All links go in the draw to win a £50 voucher to spend on products of your choice from the PaperArtsy online store.

Wednesday, 1 March 2017

2017 #3 Scruffy Grunge Book {by Hazel Agnew}


2017 Topic 3: Scruffy Grunge Book

In this project, Hazel has totally captured the essence of Seth's philosophy to follow your muse and let it flow. Painterly layers and splats abound, and the paint colours really pop. Lots of interactive elements make this piece an absolute joy! Lots of eye candy too!


Hello everyone, it's Hazel Agnew here, with my latest project.

Mission control asked me to produce something under the umbrella of "Paints with Infusions" using the new products from the very talented artist Seth Apter!

No hesitation here, so, going into Grungetastic mode I decided to produce a book. The reason being that I could experiment with lots of ideas to display all the elements.

Here are the Seth new products. For a list of stockists see this post here.


I also used a selection of wonderful Infusions....you just can't ignore them can you!


2017 Infusions Colours (stockists)

The first step was to select some oddments of card to create the "scruffy pages". I used a Seth Spellbinders die to cut holes in them so that you would see through to the next pages.


The inside and outside cover was just splattered with paint onto a black gessoed background.


I treated the whole book as a fun experimental, "lets see what happens", project. To me, art is all about self expression, trying to relax and just go with the flow. Maybe its my excuse for painting over the edges, getting splurges everywhere! We are all different!

What fun I had producing some rusty buttons which started out as bog standard plastic ones. Some of them now look like tortoiseshell!


I don't want to drag you through every last detail of every page. Suffice to say that there are infusions onto crackle, infusions with metallic glaze, scraping, spraying, dabbing.....an infusion fest! I will add more details on my blog for those of you wanting the nitty-gritty.


The acetate page is only partly printed onto the back and painted, enabling you to see the next page. I was able to punch holes at the bottom and thread mini stars that I created from Shrink Plastic.


To complete my project, I added some Sari silks and woolly fibres to the rings and then smiled at it. Seth's products make me smile a lot, they are loads of fun!

So, if splattering, spraying, squishing, dripping, spreading, crackling and rusting could be your cup of tea, why not play like me and just see where it takes you. You could make a tag in this style, or decorate a box to hold some of your bits and bobs. With PaperArtsy paints and infusions, combined with Seth's products, the world is your lobster!

Hazel Agnew, signing off and welcoming you to chat on Twitter, @craftroomgran, or visit my blog , Mellifluous Meanderings.

Hazel it looks like you had an absolute ball with this book!! I am itching to touch and feel it - you had better bring it to the next show you come to - show and tell!! It needs to be stroked! ~ Leandra


We always hope that you  learn something interesting from our blog. Our bloggers deeply appreciate your comments so much, so please take time to let them know you've been inspired! Why not join our challenge by blogging your interpretation of the current topic and link it HERE

The current topic link will close 17:00 (London Time) Sunday, 12 March 2017, and the winner will be announced 2 hours later at 19:00.

All links go in the draw to win a £50 voucher to spend on products of your choice from the PaperArtsy online store.

Wednesday, 30 November 2016

2016 #23 Pocket of Positivity {by Hazel Agnew}

 2016 Topic 23: Bleach Techniques

Hi everyone, Hazel Agnew from Mellifluous Meanderings here. I'd like to share with you this evening a post about using bleach to create interesting effects.

What a challenge to use bleach in my work. Especially for someone as messy as me. To be honest, when I accepted the challenge, I didn't have any experience of using bleach and played around for a while before I found the technique for me. 
I am so pleased that I did as I love what I have discovered.


Step One: First of all I sprayed a few tags with water and sprinkled on a variety of Paperartsy Infusions. I sprayed and dabbed to get the desired effect. I applied a dob of thick bleach to my Tear Off Palette, spread it around and dipped my stamp into it and straight onto the tag. Nervous at first and flying off to the sink to rinse the stamp but soon found that the stamp was very resilient. as you can see, the image bleaches out the infusions. In the photo is my pocket. A piece of packaging. 
The stamp that I chose is HP1604.


HP1604.


Step Two: Next, for the pocket. I chose a selection of "fragile papers",which I glued to the outside  , front and back. I sprayed the surface with water and added Burnt Umber acrylic ink, dabbing with a baby wipe to control the amount of staining.


Step Three: Back to the tags. Distressed the edges with Black Soot, Threaded some fibrous wool, and backed them with paper stash that is suitable for writing on. I also added some positive thoughts from TH Small Talk.


Step Four: Back to the pocket. To the front I added one of the tags; a photo; some corrugated card for added texture; a large pin to which I added tassels; hessian; delicious rusty wire, and a little butterfly which, to me, signifies hope. 

On the back, there is a poignant poem by Rupert Brooke and a word band.


So, that is my pocket of positivity, where I intend to collect positive thoughts, events, phrases, poems etc. throughout the coming year. Something uplifting and encouraging. Hopefully, by this time next year, it will be stuffed full of encouragement and have new tags added.

This bleaching technique can be used as an interesting background for many styles of work. Experimenting with different colour mixes of infusions opened up lots of possibilities for future playing too!

I hope that this has inspired you in some way to get out the bleach for more creative activities than cleaning!

Don't forget that there will be lots more inspiration on bleaching techniques to come on this blog. Hazel Agnew, from Mellifluous Meanderings, aka Craftroomgran, signing out and thanking you for staying with me till the end.

Thanks Hazel for a wonderfully inspiring project, I look forward to seeing more photos of it once you have it stuffed full. We see so many inspiring quotes everyday it is hard to keep track, this is the perfect place to store them for those moments when you need lifting up. 
~Darcy

All of our bloggers love to see your twist on their ideas,  particularly if you were inspired directly by their post; so please spare a moment to comment or make your own creative item. They all love to see your feedback and what you can do more than you realise!

We would love to see how you interpret this Bleach Techniques topic by linking what you make to our 2016 Challenge #23: Bleach Techniques on this page HERE. The Bleach Techniques link will close 17:00 (London Time) Sunday, Dec 11th 2016. The winner will be announced 2  hours later at 19:00.

All links go in the draw to win a £50 voucher to spend on products of your choice from the PaperArtsy online store.   

Friday, 28 October 2016

2016 #20 Funky Squares {by Hazel Agnew}

 2016 Topic 120: Squares and Grids

Hi everyone Hazel, from Mellifluous Meanderings here.

Tonight I'd like to share with you this evening a post about creating shapes within squares that work in relationship to one another.


This is a way of playing with stamps where you look at them in a totally different light. Instead of using the whole stamp, it is interesting to explore smaller parts of them.


Step One: First of all I cut up lots of squares of coloured paper and stamped with clear embossing pad and sprinkled with Black Wow powder that had a hint of sparkle. I stamped far too many of them as I wanted to fiddle and play to get my best combination of patterns and colours. 


Step Two: I decided to use a sparkly background, influenced by a piece of art by Damien Hirst where he placed coloured circles onto a black glittery background. I placed the shapes onto various background colours before I decided that chocolate brown worked the best.


Step Three: I mounted each little square onto black card to give it extra definition and then used foam pads to add extra dimensional interest to the piece.

Here is another version of this exercise, this time, instead of using one stamp in many ways, this one uses all the stamps from the set. As you can see, I have mounted these onto black glittery card.


Finally, here is my first piece, photographed, mounted onto a linen box frame, showing the 3D effect.


I can imagine that this technique would work well with Christmas stamps and then used to make Christmas cards. You can easily adapt the sizes of the squares or maybe use other shapes in relation to one another.

I hope that you have enjoyed this contribution, I have enjoyed creating it. 

I am Hazel, otherwise known as @craftroomgran on twitter and you can find my blog which is Mellifluous Meanderings.

I think we often forget how effective it can be to use small sections of stamps to create a completely different effect than using it as a whole! I am sure our stamp designers really love seeing such creative take on how stamps could be used. The embossing powder adds another texture to the process, and I love the pops of colour from the card. Nice one Hazel! ~Leandra

All of our bloggers love to see your twist on their ideas,  particularly if you were inspired directly by their post, so if you can spare a moment to comment or make your own creative item, they love to see your feedback and what do do more than you realise!

We would love to see how you interpret this Squares and Grids topic by linking what you make to our 2016 Challenge #20: Squares and Grids, on this page HEREThe 'Squares and Grids' link will close 17:00 (London Time) Sunday, Oct 30th 2016. The winner will be announced 2  hours later at 19:00.

All links go in the draw to win a £50 voucher to spend on products of your choice from the PaperArtsy online store.