Showing posts with label ESN41. Show all posts

Thursday, 1 September 2022

2022 Topic 12 : Minimalism {by Nikki Acton} with Sara Naumann stamps


Hi everyone, it's Nikki with you today, and I'm here to share my interpretation of our Minimalism theme with a simple wall tryptic.


From an art history definition of Minimalism I have included elements that were part of the art movement: the use of repeating geometric shapes and minimal use of colour. However I like my art to be expressive and subjective which is the opposite of the Minimalists. But we can interpret the theme as we wish and for me all this white space is definitely minimal!



I began by deciding on my supplies - keeping it simple - blue tones with PaperArtsy Fresco Chalk Acrylics (CloudyVenice BlueBlue Oyster and Chalk) along with Sara Naumann Stamp Set ESN41. It did get a little more detailed as my idea developed.


I started in my sketchbook drawing some simple designs with circles - focusing on the composition, making the three squares work together. I then cut some paper to the size of the white board squares (4 inches square) I was working on and roughly cut the leaves from the stamp set and started moving them around until I was happy with the composition.
 
 
It was at this point I realised I needed some additional elements for the design - so I used some Seth Apter stamps - more details later. 


A key element to my scribbled designs was the size and position of my circles. While it was a repeated theme on each square I wanted them a little different. I decided to create some gel prints on vellum.


I made sure I used different size circles (cut with metal dies) for each square and their positions varied so that each worked individually and as a whole (originally in a horizontal configuration, but as I took photos I think the vertical works almost as well).

 
I used three PaperArtsy Stencils by Sara Naumann - PS102PS092 and PS324.


Looking back to my scribbled drawings - I had imagined a border of some sort so added my circles to some card slightly smaller than the 4x4inch squares. I didn't want a solid border so reached for a Seth Apter stamp.


The border is created using the bottom stamp from PaperArtsy stamp set ESA18. I also added the extra element using one of Seth Apter's mini stamps - EM71.
 

I added words from Seth Apter Mini Stamp set EM66 to feature alongside the wonderful leaves / branches from Sara Naumann.


Going minimal is quite hard for me - I feel it puts added emphasis on the composition. But I am happy with how these turned out (although my fussy cutting could do with some improvement). But for our blog theme 'minimal' it can be interpreted however you choose - so give it a go!

Nikki

Friday, 21 February 2020

2020 #3 On This Tag: A Scrapbook Layout and Tag with ESN {by Lynn Good}

 2020 Topic 3: On This Tag


With a warm welcome to Lynn who is with us for the first time, it's wonderful to see her scrapbook page with a real punch of colour. Her clever use of added tags means that the page is drawing our eye all over to notice some wonderful details.

Hello PaperArtsy Blog followers, its Lynn of Memories on the Page blog here, sharing with you a post on how I created tags and incorporated them into a layout and a card.

This is my first project with PaperArtsy and I am so excited and honoured to be creating for such a wonderful company that has the most fantastic products.  When the topic of tags came up, I thought this would be a wonderful theme to start the creative year with.

Here are the finished projects - a scrapbook page and a card.


I started by creating the tags not worrying about where the next step would take me.  I created four tags in all.


I tried to create each tag using a different technique to show how one stamp collection can be used in many ways. I began by cutting my tags from the PaperArtsy Smoothy Heavy Cardstock.


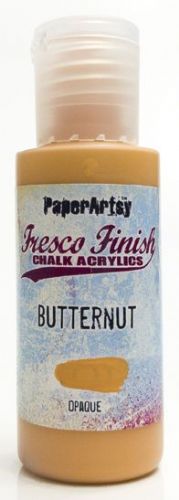
For the base of the smallest tag I have covered the tag with PaperArtsy Fresco Finish Paints in Zucchini and Butternut.  Once dried, I stamped the smaller leaves from ESN41 by Sara Naumann using similar colours in Archival Ink.


I have done the same for the top layer of the tag in Banana.


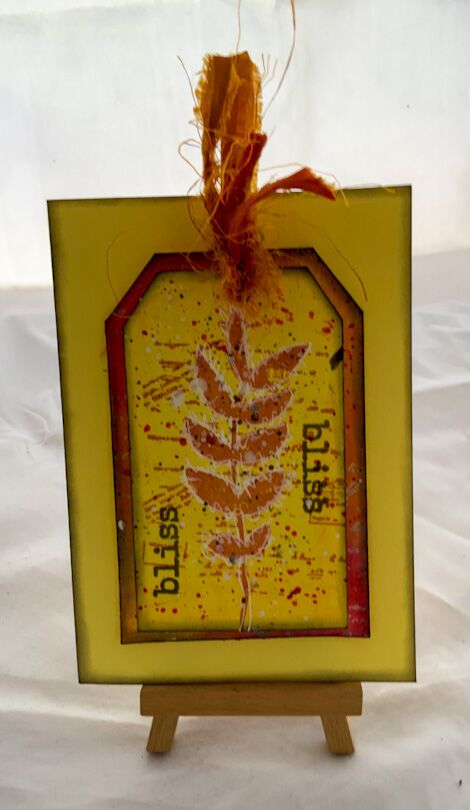
For the tag that I ended up using on the card, I have covered both the top and bottom layer with TangoCherry Red and Banana.  I have then used the script on the same stamp (ESN41) with clear embossing powder and some of the Cherry Red for splatters.


I have then stamped the image from the ESN41 Collection on the top tag. In order to ensure a clear stamp I have used the Misti - I am a shocker for not stamping with an even pressure so find the Misti my friend! 


For the second smallest of the tags, I used PaperArtsy Crackle Paste through the PS123 Stencil. Once dried, I applied PaperArtsy Fresco Finish Paint; Tango and Cherry Red using my fingers.


For the largest tag I stamped the leaf stamp with clear embossing powder.  Once dry I  used Zucchini, Hey Pesto and Tango.  After the photo I added Aqua Duck Egg.


I used the same technique for the top tag - I have used Distress Ink Black Soot around the edges.


I then put the tags together - separating the top and bottom layers with a small piece of cardboard to give dimension. I punched holes in the top and threaded some silk through.


After creating these tags - I had the idea of putting them into a scrap book layout - so this is what I did. I stamped and clear embossed around the area where I was going to put my layout - you can see the pencil marks I made after placing my photo and tags are the layout to give an idea where things would be going.


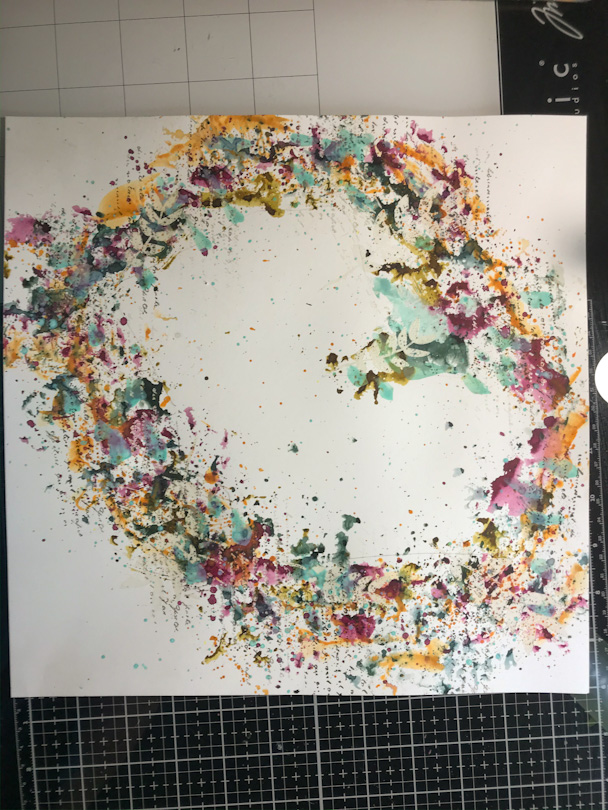
I have then used the PaperArtsy Infusions - Green Man.  I put this on some clear plastic and then tapped it around the layout.


I repeated this process with Sleight Blue and Raspberry.


I then added some watered down Tango and Aqua Duck Egg paint.


Now that I knew how my layout was going to look, I needed to add some leaves behind the tags.  I created another page with the paints and stamped the leaf stamp in black and clear embossing powder and fussy cut them out.


Once all cut out, I put my layout together with a photo of our puppy Rosie.


For my card, I mounted the tag onto some yellow cardstock and used Distress Ink (Black Soot) around the edge and added some silk material through the top. A simple but creative card.


I hope that you have found some inspiration in my layout and card to have go and create something. 

Thank you so much for stopping by,
Lynn.