Red Rubber Stamps (A5 set)
Price: RRP €23.00 +VAT
Size:5" x 6" (13 x16.5cm)
All stamps are individually trimmed onto cling foam, with a laminated storage/index sheet.
Stamp Gwen Lafleur Stamp Set 40 (EGL40)
Italy Travel Lapbook
EGL-40 is a set that I designed based on traditional Italian design motifs - mainly Florentine patterns. I've long adored the gorgeous Italian papers and love using them in my work, but I wanted to be able to create my own patterns and colors and use them on different surfaces. So why not draw my own versions of these designs as stamps?
I'm planning a trip to Italy and as I always do a travel journal of some kind, I used this set to begin creating the book that I'll work on while I'm there. So far I have the front and back covers as well as the interior covers for my travel lapbook.
I adore the Florentine-style Fleur de Lys image in this set - it makes a lovely focal point, but you can also repeat it and pair it with the other elements to make borders, backgrounds, collage papers, and more.
On the inside of the book, I used the other stamps in the set to decorate the inner covers that hide the pages on each side of the lapbook. You can pair the larger flower with the leafy design or use each of them on their own. I love the versatility and the way that you can get different looks based on how you combine the stamps.
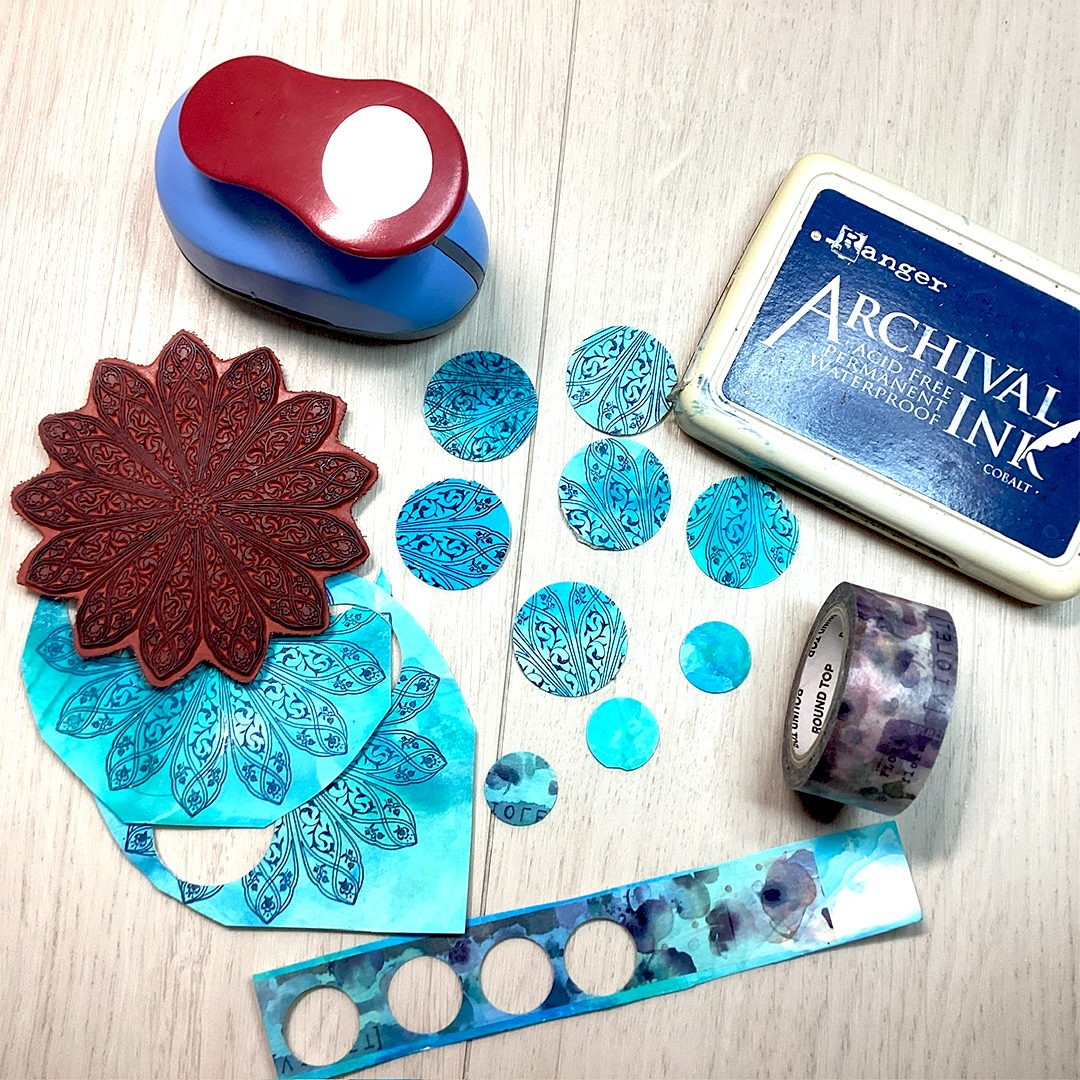
The little floral spray also makes a beautiful focal point, or as I've done here, it also made some fun little strips of DIY washi tape by combining this same design with plain tape, paint, and heat embossing. I really enjoy how the look of the image can change based on what techniques you use with it.
Another favorite thing about these stamps is that they're really fun to color. You can use paint and a detail brush or fine-tip pens or markers to color part or all of the designs, or leave them plain. In this case I loved how it looked when I only colored some of the images and then just the stems and outlines of leaves for the rest of them.
Here you can see a bit more closely how you can combine the single flower with the larger leafy element and get different looks depending on where you connect them.
Stamp Gwen Lafleur Stamp Set 41 (EGL41)
Single Sheet Stamped Mini Journal
While I probably shouldn't admit to having favorites, this is my favorite of this release. The hand-drawn designs in this set are inspired by Persian floral patterns and combine two of my favorite motifs - medallions and birds.
To showcase this set, I created a mini art journal from a single sheet of 9" x 12" cotton rag paper and I love being able to flip through this little book and see how it all came together.
Above you can get just a peek looking at the inside of the book as a whole.
For the covers, I love how the background of Fresco acrylic paints and Infusions contrast with the delicate and even formal pattern and the shimmering gold accents.
For the first spread of pages inside of the book, I wanted to really showcase that beautiful medallion - it has lots of fun details in the design and I love how it looks equally great whether you color it or leave it plain.
Here you can also see that the little stamp in the set was actually designed to fit in between the "petals" of the medallion. I wanted to keep it separate to leave the option to put it there, leave the medallion plain, or to use it on its own. (You can also try repeating it to make a little medallion or a cruciform design from just this one small stamp.)
I love this smaller bird as well - it makes a beautiful accent or a focal point for smaller pieces like cards or tags or mini journals like this one. I really like how the Persian style floral motifs are carried throughout the pieces so that they can all tie together. (And they're similar enough to the Italian designs in EGL-40 that you can easily mix and match between the sets!)
For the second spread, I wanted to show some of the ways that you can repeat the purely decorative stamps to create different patterns. I especially love how beautiful it looks when you color them in with Fresco acrylic paints!
Here you can see the detail a little bit more closely... I'm sure that I will be repeating the larger design in the full circle like on the right-hand page many times, trying out different stamps as the center of the circle to make different kinds of medallions. (The small stamp that goes between the petals of the medallion stamp would also work perfectly placed between the repeated motifs in this instance).
The final spread features my absolute favorite individual stamp of this release. The bird here is based on a sparrow, but I wanted the wings to morph into flowers with trailing Persian florals coming from the feathers. I just love how it turned out!
The bird is really fun to color - in this case I painted it with Fresco acrylic paints. And the background stamp is going to be another go-to as it repeats really nicely to create larger backgrounds - especially perfect for cards and tags.
Stamp Gwen Lafleur Stamp Set 42 (EGL42)
A Trio of Stamped Window Tags
The third set in this release was inspired by vintage embroidery patterns. I found several beautiful patterns in an old book and drew my own versions of them. In this case I decided not to add any shading in order to keep them true to the original vision. I absolutely love how they turned out! They're so clean and clear when you stamp them.
I made these tags with acetate windows - I love the effect when you can see through them and the color becomes translucent.
Within this set, I don't think I could pick a favorite design - they all speak to me differently and I know I'm going to be using them a lot. I really love how the repeating background stamp in this set turned out; similar to EGL-41, the stamp here repeats beautifully to give a solid background pattern if you want complete coverage on your project.

I said it earlier, but I just love the window effect and I think these tags are going to be fantastic added as tip-ins in one of my art journals.
I can see myself using these stamps as patterns for embroidery and stitching all of the designs at some point - probably multiple times! But I also love the versatility of having them as stamps so that I can bring them into my paper and mixed media projects too.
You can see on the center tag above that I used one of the designs to create a repeating background - I can see all of the designs being used that way to make cool patterned and collage papers to use in my work.
Mixed Media Card / Artwork Project
Now it's time to bring all three sets together! I made a 6" x 8" mixed media piece that uses stamps from each set and I took some photos along the way so that you can create something similar if you're feeling inspired.
(Note that if you want to make this as a card or a tag, you can follow the exact same process on a smaller scale.)
First, I took a 6" x 8" piece of heavy cardstock and dry brushed a layer of Fresco acrylic paint over the background. When it was dry, I used the repeating background stamp from EGL-41 to bring in a light layer of pattern, making sure to leave some open spaces so that it didn't totally overwhelm the finished piece.
Next I stamped the acanthus leaf from EGL-40 along one side and in a few other places, then colored it in using Fresco acrylic paint and a small brush.
Once that was dry, I stamped the large single flower from the same set in several places.
I had originally planned to leave the flowers plain and not color them in with paint, but I decided to go ahead and add it in, then used a gold gel pen to accent both the flowers and the acanthus leaf. (You could absolutely leave any of these designs uncolored, however.)
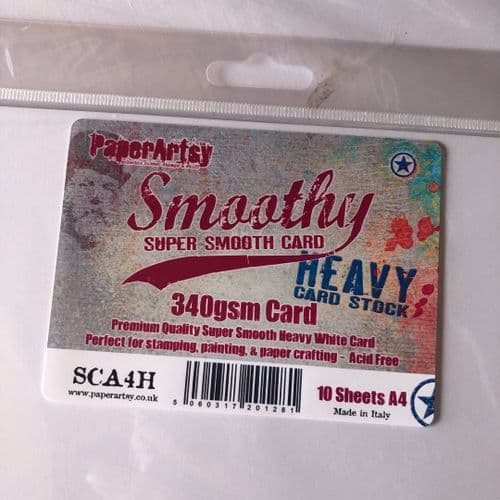
One the background was done I set it aside and pulled out a sheet of Smoothy Card and stamped one of the images from EGL-42. Using a small detail paint brush and Fresco acrylic paints, I colored in the image, making sure to use more saturated versions of the colors in my palette to help the focal point stand out from the background. 
At this point I decided that I needed something to help pop the focal point off the background even more, so I pulled out some of my embossing powder from WOW! and stamped and then heat embossed the medallion image from EGL-41. This will distort the details a bit, but I just wanted it as a bit of texture and shine peeking out from behind my focal point and the details would mostly end up hidden.
Finally, it was time to pull everything together. I added some washi tape around the borders as well as a ribbon across the middle of the page to anchor the focal point. I cut out my stamped my painted focal and adhered it in the center, then embellished it with some fun metallic and dimensional accents as well as a few small acrylic butterflies.
Here are a few closeups of the finished piece so that you can see some of the details: