Showing posts with label Alison hall. Show all posts

Wednesday, 22 May 2019

2019 #8 Put a Brush on it: Unique Art Hanging Plaque with I&D {by Alison Hall}

2019 Topic 8: Put a Brush On It


Ohhhh, blues AND brushes, don't know about you ... but I just want to reach out and touch this one!! Proof that Fresco Chalk acrylics can go onto any surface with ease! And just love how they extend off the canvas! Fabulous Alison! ~ Leandra

Hi everyone, it's Alison Hall (Craftytrog) here today, and I'd like to share with you a painted and stamped piece of hanging art, using PaperArtsy Ink & Dog stamps, and distressed paint brushes for decoration. It's messy art at its best, and was great fun to create!


I used an 8x8 inch piece of PaperArtsy Heavy Grey/White Board as my base and started by giving it a base-coat of white gesso. TIP: If you are putting a lot of paint onto a sucky surface like grey-board, it's a good idea to do this to both sides to prevent potential buckling of the surface.

Then, using Captain Peacock, Bora Bora and Seaglass PaperArtsy Fresco Finish Chalk Acrylics , I created a background.

As I was painting, I also decorated the paint brushes I wanted to use as the embellishments. In fact, I used those brushes to paint, as the stiff bristles created the lovely brush strokes that I wanted. This process was so much fun, I felt like a happy and carefree child messing up the brushes like this!


I really love white stamping on a blue background, so my next step was to stamp PaperArtsy Ink & the Dog: Words Plate 2 all over my base, with Snowflake Fresco Finish Acrylic Paint.


I also roughly stamped n the paint brushes to add more depth and another layer to them. By the way, it's important to clean the paint off stamps as soon as you finish, as it will stick fast!


For my next step, using Ranger Jet Black Archival ink, I stamped the bingo card corner image from Ink & the Dog: Man of Numbers Plate 5 around the edges of my base.


Then I randomly stamped 'Unique Art' from the same stamp plate, over my background. I also ran my ink pad around the edges of my artwork to create a frame, and a finishing touch for the base.


My base finished, I played around with the positioning of the decorated paint brushes, and decided the add some wording to the flat brush. To do this, I used Captain Peacock, Bora Bora and Seaglass Fresco Finish Acrylics again, to paint a piece of Regular White Smoothy Stamping Cardstock. Then I used Jet Black Archival Ink to stamp Ink & the Dog: Words Plate 2 a couple of times, cutting out and inking the edges of the letters I needed.


With my paint brushes all adhered to the base with Glossy Accents, I added some eyelets and a piece of chain to hang my artwork, then finished with white paint pen highlights on the stamped lettering, and some messy splatters of watered down Gold Fresco Finish Acrylic Paint all over.


I had the best time creating this piece of paintbrush art! The wood, metal and bristle textures of the brushes, combined with the paint strokes and splatters make my heart sing. It's definitely worth keeping those ruined brushes, you never know when you might need them. I hope you'll give paint brush art a try, and I look forward to seeing your response to the 'Put a Brush on it' Topic. Just tag @paperartsy on Instagram so we can all see what you get up to!

Alison xox

Blog: Craftytrog's Arty Adventures
Facebook: Alison Hall
Instagram: @craftytrog
Pinterest: Alison Hall

Saturday, 11 May 2019

2019 #7: Turquoise with Urban Snapshots [By Alison Hall}

2019 Topic 7: Turquoise


Alison has a perfectly beautiful set of ATCs featuring a blast from the past product; Stampbord, which she's combined with some gorgeous gold edging on a by-product of a cup of tea! I reckon we'll all be saving and drying tea bags from now on! 

Hi everyone, it's Alison Hall with you today, and I'd like to share with you some Stampbord ATCs, on which I used the gorgeous PaperArtsy Urban Snapshots Nature stamps, together with some yummy teabag texture. Those of you that know my art, will know how much I love to use teabags in my art. My kitchen windowsill constantly has a few of them drying out on it. No bag goes to waste!


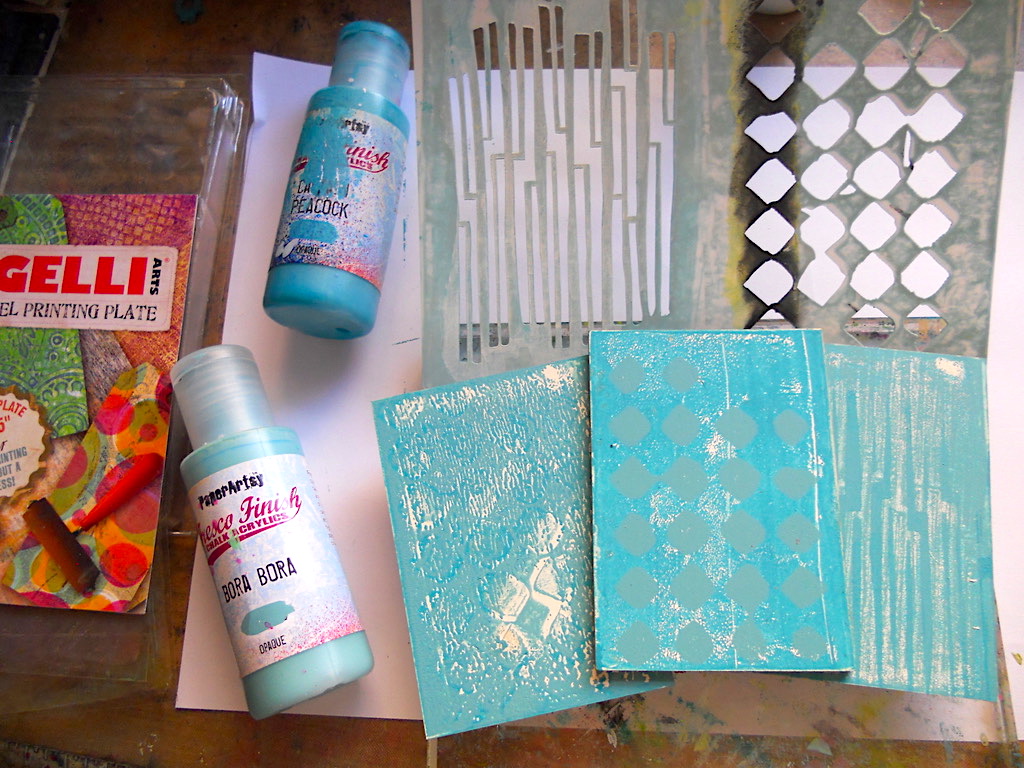
I never miss an opportunity to get out my Gelli Plate, and so I used the 3x5" one and my new PaperArtsy brayer to add some Captain Peacock PaperArtsy Fresco Finish Acrylic to my Stampbord ATCs.


Next I added some stencilling with Bora Bora Fresco Finish Acrylic and Sara Naumann PaperArtsy stencil 090. Although you can't see this very well on the finished ATCs, it adds a layer of texture and interest.


I emptied and opened out three used teabags, then using Jet Black Archival Ink, I stamped various images from Urban Snapshots Nature stamp sets 1, 3 and 4 on them. I love that delicious, sepia, tea colour!


I used Matte Medium to adhere the teabags to the ATCs, then once dry I trimmed off the excess.


To highlight some of the images, I tried stamping them again, first with Captain Peacock Fresco Finish Acrylic directly onto the ATCs, but this didn't show up enough, so I stamped them onto White Smoothy Cardstock, then cut them out and glued them in place. The white was a little bright, so I added water to some Vintage Photo Distress Ink, then water-coloured the images.


To finish the ATCs, I first tried edging them with black ink, but then decided on adding some aged gold embossing enamel. I couldn't resist a sprinkling of the gold embossing enamel on the ATCS, echoing the speckles on the bird's eggs.


I hope you like my nature ATCs. If you don't have Stampbord, you could use greyboard, chipboard, MDF, ATCs, or even PaperArtsy's Heavy Smoothy Cardstock. I hope you'll have a go at stamping onto teabags, it really is a fun surface to work with. I look forward to seeing your turquoise artwork for the challenge.

Alison x

Blog: Craftytrog's Arty Adventures
Facebook: Alison Hall
Instagram: @craftytrog


Wednesday, 10 April 2019

2019 #5 Maps & Plans: Geometric Florals with EEV {by Alison Hall}

2019 Topic 5: Maps & Plans


Alison has produced some masterboard masterpieces with maps and even used an old A-Z. She's thought out of the box to create flowers with geometric design stamps and used buttons to create a real wow for her trio of cards.

Hi everyone, it's Alison Hall (Craftytrog) with you today, and I'd like to share with you some abstract style cards with a floral theme, that I made with Ellen Vargo Eclectica stamps.

I used some map paper for collage, and made a stamped and painted master board, both of which are favourite techniques of mine. Then I was going to use Ellen's floral designs, but looking afresh at her stamps, I decided that using her bold geometric designs to create flowers would be a fun idea.


I began my master board by collaging torn index pages from an old London A-Z onto Regular A4 White Smoothy Card. I adore the texture created from the ripped binding edges!


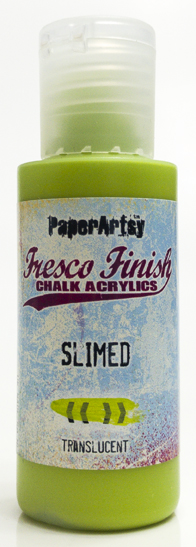
I lightly added some colour using the fabulous new PaperArtsy Brayer, and PaperArtsy Fresco Finish Acrylic in Slimed and Seaglass. I wanted to highlight the texture, and I didn't want to cover up the index pages totally. 


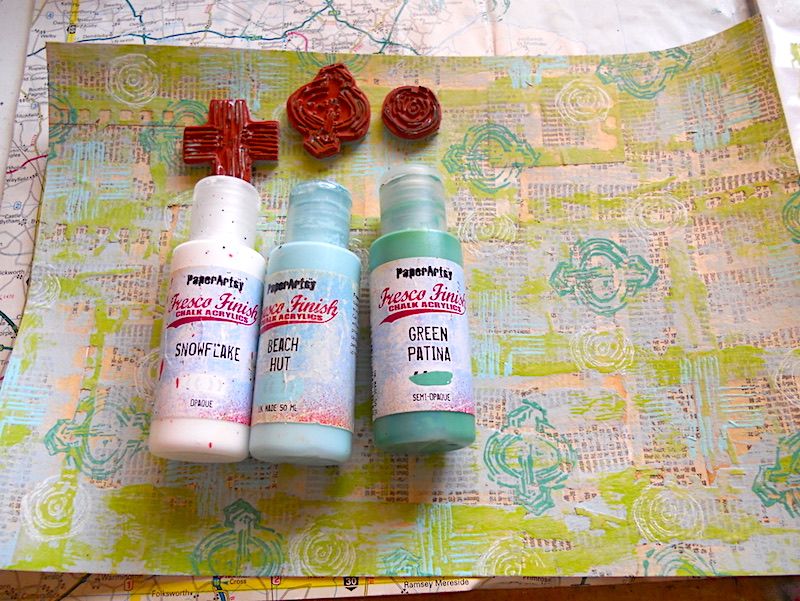
Next I used PaperArtsy Eclectica Stamp Set EEV08 with SnowflakeBeach Hut and Green Patina Fresco Finish Acrylic, to add a background design, and that was my master board finished. I'm really loving this fresh Spring colour palette with the vintage paper!


Time to create the focal elements for my cards. I stamped the arch, triangle and diamond designs from EEV01 with a Versafine Onyx Black Ink Pad on a map page from my old A-Z. As the paper is slightly glossy, I used a heat gun to dry the ink. 


These stamp designs are super easy to cut out, which I appreciate as my fingers struggle with 'fiddly' these days. Too much crocheting! Hahaha! I later stamped the smaller triangles from EEV03 (not shown here).


Having cut up my master board, and cut out the stamped shapes, here's the first card I created.


I cut strips of map page for the flower stems, adding black gel pen doodles. The quote from EEV10 was stamped onto an index page from my London A-Z, the words individually cut out, then glued on and outlined with a fine black gel pen.


I created a border by stamping the little rectangle from EEV08 with Green Patina Fresco Finish Acrylic around the edges, and for added interest and colour contrast, I glued red buttons to the tops of the flowers.

For my next card, I used the stamped triangles and smaller diamonds to create a floral style design, with a black border this time.

  
I didn't want to waste the off-cut strip of master board, so I created a more clean and simple design with the stamped diamonds from EEV01, adding buttons, doodled dashes with a black gel pen and another quote from EEV10.


Here's a closer look at one of my cards. I love how the street names show through on the background, and can you spot my mistake? I smudged the ink dashes when I glued on the diamond leaves! Whoopsie!


I hope you've enjoyed my tutorial here, and that you have a go at the techniques I've used. I had fun using Ellen's stamps in a different way. Maps and A-Z's make such wonderful collage material, and I think you'll agree that they're a great stamping surface. I look forward to seeing how you all use maps in your artwork. Have Fun!

Alison x

Facebook: Alison Hall
Instagram: @craftytrog