Hi everyone, It's
Floss Nicholls from the PaperArtsy team here with you today...
I've been enjoying some creative mark-making layering time since being presented with the theme "tracks" and coupling that up with the designers Seth Apter and Gwen Lafleur. It had me thinking about how we set ourselves goals/targets and have good intentions especially at the start of a New Year and how by mid February I overhear how some have given up whatever goal they set etc etc la la la...often me included...and so as this blog post was due to come out around the end of Feb I decided it'd be good timing to make a small journal to record milestones/prompts or goals to put you (and me) back on track...it's also perfect timing for the start of the hundred day challenge for those of you who take part in that...so I do hope you'll enjoy what I've been up to this time and maybe make something similar to record your progress in...
I was thrilled with this session's focus being on Seth Apter as I totally admit to being a bit of a 'Sethaholic'. I love grungy layered mark making and all the worn scribbly bits it entails. Adding Gwen Lafleur into the mix would definitely allow me to have more fun with layers!
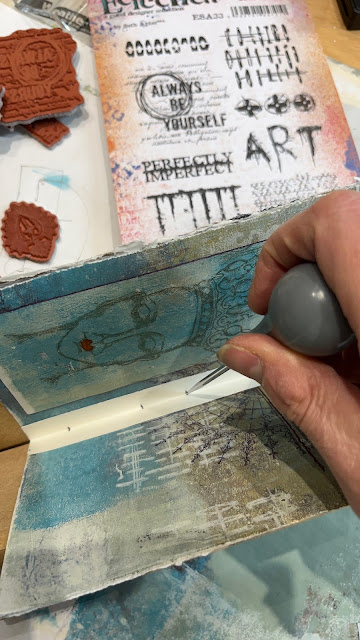
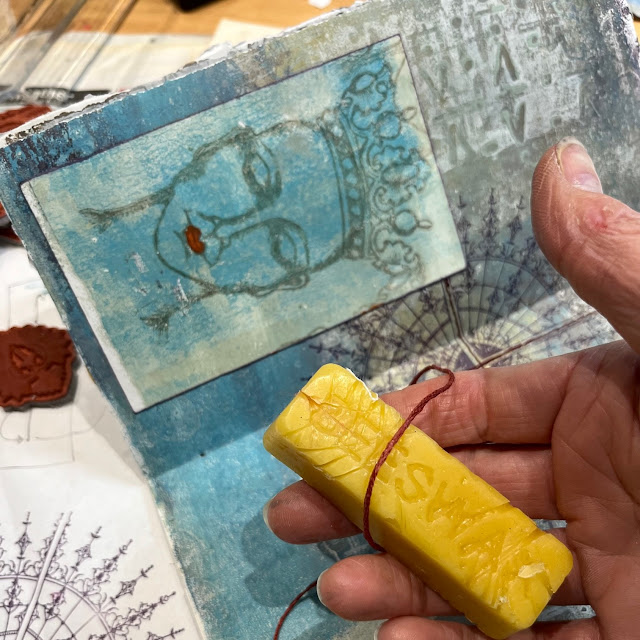
The inside pages are gel printed using PaperArtsy fresco finish paints on recycled cartridge papers and layered and stitched tissue papers. I thought it would be apt to use colours created by Seth and use his recent
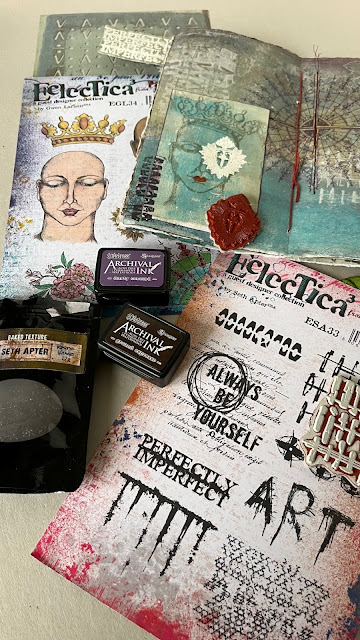
ESA33 stamp set with Gwen Lafleur's new EGL34 stamp set to add complimenting detail to some mark making layers.
So the first thing I did was grab a selection of colours by Seth Apter and paint them on some scrap paper...I knew it was going to be tough to limit my colour palette as they all work well with each other. I normally limit myself to three colours but this time I thought I have a few pages to play with...I knew once I started which colours would fall into place...
I started using my gel plate, brayer and rolling a strip of PaperArsy fresco finish squid ink acrylic paint and making marks using
ESA33 stamp set. I blotted off the rubber stamp onto a roll off sheet/previous gel print to make the most of the paint.
I did the same with EM48 and PaperArtsy fresco finish Heavy Cream acrylic paint making some really fun marks.
I really love to over-stamp an image to create texture...remember to let this layer dry before adding another layer of acrylic to pull your image which helps to add depth to your print.
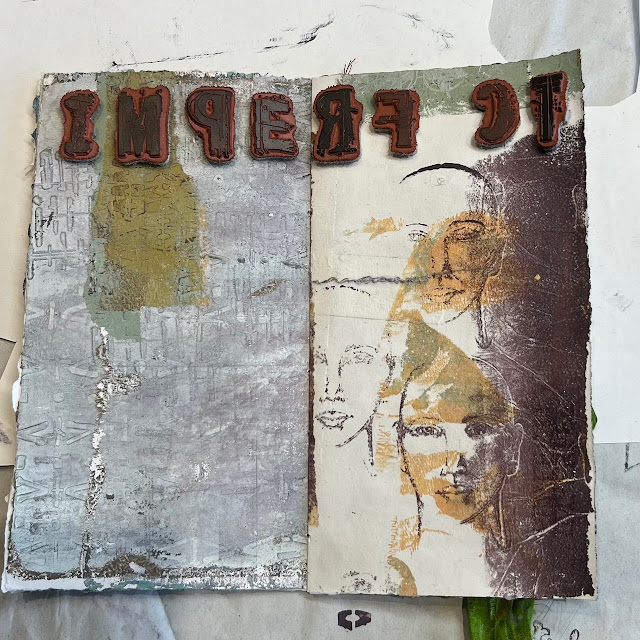
Whilst my rubber stamp was still wet, I stamped it on another gel print to build layers and make more interesting marks.
Have fun using the stamp sets that you enjoy working with to make a few different pages. Here I stamped the gel plate first then waited for it to dry before rolling through a stencil, doing this will lift some of the stamped areas making it less uniformed...I let that layer dry too before adding a thin layer of acrylic to pull the print.


3 comments:
Oh, wow! Loooove all the delicate texture!
Thank you so much for sharing your process - this post was such a treat to read!
Claudia x
Ohh Floss, I just love your layers and layers on your prints. Bummer about that tissue that you lost! I wonder if you added a layer of glaze medium to the tissue (some kind of runnny glue that would be more likely to sink in) maybe a spritz of water first to the tissue, then applied card weight on top, if you could have picked up the whole lot! (we'll never know ...but next time maybe!)
Brilliant layered prints, a shame about the tissue but hey ho we all have those moments 😉
Post a Comment