
2018 Topic 12: Transfers

This is part one of 2 posts from Dounia. Always experiments, this is such a great way to throw a bunch of ideas at you to explore further! ~ Leandra
Bonjour everyone, it's Dounia from France and I'd like to share with you an experiment with partial tranfers, adding relief and pattern to this already quite versatile technique!
I love Grunge Paste so I wanted to try transfering with it, as shown by Kaz Hall in this post.
However, what else is Grunge Paste great for? Stenciling! I therefore
decided to see if you could combine the two... Spoiler: it works!

I mainly see transfers done with faces, characters or scenes and while I like the results I personally love to use transfers to build background interest and texture. I find a good source of images for that is home decor catalogues with all their pictures of luxurious fabrics an wall-papers. So many patterns to chose from!

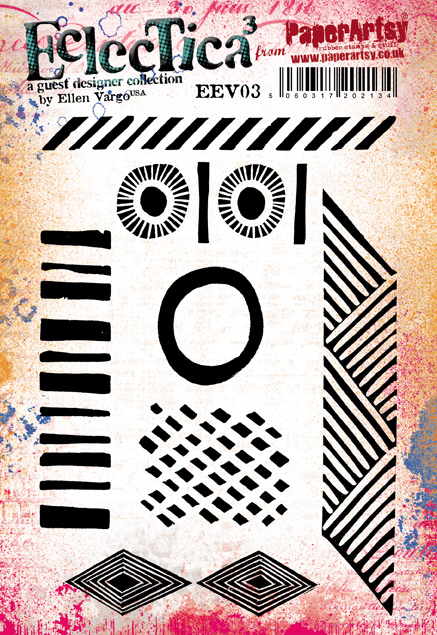
I however like to begin with a painted base, that might eventually be seen by transparency. Here I used the lovely Frescos Acrylic paints with a bayer and the fantastic abstract stamps by Ellen Vargo. The bold shapes of EEV03 provide a great simple first layer.
It can then built on with EEV05 or EEV06 for examples. I love that no matter how you stamp them, these stamps give you an organic, unique and complex look.


The Grunge Paste is a joy to stencil and the transfer works quite well. I however find it a bit more fragile than the ones made with paint or medium. I can see several possible causes: maybe it is inherent to the paste as it can be sanded, or maybe the lighter than usual pressure I apply in order to not completely squish the stenciled pattern is not enough, or maybe I'm too impatient and the paste was not totally dry when I begun rubbing!

This time I was much more careful and I'm quite happy with the result! Sometime you are able to pull big pieces at once and can see the "reverse transfer". The transfer is still far from perfect but I like the organic corrugated look, I think it fits this project. I am pretty sure that with more care, gentleness and patience, you could get a near pefect tranfer.
To provide a alternative focus point, I sneaked in another type of transfer but that's a story for tomorrow!

I
think this is a interesting technique to vary your transfers, and it
was not as fidly as I feared it might be! This was only an experimental
project to see if it would work and this idea can be taken in lots of
directions: you could use ultra thick gel medium instead of Grunge Paste
for a transparent variant or you could substitute the abstract patterns
for faces or little scenes in the bigger stenciled areas. I hope this
post inspired you to try!
To join our challenge and win a new Zinski apron:
Simply make
something arty relevant to the topic, and link your creation from any
social URL (eg. Instagram, Pinterest, Blog Post etc) sharing your
original make to this challenge page.
The current topic link Topic 12: Transfers will close 17:00 (London Time) Sunday, 22nd July 2018, and the winner will be announced 2 hours later at 19:00.
NB you have 3 weeks for this challenge due to New Products being announced

All links go in the draw to win a PaperArtsy creative apron. Please make sure we can contact you as a prize winner - it helps if you share your contact info from the platform you opt to use.
Good Luck! If you have any questions, don't hesitate to ask!


5 comments:
Terrific experiments and results, Dounia, very, very interesting! Loving this topic,
Looking forward to your next part.
Lucy x
Great results Dounia... looking forward to part 2.... Exciting!
Beautiful piece Dounia!! Fabulous results and organic look. xx
Very interesting post Dounia, and great results! Looking forward to part two.
Alison
It looks very interesting and difficult at the same time, as a technique, but the results look great!
Post a Comment