
Today we'll be using many of the same techniques to work on one large piece, and then cut it down to make four cards. So let's begin ....

We'll start with a list of supplies:
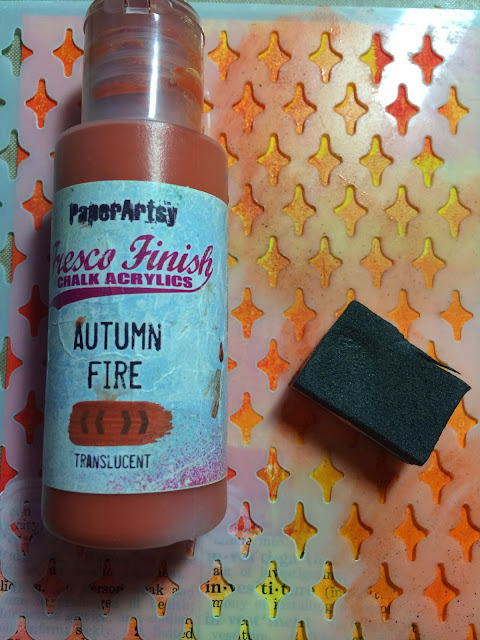
- Fresco Paints: Snowflake, Limelight, Yellow Submarine, Tango, Autumn Fire, Beach Hut, Inky Pool, London Bus, Little Black Dress
- brayer, any size
- dictionary paper for collage
- Smoothy Heavyweight White card – 4 pieces cut to 8.5” x 6” – we’ll be making four cards
- paper adhesive of choice – I used Scor-Tape.
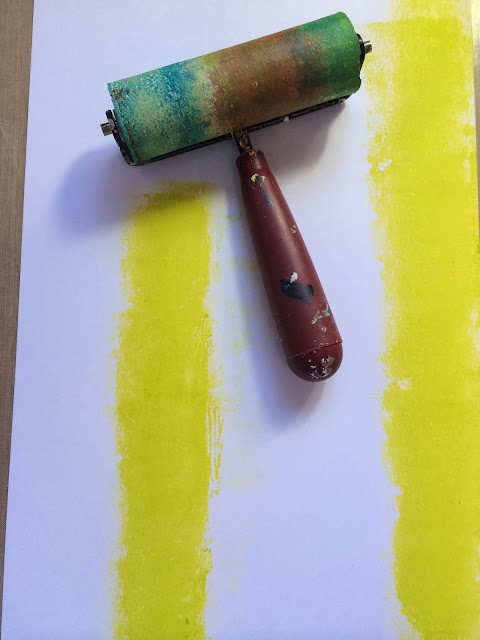
Take one sheet of Smoothy White Stamping Card, a brayer, and some paints. Here are the colours I chose:

Starting with Limelight, apply a small amount of paint to your craft sheet (or paper palette like yesterday), roll it out on your craft sheet with a brayer, and apply it in two sections to your card. Please forgive the state of my brayer... I'm *horrible* about cleaning it....
We'll do the same thing with the other colors, overlapping a bit each time... Next up is Yellow Submarine.
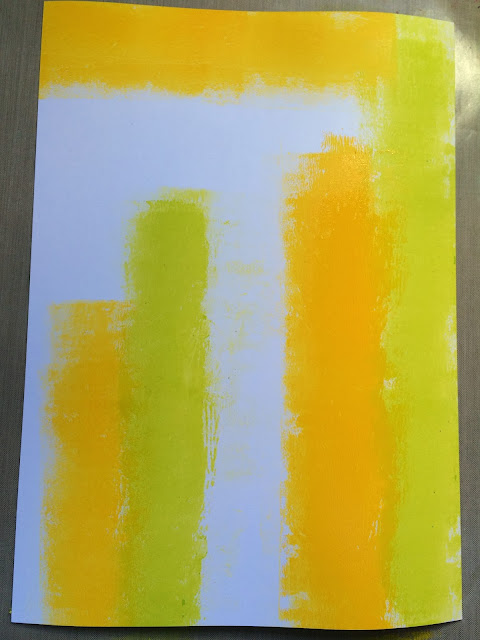
And Tango ...

And London Bus...see the depth building as we work to darker colors?

The small strips of London Bus were done by using very small section of the brayer - roll it just a little bit and then move over and do it again and again until you have a long skinny strip of color. Next I added some Inky Pool, as well as a small strip of white next to each skinny strip of London Bus. I used a small flat paint brush for the white.

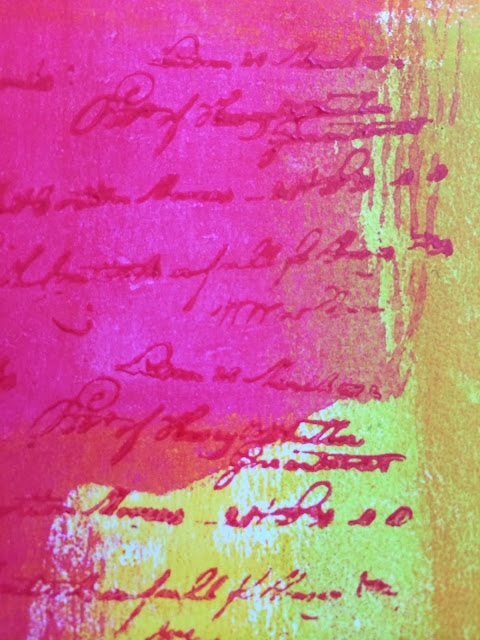
Next we'll add some stamping to our background ... I tend to do tone-on-tone stamping for backgrounds, so that nothing stands out more than the main focal image (eventually done in black). I selected a few Mini Stamps 22 & 23 along with co-ordinating paints ...


I thought the background still needed more ... so I chose Mini Stamp 62:
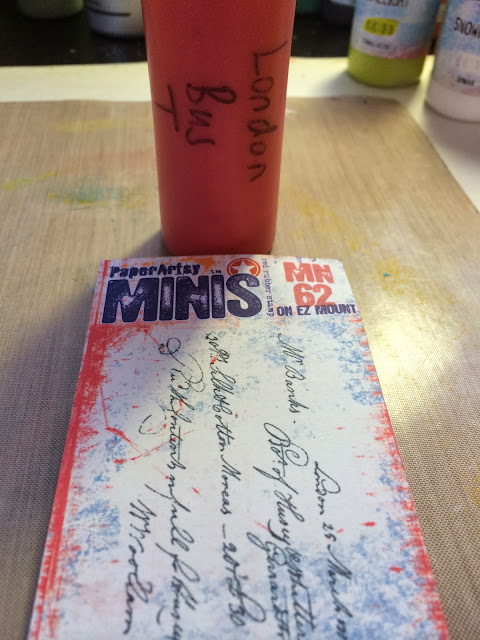

Oops - went a little "wonky" with that stamping - don't worry - we will fix that with some collage ...
I used some vintage dictionary paper, tore it into random strips and shapes, and used Ranger's Glue and Seal (matte) to apply it to the page. See how we've covered up the wonky stamping? Problem solved ... I trimmed the excess collage with scissors.
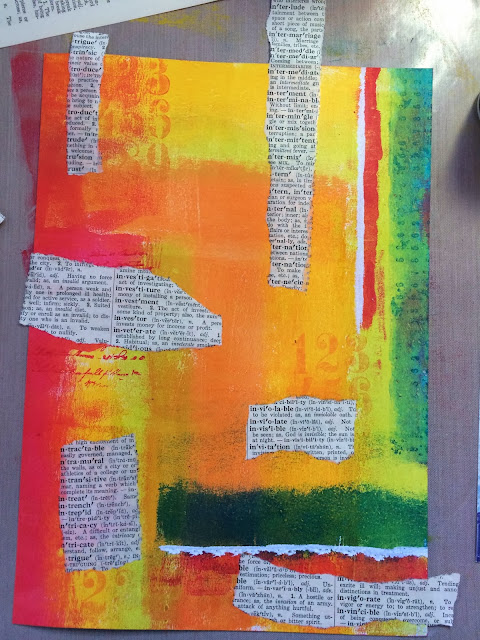
Now... confession time... I wanted that vintage dictionary paper to blend into the background a little more, and I *could* have done the collage first... *before* the painting ... so instead I just used my finger to apply the paints right over the collaged elements to push them back into the background again...you could also use your brayer to roll a small amount of paint over the collage elements. This effectively knocks them back to blend a bit more with the rest of the background.

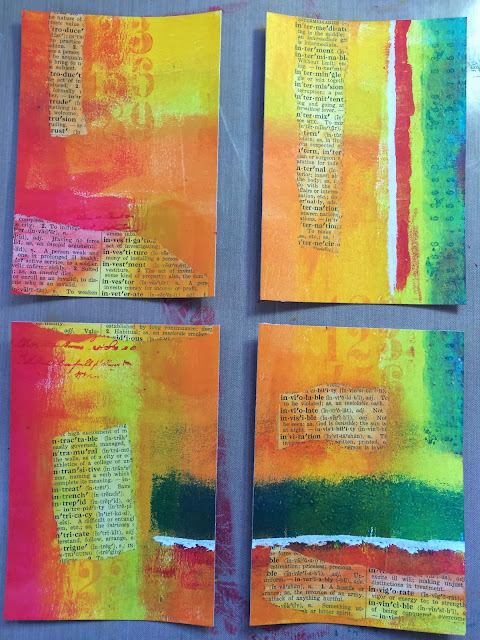
At this point, it's time to cut our big A4 paper into 4 sections, for the four cards we'll be making. Use your paper trimmer to cut the piece in half, and then cut each of those pieces in half again.
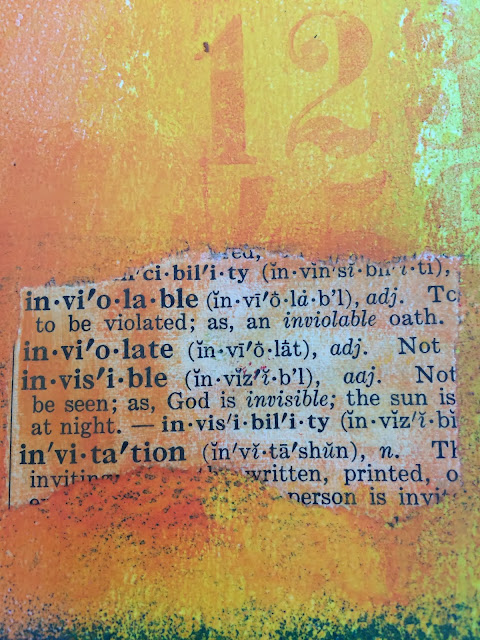
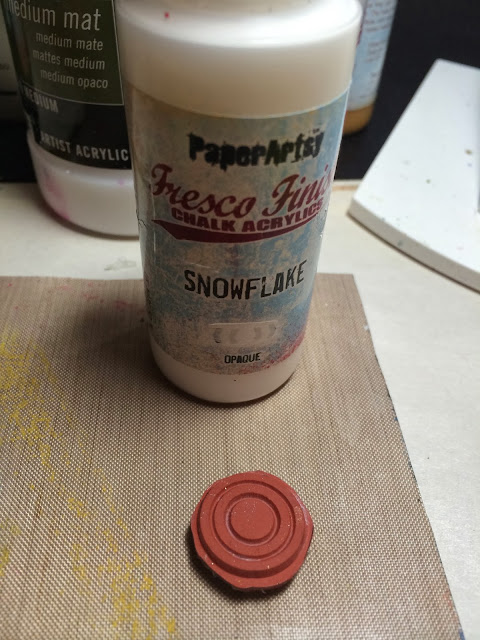
Another way to incorporate collage into your background is to do some stamping that overlaps the collage. I chose this target/bulls-eye stamp using Snowflake.
I stamped it in horizontal and vertical patterns, overlapping the collaged elements, pushing those collage pieces back even further, since there is now another layer on top.

I wasn't happy with the backgrounds quite yet - still a lot of untouched space ... so I decided to do some stenciling. I used Autumn Fire, some Cut N Dry foam and the Mini Spinning Tops (6x6) Stencil and applied the paint in random areas on each background.
This is Joe... he decided that he just *had* to help with the stenciling.... LOL!

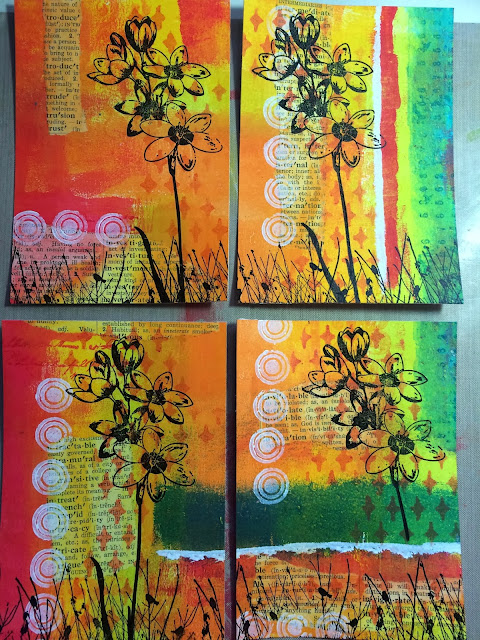
I'd say he did a nice job! HA! Just kidding ... no painty paws for Joe ... but here are the results ... The stenciling helps bring each section together since it runs the length of each card front.

Now it's time to choose our focal image. I wanted my cards to be a set of 4, so I stamped this gorgeous flower on each card using Versafine Onyx Black Ink ...


I then added some grasses to the bottom of each card with this lovely stamp - one of my favorites!


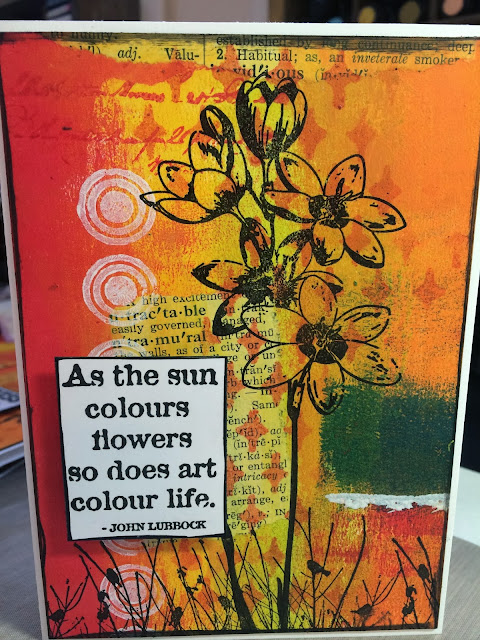
No card is complete without a greeting... so I chose 4 different greetings, some old and some of Lin Brown's new quote stamp sets...available soon!! I stamped each greeting on white card, outlined each greeting with Little Black Dress paint, and adhered them to the cards with some foam squares for a little dimension.

And to finish up, I mounted each card front on to a white card base. Cut 4 pieces of white card to 8.5 " x 6" and fold in half. Adhere each piece to the card front using your adhesive of choice (I used some scor-tape - double sided super sticky tape). And here's our card collection!

Here's a closer shot of one card ...
Thanks for dropping by, and I hope you'll have a go yourself this is so much fun! I'm sure you'll enjoy yourselves!
See you tomorrow
-Ellen
Gillian Says: Gorgeous collection of arty cards Ellen. Love the "pops" of white against the zingy colours.
If you would like to join in this week's challenge and play along with Ellen's techniques, then do link up your creativity here, and go in the draw to win some PA stamps of your choice! You need to link your entry by 17:00, Sunday January 26th 2014.


32 comments:
Stunning, stunning, stunning!! Can't wait for dinner to be ready and eaten so I can have a go..
Fab cards, very bright and cheery
Gorgeous cards!
Fabulous cards and techniques....need to dust off my brayer!
They are SO gorgeous! I love all the layers of paint, dictionary paper & stamping. Great job Ellen!!
Great techniques, & wonderful cards Ellen! x
So lovely!
These are great.
Oh I love these!
stunning Ellen. what a gorgeous colour palette.
Your technique of braying the paint is so effective. Does it go on with ease? I like the way you stamp with contrasting colours its yummy. As a collection they are really lovely, I like that each one is individual yet they go together. So much nicer than having all the same.
Thank you for sharing these your style with us x
Ellen...you go girl! Your cards are awesome. Love your pictorial tutorial. So easy to understand. Love the Fresco Finish colors you used. Love the random brayer streaks and the addition of text and stenciling. The black stamping really POPS on the bright background colors. Outlining in black really defines those card edges after you cut them into fourths. Mounting them on the white is the perfect contrast! Love them all! <3 Candy
Pop, pop, pop, I love the excitement, energy and vibrancy of your art. The little rests of white are like the golden silence at the end of a symphony. Your work is refreshing and invigorating, thanks.
Lovely vibrant cards with stunning contrasts. I love all the layers and the way you incorporate the text collaging. Nice to see you had some feline help! My cat never lifts a paw to help me these days!I'll have to have a word with her about Joe! Julie Ann xx
Love the technique, colours and the results are fantastic!
Gorgeous! This may be the first PA challenge I attempt. You make it look so do-able. Great!
Fabulously colourful cards and I love the layers. Might even get my poor lonely brayer out of its box, lol!
Hugs
Lesley Xx
These are just gorgeous. I made ATC's the same as these a few weeks ago, a super technique, especially with those gorgeous paints, they are really nice to use. debbiex
Wow! Awesome as usual Ellen! I love those colors and have made note as to the next colors of Fresco paint i'll be buying!!! Can't wait for your next posts.
Absolutely love your vibrant style, Ellen! Such well thought out cards. Love how you grounded the flower with the grasses,
Lucy
Stunning.... I love these. Thank you for sharing.
Sarinda
Lovely, bright and beautiful cards!
Those are fantastic cards. Love the technique and the colors!
These are so cool... great technique, zingy colours and the black stamping looks so funky over the top!
Alison x
Oh why did I get rid of my brayer. What a great way to get 4 cards from one sheet. Love all the layers on the cards. Will have a go at this one x
I see that I really need to get my brayer out!!!! These are fabulous!!!
Gorgeous cards, love the vibrant colours you've used!
Felt Notice Board
fabulous colours!
Love this i must give it a go. My brayer has been sitting on my desk looking lost for weeks!! Thanks for some superb inspiration
Before I read this tutorial, I was stumped on how to make a collage. Thank you so much for posting. This has helped me tremendously.
Another great project....so glad I checked in on your blog!
Post a Comment