Tuesday, 23 July 2013

Darcy Wilkinson Project #3 Garden Party Part 1....

"Summer has arrived! Yes really, let's make the most of it while we can. Let's have a party.
First off we need invitations. I decided to go with a card that would stand up, and opted to make a 'spring' type card. There are lots of tutorials online that will give you measurements and folding lines".


I folded the basic card using Smoothy White Stamping Card, then made pieces to stick on.
I sprayed some Adirondack Inks onto a craft sheet, spritzed with water and dragged more Smoothy Card through the ink. I then added a Shimmerz spray. Once dry I stamped flowers from JOFY 10.


I used a mix of Treasure Gold and Brush Bath to colour in the flower heads.
I then sprayed some more card with ink and dabbed it with the "criss cross" stamp from JOFY 10, to add patterning into the ink. Once both these pieces were dry I attached them to the basic spring card.


Here you can see the back of the card, this is where I stamped the words Who,What,Where,When...


Then I took the butterfly stamp from JOFY 11, I stamped it once onto Smoothy Card, and then again onto a plain block stamp. Then I stamped the block onto the card. This gives me a mirror image. You must use really juicy ink for this method.


I cut both butterflies out and then pieced them together to make one whole butterfly.


I coloured the butterfly with Fresco Paint, and added it to the card with a dot of silicone glue.


The shimmer from the spray and the Treasure Gold is lovely, subtle but effective.


Next we need some name cards for the table, so that everyone knows where to sit. I just used leftovers from the invitation, and made these in just a couple of minutes.


Now lets decorate the garden with some bunting ... I cut some large triangles from Smoothy White Stamping Card.


I painted each one a different colour using Fresco Paints, then I used a ribbon slot punch to add holes along the top edges.


I added stencilling in a contrast colour, then finished each one with doodling in black and white .


Finally I thread them onto a length of ribbon.


Now we are getting somewhere and it is all looking fine. The table cloth is laid out, but being
England it can get a little breezy and we don't want the table cloth blowing away.
so... a quick trip to the beach to find some flattish stones.. first off give them a coat of Snowflake so that your top colours will be bright and true.
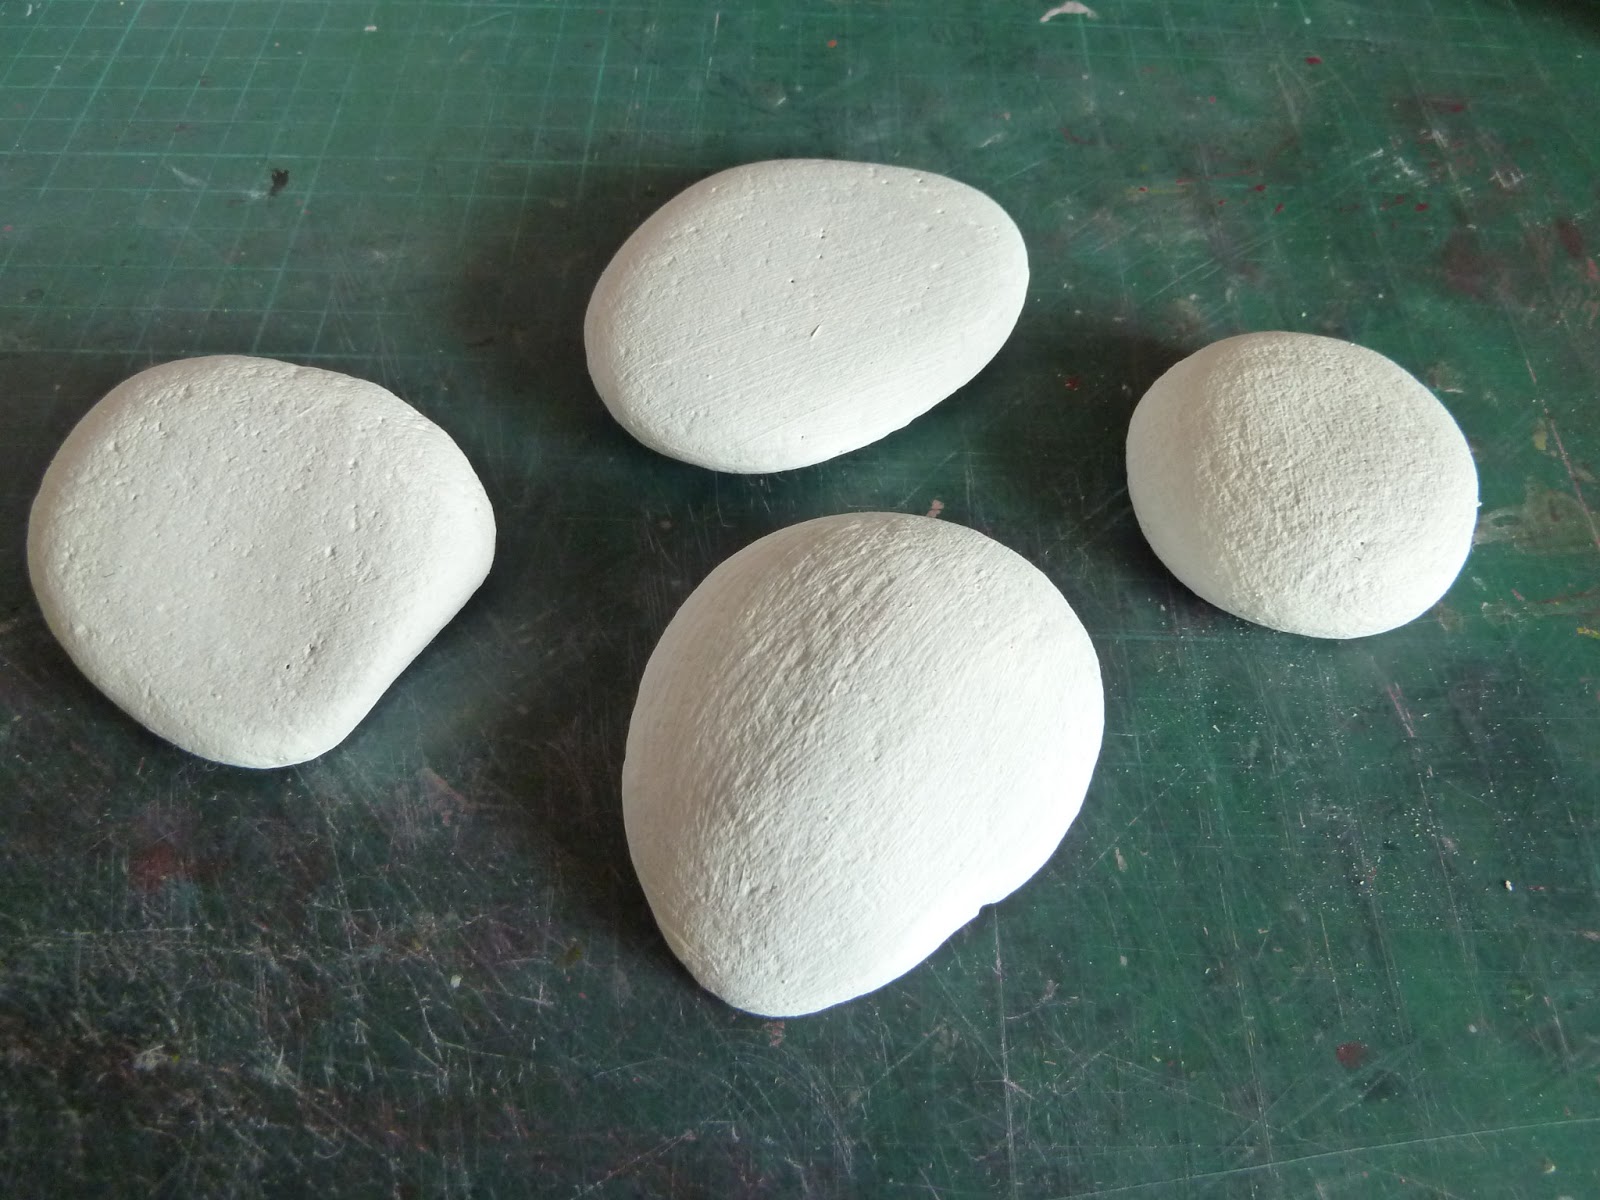

Sketch out some cute animals...if this scares you then copy one from a child's colouring book.


Start adding colour using Fresco Paints..it really is as simple as blocking in shapes. Once you are done add a coat of gloss medium to seal them and prevent the paint chipping off.


So now we can pop a lil stone animal at each corner of the table cloth and it won't blow away. 

What is a party without a gift to unwrap, I am sure it must be someone's birthday...

Take some regular brown parcel paper. Add some roundish splodges of paint, I did these free hand, there is no need for them to be perfect circles. Once the paint dries, add some flower stamps from the JOFY range.


Continue adding paint splodges and flower stamps, then fill in the gaps with text and leaves.


Every gift needs a gift tag right? Using a Kraft Tag as my base,I then put some Snowflake and water into a spray bottle and sprayed the tag .


I then used Mermaid and Beach Hut and the mini circles stamp from JOFY 9 to cover the tag, followed by a flower stamp from that set stamped in Black Archival Ink.


I then stamped other JOFY flowers onto Smoothy White Stamping Card and coloured them using Adirondack Inks.

   
They were then cut out and attached to the tag..


So now we have pretty paper and a tag to wrap up a gift..


Finally today, a little something fun for the table. I always think those white paper serviettes at picnics and parties are so boring, well lets make something fun to hide them away.
I started with this Wooden Birdhouse Substrate. Firstly I prised off the roof.
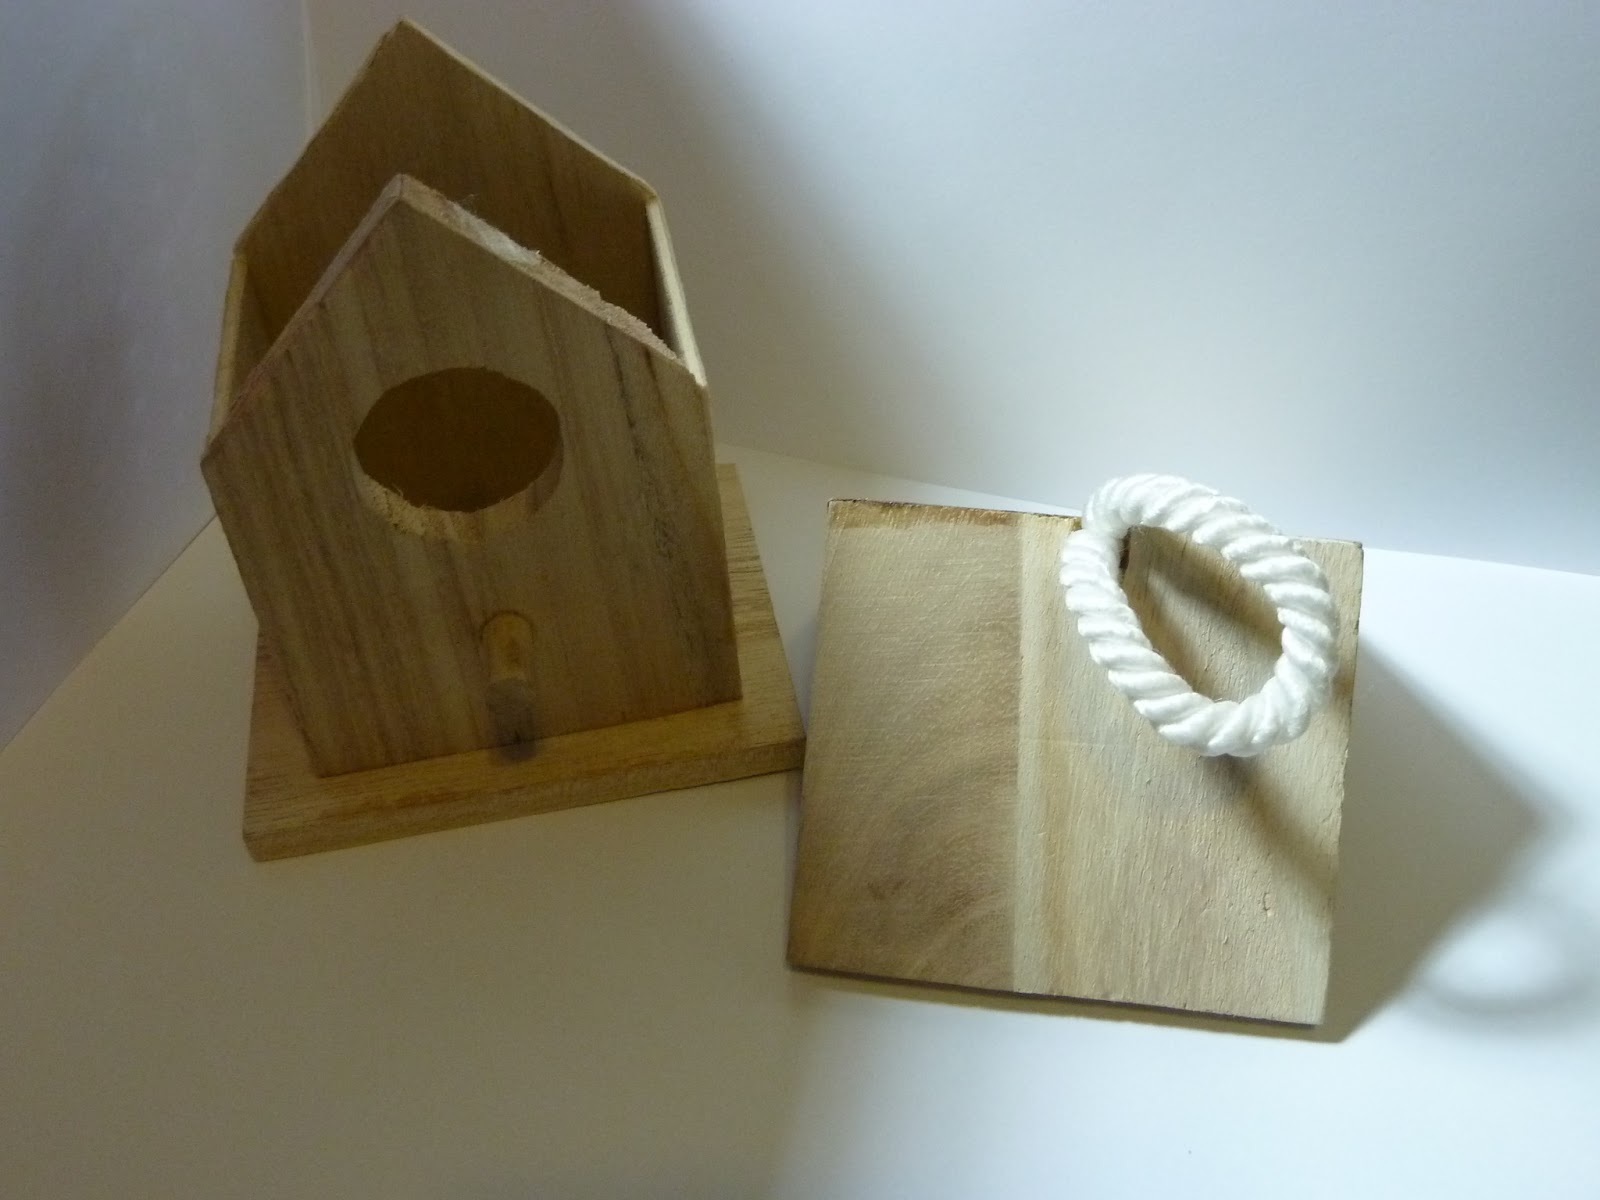


I then painted it with Irish Cream, followed by Baltic Blue.


I sanded back some of the blue , and then stamped words from JOFY 11 onto tissue paper. I glued these all around the bottom ledge.


I then stamped up lots of the flowers,leaves and butterfly from the JOFY range, and coloured them all in with Aquamarkers. Once I had a whole pile of them I arranged them all over the house. Here is the back, the flowers are added to corrugate card.


And the left side... you can see more clearly here where I rubbed back the blue to reveal the Irish Cream colour underneath.


The right side...here I added buttons to the flowers.


And finally the front. The paper serviettes are folded inside in a Z formation, so that when one is pulled out through the hole, the next one starts to come out ready.


It's looking grand so far, come back tomorrow to see the rest of the decorations.
In the meantime, why not get your children involved, perhaps painting stone pets or making
bunting. If you don't fancy using the birdhouse for a picnic you could fill it with tissues for the
bedroom. Make something bright and summery to celebrate our little bit of sunshine.


Leandra Says: FLIPPING 'ECK. I've lost track of the number of things you've made already. Loving the animal stones, the bug and the turtle were faves here! But also struck me that the smoothy card takes all the colours so beautifully, water-wet sprays, damp treasure gold, paint or markers, it copes with whatever you chuck at it! Finally, when i contacted you to do this gig, you said you were not really a stamper...but we've busted your butt! You know how to do mirror image stamping and EVERYTHING!!! The butterfly was brilliant! ..... what!! NO CAKES!!! sheesh!!

Gillian Says: I don't know where to start ... I love everything about this project Darcy. Your attention to detail is second to none. This is one party that I would love to attend. Bravo.

Monday, 22 July 2013

Darcy Wilkinson Project #2 Stickles Storage Bag....

"Here is this month's storage idea. Everyone loves a bit of glitter right...and Stickles happen to be a little bit addictive. Strangely enough I don't actually use them a lot, but I do love those little bottles of sparkly glee. For the longest time I have had them thrown in a small bag, all jumbled up, and it was never easy to find the colour that I wanted. Also these bottles really need to be upside down, so that the glitter glue is at the nozzle end and ready to come out. So a solution was needed that would keep the bottles upside down, and in place".

A while ago I went to a crop, and my friend Fiona was using an old cosmetic bag for her
stickles....ohh wow genius! I knew immediately that I wanted to make one. So many thanks to Fiona for the idea. I gathered my bottles, measured the heights and the area needed, and messed about with paper shapes till I had a pattern that I thought might work.

I then cut my pieces from Calico, this was then gessoed to make it stiffer and easier to accept the stamping and paint. Here we have base and lid, two pieces for a handle. A long piece to go around the sides, a smaller piece for the back, and two skinny bits for trim.


Now to choose a colour scheme. Using my tags from yesterday I selected these two that I thought would look good.

I decided to go with the Stone, Bora Bora and Blood Orange combination. All pieces were painted with the Stone and Bora Bora.

I then took the PaperArtsy Tall Heart Die, and used it to cut a stencil. Using Blood Orange I stencilled the heart onto the lid.

The piece from the middle was made smaller and then turned into a smaller stencil. I used this medium heart twice on the back section.

I then had a happy accident, as I stencilled some of the paint seeped under the shape, so I took this kitchen scrubbie that I use for cleaning my desk. As the paint was already drying I scrubbed at it a little to remove the bits I didn't want, and by accident some of the paint from the middle of the heart came off too. I loved this 'worn away' look, and repeated it on the other hearts.

I used the Mini Dot Stencil to decorate the base of the bag, and again used the scrubbie to wear away some of the paint. You can see the difference in the before scrubbing and after.

Then I cut the same heart down again to make a third smaller stencil, this was used all along the side piece. Then scrubbed back the paint. The skinny pieces were stitched around cord and coloured with Blood Orange.

Now to add decoration. I stamped the text and the flower from HP1204 onto the lid and the back piece. 


Then I stamped the bubbles from Squiggly Ink Mini 15 onto the side piece.
 
I used French Roast to do the stamping. I also outlined each of the hearts with a scribbly line using a Mitsubishi Eye Pen
 

I then started to stitch it together. First I joined the two handle pieces, and attached the piping to the lid and the base.

Next I stitched the base to the side piece and the back piece, and added a long zip.

Finally I stitched on the lid and then painted on a layer of acrylic wax, this seals the surface, and makes it wipe clean.

I then filled it with upside down stickles. It measures about 6 inches long by 3 inches high, small and neat and perfect for taking to crops or art days. No more will I have odd bottles of glitter glue rolling around.

So now I have a handy, dandy little bag full of glitter glue. I love it so much I may make another one and actually use it for cosmetics!

Over to you, make yourself a piece of painted storage. It doesn't have to be fabric, you could easily turn a plain old box into very pretty storage for your workspace.

To play along with any of my challenges this week, click HERE to upload/share your project.

Leandra Says: The scrubbie acts the same way as a sanding block on paper! How cool was that accident!! I also love how you gesso your fabric and it acts as a stiffener, same for the wax layer on top! You are one helluva smart cookie Darcy!

Gillian Says: Oooo really like the distressed look to the painted hearts from your "happy accident" ... who knew. Another great storage idea Darcy, thanks for sharing how to create our own little custom bag.

Sunday, 21 July 2013

Welcome Back Darcy Wilkinson Project #1 Sample Tags ....

"Hello and welcome to my July projects. I was thrilled to see so many people be inspired by the June projects. I hope you have been using all the tissue tape that got made".

My first piece this month is not really a project at all, at least not a prettified 'finished' item.
However I would urge every one of you to make this one as it is an extremely useful tool to have in your craft space. I often hear crafters ,card-makers and especially journallers saying how they cannot figure out how to put colours together. They don't know what goes with what, or what might look good. Now you could buy a colour wheel and study colour theory, or you could make these sample tags and have a lot of fun in the process!


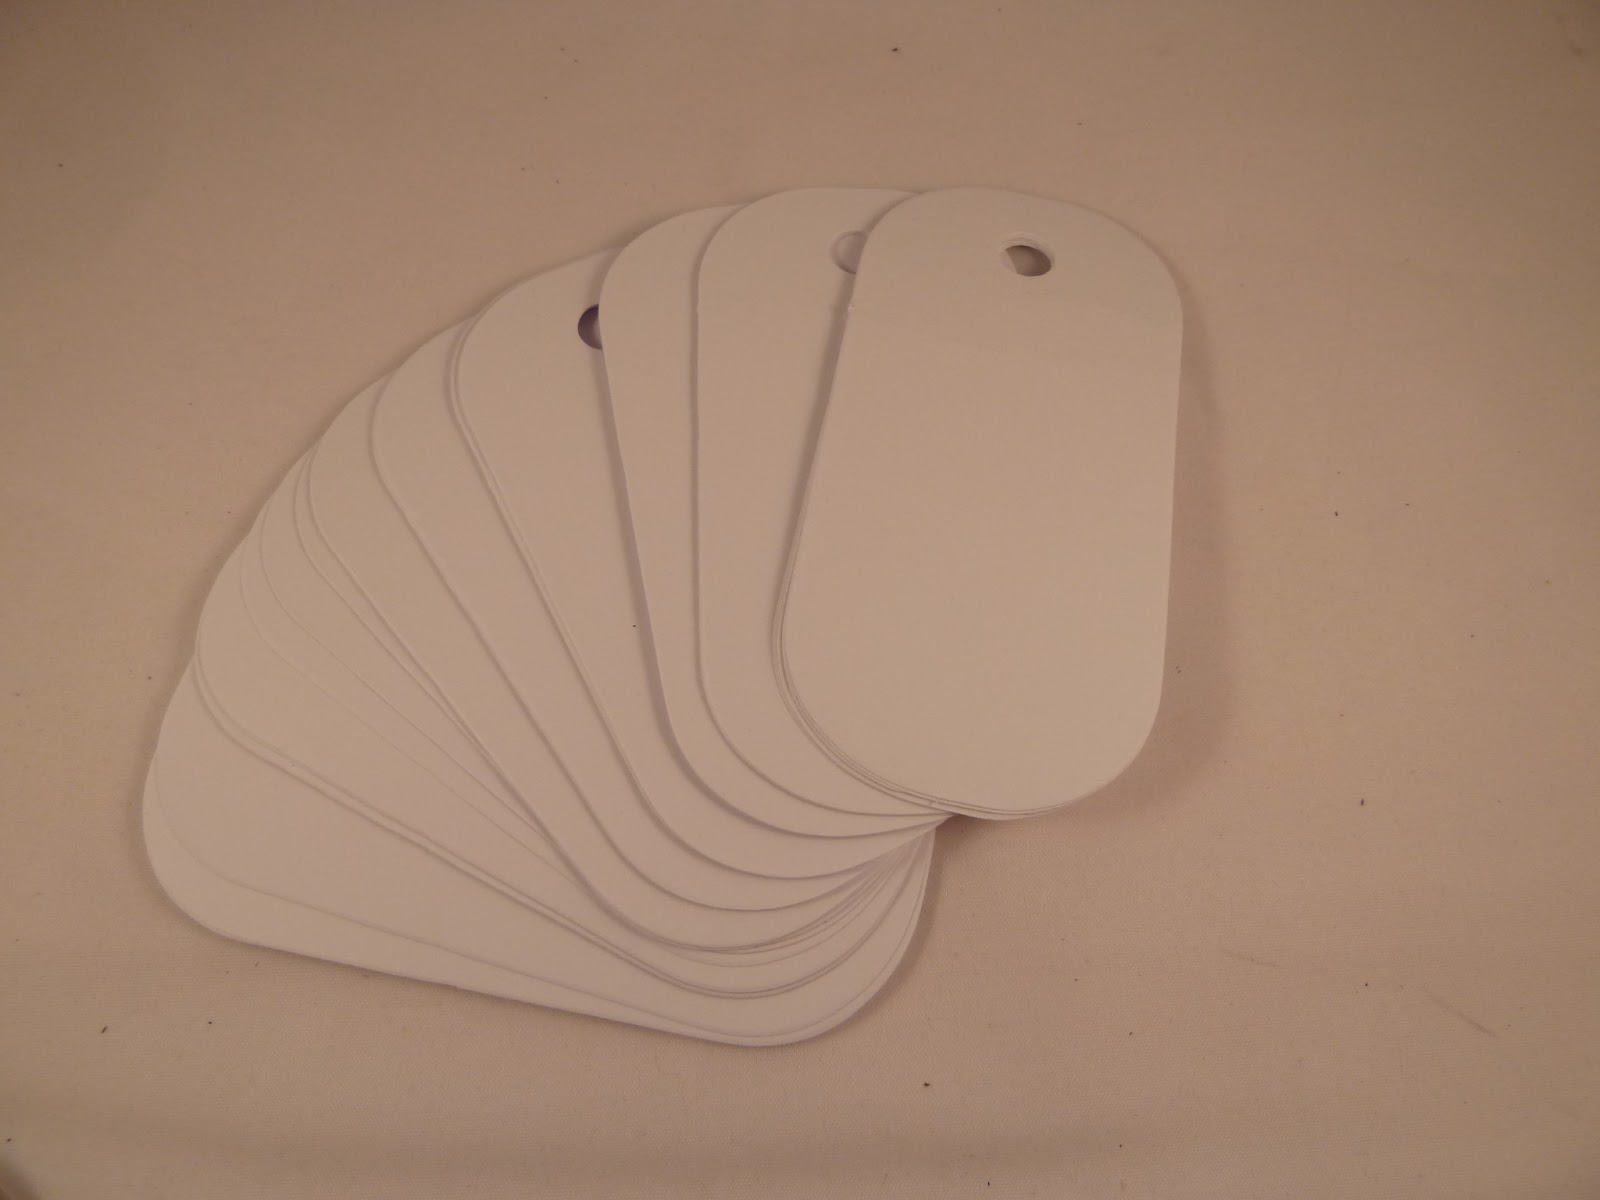
First off cut out some tags on a decent weight like the new card from PaperArtsy, the superb  Smoothy Heavy Weight White Stamping Card. It is 340gsm, so heavier that the other option, but just as smooth, and perfectly matte to use with distress inks, paint, markers etc. You can use any shape, but as they will be glued back to back it is important that they are a symmetrical shape. This is the shape that I chose, it is the large sizzix dog tag. You are going to need a lot....no really even more than that. I cut 100, and I know I will need more in the future.


Now take your Fresco Paints and PLAY... you have permission to do anything you like on these tags. As long as you are only using paint plus tools such as a scraper,brushes,stencils.

NONE of these tags will become a finished decorative tag, each one is only meant to be a paint sample. Or more specifically a paint 'combination' sample.


Try out different colours on each one, different combinations. Try brushing and scraping and stencilling and splatting, splodging and dragging....even if you only have a few Fresco colours the possible combinations will be many and varied.


 My favourite way of applying paint is to dab ...


and then scrape...


Try all kinds of applications, but bear in mind the main idea here is to give yourself a colour
reference of the Fresco Paints. Yes by all means add stencilling, but not on every one of the tags. Firstly it will become too much work, and secondly the stencilling or patterning will start to become a distraction, when all we really want to see is how the colours work together.
Use colour combinations that you already like... use ones you think you might hate...use random ones that you might never have dreamt of...have a look at projects here on the PaperArtsy blog, and try out colours used by other people...
 

Build up a stock of colour samples. As you finish and dry each one, add a small journalling spot to the front with the names of the paints on it.


I used between two and five colours on my tags. Keep some simple, just two colours, then on others add lots....just to see what happens.
 

Here are some that I love ...


... and here are some more that I think turned out well, definitely some surprising combinations. As you can see some are plain, and some are patterned...but look again, which ones are you drawn to? I would say the patterned ones catch your eye most. This makes for interesting ideas for patterning, but doesn't help you choose colours as you are distracted by the pattern. So bear that in mind.


Now the really important bit....KEEP THE ONES THAT YOU HATE ...

We only learn from our mistakes, some mistakes can be costly, especially if you get part way through a project and then decide you hate the colours. These tags will help prevent that. It is important to try out colours that you really don't like, you will be surprised by the results, and will end up with combinations so far out of your comfort zone, but which you decide that you actually like. However there will be ones that you really don't like, and just know that you will never use. Keep them, add them into the pile. They are just as good a reminder of combinations as the ones you do like. Here are ones that I am not really keen on...I can't see me using these colours together, but I will keep these tags to remind myself why I don't care for them.


You might be wondering where to even start, well choose 5 colours and see how many
combinations you can make just from those.


On these two tags I used almost the same colours,Smoked Paprika, Hey Pesto and Limelight...but on the first I added Zesty Zing and I really don’t like it. On the second one I added Rose, and I really like this tag.


So you can see just by substituting one colour you get a different feel.


Make lots...and then make more. Cut a huge pile of tags/shapes so whenever you buy more Fresco's you can paint up a few more tags.


The backs of the tags get all painty and messy, so I stuck two tags back to back. This hides the mess and makes them more durable.

So now where am I going to hang them? Well I want them to be handy, where I can see them and near my paint.


At this point I had all my Fresco Paint dumped in a huge mixing bowl...not attractive and not
helpful. Then I spotted these garden baskets in town. They have hooks at the back, and I found that two would hook onto each other.


I bought four, and hooked them up into two pairs.

Then I bought this really cheap kitchen roll holder and painted it black.


I slipped the pairs of baskets over the towel holder, and wired them together.


Then I filled the baskets with paint.


This has turned out to be a very effective storage solution and was super cheap. The tags hang off the baskets and before I start each new project I flick through them looking for a suitable colour combination. Don't feel you have to make 100 all at once. So far I have painted around 80, and that has taken me three months. This is an ongoing project, that you can add to forever.


Over to you, I hope this has inspired you to make a sample tag ring of your own. Don't worry about it being pretty, this is a purely functional tool for your workspace. I would love to see what really unusual colour combinations you can come up with and hear whether you have been surprised by the ones that you like. Inspired to play along, simply click HERE to upload/share your creativity with us.

Leandra Says: Such a great idea, and a really good excuse to have a go with different colour ideas. I have my 'go to' combinations, and this certainly opens up a lot of other combinations that i probably wouldn't have thought of! Love your baskets BTW!

Gillian Says:  This is a great way to reference all these yummy Fresco colours when choosing which colours to work with ... decisions decisions. Love the wire storage and how readily you can make your own with a few household bits n bobs, compared to having to fork out a small fortune for an already made one.