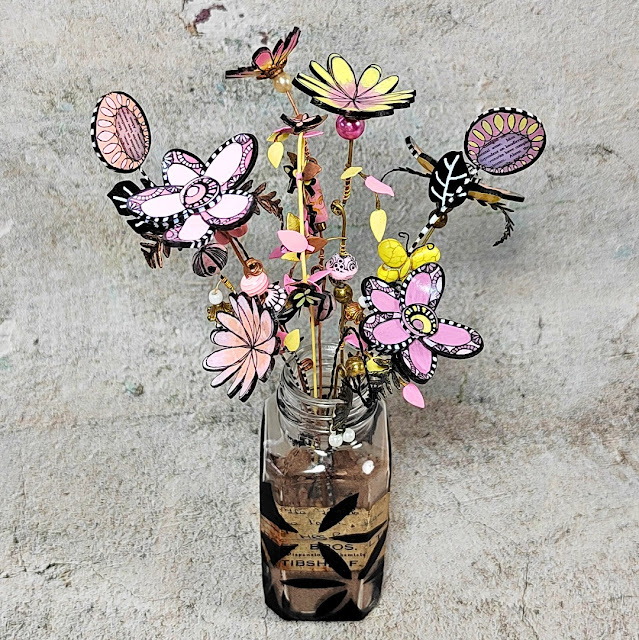
After receiving those mystery supplies my mind immediately went to the idea of making flowers, but the stamps in the JOFY76 stamp set are quite large so I decided to use them with lightly sanded shrink plastic and permanent black ink.
As you'll see below, by adding small amounts of Little Black Dress and Snowflake PaperArtsy Fresco Finish Chalk Acrylic Paint to the Sunshine and Flamingo ones (and by mixing those two together) you can extend your colour palette.
Following advice from a previous post on the PA blog I watered down the paint before applying it to the surface of the shrink plastic.
After cutting out each stamped image and heat shrinking them (deliberately curling them along the way) you can the paint the reverse and edges of each cooled piece with undiluted paint. If needed you can also touch up bits of the front too.
Knowing these flowers will be seen from all angles you can add your own details to the back of the flowers with permanent black and white paint markers. Those noticeable black and white stripes in Jo's original designs can be replicated on the edges of the flowers and also on the paper-covered wire stems. You can protect your painted flowers with clear nail polish.
Now it's time to create the larger flowers with the individual petals and centres. Use a fast bond glue that dries clear throughout the assembly process.
To stick the stems to the base of the flowers I recommend threading beads and a bead cap onto the wire before bending it over at the end. Glue them together and allow to dry.
Below you'll see some suggestions for the ways you can then embellish the stems with extra beads, twisting the wire and by adding miniature painted leaves - I used dies from CoolKatzCraft to cut mine.
To hold the finished flower stems I'd found an old bottle but it needed improvement, which is where the PS086 stencil came in useful. I found it easier to use a permanent black marker to trace the design onto the uneven surface before filling them in with a couple of coats of the Little Black Dress PaperArtsy Fresco Finish Chalk Acrylic Paint.
I suggest adding something like sand into your finished container to help hold the flower stems in place. And you can add extra stems decorated with beads and bits of broken/old jewellery and the smallest flowers to complete your arrangement.
Here are some close ups of the finished stems...
Well that was fun! I'm off to find out which other PaperArtsy stamp sets will help me create more miniature flowers.


1 comment:
I am so in love with this project! The results are beautiful and such a wonderful idea! Thanks for sharing! -Ann B
Post a Comment