Hello, Mags here with you today.
I'm excited to share with you my project for the next round of the 3 things challenge here on the PaperArtsy blog. I must admit I'm not normally a fan of surprises, mainly because I am a bit of a control freak ! but I do love a challenge ! When I was younger I loved watching "Ready Steady Cook", a UK television series where two chefs were given mystery ingredients and told to come up with something wonderful. This challenge is in a similar vein, but with art supplies.
When the parcel arrived with the three supplies for the challenge, I couldn't wait to open it and get started. What a lovely surprise! A fabulous Ink And The Dog stamp set, which fits perfectly with the current blog Topic - VIntage/Old School PaperArtsy stamps - so Clocks plate 2 was lovely (C2EZ). A heart die (PAD-TF) and some PaperArtsy Fresco Finish Frosting Glaze (FF111). The parcel also contained a PaperArtsy postcard with a nice note from the team at HQ, more about that later.
My first thoughts when seeing the supplies were to create a journal page with layers of stamped images and die cut rusty hearts, but where would the Frosting Glaze come in ? So I quickly changed my mind and decided to create a hanging element for a vintage style canvas or board. I had some Shrink Plastic which a friend had sent me and decided to use that as part of my plan. I also wanted to make use of that lovely postcard which was in the parcel.
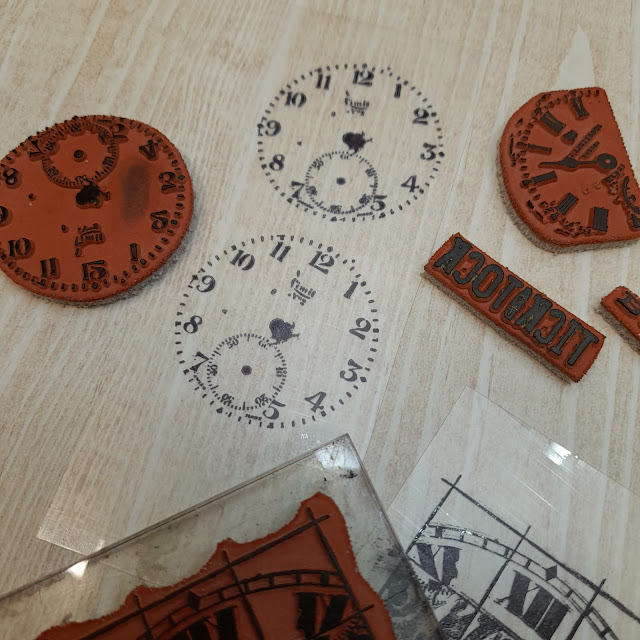
I began the project by choosing a vintage book board as a base and stamped the images from the set onto Cotton rag paper and PaperArtsy smooth card. Creating a spray with the Just Walnut Infusions is one of my favourite things to do, it adds a lovely vintage feel to any paper or card. I sprayed the postcard and stamped images and set aside to dry, before spraying the reverse of the postcard too.
It was now time to move on to creating elements to decorate the book board part of the project. I mixed a tiny amount of Just Walnut Infusions with some of the Frosting Glaze and dabbed it onto a sheet of acetate with a large brush. I didn't want brush strokes, more of a mottled look as you can see below.
When the glaze was dry I cut out the clock faces and combined with the sprayed paper images using a brad.
Remember that postcard which I had aged with just walnut ? Well it was time for it to come into play. I cut part as a backdrop for my image and also cut out several small elements from the other side to use in the composition. Below you can see the postage stamp, the tiny gauge and the hot air balloon, along with the aged clock faces from the previous technique. You can also see a peek of the next stage of the project, created using the shrink plastic.
So it was time to have fun with that Shrink plastic, I painted each side with the Frosting Glaze and then stamped the images from the stamp set onto the plastic with Ranger, Archival ink, Jet Black. Because the plastic was now matte from the Frosting Glaze, and had a great surface to take the ink I didn't need to use my Stazon ink pad.
I cut out the clock faces and words, then used the die to cut into the large grid image. Not wanting to waste any of the plastic I also cut the remaining bits into strips.. Adding punched holes to the heart, clock faces and strips was easy with a hole punch.
I have a fair stash of vintage costume jewellery and beads and decided to incorporate some of this with the now tiny glazed clocks, heart and grid strips. The shiny beads and metal are a nice contrast to the frosty glaze of the mini items. Adding a touch of Vintage photo Archival ink with a sponge added to the vintage look. It was easy to create a lovely dangling element to add to my project.
I added the dangle to my project by using a vintage safety pin and mini bull dog clip along with an eyelet through the paper in the background. I love how the dangle and clock faces echo the chaps hidden pocket watch and chain.
I will definitely be using the frosting Glaze again, probably to age some bottles and then add some rusty dangling elements. I can also see me using the stamp set a lot too.
I hope you have enjoyed seeing my project and it inspires you to have a go at combining supplies in surprising ways. Take care and happy crafting
Mags x


.jpg)


1 comment:
Wonderful vintage layering and collaging, Mags! A great way to deploy the 3 things.
Alison x
Post a Comment