Now for a bit of depth to the paper. By moving the paper slightly and repeating the technique with the Ranger, Archival Jet Black ink pad, a new pattern emerged. It was at this point that I thought to myself "oh no, what a mess !". I had forgotten that I had recently reinked my ink pad and it was very juicy. There was a lot of black ink on the paper!
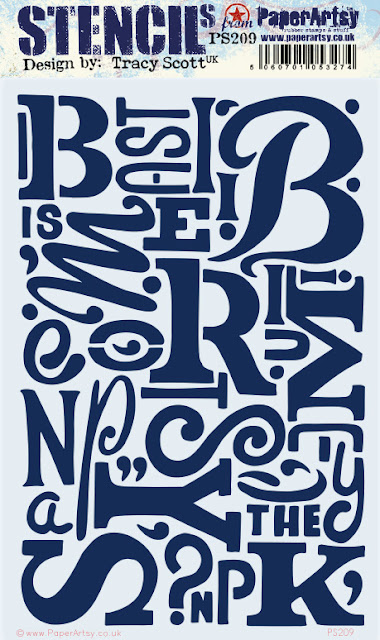
Thankfully over the years I have learnt that in mixed media art sometimes it just needs one more layer before the surface is ready. This was a case in point. Rather than give up, I decided to add some white. I popped the stencil on the top of the paper and used a White gel pen to outline the numbers. I love how the stark white contrasts with the blurred orange and black ink.
Having created some striking bold papers, I now moved onto image transfers. I have had mixed results in the past and this time was no different. Not through the choice of materials, just through lack of experience and practise. I achieved some passable results which were ok for what I was after. I am sure I will get better with practise.
I had used up some of the paint from my brayer on to my gel plate and spare papers, so had several blank sheets of painty papers to play with. Using a white gel pen again and the stencil gave me more dramatic papers.
I also used Tracy's stamp set (TS065) to add visual texture to different book pages and blank papers overlapping some of the images and using second generation stamping.
When creating this type of journal page I tend to add torn scraps of papers in a fairly random way. In this journal I decided to explore other ways to add the papers, but for the first page I went for my usual method.
Using matte medium as an adhesive I attached torn pieces of my papers to the second two page spread in the journal. I seldom start on the first page in a journal, I like to create pages throughout the book rather than starting at the front and working towards the back. I did keep in mind the visual balance of the pages, but not too obsessively.
Where the papers overlapped the edges of the pages it was easy to trim and sand them back to neaten them. I was aiming for the pages to have a more cohesive look, and used a spatula to add random patches of Chalk Fresco Finish Chalk acrylic (FF83)
I was happy with the way my pages were shaping up but they needed a focal point. The Printed Tissue designed by Tracy (PT04) is a recent release and has so many fabulous images. I decided it was ideal to provide my focal points. I copied Leandra's technique for painting the reverse of the tissue with Fresco's, using Firebird on some areas
Then when it was dry adding a coat of Chalk . Because Firebird is a translucent paint adding the Chalk brightened the way it looked on the front of the tissue and made it opaque
I used decoupage medium to attach the tissue to the page, adding some unpainted mandalas from the tissue on the edges and corners.
My pages looked good and were almost finished, but I thought they needed some words. I had found some interesting phrases in the Vogue magazine whilst looking for text for the image transfers. They seemed to fit with the look of the page and the journal in general. I do have a stash of found words, but these were bolder and more fitting somehow.
Another two page spread had a grungier feel with a smaller amount of the Firebird and orange. You can see I stamped some circles using a mini stamp by Tracy (TS mini 06)
The last page was a twist on the horizontal strip page, this time the strips were placed vertically and the focal point was a very strong Firebird coloured butterfly from the printed tissue.
As I looked through the pages in my journal I could see things that could do with a few finishing touches, just to make them stand out more.
I added some details to the large flower and mandalas on the first page with a white gel pen
Now my journal was almost finished. It just needed the cover decorating. I wanted to keep the design fairly simple, as there was so much going on inside. I decided to create some rusty number embellishments.
I had experimented with this technique before and wanted to perfect it. I mixed equal amounts of Grunge Paste (GP190) and gel medium. Laid a stencil (PA208) on a sheet of Crunchy Waxed Kraft Paper (WKPA5) and applied the Grunge paste mixture through the stencil.
As I said, I wanted a fairly simple cover design, adding a few stamped scraps of paper along with the rusty numbers was the basis. The finishing touch was adding some stamped circles using Tracy's mini (TS mini 06) and some more magazine clippings.
.


.jpg)


2 comments:
Stunning artwork, so much to look at, thank you for taking us through the process ��
Fantastic post great techniques xx
Post a Comment