
2020 Topic 12: Typography

Art
is an absorbing process and Lynn shows us how to keep persevering with a
page until you get it just right. Adding layers upon layers gives
amazing detail. Her painted stencilled tissue paper looks particularly
effective and all the lovely doodling creates real expression for the
stamped face.
~ Keren.
~ Keren.
Hi everyone, it's Lynn Good (Memories on the page) with you today and I'd like to share with you an art journal page that I have created for this week's theme "Typography".
I began this page as a single page and it took over and became a double page ! Let's see how I created this.
I began this page as a single page and it took over and became a double page ! Let's see how I created this.

I did start with an idea - I knew the stamp set I wanted to use (well two). They are HP1504EZ and HP1802EZ


I then added some crackle texture paste through Stencil PS166
- once this was semi dry (as I don't have a lot of patience!) I applied
Fresco Finish Chalk Acrylic Paints - Coral and Red Lipstick. I sprayed
them with water and then used the stencil to dab and blot onto the next
page.


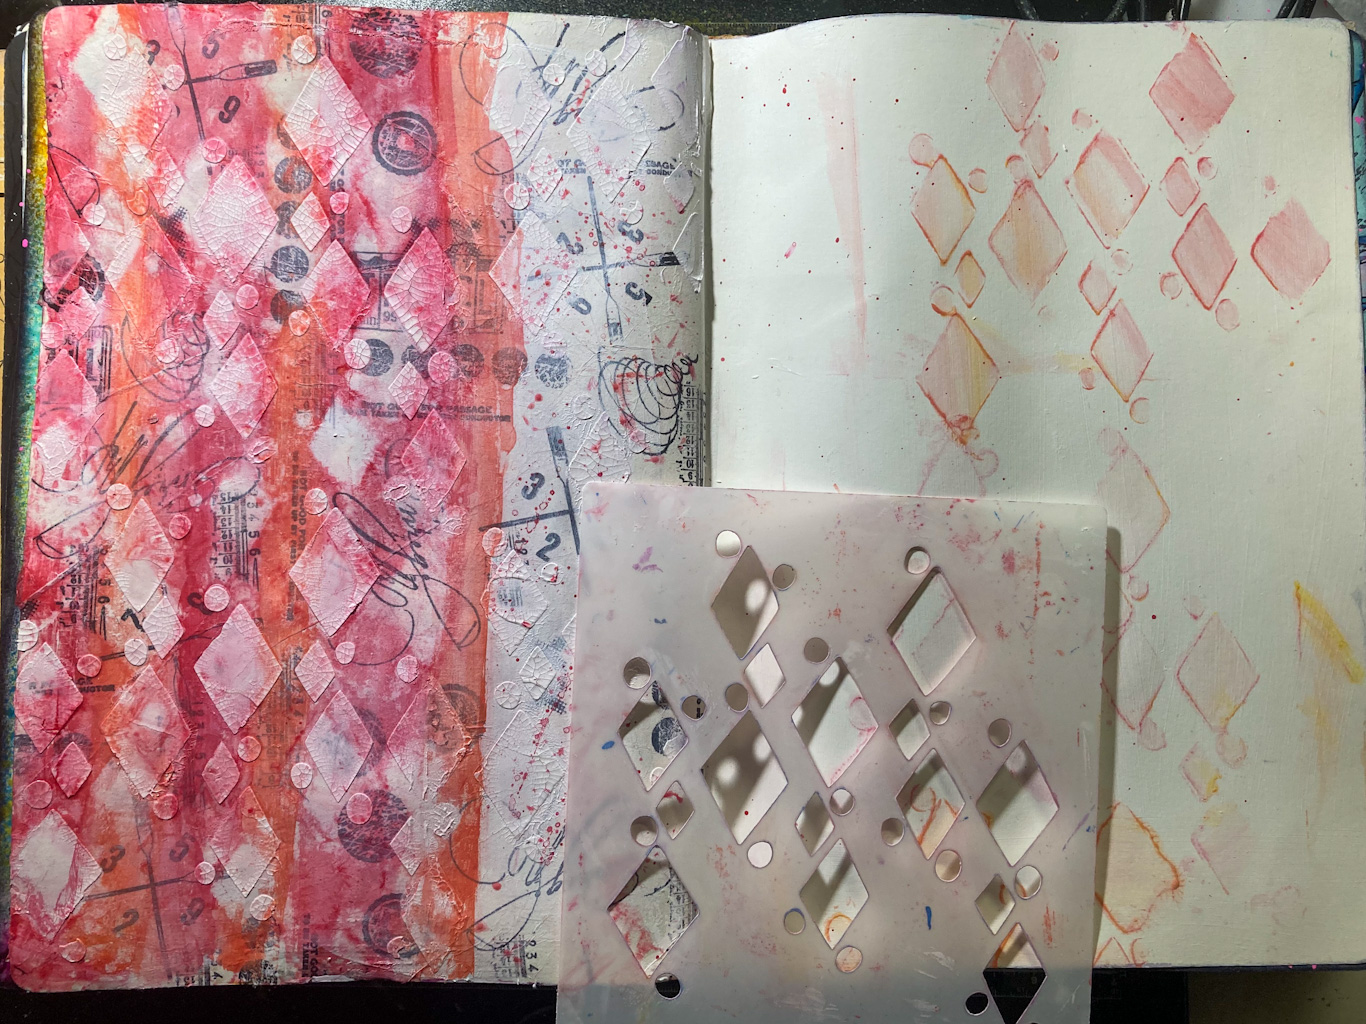
I then added some Zesty Zing for highlights.

Now to push it all to the background a little! For this I have used Stencil PS187 and Snowflake Paint with a makeup sponge.
 |
Of course, then Murphy's Law!!! The background stamps were lost more
than I would have liked so out with the stamp ink and put some more
on!! The fun part of Art Journalling is layer, layer and layer!

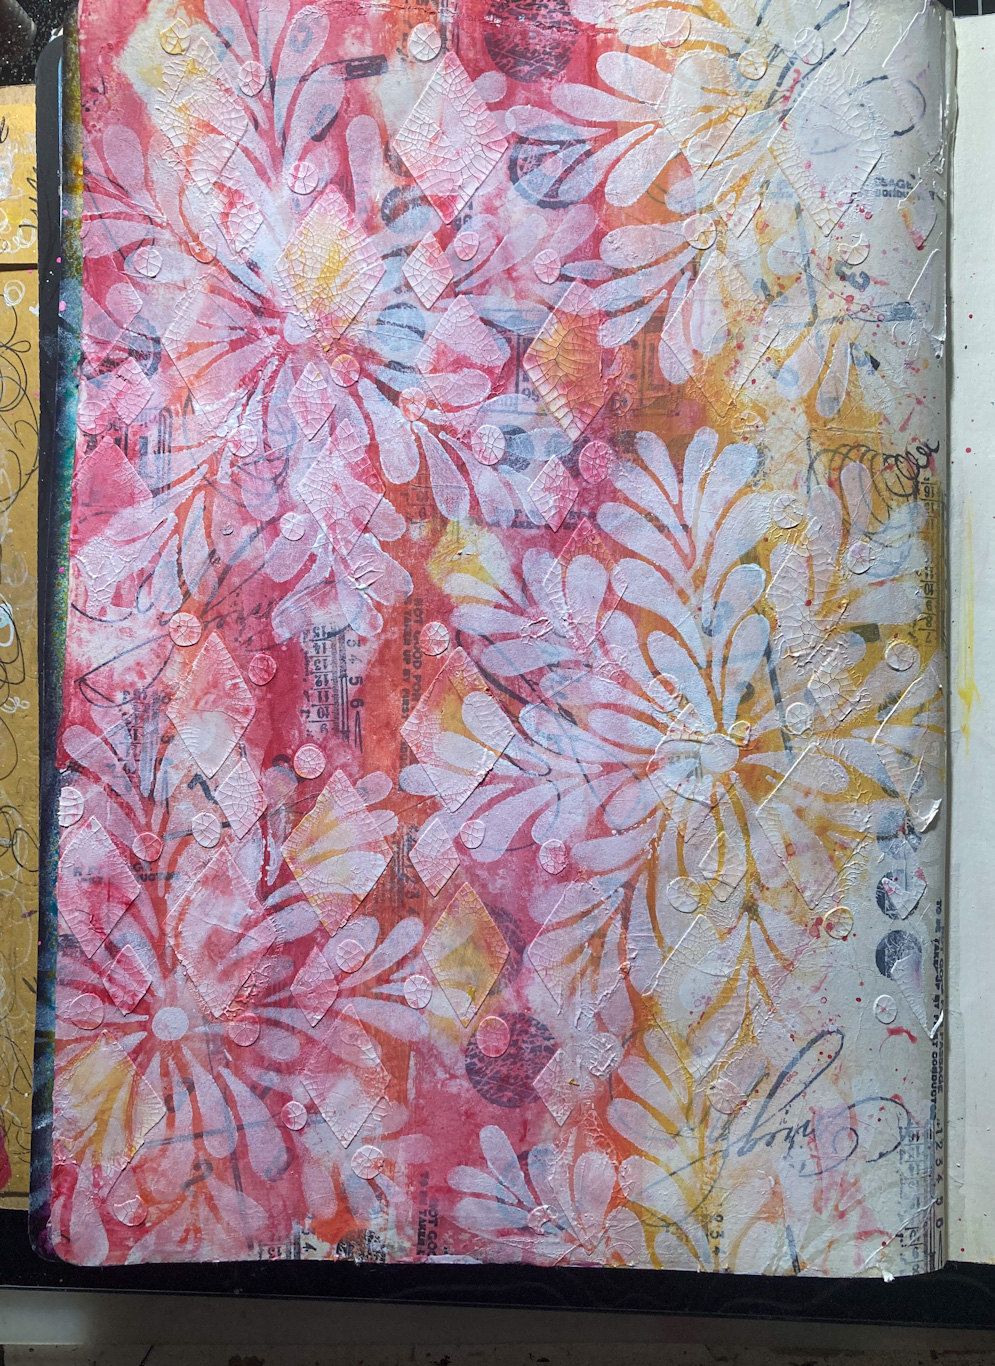
I then decided I needed a focal point and that focal point needed a
background - so I used the same colours through stencil PS137 on tissue.


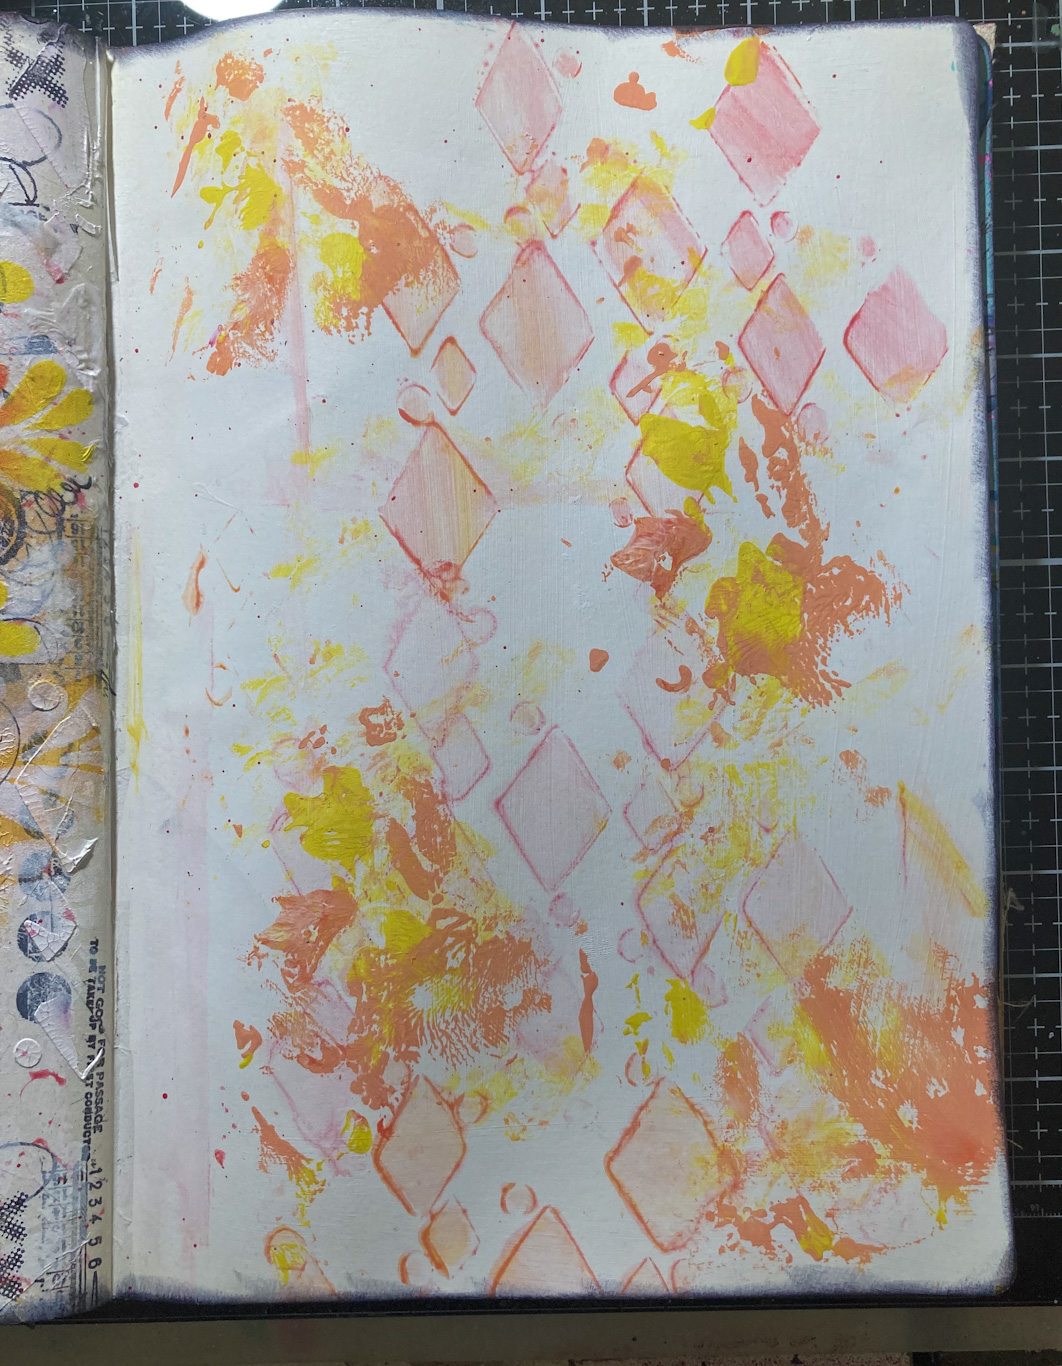
While I was waiting for this to dry, I was looking at the opposite page
where I had put the excess paint from the first stencil and thought -
maybe I could incorporate that page so they blended together.
So I added the extra paint I had left over onto the page
I decided to use the Stencil PS187 that I had used on the previous page
with Snowflake paint, but this time I used it with the crackle paste.
(not sure where that photo ended up but the photo below does show this
step!)
I then needed to add some more of the stamps, so back to the tissue
stamping and adding images. I got so involved in this stage that I
forgot to take photos! You will see behind the head that I have added
the tissue with the paint through the stencil I did previously as well
as some line working with black paint pen on the left of the page. I
also added some black paint around the edges of the page.

But it still did not feel complete so I decided to sleep on it for the night.
I decided that it needed more work, some of the "flowers" buds coloured
in and some random marks here and there with colour and black. I needed
to scribble around the head in both black and white, and highlight the
eyes. Once this was done I was happy with the result.
Here are some close ups:
 |


I
hope that you have enjoyed this process - sorry it was lengthy! But
sometimes the pages need to take on their own journey and so what
started out as a single page focusing on stamped images tissue morphed
into a double page!
Lynn xx


2 comments:
Fabulous project.... I often have to wk away and go back!
Wow this turned out fabulous Lynn!
Post a Comment