Thursday, 22 June 2023

2023 Topic 7 : Art Dolls {by Asia Marquet} with Zinski Art stamps


Hi everyone, 

it's Asia Marquet with you today (Lemon Creation)

I don't really remember last time when I created something which isn't an art journal page. This is one of the reason why I choose the topic Art Dolls- I decided to make something more elaborate, off the page and with different embellishments. It helped that I always found the topic of Art Dolls very intriguing and full of possibilities. In this post you will find my own interpretations of this topic, a little bit surprising maybe, but I hope also a little bit funny.
So let me introduce you to free form ATC- that is: Dolly, Molly and Holly- my 3 very, very elegant, beautiful and  fashionistas sheep.  Are they really dolls-  you may ask. Why, of course they are! At least in my imagination! 


Let me explain you step-by-step  how I covered those funky sheep in fluff, put on them a truly beautiful make-up (lol!) and add some beautiful, transparent accents (I heard transparency is very popular in fashion nowadays!)
I am not very big on fashion, but this project definitely helped me to show my true clothing/make-up potential and I think this is something definitely worth trying. I had fun and I hope you will too :)


In general, when choosing project I am going to make, what speaks to me are at the very beginning are the stamps, then the colours. The sheep I choose to use are simply adorable! You can just look at them and you know you gonna have fun! Hence my stamp choice- 2 sets of stamp from PaperArtsy Signature designer Elena Zinksy: ZA21 and ZA26.


As for the colours- the choice was simple. I wanted bright, happy colours, but the only ones I could use were the ones which would match the flock I have at home (such a cool material, btw!) I needed: green, blue, turquoise and yellow and I've chosen Fresco Finish Chalk Acrylics simply because they are bright and happy and you can do so much with them in way of application or colour mixing. Here they are:  Blue Lagoon, Banana, Southern Skies and for sheep faces- Blah Mange.


So let's see how my happy, colourful sheep came to life!


To make project more interesting and of course more in synch with the main theme, I knew I am going to fussy cut the sheep and make free form ATC (Artist Trading Cards). Well, it wasn't an easy task as the sheep are full of really tiny legs and hands or whatever it is sheep have. But fear not- I got a solution for that, which I think goes really well with  Art Doll theme.

First things first- I stamped all three of my Ladies on a piece of mixed media paper with Versafine  ink (Onyx Black). I find it useful to stamp them at least in doubles to have an extra just in case. Then I decided which sheep gets which colour and what kind of embellishments I will give them. The names came at the very end, after I got to know them better:)


Once stamped, all they needed was a touch of colours. I used a round brush for that and to make them look more like sheep, I made sort of tap movements while applying the paints, which created a wool-like  effect.


After the paints were applied, I fussy cut the sheep, not paying to much attentions to limbs as I knew they will be replaced at the later stage. All the small,  stamped elements (lips, flowers, etc) were then coloured with Promarkers.


The last part of this stage was to cut out the hearts from one of the Ladies- let's call her Molly. I will be making a sort of heart transplant on her at the later stage.


My Ladies are already so pretty, but I need to accessorise them tiny bit better- with a new handbag, new hearts or some lip gloss. So let's see how that went.

It is true- I could have left my sheep the way they are, but I really wanted to beautify them a little bit more.  For a nice transparency effect I was hesitating between piece of acetate or vellum (tracing paper). I found acetate a little bit too boring- for a lack of better word. Fortunately I found in my stash coloured vellum paper and then everything clicked. There was one which was rose, and the other, turquoise. The rose one was perfect for Molly's hearts, the turquoise- for Dolly's handbag. Holly got nothing- it seems she is definitely not my favourite one! I stamped both sheep onto two pieces of acetate, this time with better and quicker drying ink- Ranger Archival (Jet Black). Then I fussy cut Molly's shape and Dolly's handbag.


It was quite easy to glue the hearts as I could add glue to large surface- the hearts were to be the layer underneath the actual sheep. Adding handbag was a little bit tricky- small element, with all the parts transparent is harder to fix, as the glue may be visible even after drying. I used fine glue applicator and tried to add it only where the stamped lines are, but I wish I could have add some 3D tape underneath to create a volume effect. Unfortunately handbag was way to small for that. 


Once again- for more transparency I wanted to add to the project, I used Ranger Glossy Accents. Which was just a perfect choice for not only embellishing some of the elements like flowers, but also for creating lip gloss effect or accentuating the eyes or cheeks- just look at Holly below:


And Molly:


Here is the fluffy part- to make the sheep resemble sheep even more, I added to each of them a little bit of flock. I got it in one of my local craft shop and I haven't use it for a long while, waiting, it seems, for this particular project. To adhere the flock to the paper I used Ranger's Glossy Accent again, covering the parts I wanted to add the flock to, i.e. ears, hat, parts fo body. If you look closely at the picture, you will see that my poor Dolly was covered, by accident, with the same flock as Molly- the blue one. I realised at the later stage that she supposed to be turquoise, so I fixed the problem then. Mistake will be fixed and Dolly will be happy.


The very last thing left for me to do was to fix their legs and hands. Since they are Art Dolls, I needed to make them a little bit interactive, hence the wire. There was a moment when I thought about using elastic or thread, but finally I decided on something more. You. can still play with it, bend it or make the sheep hold each other's hands. I coiled the wire to make it look as similar to the stamped limbs as possible, pierced the holes where the legs and hands started to be able to put the wire through them and then I attached it at the back with tape. If you don't want. the messy back to be visible, all you have to do is to re-stamp the sheep again on. apiece of thick paper, fussy cut their main body and glue them at the back covering this way the visible wire and tape.


The project would have been finished at this point, but yes, there is the question of adding incorrect colour to one of my sheep. I could have leave her like that, but I am sure she would not be happy having the same sheepskin as her friend. Since the first layer (the bad one) of glue and flock were dried already, I could easily add another one with more glue and this time correct, turquoise colour of the flock. 

However before adding the flock, I decided to add some heart-shaped buttons to her legs and hands. As you may remember- she din't get any vellum embellishments, so I felt guilty. On the actual stamp image (ZA26) this sheep has small hearts instead of feet and hands. Luckily I remembered having tiny heart-shaped buttons in my stash, so I decided to embellish her tiny bit more.

Even though on the photo you can't see it too well, my other. sheep, Dolly got  hairy legs and hands. To get this effect I added a little bit of glue to the metal wires and dipped them in the jar of flock. 


My Sheep Ladies are done and it was a real pleasure. So let me introduce you to Molly:


Dolly:
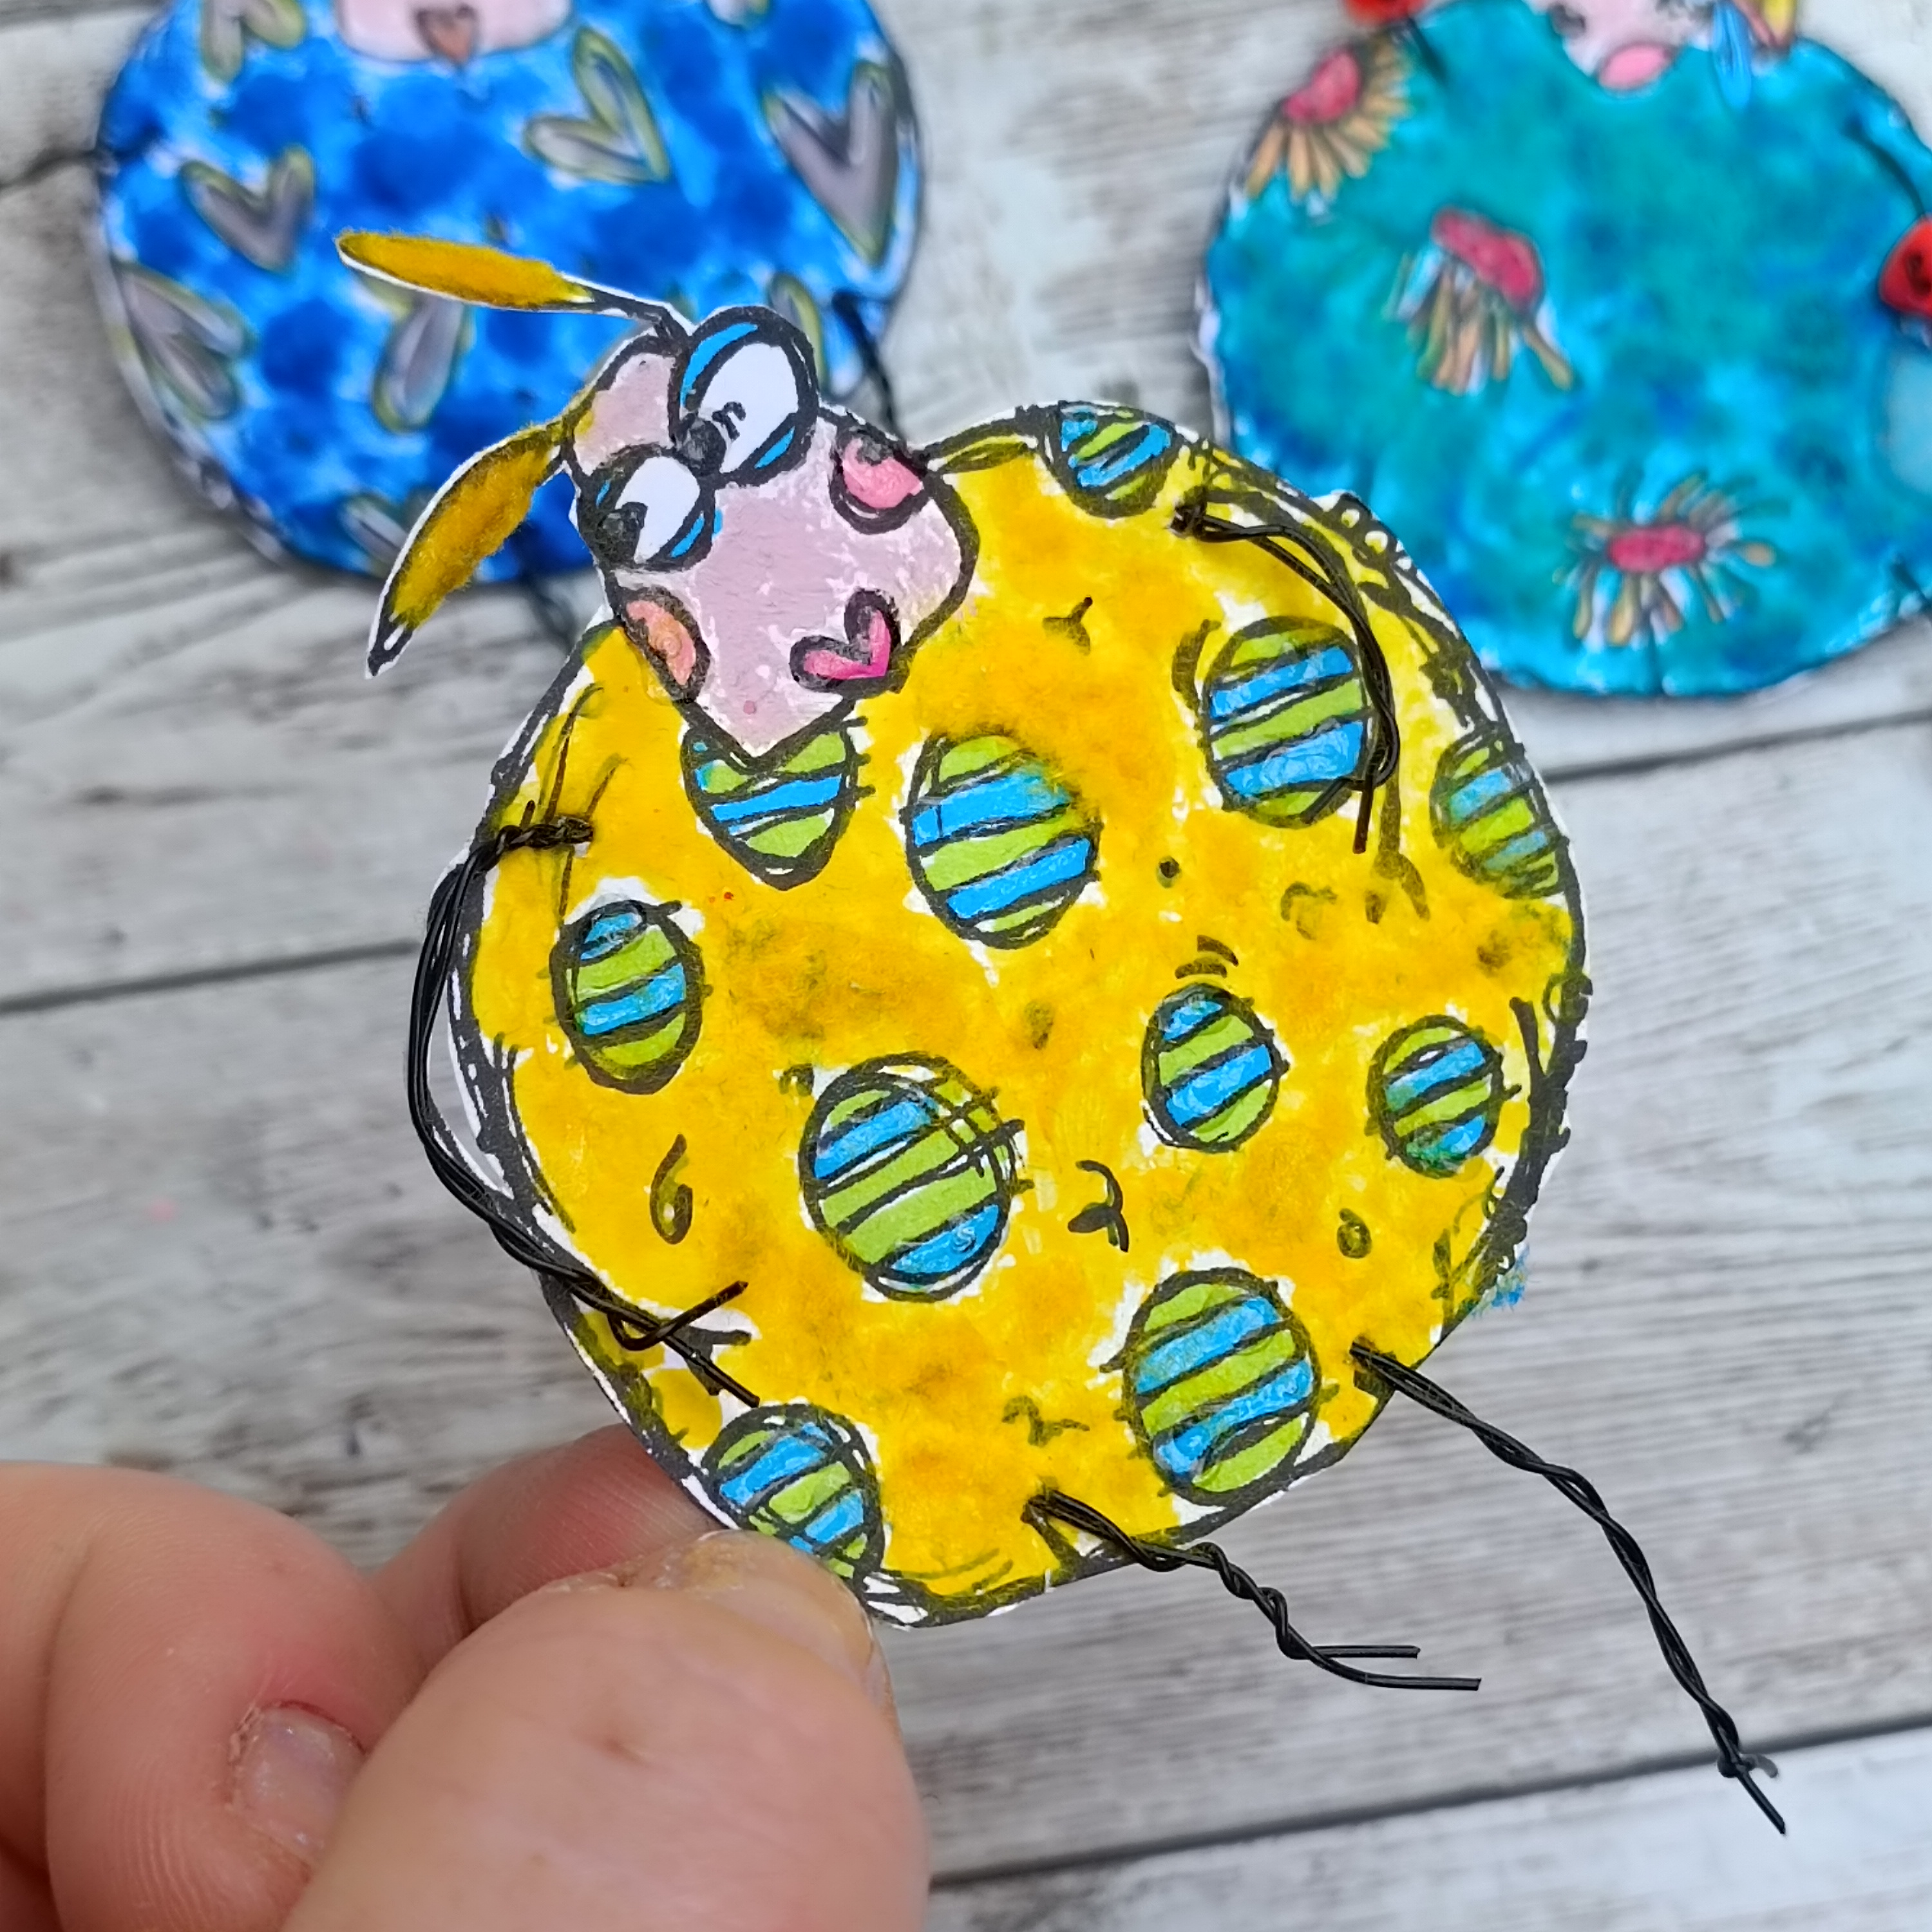
and Holly:

Here is the whole, happy and beautiful, and very, very fashionable gang:


Well, it was truly a fun to work on this project. My very glamorous ladies are happy and so am I. True- they were a little time- consuming and working with such a ladies requires to have  attention to detail, but otherwise it was just one of this projects which you never forget. It's easy to work with such stamp designs- you can easily add colours, textures, embellishments and create your own and unique set of free form ATC. Or a small journal entirely dedicated to sheep or animals in general. The important lesson I took from this project is this- if you work with funny/ funky images, your imagination goes wild and you are relaxed and believe me- laughing  a lot in the process! This is, to me, priceless. I enjoyed this project so much so I gave the sheep names and I made few medium quality jokes here. Or at least I tried :)
So if you are stuck in your creative process, or feeling a little blue, create something funny and you'd be surprised how happy it. will make you!
Happy crafting!

Asia


Facebook: https://www.facebook.com/profile.php?...
Instagram: https://www.instagram.com/lemoncreation_art/
Pinterest: https://www.pinterest.fr/LemonCreationAsiaMarquet


Tuesday, 20 June 2023

2023 Topic 7 : Art Dolls {by Liesbeth Fidder-De Vos} with Ink & the Dog stamps


Hi everyone!

Liesbeth here with you today with my Art Dolls! To me this was a trip down memory lane. These button dolls, or button fairies, were a real hype when I started stamping about 18 years ago. I loved them and I still do, I made a lot of them that time. Nowadays you don´t see them very often anymore, let´s change that! 
And the stamps I used are also old, from the time Ink &The Dog was a brand, not yet taken over by PaperArtsy. And I'm so happy PaperArtsy did! They're one of my favourites, that wonderful vintage antique style!


The new quarter theme is TRANSPARENCY, there are numerous techniques and materials that can fit into this theme! I used transparent acetate for the wings of the dolls, and also some transparent buttons. I hope to inspire you!


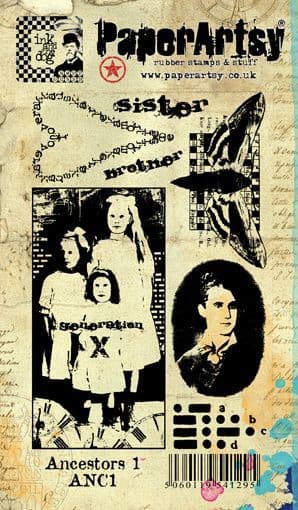
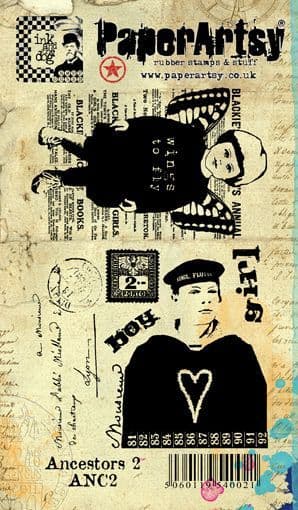
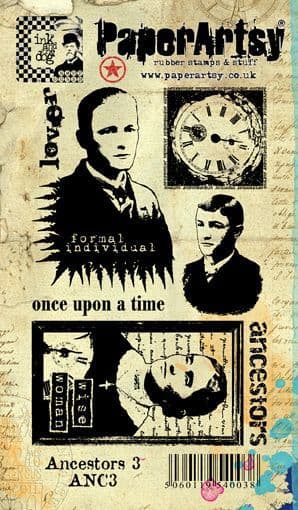
For the art dolls I needed faces and wings, and I found perfect ones in exacly the right size in this three wonderful stamp sets: PaperArtsy Ink & the Dog collection: Ancestors Plate 1, Ancestors Plate 2 and Ancestors Plate 3. Lots of beautiful faces, words and other usable small bits and pieces and two pair of wings and even the letter heart can be wings!


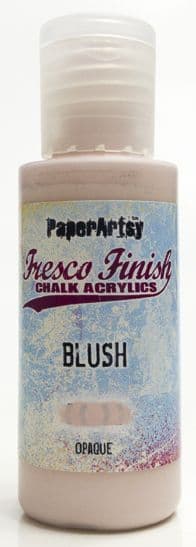
I also used wire, mine is 22 gauge wide. I used different colours. PaperArtsy Fresco Paint - Blush is perfect for the background of the faces.


And of course... buttons! As I am a tailor, it was even my profession, I still sew a lot, I have loads of buttons of all different colours, sizes, materials  and styles!


Let's start! First thing I did was making beautiful compositions with the buttons to create the tails. Matching colours and decreasing sizes. I made many small rows, 6 or 7 buttons each. Sometimes I took a bead or a charm as the smallest in row.


Sometimes I missed a certain colour....why not paint it yourself in the colour you need? Here I needed a big green one, I painted a wooden button... perfect! I used PaperArtsy Fresco Paint-Tinned Peas and PaperArtsy Fresco Paint-Hyde Park for it.


To create the tail I secured the smallest button to the end of a piece of wire, about 30 cm, as shown here. Then I put the thread from below in one of the holes of the second button and back down through the other hole. It's just like stitching.  


I think it gets clearer here. I kept repeating this till the final button was used. If a button had an eye instead of holes I glued it with a bit of Gossy Accents or tacky glue at the back side to stay in place. 


After adding the last button, I cut off the wire, leaving about 6 or 7 centimeters. I turned it into a ring to glue the head on (later on).


I made lots of this tails and bent them in nice curly shapes. It's great to have lots of combination options to choose from for the heads and wings later on.


A tail detail  ;-)


Now it's time to give the bodies a nice head and beautiful wings! First I made the substrate for the stamped faces. I painted two A5 pieces of white cardstock with PaperArtsy Fresco paint - Blush. Such a wonderful soft colour!


After drying I stamped the different faces from the stamp sets a several times onto the pink surface using a waterproof black ink (I used Tsukineko StazOn-Jet Black). Here again: its nice to have a pile to choose from. I don't waste anything, I just use my left-overs for other projects.


Onto an A4 acetate sheet, I stamped the butterfly and the heart (Ancestors Plate 1), and the girl with wings (Ancestors Plate 2) using different colours of Tsukineko StazOn inks.


I cut out the faces and the wings, now I had a generous collection to combine.


I always love to decorate my button dolls and the three PaperArtsy stamp sets I used are perfect to create some embellishments. I stamped several small stamps, bits and pieces onto white cardstock and cut them out. Here I used StazOn ink, but you can use every ink for this.


Here are some examples of how I applied it. Try to use your imagination :-)


At this stage, all individual parts are ready. Time to assemble the dolls!

I took three button tails and looked for the most matching and best fitting heads, acetate wings and stamped embellishments. This is what I came up with. (Now I see I didn't use everything here ;-) ) I created an antique look by sponging the heads and other paper pieces. I used Ranger Archival -Sepia, but it works with every brownish ink. Using colour pencils I added e bit of ,make-up'. 


Here you can see how I glued the heads behind the upper buttons and the wings behind the heads/shoulders. For more strength I added a piece of tape at the backside of the head, just onto the wire ring. They also needed some gears and tiny flowers and... a finishing touch with glitter glue (Stickles).. I love Stickles!


My three finished Button Art Dolls!


This how the backsides of my dolls look...a bit ugly. I don't mind because I always use them onto something: a wall, a journal, even on a present. So the back is never been showed in my case. If you want to hang it in the open space you can cover the backside with a piece of cardstock or design paper. Then cut it along when you cut the head, it will fit exactly!


After finishing the first three dolls I could't stop so I made much more! I gave the woman in the middle two pair of wings!


The blue and the red one, here I added a very tiny golden metal key, because there's also some gold in one of the buttons.


The brownies! I added some stamped pieces here as embellishments.


And another pair! This tough man at the left needed a very big pair of wings, I used  Tim Holtz Idea-ology Transparent Wings.


Before I started this blogpost I did't make this button dolls for years, and now I'n addicted again...yesss! So much fun to make, to give away or keep yourself. The PaperArtsy Ink & the Dog stamp sets Ancestors 1, Ancestors 2 and Ancestors 3 really seem to be made for this, perfect! I can imagine you don't have so much buttons... think about the thrift store! Hope I inspired you to give this Button Art Dolls a try, have fun!

Liesbeth