Sunday, 24 November 2013

Welcome Back Jo Myhill Project #1 Christmas Decor ....

Hi Everyone, Jo Myhill here checking in for blog-duty this week.  "As we fast approach Christmas I thought I’d make some home décor pieces on a Christmas theme. For this project I really wanted to use Liquid Leaf to create a rich intense precious metal look without being too bling and in your face"!

{Note from Leandra: We have ceased selling liquid leaf due to the recent Royal Mail restrictions on posting hazardous products within the UK, and similar international restrictions. However, this amazingly, fantastic, metallic solvent-paint continues to be manufactured in the UK, and is available from most fine Art Supply stores} 

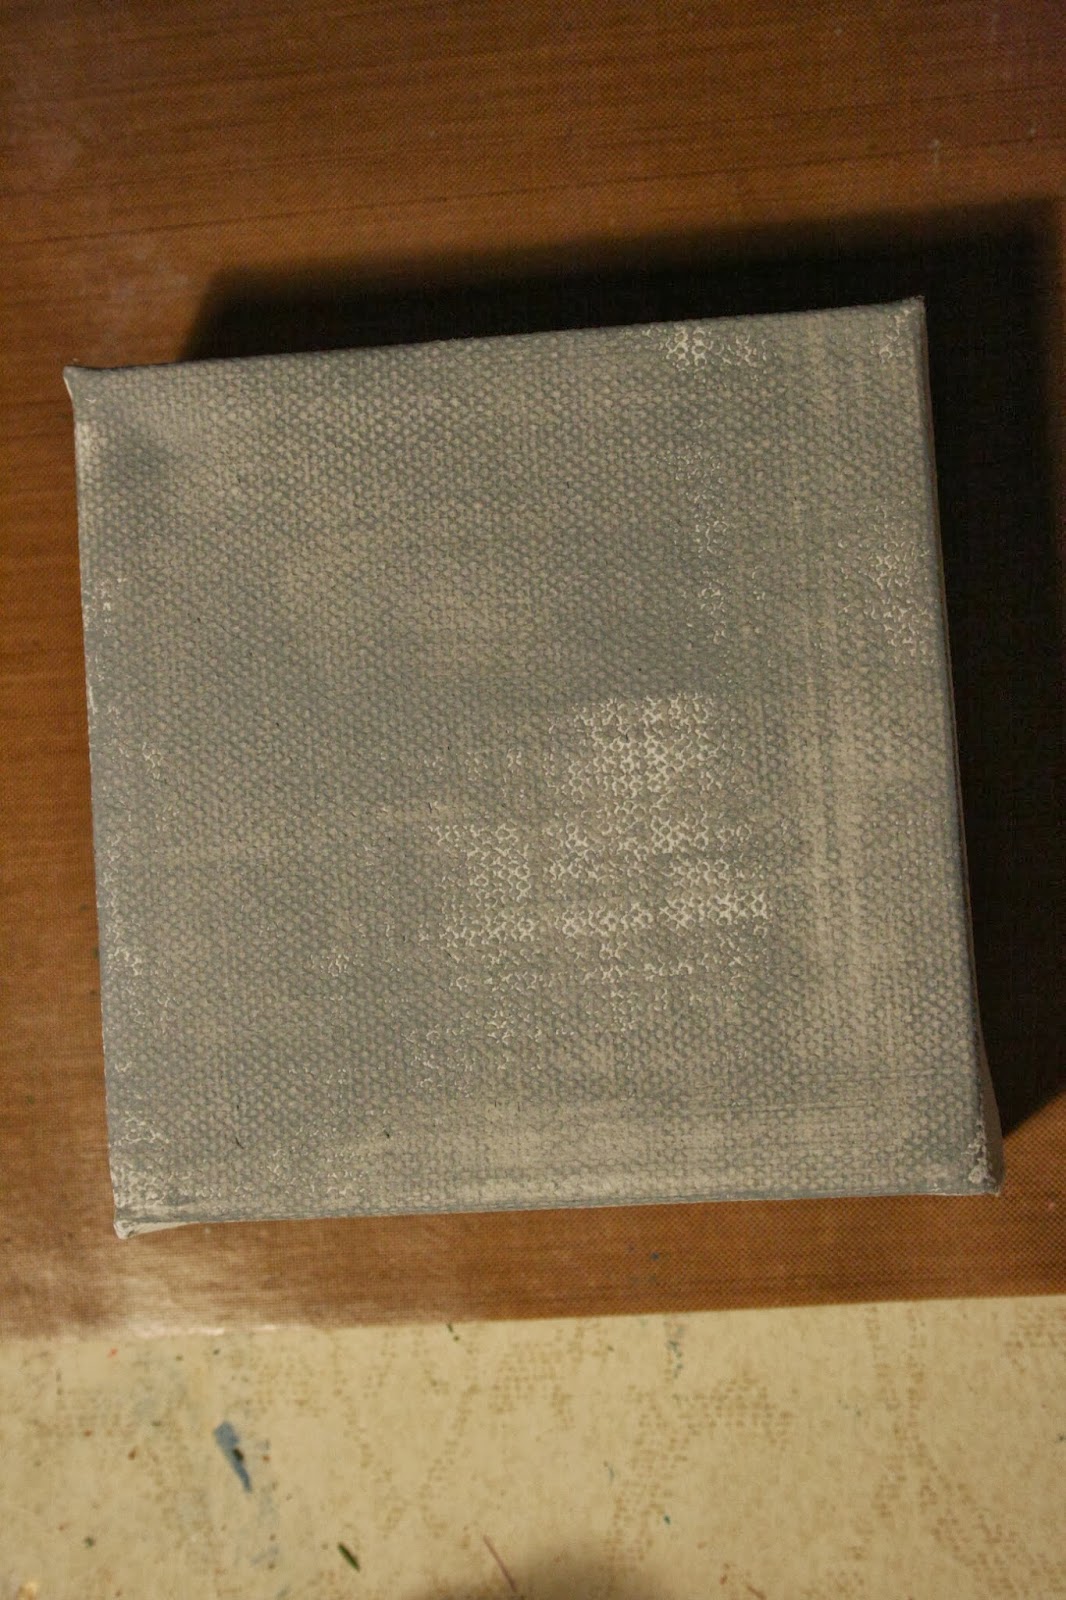
Take a square canvas frame and paint Elephant all over it, a couple of layers to get a good even colour. Then using a stiff brush add someTaupe in places, before it’s completely dry wipe away with kitchen roll.

On your craft mat mix some Grunge Paste with Distress Stickles Dry Glitter together to create a grainy mix (I’ve had this knocking around for ages but you could probably use any old glitter you’ve got hidden away).
Spread onto the canvas in the middle leaving some space around the edge making sure you add more texture with the spatula. Not too many valleys and peaks, we aren’t looking for a mountain range here but just enough so that when you paint over the top the light reflects of the texture to give shadows.
Leave that to dry thoroughly. Leandra’s tip of checking whether the Grunge Paste still feels cold is a good one to test whether it’s completely dry (if it still feels cold to touch it isn’t completely dry).


Take a papier-mâché heart and paint it in Cinnamon, Again a couple of layers as you want a deep intense colour.  Add little bits of Chocolate Pudding so that you haven’t got a completely flat layer of colour.  We are trying to create tones, so working with more than one colour is the key. When you look at nature's bounty it’s not just a green apple or a brown leaf you see as a solid colour all over, there are different greens or browns and that’s what makes it live, breathe and look interesting.
Once that’s dry add a thin layer of Crackle Glaze over the front of the heart.  I used my finger this time to spread the glaze around and it doesn’t matter if it isn’t over the whole heart. Over the top of this I used Stone, a thin layer as I wanted subtle cracks, think old porcelain not weathered wood. 
Remember, it's the sensation of wet paint drying on the glaze that causes the chemical reaction and therefore the cracks to occur, so if you paint is dry brushed, you will not get cracks, so make sure your thin layer is wet so the cracking can happen! You can see below the effect we are after. Fine hair cracks ideally.
Do the sides of the heart in the same way.

Once this is dry add Chocolate Pudding and then Vintage Photo Distress Ink around the edges of the heart front and back. It adds a contrast to the Stone but also frames and defines the heart shape for when it’s added to the front of the canvas.
Using Watering Can Archival Ink I stamped the Mini text stamp (everyone's favorite stamp) MN61 over the front of the heart. 
Set this aside and go back to the canvas panel.


By now the Grunge Paste should be nice and dry. Paint over the Grunge Paste with Elephant, add quite a bit as you’ll need to get into all the valleys and peaks you’ve created. Blot with kitchen roll to remove any excess paint.

Add Stone just around the edges of the frame where you can still see canvas and add a bit of Chocolate Pudding from the Cut N Dry you used to paint the heart.


Add a bit more stamping in Watering Can using Mini 61 around the edges, you can’t read it or really see it but it adds another layer of tone and contrast.

Now for the Liquid Leaf. I used White Fire as it isn’t too bright, a very subtle gold with those white undertones. Give the bottle a good shake (maybe even a stir with a coffee stick could be necessary) and start painting it over the Grunge Paste. It made my heart skip a beat when it went on as it was exactly what I wanted to achieve. The Liquid Leaf can give off strong vapours (the metal powders are suspended in a liquid solvent - the solvent evaporates off leaving the real-metal powders bound to the surface) so make sure you are in a well-ventilated room.
As this is drying sprinkle some Vintage Photo Distress Embossing Powder in some places and carefully start heating to melt. Make sure your heat gun is quite a distance from the canvas as the Liquid Leaf solvent is strong (I open the windows and tend to go and have a coffee or do some chores to let this dry properly and clear the room of the vapours).

To finish off the heart I stamped the Mini 96 flourish in Versamark embossing ink and added Frantage Aged Taupe Embossing Powder. It adds another layer of texture and ties in with the Liquid Leaf on the canvas.
Using Vintage Photo Distress Ink I lightly dabbed the pad over the Grunge Paste so the peaks would get a bit of colour and create that tonal contrast and accentuate the texture.
Around the sides of the frame I ran some double sided tape and then added a strip of Artemio Linen Tape, I made sure the join was at the bottom of the frame. Over this I added a little bit of Vintage Photo Distress Ink.
To finish off, I glued a scrap of book text that had been lightly coloured with Vintage Photo Distress Ink to the frame and then glued the heart over this.

Photo’s just don’t do the tactile yumminess of this French-shabby-bohemian-chic inspired piece; the way the light bounces off the Liquid Leaf grunge paste is gorgeous and I wish you could all see it in person. Hope you enjoy and have a go at creating these textures. Jo xx

Leandra Says: This is so YOU! I love your subtle colour palette, I could watch you make stuff like this every day of the year! A little bit vintage, a little bit modern, and yet I expect every home could find a place for this to go! We used to have a wall of 'lurve' in our kitchen. (loads of hearts), and it all got put in a box last year when the kitchen was renovated. you've reminded me that I need to reinstate my wall of lurve! LOL

Gillian Says: Adore the rough textures to this project Jo, the simplicity of the background is just perfect in making the 3d paper mache heart the centre focus. 


If you are inspired by Jo this week, then don't forget you are most welcome to play along in the weekly challenge, and thus go in the draw to win prizes. Details can be found here, which is also where you can go to link up your creativity this week, ie the 'Challenged by Jo Myhill' Sunday night blog post. You have until midday Sunday Dec 1st to enter.

Challenged by Jo Myhill and Winners

Last week we had some wonderful projects from Liz Borer. An exceptional delve into colour theory, I know we will all find that useful for future projects. The use of clingfilm to create that delicate marbled effect was inspired as was the tutorial on painting with Grunge Paste. 

Thanks to everyone who joined in and made projects alongside Liz. 

1. And the winners are...

Random winner #1 from the First Challenge draw (every single entry linked, including multiple 


entries) is: Craftyfield


 Congratulations, you have won a PaperArtsy A5 stamp of your choice. 


Random winner #2 the winner from the Second Challenge draw, (only one entry per name)


 is: Kate.


 Congratulations, you have won a PaperArtsy A5 stamp of your choice.


*Winners please get in touch with Darcy (darcydotneedles@hotmail.com) with your full 

name, address and choice of stamp plate. 


2. The week ahead...
Coming up in the week ahead we welcome back Guest Designer Jo MyhillLet's see what she has been up to since we last saw her. 

Over on Jo's blog there are some gorgeous projects. 

Even our blog designers are inspired by each other, Jo was inspired by one of our other designers, Joanne Wardle, but it has a definite Jo Myhill spin to it. 


Jo says it took her a year to get around to decorating this Noel sign, it was definitely worth the wait as she achieved this awesome shabby-chic effect that would fit in with any Christmas scheme. 


In the description for this piece Jo claims to be obsessed by hearts, that's OK I am too, and I adore this one. Just look at those yummy textures. Her ability to distress a piece and make it look entirely natural is amazing, like it could have been found while beach-combing. 


Jo's first project will be up soon, so settle in. I am sure we will see some very inspirational projects in the week ahead. 

3. Challenged by....{Jo Myhill}

I do hope that you will find time to join in with Jo's techniques this week. You can link to your own blog, Pinterest or Flickr pages, or any webpage that shows us what you have made in response to her posts this week. Just come back to this page, and use the linking tool to show us your entry.

On Sunday 1st December by noon you need to have your link entered below, and you will go into one of 2 draws to win new stuff. 


Challenge guidelines:
  • The first draw is for every single entry listed, so if you have multiple entries, you get entered multiple times. The second draw is only for one entry per name, and the winner of Draw 1 is not included in this second draw. Having 2 draws makes it fair for everyone, no matter how many times you can join in during the week.
  • As this challenge is to show how you have been inspired to action by this week's designer, make sure in your blog post you explain what prompted you to create.
  • Please don't feel you need to copy a designer's work, it may be one small aspect or idea that you want to explore that sends you into the creative zone. You are also welcome to use any stamps/ products / substrates you have to hand, we do not expect you to exclusively use PA products - but of course it is lovely when you do!
  • The winners are announced Sunday evenings in the 7pm blog post (as above). It is your responsibility to check back and see if you have won. If you are a winner, email Darcy darcydotneedles@hotmail.com with the name of the stamp you would like, and your snail address. We do not chase people for unclaimed prizes.
  • If we are away at an event, then the winners post would generally be updated by Monday evening with draw details.

Thursday, 21 November 2013

All Wrapped Up!

Hi everyone, Darcy here with another little festive project. Something you could pull together in no time at all...and at this time of year we are all short of time, right?

So, if you have been following my blog you will see that I have been using just one focal stamp to make cards, I also did the same with some tags. In this same way, we can carefully select just one stamp and create repeating motifs to make our wrapping paper. 

All you need is brown parcel paper, Christmas stamps and a little paint. I love using cheap brown paper, once painted it is incredibly strong and is useful for so many projects. Similarly, if you want a white paper, then go to the DIY shop and get a roll of lining paper. 

For my first piece, I chose to use the chunky text from Noel Plate 4


I wanted to use London Bus fresco finish, as you know this is a translucent, over the brown paper this would have looked dull. So, I cut some squares of foam, the same size as the text stamp. I glued them into a stack and then used them to stamp background squares using Snowflake. Because Fresco finish dries so quickly by the time I had stamped the background squares, they were dry enough to stamp the text over the top.


Onto the next piece. this time I used the round medallion stamp from the same set, and just using Snowflake I created my repeating pattern. 


Paper #3 is again utilising the same stamp set, this time I used the bumping method. Usually I would put a dark colour below and the white on top, but for a change I switched these around and as you can see it works great. Also putting the Snowflake underneath helps the Holly paint to stand out. 

I then made my snowballs with a highly technical tool... the eraser on the end of a pencil. 


Paper #4 using the snowflakes from my new Christmas stamps. EDY04


I used both the group and the single snowflake, as you can see they nestle together on the flexi-block giving you a bigger stamp. 


For the final piece I used a bauble from Noel Plate 6


This time when doing the bumped method I used the darker colour on the bottom. I stamped the text bauble as the background using Sky, then for my top layer I mixed Vintage Lace with Metallic Glaze ( this makes a wonderfully shimmery paint) I used the bolder diamond patterned bauble for the top layer. 


This paper is good for all sorts of shapes and sizes, easy to rip away, and cheap enough that you don't need to save it.... I know you have all sat there holding your breath as people rip into expensive paper, thinking to yourself, awww I could have reused that lol

...but sometimes special gifts need a special box...

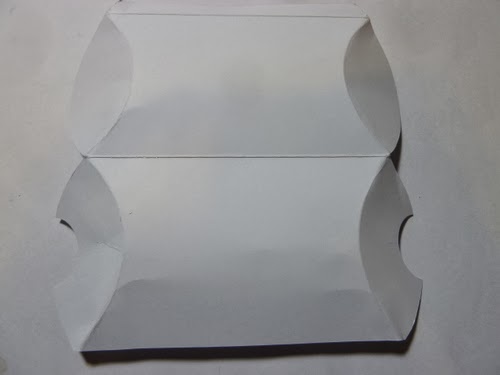
So I started with a pillow box, this is cut from Smooth Heavy Card. I love this card, it is strong enough to hold a shape while still being flexible enough to be scored and folded. 


I painted the whole box using Chocolate Pudding, then I sponged on a light layer of Old Gold


The next layer was Crackle glaze, scraped on super thin using a palette knife. My top layer was Nougat This is one of my favourite colours for top layer crackling. As you can see I only crackled the central sections, leaving the end flaps. I rubbed a little French roast along all the edges. 


I then stamped the text from my Christmas stamp EDY04, the font on this stamp is perfect for that vintage feel. 


Now I just needed to build up some embellishments. I brought together a mini doily, some book pages and sequin waste. I also used a papercast that I had made using the bauble stamp from EDY03


I explained how to make paper-casts back in this post from July. I first painted the cast with chocolate pudding, after it was dry I had to chuckle to myself, it really did look good enough to eat. if you have ever wondered how chocolatey the Chocolate Pudding paint is, then just look at this. It truly looked like a piece of chocolate sat on my desk. 


I then built up my layers of embellishments. The chocolate baubles were finished off with Treasure Gold, they laid over the doily and some lace. I finished this section with a gorgeous white flower from Petaloo Premier (wild blossoms set) I adore white paper flowers, not only do they look classy on all kids of projects but they can be painted or sprayed in your favourite colours. 


In the bottom corner I layered up the sequin waste, then I made a book paper flower and topped that with  braid and a silky smooth metal cog from this  Finnabair - Prima set


and so my little gift box is finished..


I then had fun adding yarns to my wrapped boxes, finishing them with the tags that I made in this post


I hope this has inspired you to have a go at making your own wrapping paper or decorating some gift boxes. 

I will see you again soon with another festive treat. 

Darcy x