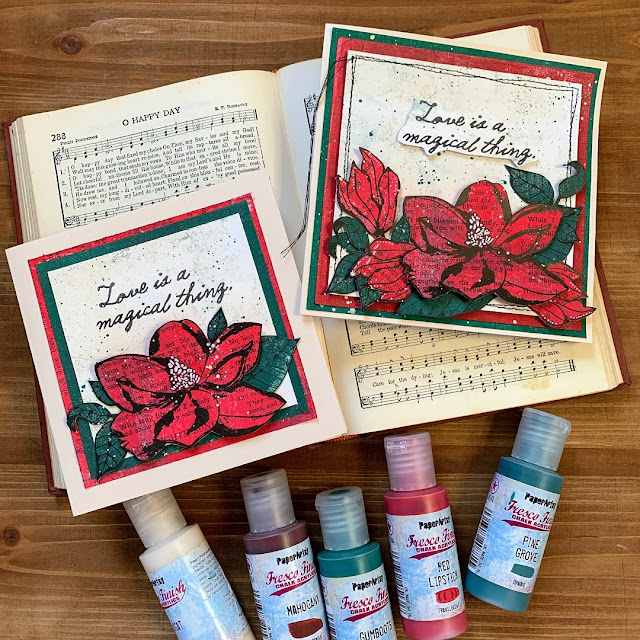
Hi everyone, it's Autumn Clark from SewPaperPaintwith you today, and I'm here to share with you some simple Valentine card ideas. I simply adore creating Valentine cards and when the Opposites Attract topic was announced and I drew lucky combo "red and green" I knew right away I wanted to go in a romantic direction. After all, red is the color of passion and green is the life that is its counterpart.
I chose this type of project because as stampers, it's always good to find a project that is inspiring and yet easy to recreate. Also because I hear a lot of creatives say that they are intimidated by gel printing and I wanted to show you just how simple it can be when you're working with PaperArtsy Fresco Finish Chalk Acrylics! They are MADE for stamping! The flat finish accepts ink beautifully, so you never need to worry about what you will do with your prints because you can stamp onto them, cut and layer until your heart's content.
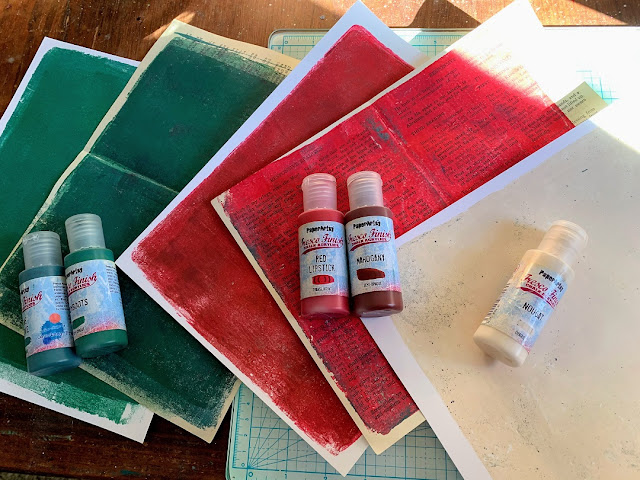
I really wanted to work with red reds and green greens, so I chose a beautiful pair of each of those colors and a contrasting neutral. My plan was to print "plain" colored paper, which never turns out "plain" because little bits of paint left on the printing plate are pulled with each new color. First I pulled a sheet of PaperArtsy Fresco Finish Chalk Acrylic in Nougat. Next I moved onto Pine Grove and Gumboots, brayering them both on the plate. I pulled one print on plain cardstock, then one on book page. Next I brayered on a combo of Red Lipstick and Mahogany. You can see how the reds lifted some of the greens, perfect!
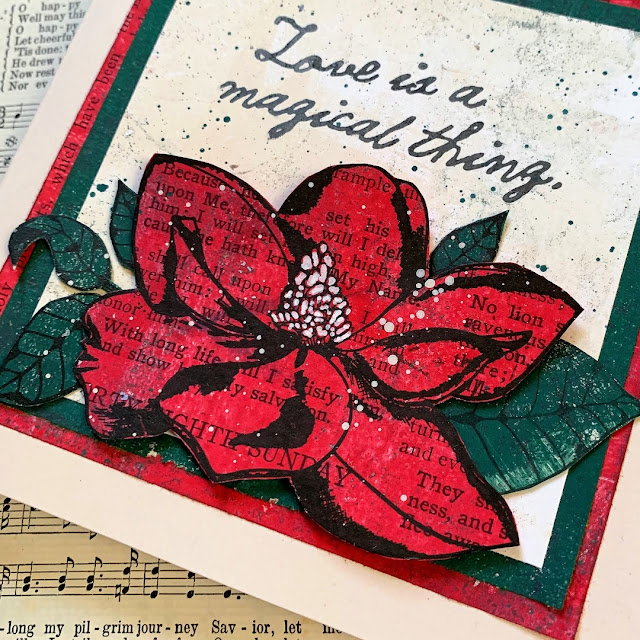
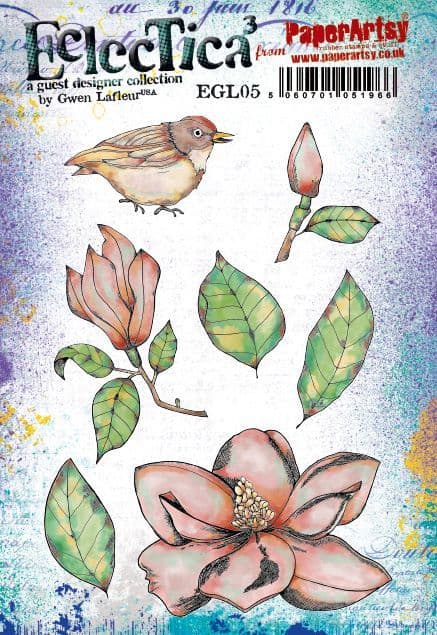
I have such fun choosing a portion of the print on which to stamp my image, in this case I picked the beautiful blossom from PaperArtsy Gwen Lafleur stamp set 05 (EGL05). I fussy cut my elements and layered them on matted pieces of my printed paper.
To make the flower centers pop, I used a white paint pen to define the dots. I gave my stamped flowers and greenery splashes of watery Nougat, and gave my white card panels splashes of Pine Grove.
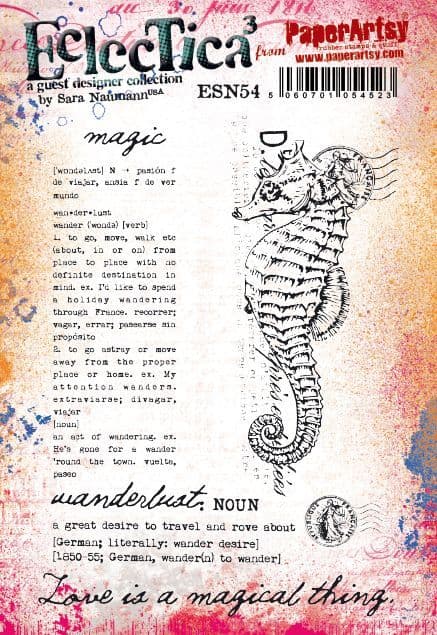
I made one large and one smaller card; the larger more filled with stamped and cut layers and more dimensional. It will be more of a "hand delivered" type of card and the smaller perfect for the post. To complete my Valentine cards, I stamped an exquisite sentiment from PaperArtsy Sara Naumann stamp set 54 (ESN54). I adore this beautiful phrase and have been itching to use this sea themed stamp set since I got it late last summer: win win! I'm really pleased with this combination and hope that it inspires you as well.
I hope you'll take away just how easy printing can be and try some simple prints of your own for stamping. You can always add pattern with stamps as you build courage to incorporate stencils and color mixing into your printing. And please try a variety of surfaces. I shared HERE more simple prints on hymnals and HERE how to use prints for coloring. HERE I shared how to use prints from copy paper to make "ribbon" and HERE how to use embossing folders with prints. My latest post HERE shows simple printing onto cardboard to make a basic journal and finally a more detailed post HERE where I incorporated stencils and more color variety with my gel printing to create a mini album. Give them a try and I think you'll find yourself knee deep in printed papers and a head that's spinning with possibility! Check out the full range of PaperArtsy Fresco Chalk Acrylics and get started. A new year calls for a new, playful approach to creativity, wouldn't you agree?
Etsuko's
beautiful butterfly notebook draws you like a moth to a flame with
those wonderful sparkling eyes. Rather than a defense against predators,
the eye spots beckon you inwards towards a notebook full of wonderful
fairies. I love how she's created wings using so many different stamps
and stencils.
~ Keren
Hi everyone, it's Etsuko (My favorite things) with you today, and I'd like to share with you 'A dream flying' with beautiful new Lynne Perrella stamp collections.
When
I chose the theme 'Free to Fly' I immediately thought of this huge
butterfly stamp and decided to use it to make a little note book with
Lynne's new fairies image in the center of their wings.
I
often use a Gelli Plate to create backgrounds, as the results are
sometimes unexpected and fun, and allowing me to quickly create a base
for the background.
I used the butterfly stamp LPC041 to create the cover image and then a template to cut out these butterfly shape of the notebook's right and left pages.
I stamped Scrapcosy ESC18 script on a sheet of copy papers with Watering Can Archival and I cut the butterfly larger than the original and made a border.
This is a diagram of the layers when pasted together to make a notebook. I used Smoothy Heavyweight A4 white card for the white center paper and for the rest of the papers I used thicker copy paper.
I stenciled the wings on the right page to look like butterfly wings with crests.
On the left side of the pages, where the back side of the fairy's head is blank I have pasted a some images from small stamps.
After
attaching the fairies to their wings, I wondered what to do with the
paint on the fairies, but in the end I just coloured them. I'd like show
you how to do it after this.
The covers are made using the gel-printed single sheet of paper and the wonderful image of the LPC041. I used the same collection for the back cover.
It's
such a great image that the stamp also makes alone a big impact, but I
used embossing powder on the butterfly to create the embellishments.
Here please enjoy the whole notebook in video form.
I made a mash-up of various stamps and stencils with Lynne's stamps, here are some of them.
The first page is from fabulous Alison's quote 'wings' EAB11 stamp, which is a great fit here, and the background is the same gel-printed paper and Gwen's EGL02 stamp. The stenciled PS034 fairy wings crest are done with Navy embossing powder.
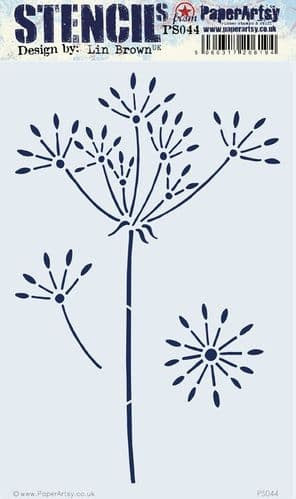
Page2: I added Gwen EGL05 leaves on the left page. For the fairy on the right I gave her a bird and for the wings I used Lin Brown PS044 and Scrapcosy PS134 stencils.
Page 3: These small flying butterflies EGL10
were the inspiration for de idea of filling individual spaces. I also
gave her a bird and used the letter 'R' on wings Scrapcosy PS064 stencil.
Page 4: Gwen's EGL05 bird also makes an appearance, here she has a collaged hairpiece and clothing. On the wings is Lin Brown PS006 ferns stencil that I first got and is my favorite.
Page5: On the left, Gwen's EGL02
pretty flowers are scattered, on the right she is the mash-up of old
and new ( LPC005 and LPC049 ) as the stamps have a very similar touch.
The wings crest is using the JoFY PS011 stencil.
Page 6: On the left using Gwen's EGL11 stamp and for the crest on the right wing I used the same PS034 stencil as on the first page.
Here's the last pages, again using Alison's quote stamp EAB11. Well these fairies have flown off into the silence of the night.
I also used LPC049 stamp to make a safety pin brooch.
I
was very happy to have the opportunity to create this project using my
favorite Lynne Perrella's new release, and I will be using these stamps
again for various projects.