Showing posts with label 2021 Topic 4. Show all posts

Sunday, 18 April 2021

2021 Topic 4 Free to Fly: A Wooden Box with EAB [by Jennie Atkinson}

 2021 Topic 4: Free to Fly


With a faux technique that looks anything but fake, Jennie has put her subtle touch into a unique and beautiful box project. It's certainly got me itching to try it too!
~ Keren.

Hi everyone, it's Jennie (Live the Dream) with you today and having to admit to being a wee bitty obsessed with creating wood effects using Raquel's Infusions Technique!

I have been experimenting with different colours of Infusions, depths of colour and how best to utilise the little bits of walnut crystal. So here is my latest project using an Eileen Hull box die, a recycled grease-proof paper tube and an empty ribbon spool.


I am very pleased with how wonderfully woody the box looks looks but disappointed that the tissue doesn't quite disappear into the background...but it is all about experimentation and it still has a vintage feel to it.


The box is a perfect size to create depth without being too deep, so there are flower and butterfly clusters both inside and outside the box.


And the design follows through to the base. You can see how the walnut crystals sit on the top of the spool to create the effect whereas I have blended them into the tube.

For my free to fly quotes I have used EAB12 Travel and Journeys, HP1005, along with butterflies from ESC23.


For the all important wood effect technique just two little wonderful pots of goodness!


To get the deep colour of the wood effect with this relatively light colour I have needed to use a few coats and a few different brush techniques, although all based around Raquel's initial technique.


I start by getting colour onto the board using a weak mix of Infusions and Satin Glaze.


I then shook Infusions onto the wet paint ...


...and use more Satin Glaze (neat) to smooth the crystals out, always making sure my brush strokes go in the same direction.


I keep repeating this process until I get a really deep colour with the walnut crystals pulled in straight, but random lines.


I have done exactly the same in making the papers for the box, building up the colour and using the crystals to create the effect. However, I did create a panel effect for the front of the box by cutting my paper into 1" strips.


Which then got glued randomly onto a piece of board.


These were my pieces before being cut using the die, they don't look particularly woody ....


..... but when cut look surprisingly real !


There was just a little bit of cardstock left to stamp some butterflies so everything matches.

A huge thank you to Raquel for this great technique, but it is worth trying different colours, layers and brush strokes to create a different effect. I would not have thought that Golden Sands would go to such a gorgeous deep colour. The technique worked well both on cardstock and the tube and ribbon spool which were more porous. 

It is worth looking through your box dies to see how this technique could be used to create lovely wood effect boxes...needless to say I am working on another at the moment!

Happy crafting!
Jennie x

Blog: Live The Dream
Instagram: @atkinsonjennie 

Saturday, 17 April 2021

2021 Topic 4 Free to Fly with LPC {by Kate Yetter}

 2021 Topic 4: Free to Fly


Clearing up and decluttering has never been so creative. Kate has an artistic idea for using up all all those lovely bits and pieces on your desk. In true Kate form, she's created something fabulously eclectic and classy. 
~ Keren.

Hi everyone, it's Kate with you today, and I'd like to share with you my mini junk journal.

I decided to make a journal with this theme because it was a project with which I could be creative and because I thought it would be a great way to display my stamps, as well as use up the mountain of scraps on my desk.

I never tire of making journals because they are in a book format. Flipping through and seeing all the stamps, ephemera and journaling makes me happy.


The base of my journal is a piece of cardboard that was sitting in my scrap bin.


 I collected a bunch of scraps and put them all within reach.


I stamped this Lynne Perrella image, colored it with Fresco Finish Chalk Paints and then added some doodling.


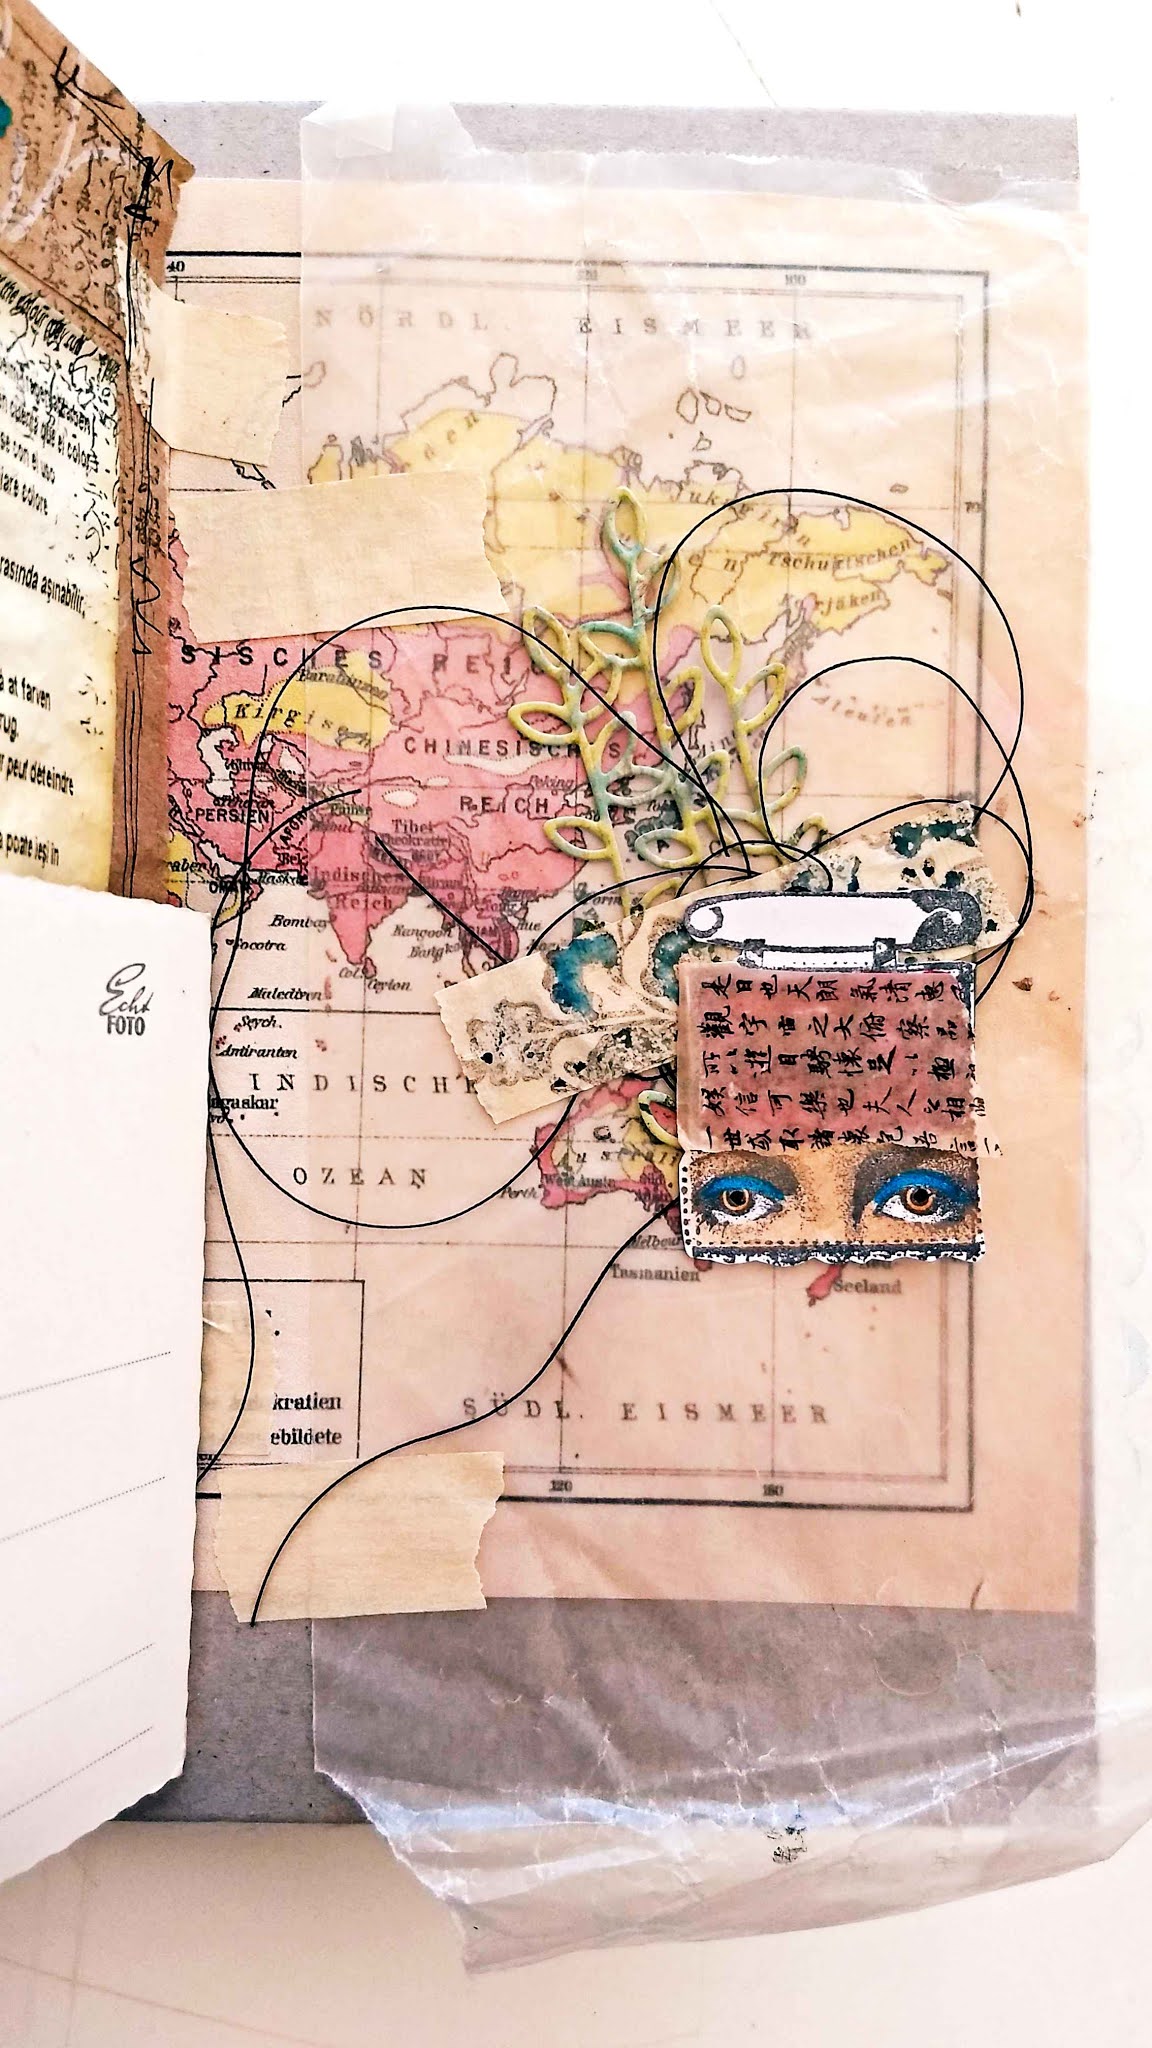
All sorts of bits and bobs were added including postcards, book paper, vintage maps, envelopes, wax paper etc... every thing was connected using masking tape.


Using some stencils and black gesso, I created a background for stamped embellishments.


Pockets and envelopes are a great place to hide little treasures.


Even old palettes can be incorporated in a journal. I love the pop of color.


The perfect place to practice my doodling.

This Asian script stamp is one of my favorites to use in backgrounds.


I used infusions and a stencil to create this page. The watercolor effect from the Infusions is lovely.


I had this postcard covered in old tea bags and embossing sitting on my desk for years. I took it out, embellished it with stamps and covered the tea bag tags in stamps. It ended up being the perfect last page to my journal.


Neatly tied up in a bow.

If you have extra scraps (I know you do), compile them together and make a journal. All you need is some tape to attach everything together. I hope you will give this a try. Don't forget to have fun and be creative. 

Until next time,

Kate Yetter

Blog: https://kateyetter.com/
Facebook:
Twitter:
Instagram:https://www.instagram.com/kateeyetter/

Pinterest:https://www.pinterest.com/katesscrapyard/ 

Thursday, 15 April 2021

2021 Topic 4 Free to Fly : Follow your Dreams with EKC {by Lynn Good}

  2021 Topic 4: Free to Fly


It's mind boggling just how many different stencil techniques there are and Lynn brings a really effective one today, with a great tip about how to have a little more 'play'-time. She's ended up with a vibrant art journal page just buzzing with life.
~ Keren.

Hi everyone, it's Lynn Good with you today, and I'd like to share with you an art journal page that I created for the topic "Free to Fly"

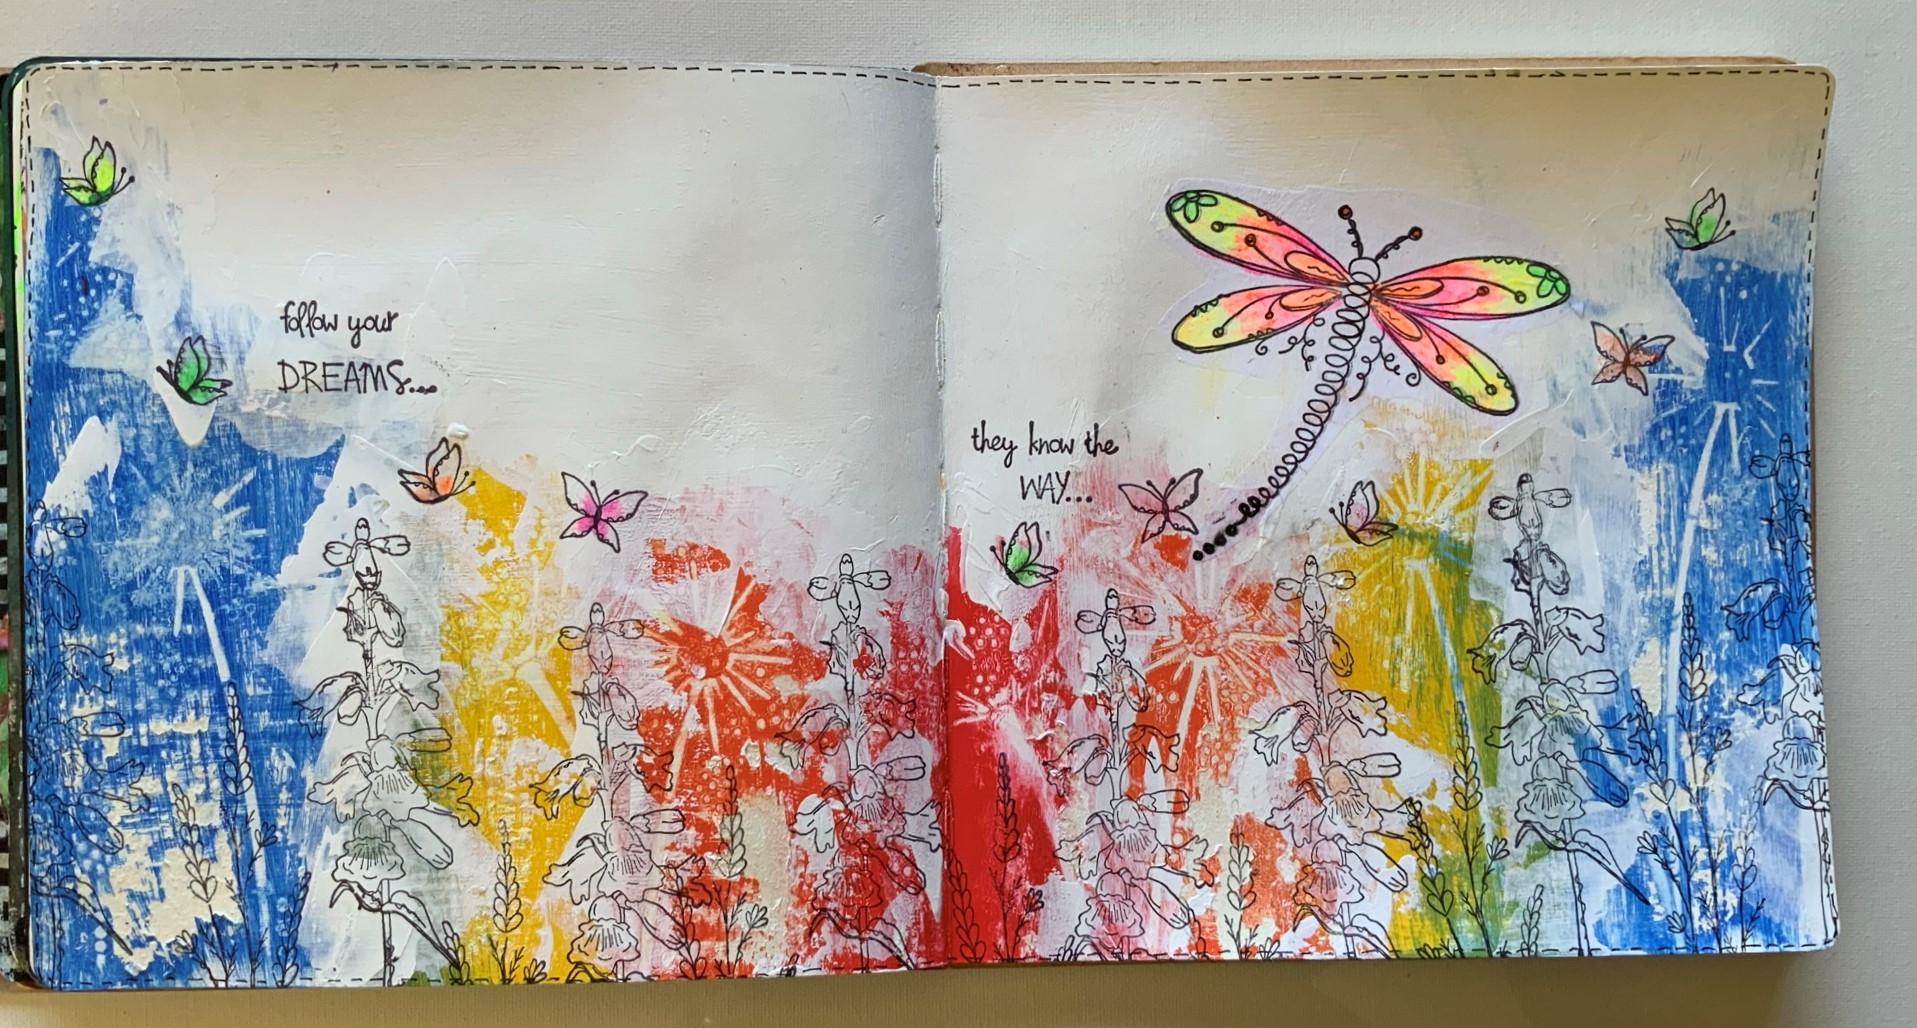
I loved the Kay Carley stamp set of the flowers (EKC45) and thought that with a dragonfly feature, my journal spread would certainly capture the topic.


I began the page by applying gesso to the page as this would allow me time to play with the paints before they dried.  I have then added PaperArtsy Paints - Southern Skies to the pages and using stencil PS060 and a wet wipe, removed the wet paint though the stencil. You get a sort of shadow effect with this technique as its a negative version of the stencil.


I continued this across the page using the following paint colours - Ochre, Cayenne and London Bus. All are translucent shades, which means as they overlap each other on the page, you create new colours.

I love the effect this gives - same stencil, same pattern but different colours, and where the colours meet each other creating new shades of paint too.


To blend and soften all the colours together I have used gesso with a palette knife. At this point, if you think there is too much texture to stamp on top you can sand back a little with a sanding block to create a smooth, flat surface.


I have then added the flowers from stamp set EKC45 along the painted areas and the butterflies at the top of the flowers.


The Dragonfly is from stamp set EKC24 and was stamped onto tissue and then added to the page and coloured with Fluro coloured pencils. For the final touch I have added faux stitching around the entire edges.


I love how the paint colours pop out - this is an effective but easy page to do, so i hope I have inspired you to have a go.

'Til next time - happy crafting. 

Lynn