Well hello again, it's me Jo back with hopefully some art that will inspire you to have a play!
I wanted to have a go at using embossing powder as a relief. Well I tried but it didn't quite work out and I learnt not to use Crackle Glaze over embossing powder as the Crackle Glaze just covered the embossing powder and lost the colour and shape completely! Never mind I can try again and actually what I ended up with is very nice.
I started with a piece of Chatsworth paper (7.5" x7.5") and using Yellow Submarine, Tikka, Tango, Autumn Fire and Haystack I painted stripes across the paper.
Then taking the flower from ELB 04 and the stalk from ELB01 I clear embossed them onto the left hand side of the paper.
 |
| ELB 04 |
 |
| ELB01 |
Over the whole paper I added a layer of Crackle Glaze and once this was dry put Honeydew over the top, remember load the brush well with paint, do short strokes and don't go back over what you've done!
I was hoping the embossed flower would resist the crackle but it didn't, so Plan B.
Using tissue paper and a hot iron (no steam) I ironed the tissue paper over the embossing to remelt it, it should sink into the tissue paper. It didn't.. probably because of the crackle.
No matter, some heavy duty sanding with a range of smooth and course sandpaper got me the finish that I was happy with. Where the embossing powder didn't release it sort of peeled off to reveal a large chunk of the bottom layer of painted Chatsworth card. Not what I had originally intended but still good. I sealed this layer using Matte Medium this just makes sure all the distress and ageing doesn't peel anymore!
I added some Vintage Photo Distress Ink and did the flick, clapping water droplet trick to add further ageing and texture.
Over this I stamped in Sepia archival two similar text word stamps from ELB05 and I also stamped the flower from ELB01 in Tango and Tikka.
 |
| ELB05 |
These flowers got covered up as they didn't stand out as much as I like (it's never a mistake just a challenge to work round!). Using a standard HB pencil I added some scribbles just to add another layer of distress.
On spare Chatsworth card I stamped a lot of the ELB01 flowers and cut them out. Using the end of a paintbrush I tapped Classic Treasure Gold on the centres of the flowers. I then rolled the petals to make them a bit more 3D and edged them in Vintage Photo Distress Ink.
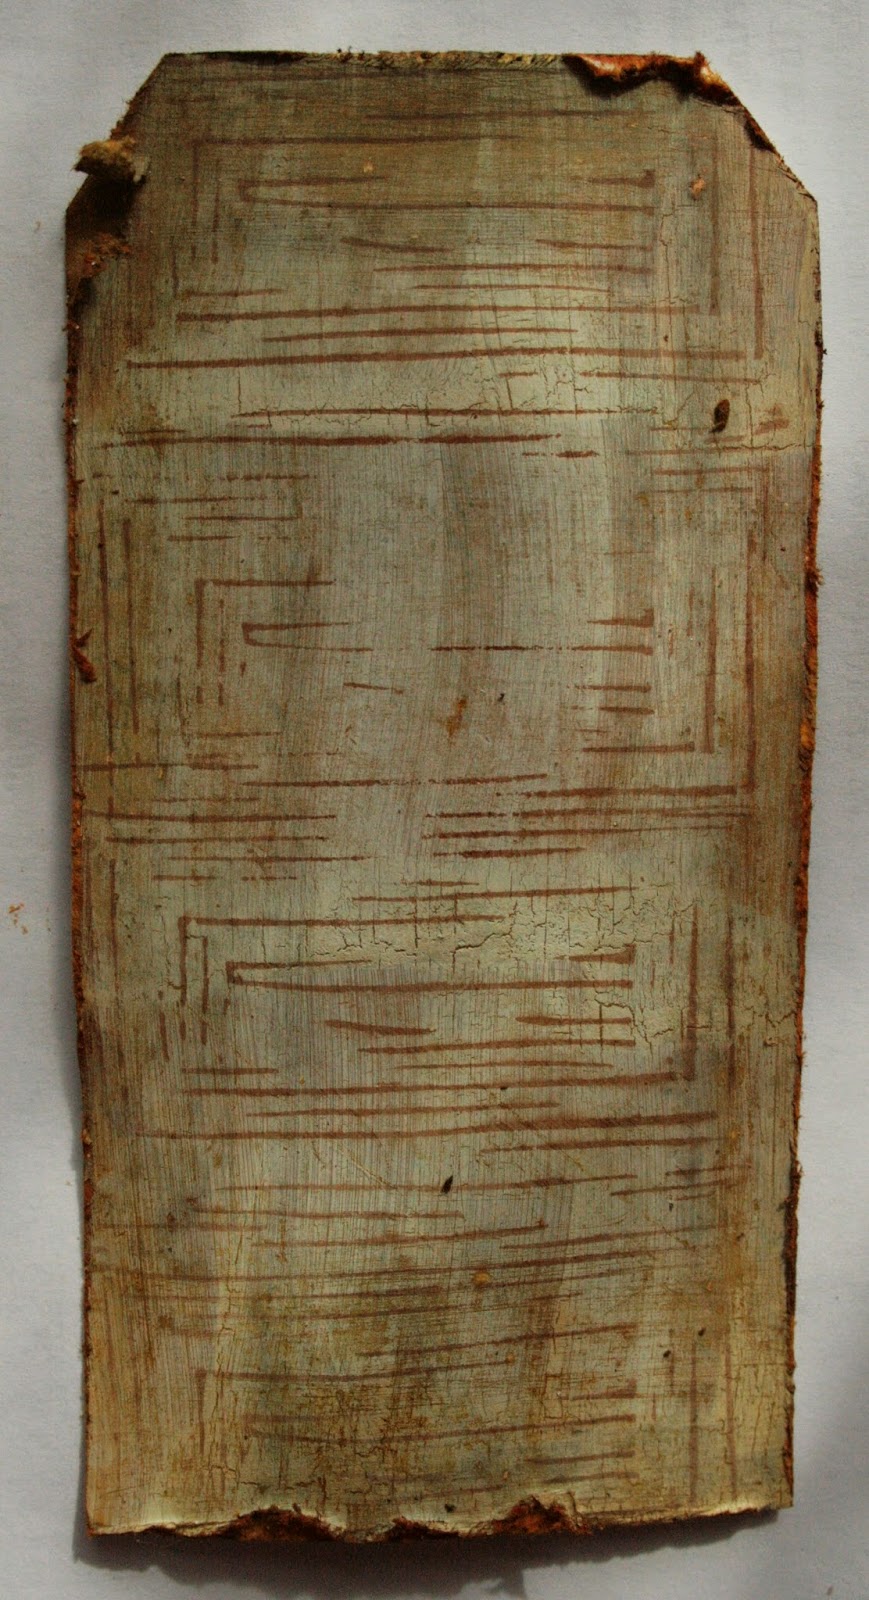
I was going to just stick them on but they sort of looked "lost" and not quite anchored, so I made a tag from spare Chatsworth (that 12x12 sure earns its money) that I'd scraped the last bit of Crackle Glaze on when I doing the larger piece. I added Honeydew over the top and stamped the thin line oblong from EEV02 (love this stamp set for subtle background texture) in Sepia.
 |
| EEV02 |
I distressed the edges quite heavily and added Vintage Photo Distress Ink. By spritzing with water it makes the Distress Ink really sink into the deeper core of the paper you've exposed by sanding and really adds to the distress look. Some string through the hole to finish the tag.
So not what I'd planned but still happy. There are lots of different techniques in this that you could pick from to incorporate in your art, have a go and embrace those challenges!
Jo
A huge thanks to Jo from PaperArtsy HQ, what a fabulous bit of experimentation. We love how you document the process and explain what went wrong as well as right. Often mistakes turn out to be happy accidents, and truly increase the interest of the piece.
If you would like to join in our weekly challenge with any of this week's guests who have blogged since Sunday night, then join in to link up your creativity HERE you will go in the draw to win PA stamps of your choice! You need to link your entry by17:00 (London time) Sunday 3rd Aug 2014


10 comments:
Hace only seen it on my phone but it's gorgeous!!
Fabulous playing. Great ideas to have a go at. It sure has your signature all over it Jo. Chatsworth papers really do take some hammer and bounce back. Will have a play! Xx
and now I've seen it big on the 'puter, it's even better!
This is great, Jo, absolutely love your experiments!
Lucy x
Great piece Jo. thanks for sharing what didn't go to plan and how you brought it back. I love it as it is xx
Absolutely beautiful!! Lovely project and thank you for sharing Jo xx
Extraordinary background!
That is wonderful, love all the gorgeous textures.
Lots of wonderful 'happy accident' delights on this piece Jo! Gorgeous colours and texture.
Hugs
Lesley Xx
Beautiful work as always Jo! You have your own style, unmistakable: I love it! xxx
Post a Comment