
Early 2010 saw the launch of the Hot Picks Collection, designed by Mark Franich, known to many of you on twitter as @Mr_PaperArtsy . Since i first met him in the early 1990's Mark has been on a mission to learn all things computer-related. He doesn;t go to course, he just seems to pick it up, and he's got to the point, where not only can he build a computer from scratch, but he seems to master all manner of programmes like excel, photoshop, corel draw, in design, and he can also design websites and therefore he is now well qualified to be our in house graphic designer for all promotional materials, magazine adverts, catalogues, leaflets blah blah blah. So yup, he has turned into a geek. A pretty good effort for someone who has had no formal training in any of that malarkey.


So, ask for stamps, and he's like "yup, I can do that, how hard can it be" !! ... and so he mucks about figuring out what works, what doesn't and so on. He has developed a real knack for stunning collages, like the ones he did for many of our iconic flower images, such as the ones below, and on this fantastic set HPXT02 (above). The birds in the hedge, HP1005 (above) as well as the stamp below HP1004, are both wonderful go-to sets that I find myself using time and time again, so hard to believe these were designed almost 4 years ago, even the packaging shown below has changed since the 2010 launch.
 |
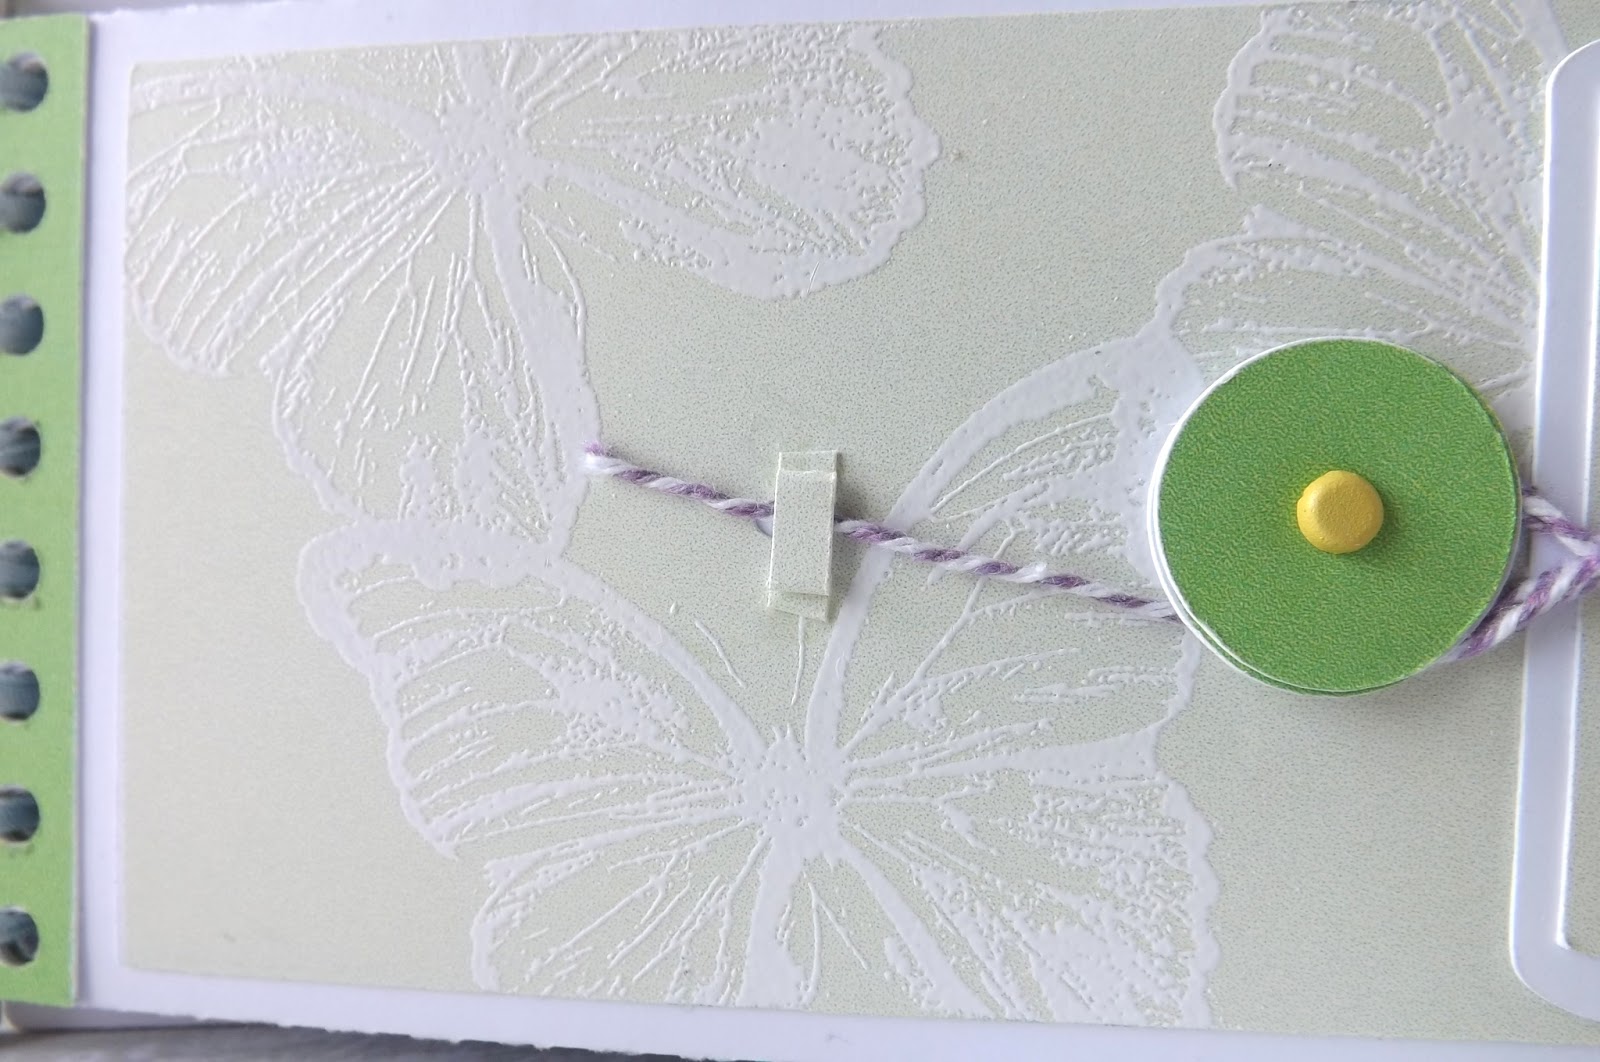
| HP1004 and some of the coordinating dies |

Unblike other larger companies, we constantly try to re-use the dies in subsequent stamp releases, so you end up with multiple stamps across a few plates that match any given die. We do this to add value and versatility to your die purchase with this approach. We also have a couple of stamp and die sets, where there are several stamps, with the die included in the packet; HPSD01 (moths), HPSD02 (Slidemount).


There are now many more stamps in the Hot Pick Collection now, all of them are A5 stamp sets (half plates) available both un-mounted and EZ-mounted. The over all style of the Hot Picks is that they are not gender specific, they are not themed, and can be used for pretty much any crafting project you tackle, cards, altered art, scrap-booking, interior decor etc. We affectionately call them 'stamps for grown ups'!
Once you start adding layers with paint, embellishments, you can make stunning projects with them. How cool is the crackle onto the fabric background!
 |
| By Lin Brown |
Or really simple cards
 |
| By Lin Brown |
 |
| By Leandra Franich |
Portfolio oil pastels in the background, and coloured pencils for the image.
 |
| By Lin Brown |
 |
| by Leandra Franich |
So who is up tonight?
Who: Mel
Twitter: @humelmar
Blog: www.ispeakmelsh.co.uk

Mel Says: After the excited bouncing and happy dancing had subsided a little, I took stock of the contents of my generously-filled envelope! I had a small canvas, wooden flowers, tiny tags, ribbons, stamps, heavyweight smoothy card, and a colour palette swatch of Haystack, Guacamole and Pansy. My brain was teeming with ideas but I chose not to add any extra materials or stamps, purely to keep my options to manageable levels...

I started by stamping onto the canvas with the map image from one stamp set then filling in round the edge with the texture stamp from the other set. I then covered it all with a mixture of Nougat and Pumpkin Soup Fresco paints.
Top Tip: mix an opaque with translucent to create a beautifully blended semi-opaque shade! This allowed my background stamping to show through just enough to add interest and visual texture but the images still remain subdued in the background.
The wooden flowers each got a coat of Rose with a dash of Inky Pool (that makes great purple!). I stamped the leaf with map detail 3 times onto the green card cut out.
Top Tip: keep the scissors still and move the image, it’s much easier!
By now the flowers were dry so I stamped onto them with the words ‘Imagine’, ‘Dream’ and ‘Create’. I also stamped the ‘A’ from each word onto the teeny tiny tags, and glued.
Top Tip: ink the stamp and lay it image up then press the tag onto it for accurate placement!

But wait! That’s not all!
You see, this isn’t just a canvas – it’s actually the cover of a little
booklet....

I hadn’t really needed the
lovely white heavyweight smoothy cardstock for the canvas but I wanted to use it somehow, so
I scored, folded, stuck them
together to make an accordion-style booklet. I added the lines
stamp from HPXT01 then the word stamps and the cute little brickwork birdie. I
hand-wrote quotations to fit each word.
Top Tip: there are loads of
quotes available online to match any keyword you can think of!

On one of the back pages I
added the map image, inking the centre pale, and the
edges darker. I also stamped the leaf on card, cut
it out and layered it onto the map – the pattern inside the leaf is the same
map at the same scale, so it’s great for 'spotlight' stamping! On the final page
I used the lines stamp again, then added the colour swatch and some notes
about the project.

I stuck the booklet onto the
back of the canvas, sandwiching the last piece of ribbon between the two so the
booklet can be tied closed when not being viewed.
I love all the contrasting
textures – paint, ink, wood, canvas, ribbon, smooth cardstock.
Who: Carol Fox
Twitter: @Gingernonuts
Stamps Used:

Carol Says: I was very pleased when the envelope from Paper Artsy dropped through my letterbox as part of the challenge that Leandra set on Twitter , then I opened it and thought “umm”, so I put it away and thought about it for a while. I was happy with the MDF as I do like a bit of MDF to chop up and paint so after a bit of thought, I decided to make it into the hanging that you see here.

The Challenge: I first attacked it with my dremel and cut a square out of the centre. The piece I cut out I used for the back of the recess and I used an off-cut from another project to form the sides and make the door for the front. I used lots of grunge paste and paint to give it texture and colour, finishing the painted area off with Treasure Gold to highlight the grunge paste. I again attacked the door with my dremel, chopping the edges and making groves in it so it added an extra aged look to the painted MDF. I stamped my quote before adding hinges to the door to hang it.

I stamped my main image and coloured it with Portfolio Watersoluble Oil Pastels so it had an aged and faded appearance, (colouring is my weakest point so I always go for this approach as it’s the easiest one to do). I stamped my flowers onto white card coloured them with distress inks before layering them up, added a small flick of Treasure Gold to the edges to give them definition. My bunting is simply made with cut out shapes, stamped onto with various elements from the stamp sets and stuck onto scrappers floss and then onto the hanging. Finishing it off with another quote, and a piece of ribbon for hanging.
This type of challenge is right up my street as I do like to mess around with paints and inks and to get something to chop up, well I was in my element. I was going to go with more of a seaside theme for this as I have a big collection of beach combed items that I collect on my walks at the local beach, but I so often do “the beach” that i thought it would be good to challenge myself for a change with a different theme.
Who: Julie Ann Lee
Twitter: @woletz1
Blog: http://magpieheaven.blogspot.co.uk/
Stamps Used:
 |
| HP1006EZ |
 |
| HP1009EZ |
Julie Ann Says: Hello, Julie Ann here! I live in Bromley, Kent with my husband Terry, my grown-up children Isaac and Matilda, and Daisy, the cat who shares my love of ribbon. I got into serious crafting last spring. Before that I’d made the odd card, but since blogging I’ve ‘met’ some fabulous crafters and learned so many techniques! I love Lynne Perrella stamps and I’m learning about art journaling, collage and all kinds of altering.

The Challenge: My project is a garden – for joss sticks! When I received my bundle of goodies, I was bowled over by such ‘happy mail’ – but – boy – was I challenged by that colour combo – PURPLE and green! First I painted the little substrate with Snowflake Fresco. I then sponged on Guacamole.
Leandra sent me two sheets of ‘Hot Picks’ stamps and I used the script from one of them along the border, stamping lightly without a block in Versafine Olympia Green to give a worn look. I used faux metal corners, covered in Treasure Gold ‘Green Amber’. I stamped one of the collage flowers from ‘Hot Picks’ onto Polyshrink with Onyx Black Versafine ink and whacked it under the heat-gun.
I had another ‘Hot Picks’ sheet of my own with similar images so I made two more in different sizes. I then coloured these with green Adirondack alcohol inks and coated them in Glossy Accents. I used the card Leandra provided, first painting it with a blend of Guacamole and Eggplant and then stamping it with the sentiment from one of the ‘Hot Picks’ plates. I made this into a sign, distressing the edges with Tim Holtz Walnut Stain and attaching it to the fencing I made from a Tim Holtz die – one side Crackle Glazed, the other Metallic glazed.
I embossed two butterflies from the ‘Hot Picks’ set with Verdi-gris and black sparkle and two in Versamark Onyx Black. I then stuck these pairs together sandwiching the antennae in between. I decorated one with purple gems.

The wooden spools were painted with Eggplant with the cream ribbon wound around. One contains fabric flowers from my #3UP package. I punched little green card circles to cover the sticky circles on the back, adding bull-rushes/grasses made from green wires topped with home-made beads - magazine pages embossed with a mix of gold UTEE and Verdi-gris and tied with narrow green ribbon. The second spool is to hold the joss-stick that will scent the miniature garden. The tumbled toadstool is Eggplant and Guacamole with a coat of Gloss Glaze. I scattered leaves over the lawn, punched out of Fresco painted card.
Ultimately I was delighted with that colour scheme, even though it was not one I would have chosen. It’s been an honour to be a part of the Paper Artsy Family ten years’ celebrations. Thanks for a great challenge!
Who: Debbi Powell
Twitter: @_debbi_
Stamps Used:
 |
| HP1005EZ |
 |
| HP1203EZ |
 |
| HPXT01 |
Debbie Says: Hi, I’m Debbi and I am from Manchester, in the North-West of England. I’m addicted to crafting and love to try all sorts of crafting techniques. So when asked to describe my style...hmmmm that's a tough question. I like giving anything a try. But I suppose my go to style is fresh, delicate and clean lines.
I was so excited to receive my PaperArtsy parcel, which included these fabulous crafting goodies: stamps, Fabric Brads, Ribbon, Heavyweight smoothy stamping card, Chipboard
And my colour swatch was ‘Yellow, green and purple’. My project for my very first #3Up challenge didn’t end up as I planned; actually it became something completely different!
And my colour swatch was ‘Yellow, green and purple’. My project for my very first #3Up challenge didn’t end up as I planned; actually it became something completely different!

The Challenge: My ‘Secret Garden’ album has 4 string tie pocket pages, which I matted and layered with Smoothy Stamping card stamped with the white-embossed butterfly. On the back of each page I matt and layered again, and used the gorgeous birds in the grasses stamp, and this time I used a green embossing powder. I added the green stripe to the edge of each page (front and back) to reinforce it.

I then heat embossed the circle closures with purple embossing powder, using the lines stamp from the Hot Pick Xtra 01 – Backgrounds set, from my own crafty stash.

I used the grunge board to make a sturdy cover of the album. Firstly I covered the edges of the board with masking tape; to lighten it up so it would go better with the look of the album, then covered the fron with with yellow card and the back with white.

Using the swirl from the Hot Pick 1005 stamp set I repeatedly stamped on to the Smoothy Stamping card and heat embossed the design with white embossing powder, and then stuck it to the cover. I repeated this on another piece of chip board for the back cover, but this time the yellow card incorporated a flap for the closure. I then cut two bracket shapes to be placed at the spine edge of the album. I coloured these by rubbing Memento New Sprout ink onto it. I then bound the album using the PaperArtsy Ribbon and added the PaperArtsy Fabric Beads.

For the closure flap, I stamped two butterflies from the Hot Pick 1203 stamp set, and coloured them by mixed some Dusty Concord Distress Ink with a little water a and applied using a paint brush.

And finally, I cut some graduated labels in purple and white and the stamped the Secret garden sentiment from the Hot Pick 1005 stamp set, using Mustard Seed Distress ink and a tiny bit of Memento New Sprout ink dabbed in the edge of the stamp to give a intensity effect when stamped.

Who: Cindy Christoffel
Twitter: @cynchristoffel


Cindy Says: I'm from Chicago, IL USA. Married, 4 grown kids. I work as an administrative assistant at a high school where my youngest son goes. I have been stamping for about 23 years. My favorite style of stamping is collage. I love adding bits of paper and stamps to create a work of art! I am so thrilled to have been able to participate in PaperArtsy's birthday month..... as I celebrate a birthday this month too!!

The Challenge: Starting with the triangle piece of woodboard, I traced 6 of the same shape onto chipboard. After cutting them out, I painted each piece with PA Fresco Finish Chalk acrylic in pansy, cheesecake and sage. I layered the 3 colors on each page and on the hardboard triangle.
.JPG)
Using torn pieces of cream colored honeycomb dry embossed cardstock and Japanese paper, I glued the pieces to the triangle pages. On several pages I spread PA Grunge Paste, and either stamped into the wet paste or used an embossing folder to make an impression. After the paste was dried, I painted over it with PA Fresco Finish paint.
.JPG)
Next I stamped my sayings or images using black versafine, vintage sepia versafine and caramel Adirondack inks. Some images I embossed with clear EP.
.JPG)
Finishing touches were random sprinkles of seedless preserves distress glitter, and embellishments of the 7 tiny tags, buttons, brads.
.JPG)
I punched holes in all the pages and bound with binder rings. Adding the ribbons to each ring. On the hardboard front cover, I glued my main image which was stamped on a cheesecake colored piece of cardstock. Final embellishments were a clock face, gears and watch parts and a sprinkle of glitter.
Who: Lisa Winnard
Twitter: @lisa_winnard
Stamps Used:


Lisa Says: My name is Lisa and I live in Wigan in Lancashire and I’m
currently a full-time mummy to two daughters aged 3yrs and 9 months. I
turned my garage in to my craft room/studio in February 2013 as I was demoted
from the spare bedroom when my second daughter came along!
The “craf-age” is where I spend most evenings. I have always
had a love of art and completed my degree in 2002 after finishing my Art A
‘level and Art foundation course at Wigan College. I love any type of craft and art, particularly what I call
‘messy’ crafting. I adore, painting, inking and heat embossing, and anything
that has a surprise element such as gilding flakes, shrink plastic and melt pot
art. I have tried my hands at most crafts but always tend go back to the inky
stuff! My particular style of crafting is grungy, antiquey,
distress, oldy-worldy style. I love using mixed media, recycled materials and
have a passion for altered art.
.jpg)
The Challenge: I received a small box in the package with the rest of the #3UP goodies. I wanted a rather plain outside to create a bit of mystery as to what was inside. I stamped the door on the front and the flower edge of the same stamp down the sides. I stamped the top and bottom of the box using the thistle flower stamp.
To mount the box on, I painted corrugated card with a mixture of the Limelight and Haystack Paper Artsy Fresco Finish Acrylic Paint.
To mount the box on, I painted corrugated card with a mixture of the Limelight and Haystack Paper Artsy Fresco Finish Acrylic Paint.
.jpg)
For the outer layer, I coloured 12x12 cream card with Dusty Concord, Peeled Paint and Crushed Olive Distress Inks and stamped around the outside of it with the birdcage stamp, large and small cog flower stamps, spotty/checked leaf stamps, the thistle flower, the owl and large flower.
I embellished the stamped background with various elements; paper flowers coloured with ProMarkers around the box, different textures of purple ribbons, some silk leaves with the stamped leaves/ purple buttons. I then stamped three of the birdcage stamps on to shrink plastic, coloured them with ProMarkers, cut them then heated them till the shrunk. I then attached a tube of card underneath to make them stand from the page.
Next I stamped the small and large cog flower stamps onto 'smoothy heavy weight card' in black ink and clear embossed. I inked them with Dusty Concord and Crushed Olive Distress Inks and layered them with foam pads. I die cut the smallest and next size up cog dies from a Spellbinders die set, inked them with Crushed Olive Distress Inks and attached then to the centre of each flower with foam pads. I stamped the pointed finger, inked with Dusty Concord. I covered them with clear ink and embossed with clear embossing powder and attached them down the side pointing in different directions.
Next I stamped the small and large cog flower stamps onto 'smoothy heavy weight card' in black ink and clear embossed. I inked them with Dusty Concord and Crushed Olive Distress Inks and layered them with foam pads. I die cut the smallest and next size up cog dies from a Spellbinders die set, inked them with Crushed Olive Distress Inks and attached then to the centre of each flower with foam pads. I stamped the pointed finger, inked with Dusty Concord. I covered them with clear ink and embossed with clear embossing powder and attached them down the side pointing in different directions.
I stamped the ‘courage’ on the inside lid and secured a leafy spray with flowers, curly wire, ribbon and stamped leaves on top.
.jpg)
I stamped the owl on to white smooth card, coloured with Antique Linen and Old Paper Distress Inks using a waterbrush. I then painted a thick layer of Paper Artsy Fresco Finish Gloss Glaze over the top and attached it to the bottom of the box and adding coloured paper flowers and purple buttons around the stamped owl.
I then put a silver owl charm on to a length of PaperArtsy purple ribbon and added two PaperArtsy purple fabric beads to the top and bottom of the charm. I then tied a second piece of ribbon above the charm in a different colour and attached allowing it to dangle.
I really got into the whole #3UP challenge, so if you want to see some other projects I made at the same time, please hop on over to my blog!


43 comments:
More fantastic projects from the #3up team x
Another bumper crop of inspiration. Well done guys!!!
What a feast for the eyes! Now Hot Picks are right up my street...I have a lot but I would have them all if I could!
WOW Fabulous 3up projects tonight, well done ladies, lovely makes from all xxx
Sam
I feel really honoured to be alongside these fabulous projects with my little project! Thank you all for such wonderful inspiration! And thanks Paper Artsy for letting me play along! What an experience! Julie Ann x
Ooohh too brilliant - these are gorgeous
Yay - clever fellow Twits! Super projects :) I do so love the Hot Picks, was so thrilled to (a) get some in my package, and (b) discover that they weren't duplicates of those I already have! Thanks again lovely Paper Artsy for your generosity in letting us celebrate with you xx
The Hot Picks are some of my favourite stamps, and I have lots of them! I think all of today's projects are absolutely gorgeous!! Well done, everyone! As Old Mr Grace would have said in Are You Being Served, "You've all done very well"....
Fab projects ladies! Love the colour combo. xxx
Another fabulous selection of projects!! I have most of the stamps shown and this just reminds me how versatile they are.
Well done one and all xx
Fantastically beautiful projects! Gorgeous colours & layouts & my wish list of stamps has just gotten considerably longer!
Fantastic projects! The garden is very special!
Oh what amazing projects again! Well done everybody!
Lucy x
Love Hot Pick stamps, and some lovely pieces of work.
I do love the Hot Pick stamps, another reminder of those ArtsyCraft weekends :-)
Fabulous Up projects, well done everyone.
Gorgeous projects again tonight...
wonderful projects. The hotpicks are probably my favourite range. all of my "go to" stamps are off hotpick plates
I am honored to be in the company of such fantastic artists... Well done everyone
Great textures on tonight's projects! Well done everybody!
Jo
Wow beautiful projects tonight. Some of my favorite PA stamps used tonight.
Jo
x
Hot Picks are genius stamps, so versatile and i have most of them.
Tonight projects are all amazing but guys you did get easy stamps to work with lol!!!
So many wonderful ideas, fab colour combos, am really impressed:-)
Wow, what a great series of fabulous creations with these stamps so beautiful... I love the make by Carol especially, but all is very gorgeous ! And wonderful initial projects too. Coco x
Another night of brilliant projects. Hot Picks is such a fab collection. Great work #3upsters
Really cool projects, great work everyone well done :)
Happy craftin
Rebecca
Great job everyone. Fab projects. Thanks for sharing
Another batch of great stamps, and great projects!
Fantastic works of art! Really chuffed to be part of this wonderful challenge. And this amazing company. Had so much fun. Well done to everyone who took part.
Fabulous collection of projects once again with the brilliant Hot Picks stamps. Well done all #3up sters!
Hugs
Lesley Xx
Fabulous projects, love the little 3d garden!
Fantastic projects again tonight ladies!!! well done :D
Lovely projects and well done Lisa xx that's fabulous
Lovely projects and well done Lisa xx that's fabulous
Fab projects again x
Absolutely fabulous projects:)
more stunning projects, every single one of them gorgeous, and I see stamps I need too!!!
Paper Artsy continues to surprise me. Another fab round of projects!
I adore the Hot Picks collection, so it was a treat to learn more about its inception.
The projects from this #3Up group are phenomenal. I'm so glad I don't have to choose a favorite since they're all my favorites in one way or another!
Lovely selection of makes from the same collection. very happy to have been part of it tonight. x
Totally fantastic makes, really showing off the versatility of the Hot Picks - brilliant!
Alison x
Wow wow wow truly stunning inspirational creations they are all amazing. It's rather scary actually realising I have almost every set that was used today lol. Loving the history of all the stamp sets. Awesome :-) Kezzy xxx
what a collection of stunning and fascinatingly different creations. just goes to show how adaptable the PA stamps are. beautiful ladies!
Wow! Stunning projects 3UPpers! xx
Just now discovering this wonderful blog, thanks to Mel's gorgeous project! I love the creativity being featured here, as well as the amazing stamps being offered. I must buy some sets to play with!
Definitely bookmarking this site for future visits!
Post a Comment