
Jo has an amazing eye for colour, composition, and design, and I'm sure you'll agree that she has certainly done an amazing job with her signature stamp line. It's so nice to work with her, she's just a tad loopy (in the nicest possible way) and fitting for any artistic personality! She's very, very funny (even though she doesn't realise it), and ever so chatty and bubbly which is why we all love her so much. So as its Friday night, grab a glass of vino, and sit down to absorb this stunning project, which I know you could all achieve too!
Plus, being a special birthday edition, we have special NEW birthday stamps from Jo! And it is fitting in this amazing summer weather that England has been lapping up, that her new stamps are Beach huts. Jo is only a few minutes from the beach, and Southend has a lot of these down by the British Seaside! Knotted white hankies on heads please everyone....Ditch the wine, it's now Pimm's O'clock!
 |
| JOFY16 |
 |
| JM23 |
 |
| JM24 |
Here she is, the one and only Jo Firth-Young...
"10 years!! oh my! doesn't time fly when you're having fun. I've loved being involved with PaperArtsy during that time - and now having a stamp line created with them is just the icing on the cake with a cherry on top!
I design my stamps so that they can be mixed and matched - meaning a project could be created using images from the Christmas designs alongside summer flower images - I want them to be really versatile."
My 'Birthday Project' is an example of how that can work and how images that are designed with one purpose in mind can be repurposed in a completely different way ... I'm not very good at limiting how many stamp sets I use when creating a project - 1 stamp from that set, 2 from another (but that's part of the fun isn't it!)... and the 'Birthday Project' I've created is no exception.
You can find all the JOFY stamps HERE on the PaperArtsy site:


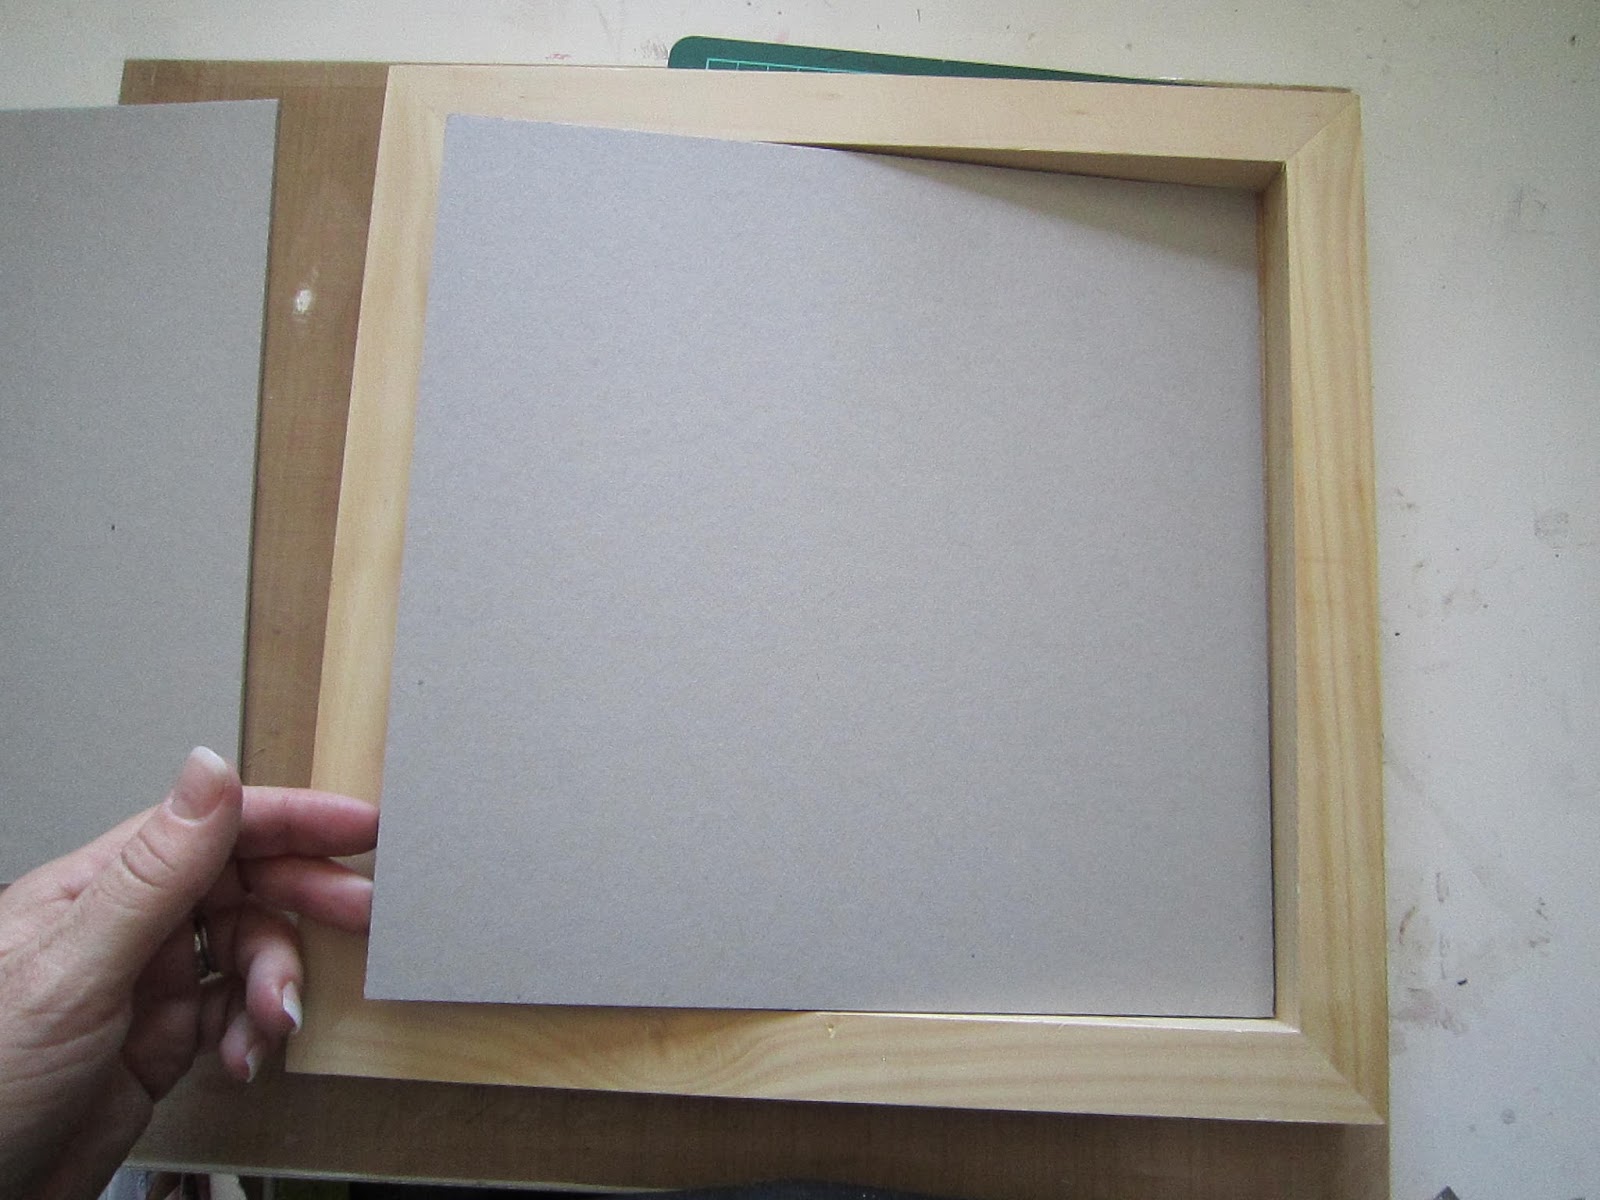
The project base is a 30x30cm wood box frame from Artemio - I love these! A really nice sturdy surface to paint onto and alter.
This is a big project size for me - normally I create smaller items - but the size of this frame opened up so many options I couldn't resist. I cut a piece of chipboard to fit into the frame - this is what the project would be created on to give a bit more freedom when painting.
When I get a new stamp set I stamp all the images onto plain scrap paper and cut them out. I do this so I can use them to lay-out a project - to make a 'dummy' version. Its a good way to get a feel for a project, to see if a layout will work, if the images work together and if the substrate needs to be bigger or smaller.

I collected up some suitable colours of Fresco Finish Paints:

... and created a basic colour washed background. To do this I use a wide brush, water down the paints a little bit to get the blended washed effect that I'm after, and brush the paint from side to side..

I used a 12x12 stencil to create grass, applying a mix of Tinned Peas and Hey Pesto with a sponge.

Stamped the trees (JOFY15) in Black Archival.

The trees were then painted with French Roast - love this colour - and it allows the detail on the trees to show through.

Checking the shed placement. This image will be created on Kraft card and attached later so I needed the 'dummy' in place while positioning other images around it.

That's the main structure of the panel - now for the embellishments and details.
To give the grass a bit of definition I doodled over it with a black fine liner pen, and stamped the grass from JOFY12.

One of the 'techniques' I like to use on my projects is combining painted and printed papers.. so I 'attacked the stash' of patterned papers (it was a resolution this year- attack/use the (ever growing) stash). I like using different patterned papers and textures when building up flower and foliage images - it instantly gives additional interest and dimension - gives an appliqued effect. I really like the tiny dots on this paper but it needed to be a bit darker so I washed over with Hey Pesto and stamped the leaves.

I also stamped flower stems onto the same paper and again onto pink papers and pieced them together:...

... to create this and other flower stems, which I gently coloured with pencils and Fresco Finish paint:

I used another paper to create a strip of grass & flowers. The pattern is quite busy and so I coloured in areas to create block of colour, to block out the original pattern and to paint other colours on top.

The trees needed to be 'bedded' into the ground - this was achieved with a bit of sketching, and I also started adding other colour washes to give texture to the grass - make is less solid/flat.

At the centre of the box frame is 'the shed' - those of you with a keen eye will have already realised that this is actually the big Beach Hut from JOFY16 - this is what I mean about repurposing the stamps.... and the little plant pots - they're the buckets from the same plate (minus the spade). I created the 'Shed' (as it shall now be known) by stamping it on Kraft card stock and shading along the plank lines. The top façade is painted in Nougat. The doors were created separately, and after being painted and crackled were glued in place. Once the Shed had been glued in place on the background I stamped grass over it and the surrounding grass - this beds it in and 'ties' it to the background.

The choice of treatment for the frame was an easy one - it had to be crackle-glazed... The Crackle Glaze is a product that never fails and I love that about it! I created a warm grey for the base coat by mixing these two lovely colours, French Roast and Elephant. As you know, on top of that goes the Crackle glaze, scrape on a thin coat. And once that is dry you generously apply the top coat, Nougat (with a touch of French Roast) . If you use Cut and Dry Foam to sponge it on you achieve lovely small crackles.

Here's my finished 'Birthday Project' - I'll show you whole item and then the above (and following) details can be understood in context:

I wanted to create layers within the structure of the piece to give perspective, so in front of the stencilled grass on the back board I stuck a length of the green grass, and in front of that 2 more lengths that are 3d foam mounted.

On the frame itself I attached the fence which has grasses and flowers growing in front... 5 simple layers...
The line of wording along the bottom edge finishes off the whole project - I like to include writing and words in some way on most of my pieces...

...especially die cut words (LOVE die cut words!) and so I included some of those too along the top edge.

I like this finished piece very much - it's made up of all my favourite things - JOFY stamps, Fresco Finish Paints, die cutting, patterned papers, stencilling, Kraft card and sketching.
I hope it inspires you to create something.
Leandra Says: It's fantastic Jo, I love the layers in the grasses at the front, and the perspective you have achieved with the trees, and 'shed'. You have given us great tips on how to pull it all together! I can see with a bank holiday for us this weekend, this might be a project to get stuck into when the rain comes!! Shhhhh. Thanks so much for dropping by the blog! A real treat!!
Gillian Says: "Bloomin" marvellous Jo, you always create the most beautiful dimensional layers within your projects ... It's like the garden has come to life. The beach hut makes the perfect shabby shed ... love it.
So lovely followers, please leave a comment on this post for Jo, and you will go in the draw to win a set of her stamps as featured in this post: JOFY 16 We have 3 sets to give away!


35 comments:
Totally gorgeous work Jo. I love the different layers.
Flippin gorgeous, i love using 1 stamp from here and 1 from somewhere else, it's great to mix n match. i also have lots of stamps cut out on scrap paper, especially yours as it's so much easier to play with placement before the 'real' stamping.
Beautiful creation Jo made with your gorgeous stamps!!!
Such a beautiful garden!! I love the combination of different stamps & layers. I've started stamping onto scrap paper & cutting out the images, it really helps with visualising how the finished project is going to look. Thanks for the inspiration Jo.
Great layering, gives terrific depth
Sam xx
Stunning project Jo. I love the depth you've created with your gorgeous stamps
You never fail to produce stunning projects, this is absolutely gorgeous, Jo.
Gorgeous project, so love your style and stamps. Can't wait to have a go.
WOW, speechless..... :-)
love this project, its gorgeous. Thanks for the tip about cutting the images out of scrap paper for placement,shall try that out. x Lavinia
Totally fab!!!!
Really great project Jo! Love how versatile your stamps are. Xxx
This is really lovely Jo - your flower stamps are next on my list
What a gorgeous project, it looks fab!
Emma x
Beautiful project Jo,I love the way you plan things, wish I was that organised. Cute pile of buckets next to the shed too!!!
Lin x
Fantastic project I absolutely love the trees!
An amazing project - I love it
Such a wonderful project, you have some really great ideas. I love your repurposing! Thanks for the inspiration.
Fantatsic. Love the shed
Really lovely project with some useful tips! The composition is great and the idea of cutting out the stamped images to help position them before stamping is so helpful. I love the way you've used patterned papers - lovely idea! Julie Ann xx
OMG what a stunning project - your creativity knows no bounds
Gorgeous!!! The beach hut makes a great shed Jo!
Alison xxx
Gorgeous project Jo! You are very clever,talented.....and fun! I've got all your flower stamps but now I just have to get the huts - lovely!
Sue of worcester
oooo love this project and the beach hut stamp set is adorable!
Gorgeous project
Stunning project with nice fresh colours.
Love the stamps Jo and the inspiration great project so many layers. Thanks Margaret xx
Wow, what a wonderful scene and frame !!! I love it !! Coco x
Been admiring your stamps for a while now, fingers crossed.
A beautiful project. I am loving those flowers! Thanks for sharing with us.
Kate
Wow I am so loving your garden truly awesome, and more new stamps I need lol, thank goodness its my birthday in a weeks time :-) Kezzy xxx
loving your new stamps, fab idea to use the beach hut as a shed,
Fabulous project
Janet x
Just back from camping and i wish i had found this wonderful place to put the tent on. What a lovely project you have made Jo.
Margriet
Always love looking at the amazing projects you design.
Fabulous Jo!!
Post a Comment