

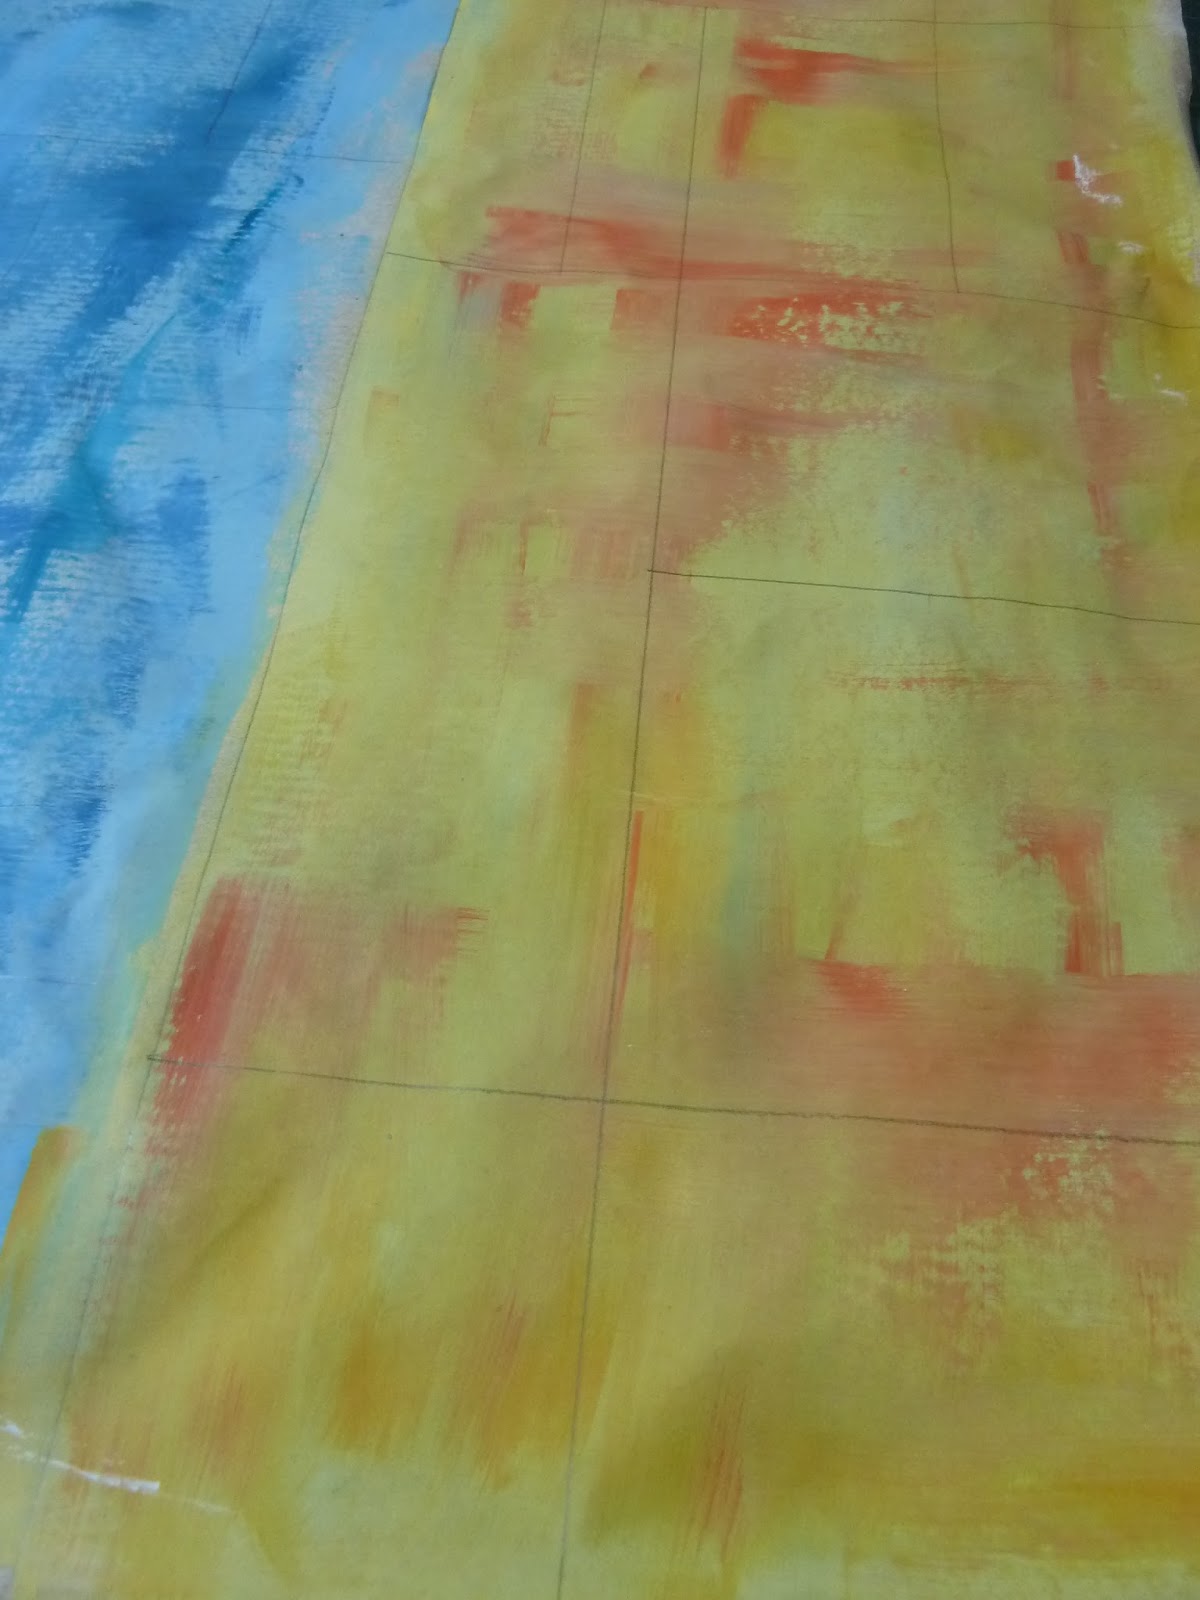
Next I very lightly marked off each colour into squares and rectangles, nothing is measured and they are all different sizes. Keep the pencil lines super light.

and a darker blue over the blue sheet.. and so on for all the different coloured sheets.

Next I added stencilling inside the squares and rectangles this time I used a contrasting colour. Leave a few of them empty in the middle, as you will be stamping later on.

Now take some backing paper. I used cheap cartridge paper. It does not need to be fancy or super strong, but printer paper would probably be too thin. If you know what shape you want your patchwork pieces to be, then go ahead and cut the backing paper to that shape. You will see me doing that in tomorrows post. If you are not sure what you will make with the patchwork, then keep your backing paper as one large sheet.
Start tearing your painted/stencilled paper into pieces, using your pencil lines as guides. However tear inside the lines as you don't want those on the finished piece. The edges do not need to be neat, but keep them fairly straight. Add a dab of a glue stick to the back of each piece, and glue them down onto the backing sheet. You do not need to fully glue them, this is just a dab to keep them in place for the next stage. Make sure to slightly overlap each piece.

At this point you are going to need a sewing machine, if you don't have one or would rather not use one then you can add faux stitching using a stencil.
{NB:If you decide to stencil your stitches then you will need to glue your patches down properly first}.

If you are machine stitching, set your machine to either a large zig zag or an open type of stitch pattern. Start to stitch lines between all the patches. Because you overlapped the patches a little, then both pieces will get caught under the stitching.

As you are stitching, add in some other ephemera. I added paper quotes and frames, washi tape, pieces of lace and other painted papers.

Next you will add stamping, and doodling with black and white pens. Use all your favourite
PaperArtsy Stamps to fill in the spaces, how much you add is up to you, though some empty areas help to balance the design.

Now you can use your patchwork paper on your projects. Cut out the size that you need and stitch around the outside edge.Here I made a load of small squares.

Once they were stitched I used them on greetings cards.

I also used a large piece to make a slip on cover for my A4 sized art journal. I took a really large patchwork piece, and folded in the 2 short ends. Then I over-stitched the top and bottom edges to hold the end pockets in place. Then I just slipped the covers of the journal into place.

Here is a view of the outside, I added a couple of hinge elements, I will shows those in more detail tomorrow.

I hope you are inspired to have a go at making your own patchwork paper. There are so many ways that it can be used, here I have just shown cards and a journal cover.
Tomorrow I will show you how I used the patchwork paper on a larger piece of storage.
Leandra Says: Wow, those cards look amazing! I reckon this is a great idea for those 'organised' people doing Xmas cards, cos you could easily do a bumper batch and how effective it is!! And a great ways to use all kinds of stamp images too!
Gillian Says: Oooo Darcy just loving this project. All those little squares of artyness just look beautiful on your greeting cards and journal cover. Now only if I could work my sewing machine lol {uh oh, another thing to add to your "teacher list"} x
If you are inspired by Darcy's post tonight, and want to jump in and have a go, then do just that, and blog, Pinterest, or Flickr link your web page showing what you made to out InLinkz tool at the foot of Sunday night's blog post here. You need to link by noon (London time) on Sunday Sept 1st. We will do 2 prize draws, one for every single entry (including multiple entries), and a second draw with just one entry per name. Successful winners will get to choose an A5 PaperArtsy stamp of their choice. Good luck! |


36 comments:
Where do you get these ideas??? Amazing make once again. Bit over ambitious for me tho
Fantastic, Darcy! I really wish I had a sewing machine to try this one, as I am sure it would be much better with real stitching than faux or stencilled stitching. Beautiful!!
My gosh! That's brilliant! I love everything about this idea, except that you're making me want to learn to sew and get a sewing machine.
Me + sewing machine = blood, which is not a good equation.
I especially love the gears in the skull.
What a great way to make a card set that would be perfect for a holiday gift!
So Darcy..when are you going to put all these amazing projects and ideas into a book, cos I for one can't hold them all in my head for long? Amazing as ever :D XXX
Brill, brill, brili! And I have my own special piece of this creation. Thanks for all the inspiration Darcy XXX
Wow, your paper looks amazing!
Emma x
Wow wow wow!!! loving the patchwork paper Darcy...very very clever idea!!
Will definitely try this one!!
Nice project to use up all pieces of scrap papers too, much prefer to make my own though. Another fabby project Darcy, thank you:-)
Hi Darcy, that looks amazing & the cards & journal are gorgeous. Such a cool idea.
I would like a coat made from these please..
Wow this is amazing. Will have a go at this. I haven't stitched onto paper before what size needle do you use?
Jo
x
Great idea - love this! Looking forward to seeing what you do with it tomorrow. x
What an amazing project Darcy, I love the finished pieces. Looks like I need to make friends with my sewing machine!
I love these so much!! Fabulous!
xx
This is such a lovely idea - something more to try!
Brilliant, cannot wait to see your project tomorrow!
Brilliant, cannot wait to see your project tomorrow!
Stunning, Darcy! Thanks for sending me the link on Twitter so I didn't miss it. I LOVE what you've done here. Just love it!!!
OH Darcy Beautiful
really really love this
Another amazing idea! Love it!
Ooh stitching on paper. Fab Darcy. Like this very much.
Love your work. Fab idea x
ahhh that's just lovely
Darcy, I second that about writing a book! Ditto too about sewing and sewing machines - I'm sorry i don't do sewing because I REALLY would love to make this! You wouldn't be able to add in the ephemera without the sewing machine, but would still get a good look. For me, you are the most inspirational crafter around the traps at the moment! Thank you for sharing your ideas.
Wow, fantastic. I'm sure mine won't look that good but definitely want to give this a go. Where did you get that duck?.......
As ever what a great project.
Rachel
Lovely project/projects. Really vivid and exciting! Inspirational. Julie Ann xxx
I love this background technique!! I am going to try this!! Thanks for the great idea.
you did good
It is a stencil, someone gave me a home decor set of stencils that i would never use on my walls lol it was in that. I think they are pretty old from the 90's.
wow, cool.EE
Bravo!!!!!!!
Wow! Im so nicking this idea! Love it! x
Excellent project!! Makes for a great set of matching cards for the holiday -- I believe I am going to try this project and soon!! TFS!
Darcy what a wonderful idea and such a beautiful result. The patchwork paper is absolutely gorgeous. I'm sure once started it could easily become consuming passion 0- Thanks for the lovely photos and great inspiration.
This is certainly going to be added to my 'MUST TRY THIS' list. Although I have a funny feeling that it may have to fast track to pole position LOL
Warmest best wishes from across the miles in France,
Susanne
Post a Comment