Showing posts with label L6. Show all posts

Tuesday, 28 September 2021

2021 Topic 12 : Sustainable Crafting with I&D {by Jennie Atkinson}

  2021 Topic 12: Sustainable Crafting


There used to be a mantra that if as piece of leftover was smaller than 2 inches, you should throw it away. Jennie definitely doesn't subscribe to that train of thought and has got some wonderful ideas for the teeniest of pieces. She's definitely an advocate for sustainable crafting and when it's tea stained and curated into something lovely, who could possibly think differently?!
~ Keren.

Hi everyone, it's Jennie (Live the Dream) with you today, and I'm here to share with you some ideas for using up all your scraps!

I am known for hoarding paper...small, tiny bits, that most people would put in the bin! But when combined with a little set of stamps, these tiny bits of (especially) tea stained papers can be pulled together into little collages which can then be used to decorate a small notebook (also made from scraps!)

Sustainable crafting....using EVERY little bit! 

When my grandchildren were here a few weeks ago they sorted all my "bits" into piles of different colours and we made "scrap" books for their homework notes. They love little flaps and secret places where they can write little bits and pieces and so normally go home with at least two or three. So my supplies were a bit depleted!


For the collages I have kept mainly to the tea stained papers and you will see from the little video walkthrough later that I have used the other pieces for the actual notebook. Ink and the Dog stamps are my absolute favourite stamps for these little pieces and each set has some interesting stamps that can be used as background or sentiments.


                                                                            Letters 4

                                    Letters 2                                                 Letters 6

Letters 6 has to be my most used I&D - who doesn't love the fragile dreams negative strip but the text and little sentiments of Letters 4 come a close second!

This close up shot shows how the text stamp looks on tea stained paper with all those different fonts making it a great background layer. A little bit of stitching on the layers also pulls it all together.


It's worth investing in some tiny tag dies as they make the best use of tiny pieces. I love when labels on clothes come with thee little pins - they make a novel way of attaching the tags.


The little text stamp from Clocks 1 and the Paris frank from ID10 are again two of my most used stamps. They are just the perfect size for little tags.


Larger labels such as this one from Letters 6 can be made into little pockets when sewn onto a backing piece of paper and again investing in a mini tag punch means every little piece is used.


Here I have layered tea stained papers with some coloured cardstock, the colour broken up by using a background text stamp. At this stage I have no idea how I am going to use these little collages and that freedom means I group things together which I might not have done.


The same stamps, but used in a different way on the coloured cardstock.


So what to do with these little collages? As I had some larger bits of the coloured cardstock I made a small notebook cover. I made a mat for the large collage by painting a piece of ribbed paper packaging with Fresco Chalk Acrylic (French Roast) and some lovely gold embossing around the edges.

The inside of the notebook was made using some of the larger pieces from my little stock pile of papers, including some of the PaperArtsy Tissue Packing Paper - I am becoming a huge fan of this lovely feel tissue! Some of the larger pieces were  made into flaps and run throughout the book.


As it is difficult to show this I have made a short walkthrough video so you can see what I mean!


I find making these little collages fun and without an end project in mind totally free and creative. They can sit in a box until I have time to use them and sometimes they find themselves as a topper for a quick make greetings card. 

I hope I have given you some ideas of how to use some of the smaller PaperArtsy vintage stamps and also how to then pull them together into a little notebook. 

As always thank you for joining me and happy crafting!

Jennie x

Blog: Live The Dream
Instagram: atkinsonjennie
 

Saturday, 17 April 2021

2021 Topic 4 Free to Fly with LPC {by Kate Yetter}

 2021 Topic 4: Free to Fly


Clearing up and decluttering has never been so creative. Kate has an artistic idea for using up all all those lovely bits and pieces on your desk. In true Kate form, she's created something fabulously eclectic and classy. 
~ Keren.

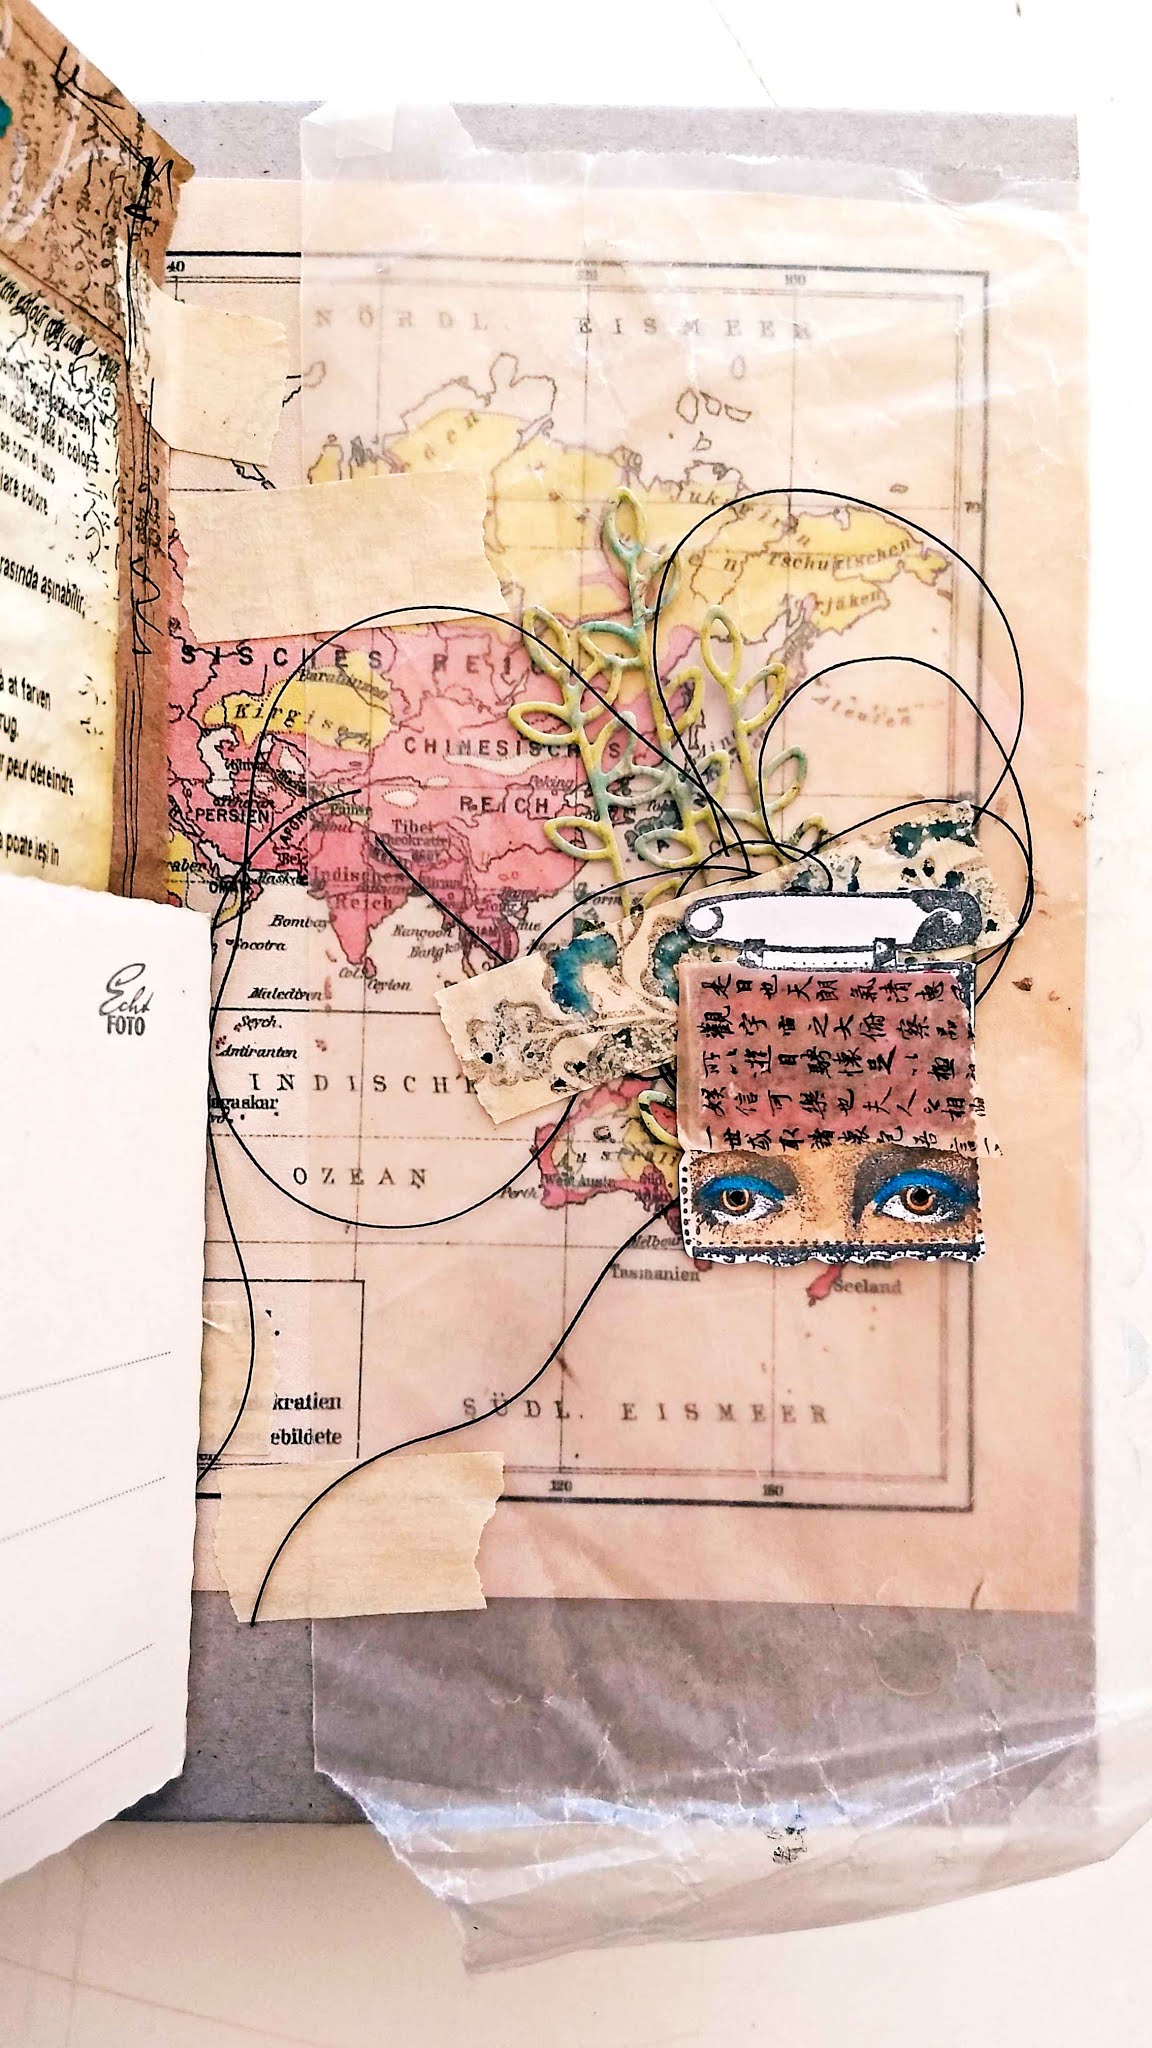
Hi everyone, it's Kate with you today, and I'd like to share with you my mini junk journal.

I decided to make a journal with this theme because it was a project with which I could be creative and because I thought it would be a great way to display my stamps, as well as use up the mountain of scraps on my desk.

I never tire of making journals because they are in a book format. Flipping through and seeing all the stamps, ephemera and journaling makes me happy.


The base of my journal is a piece of cardboard that was sitting in my scrap bin.


 I collected a bunch of scraps and put them all within reach.


I stamped this Lynne Perrella image, colored it with Fresco Finish Chalk Paints and then added some doodling.


All sorts of bits and bobs were added including postcards, book paper, vintage maps, envelopes, wax paper etc... every thing was connected using masking tape.


Using some stencils and black gesso, I created a background for stamped embellishments.


Pockets and envelopes are a great place to hide little treasures.


Even old palettes can be incorporated in a journal. I love the pop of color.


The perfect place to practice my doodling.

This Asian script stamp is one of my favorites to use in backgrounds.


I used infusions and a stencil to create this page. The watercolor effect from the Infusions is lovely.


I had this postcard covered in old tea bags and embossing sitting on my desk for years. I took it out, embellished it with stamps and covered the tea bag tags in stamps. It ended up being the perfect last page to my journal.


Neatly tied up in a bow.

If you have extra scraps (I know you do), compile them together and make a journal. All you need is some tape to attach everything together. I hope you will give this a try. Don't forget to have fun and be creative. 

Until next time,

Kate Yetter

Blog: https://kateyetter.com/
Facebook:
Twitter:
Instagram:https://www.instagram.com/kateeyetter/

Pinterest:https://www.pinterest.com/katesscrapyard/ 

Sunday, 29 November 2020

2020 Topic 21 Masterboard Mail Art with LPC (by Kate Yetter)

  2020 Topic 21: Masterboards


Masterboards don't need to be subtle- they can zing with colour and life. Kate has used her masterboard bases to add layer upon layer and with some added texture they really are something special.
~ Keren.

Hi everyone, it's Kate with you today, and I'd like to share with you my masterboard project that I used to make mail art.

I love making mail art (4x6 postcards) because they are small and perfect for layering stamped images. What better way to save time than to make backgrounds that can be cut down into several smaller ones but can be several completely different projects.


I started out by painting my cardstock with Fresco Finish Chalk Paints and Infusions before stamping repeatedly with the same image.


Next, I cut my paper down to 4x6. The extra I will save for later projects. 


In all, I made three masterboards but I was having so much fun that I completely forgot to take a picture of the other two. As a result, you will just see the finished product from each masterboard.


As you can see, I used pieces of linen, paint absorbed paper towels, embossed paper and stamped images to embellish my postcard.


My second Masterboard was made using another Lynne Perrella stamp set.


Again, I focused on using mainly stamps and texture I had on hand to embellish.


My third masterboard was made using the combined stamp sets.


For this postcard, I rotated the 4x6 card and created a pocket with some tags.


If you have paper that is splattered with paint and ink, a masterboard is the perfect way to display all that messy goodness. Just ink up a stamp or two and go to town in the background. I hope you enjoyed seeing how I used three different masterboards to create three very different pieces of mail art. Give it a try and then send it to someone in the mail. 

Until next time,
Kate

Blog:https://kateyetter.com/
Facebook:https://www.facebook.com/kateyetterart
Twitter:
Instagram:https://www.instagram.com/kateeyetter/
Pinterest:https://www.pinterest.com/katesscrapyard/

If you teach: add venue, dates, booking info with links here for the next 2 months