


Hi everyone!
Liesbeth here with you today. I'm looking forward to sharing with you my colour mixing adventure and a Tunnel Card that I made with the 4 Tetradic colours. HERE you will find everything about that idea. It was so much fun playing with the colour wheel and the wonderful PaperArtsy Fresco Acrylic Paints.

I'd like to show you the entire process of how I landed on these 4 colours, the various attempts, and of course how to make a Tunnel Card like mine. Our theme for this quarter is Tracks', and my Tunnel Card is a path, it's a track itself I think!

My aim was to get 4 nice, soft colours, from a tetrad rectangle on the colour wheel. I dove into the process for hours, and had so much fun!
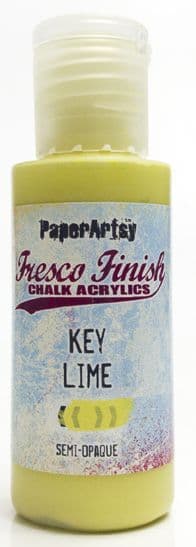
My first attempt was this one: a pastel version of the blue-yellow-red primary colours I chose PaperArtsy Fresco Finish Summer Sky, Key Lime and Lily the Pink. I think I was inspired by our granddaughter, she's called Lily and it's the classic baby colours ;-) I love the result of this colour wheel but it wasn't what I was searching for with this project. I wanted some soft, natural and quirky colours...

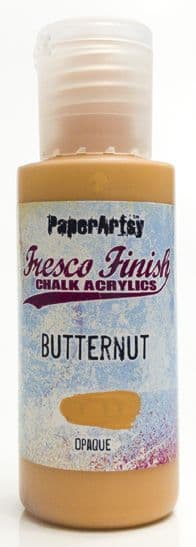
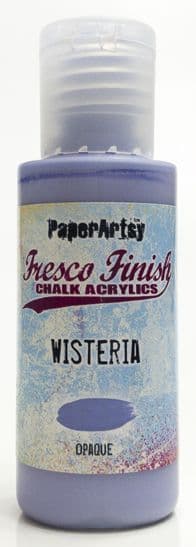
With that in mind, I chose to make my wheel with colours outside of the usual blue-yellow-red primaries. One great way to get more unique results is to start with traditional secondary or tertiary instead. I kept Key Lime as my 'yellow' but went for a purple, Wisteria, instead of blue and an orange, Butternut, instead of red.

And... I was very happy with the result! Much more what I had in mind. I painted the leftovers on a journal page, the colours go so well together! And of course that is one of the lessons of a colour wheel, all variations made from 3 colours should work well together. If you look back at previous colour topics we have covered here on the blog, you could use this wheel to choose a triad, complementary or split complementary colour combination too! So many options!

The stamps I used in my project are a few PaperArtsy Mini Stamps. In this phase I really didn't know yet exactly which stamps I was going to use... I never make a plan in advance!

First I'll show some pictures of creating the secondary colours...I really LOVE making the colour wheels this way! Here below you see the mix of Key Lime and Butternut, a warm soft orange.


After the secondary colours were done, I mixed them again with the three primaries to create the tertiary colours, untill the entire wheel was filled. I also painted every colour onto small piece of cardstock to make it easier to create combination and choose my four colours.

The goal for my project was to choose a rectangle of colours on the colour wheel. There are many possibilities of course! After much thought, I made a decision: I choose 4 tertiary colours as you can see here! Beautiful colours, a wonderful green and a taupe, a warm yellowish orange and a grey/purple. I'm happy! Making a colour wheel this way really opens up so many possibilities.

I mixed bigger amounts of the four colours for my project and put them in small jars. I always mix big amounts, because if you don't have enough it's very hard to mix exactly the same colour again. It's no problem if I have lots of paint left at the end, I can always use them for another project, or art journaling...or cards , or... ;-)


Now it's time to show you how I made the tunnel card, the ,Track' ;-) I cut out 4 pieces of white cardstock, sizes as shown on the picture, in centimeters.

Using my four 'rectangle tetrad' mixed paints I painted out four cards, one colour for each card!

With a pencil I drew the future windows as shown here. For the smallest card, the lines are 2,5 cm from the edge, 3.1cm for the next card etc. The biggest one doesn't need any pencil lines as it is the background.

I created an 'ink pad' by spreading thin layers of my paints on my craft sheet and used them to stamp background patterns on the frames of the cards, or the entire surface for the biggest card. Here and there I stamped a bit over the line to create a more dynamic edge.

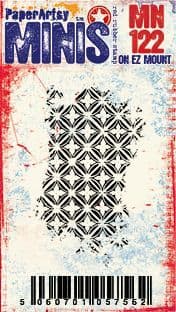
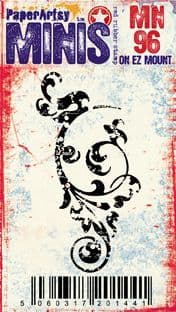
These are the beautiful background mini stamps I used: PaperArtsy: Ink & The Dog (Mini Stamps) Mini 122, Mini 96 and Mini 114.
Then I started stamping the main pictures onto the smallest (front) card using Tsukineko StazOn Jet Black. You can use any waterproof black ink for this. As you can see, I made the images go partially off the edge and into the central space.


I cut out the center along the pencil lines, making sure to cut around the stamped images as you can see here. I also cut around some of the background images. I erased the pencil lines that were still visible and folded the card in half.

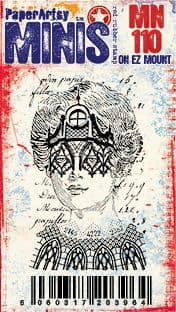
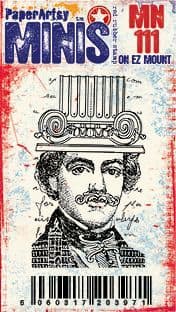
I used this process to decorate every layer. The second (card 3, a little bit bigger) gets the beautiful man from PaperArtsy: Ink & The Dog (Mini Stamp) Mini 111. The two faces will be the focal points of the card. Look at the amazing details in the stamps! Love them!
For a good composition I temporarily put the edges of the two cards together with clamps. When clamped, you can better see what to stamp where in order to build depth in your tunnel card.


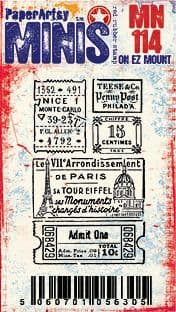
I repeated this stamping and cutting on the third card featuring the Eiffel tower from PaperArtsy: Ink & The Dog (Mini Stamps) Mini 45.


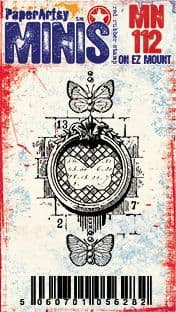
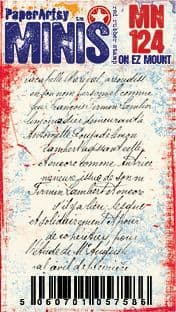
For the biggest card (which stayed whole) I built an all-over background with PaperArtsy: Ink & The Dog (Mini Stamps) Mini 112 and Mini 124. As you can see I combined the oldies and the newer stamps, all these Mini Stamps always work perfectly together!
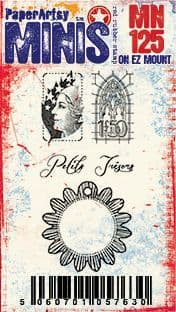
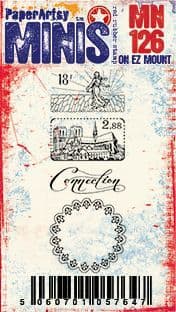
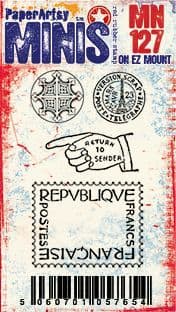
For more details, on all the layers I also added some of the new postage and mail art mini stamps. So beautiful!! I just stamped them as is...but there are so many more possible combinations and ideas for these new stamps, see them HERE! I used PaperArtsy: Ink & The Dog 9 (Mini Stamps) Mini 125, Mini 126 and Mini 127.
Here is an overview of how the cards looked then, with everything stamped. I also sponged the inner and outer edges with black ink to create depth.

For some more interest I coloured the images here and there with colour pencils and I also used a white gel pen for some accents and to brighten the eyes of my characters. The pencils grab beautifully to the chalk paint.

Everything is now ready to assemble.

Almost finished! I glued the cards together using some double sided tape on the left and right edges.

The top of the tunnel card looks like this now. You are able to fold it and even to put it in an envelope!

Another picture, the bottom side this time. I hope you can see how it works.

The inside is done, I now need a nice outside cover! In my stash I found a wonderful piece of 'natural paper' with twigs and leaves in exactly the right colours. So I cut a piece (21 x 13,5 cm) and covered the card with it.

The finished tunnel card has lots of depth, colour and structure! The mixed soft colours of PaperArtsy Fresco Paint go so well together! I love how magical it was to get these four wonderful colours using three unexpected paints: PaperArtsy Fresco Paints: Butternut, Wisteria and Key Lime. What a transformation!


Oh how I enjoyed making this project, I loved the process so much! I recommend to everyone to give the colour mixing a try. Just grab three Fresco Paints, maybe a blue, a yellow and a red, maybe some look-a-likes, maybe something completely unexpected, and make your colour wheel. You will see all kind of surprising new colours appear, it's magical. Before starting, I thought the rectangle combo was difficult and possibly ugly, but it isn't at all, it works perfectly! Have fun, and see you next time!
Liesbeth XX


Facebook: Liesbeth Fidder-de Vos
Instagram: liesbeth_fidder


1 comment:
Fabulous tunnel card! thanks for sharing the process
Post a Comment