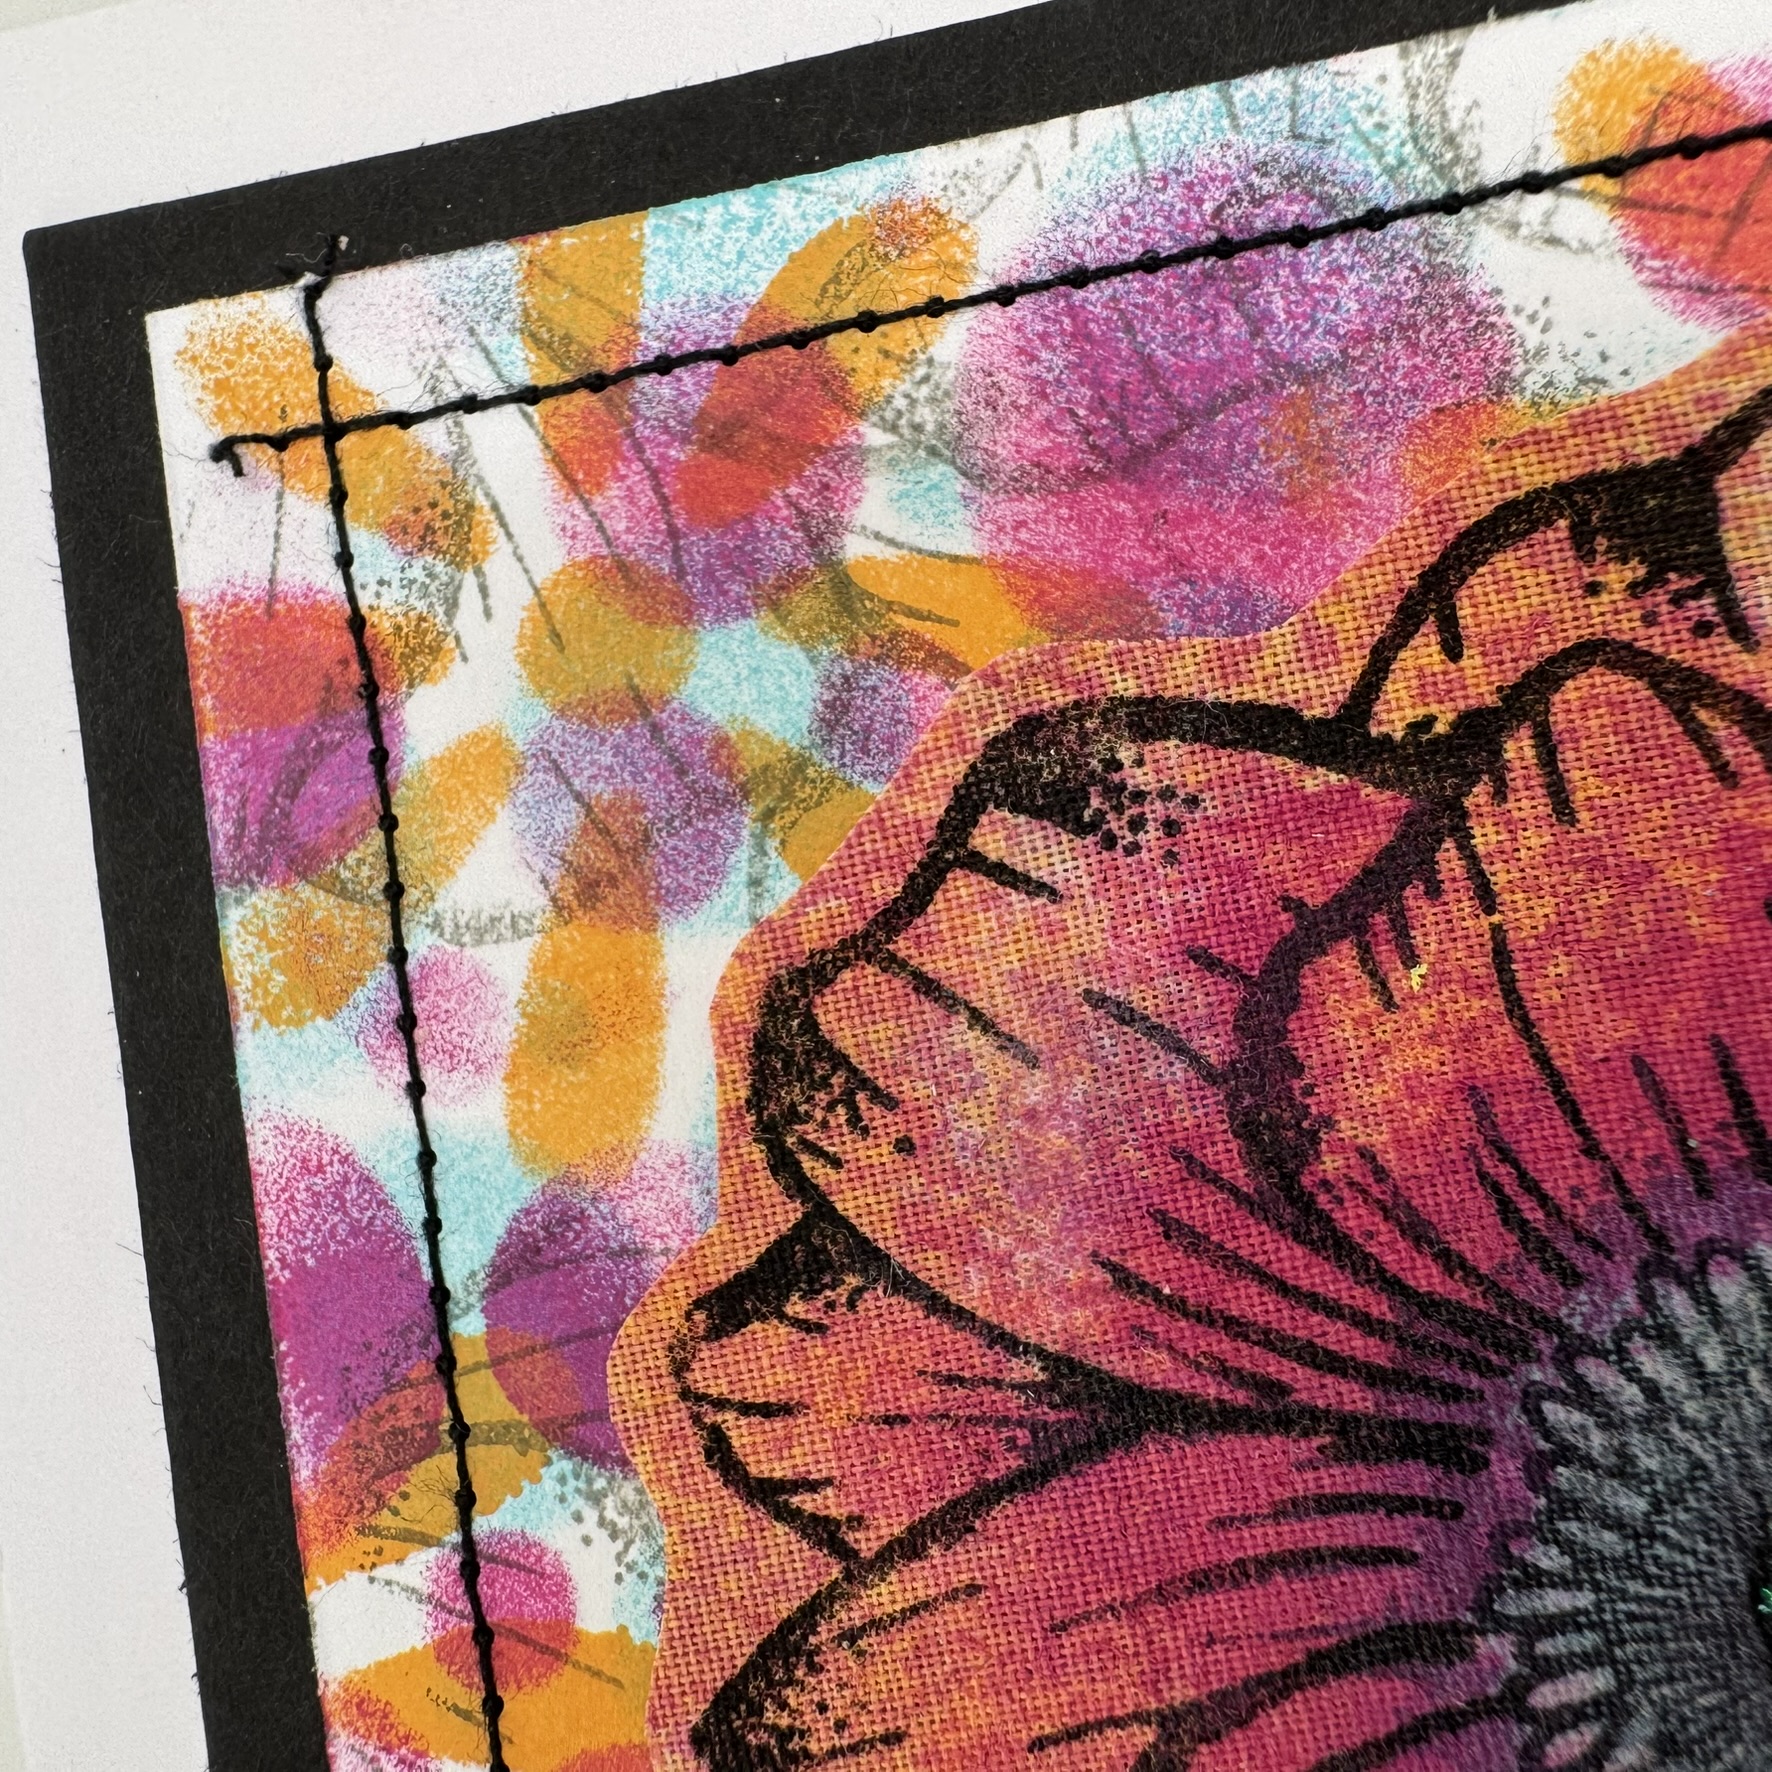
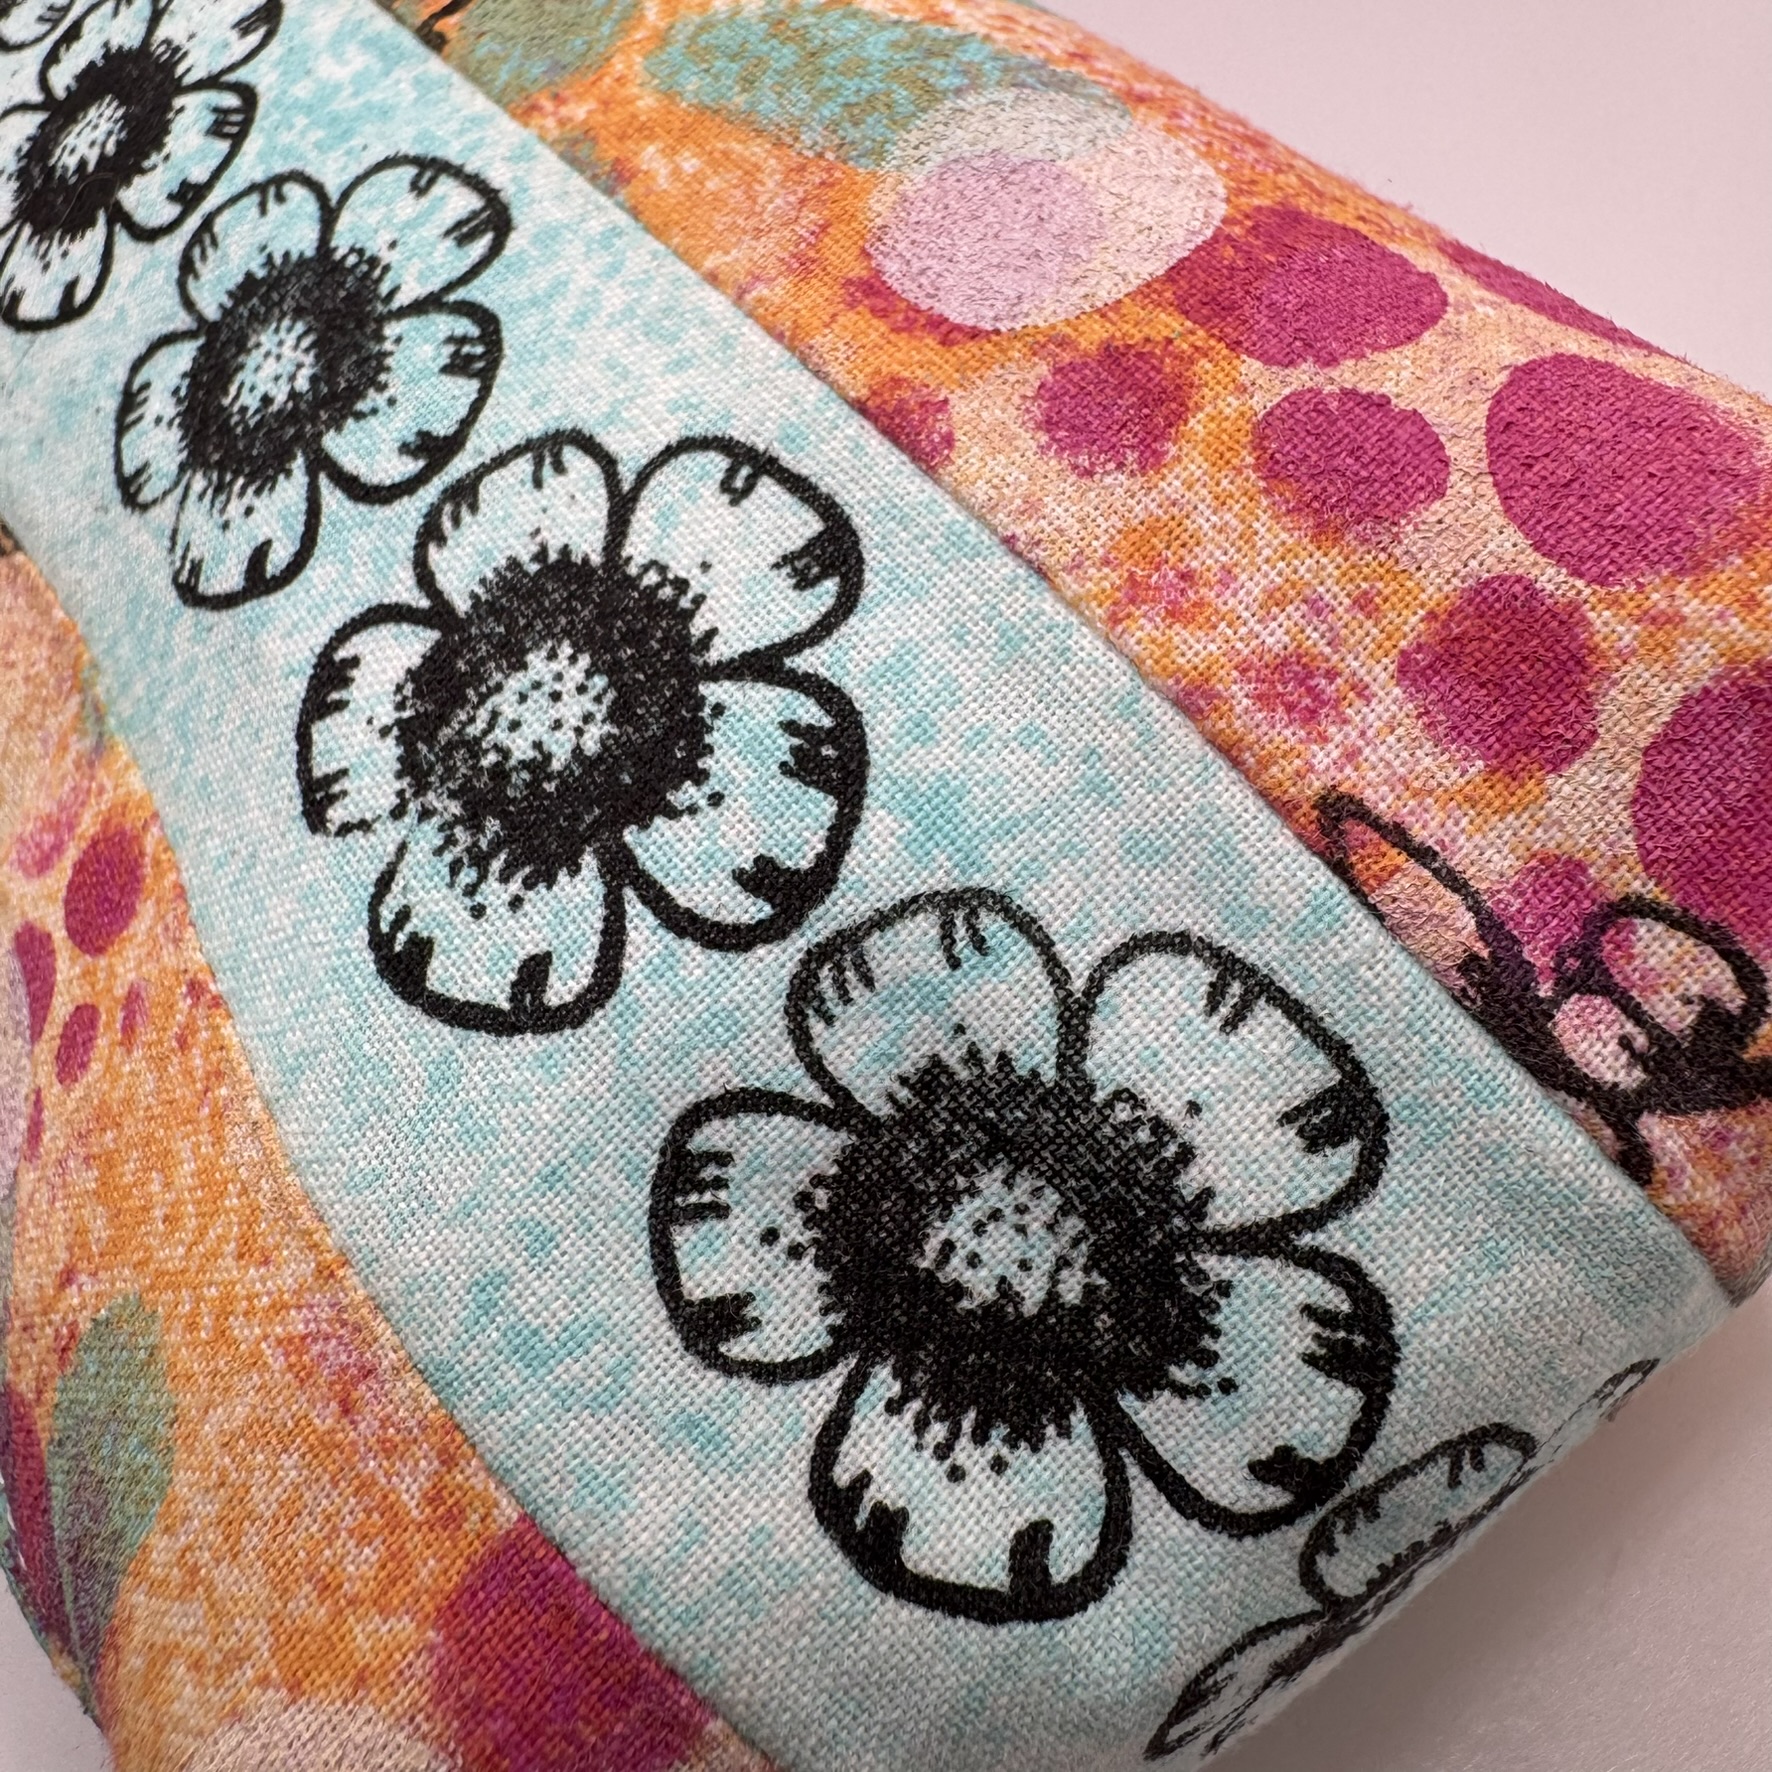
This project was born of a challenge, a challenge to myself to create an art journal page using mainly stencils by Tracy Scott, along with Fresco Finish Chalk Acrylics.


I chose four Tracy Scott stencils, (PS306, PS340, PS462 and PS446) along with four main Fresco Chalk Acrylic colours, Vanilla (FF65), Peachy Keen (FF157), Butternut (FF02) and Cerulean (FF200) to work with. With the option of adding in other supplies if I thought the page needed it.


As with a lot of my art journal pages, the process is about building up layers on the page.
I started by applying areas of Fresco Chalk Acrylics to a sheet of heavy weight Smoothy card (SCA4H). I blended the Frescos in some areas, and over painted with a dry brush in others, concentrating with the warmer colours in my selection for the first layers.
I had punched holes along the top edge to align with the ring binding of my journal.

I continued adding areas of Frescos. overlapping some of the first layers, this time using a mixture of Cerulean with a touch of Vanilla. Using a small amount of paint allowed me to create brush strokes for visual texture.

I hate to waste supplies, so I used up the leftover paint on another sheet of Smoothy card, warm colours at one end, cool at the other. I had a plan for this, but more of that later.


As soon as the Snowflake Fresco was completely dry I used a white gel pen to extend the stencil on the left hand side. I love this technique for adding interest without visual weight.

It was now time for me to add some stencilled wording using Tracy's stencil PS446 and Ranger Archival ink Bluebird. I used a mini stencil brush to get into all the details. I then shifted the stencil a touch and brushed on Ranger Archival, Hickory Smoke to create a shadow.


I love to add shading to details on my pages, so chose stencil PS462 and a black fine liner pen to add circles traveling upwards across the page.

To create the illusion of three dimensional bubbles, I added a small area of 6B pencil to one side of each circle, and smudged it out with a cotton bud to create shading.


When creating art journal pages, I like to have a strong focal area. I was now time to start creating that.
Remember those painted papers, created from the leftover Frescos ? It was time to bring those back into play. I placed stencil PS340 on the Cerulean painted paper and applied Ranger Archival, Bluebird with my mini stencil brush, I concentrated on the centre area and the edges of the petals.

Continuing to use the stencil as a guide I used a black fine liner pen to outline the flower petals. I then used Tracy's stencil PS462 to add circle details to the centre of the flower. Initially I used a white gel pen, but I was unhappy with the look, so added black fine liner over the top

My focal element was looking good, but it was lacking a little something. I cut it out, leaving a little border around the outside. Placing it on my page I could see it needed some lighter and darker areas.

I added white gel pen to the circles in the centre of the flower, which lifted it considerably. Using a soft pencil again to add shading to the petals around the centre section. Both alterations added interest and depth to the flower.

To make the most of all the stencilling, I aligned the focal flower with the stencilled petals on the background. I adhered the flower with gel medium and removed the excess. I repeated this with the leftover part of the flower on the left hand side of the page.

It was at this point I felt the page needed some more interest and details in the background. So stencil PS340 came back into use with the Bluebird Archival ink, adding small flowers where I thought they were needed.

My page was almost finished, but it needed some stamping and a few darker details. Tracy's stamp set TS065 had just the right elements , so I used Ranger Archival, Jet Black ink to stamp the small crosses and Bluebird to stamp the random marks.


I love how this page turned out, the sense of movement provided by the bubbles, and the focal flower which links the two sides of the page. The white stencilled petals which add details to carry the eye across the page, along with the bold lettering


If I could sum up some of the cornerstones of my art journaling style, it would be, depth, focus and details. Each one as important as the next.
Here you can see the shadow on the wording, created with Hickory Smoke ink, it combines all three cornerstones perfectly.

You can see here how the stencilling below the flower reinforces the focal area, and the repetition makes the page cohesive

The stamping on the page adds small details to the background, some bold, some subtle, but all adding to the overall look of the page.

I've loved creating this journal page, and also setting myself a challenge. I think I may set myself a few more in the future. All the techniques I've used can be easily transferred to other projects, such as a canvas for home décor, greeting cards and ATCs etc.
I would love to see any projects inspired by this blog post, even in a small way. Please tag me if you share on social media.
Happy crafting Mags x