Showing posts with label PS084. Show all posts

Saturday, 31 October 2020

2020 Topic #19 Imagination Rules the World with ETS {by Helen Chilton}

      2020 Topic 19: Words Of Wisdom


Helen brings a splash of colour to the dreary wintery days we seem to be having more now that daylight saving is over here in Europe. She's made this lovely little floral number. A delightful idea; easy to make and a great way to cheer up a wintery day!
~ Leandra

Hi everyone, it's Helen with you today, and I'd like to share with you my Words of Wisdom project. I had several vague ideas for this theme but chose this one which is, in some ways, totally useless, has no function, but was great fun to make. I like projects like this where you can just create for the sake of it and let your imagination run riot - that's why I chose this quote.


a couple of stencils:


and the following paints:


I used a gel plate to make this print - I liked how the colours worked together.


 I cut it into strips to fit my spools and stuck them back to back.


The quote went along the whole length and I also added a yellow strip to make it stand out.
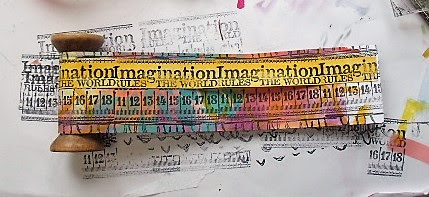

This is attached to the spools at each end.


The flowers are easy - stamped, painted and cut out.


I've just layered them up, added centres and wire.


To add a bit of bounce, I twisted the wire round a cocktail stick and inserted it into the spool.


The flowers I've used here have bold black outlines which show up well when painted. The layering adds a bit of dimension and depth. I just rummaged through my stash for the centres - beads, sequins, a metal flower. 

This sort of project is quite relaxing - there's no pressure for it to look a certain way as I made it up as I went along. You could also make flowers and stick them in a small terracotta pot. Tracy's stamps would be great for decorating that as well - small enough to get round the curve and bold enough to be seen.
I hope this project makes you smile and brightens up your day!

Thursday, 20 August 2020

2020 #14 Fusing Foils with VID {by Helen Chilton}

 2020 Topic 14: Fused


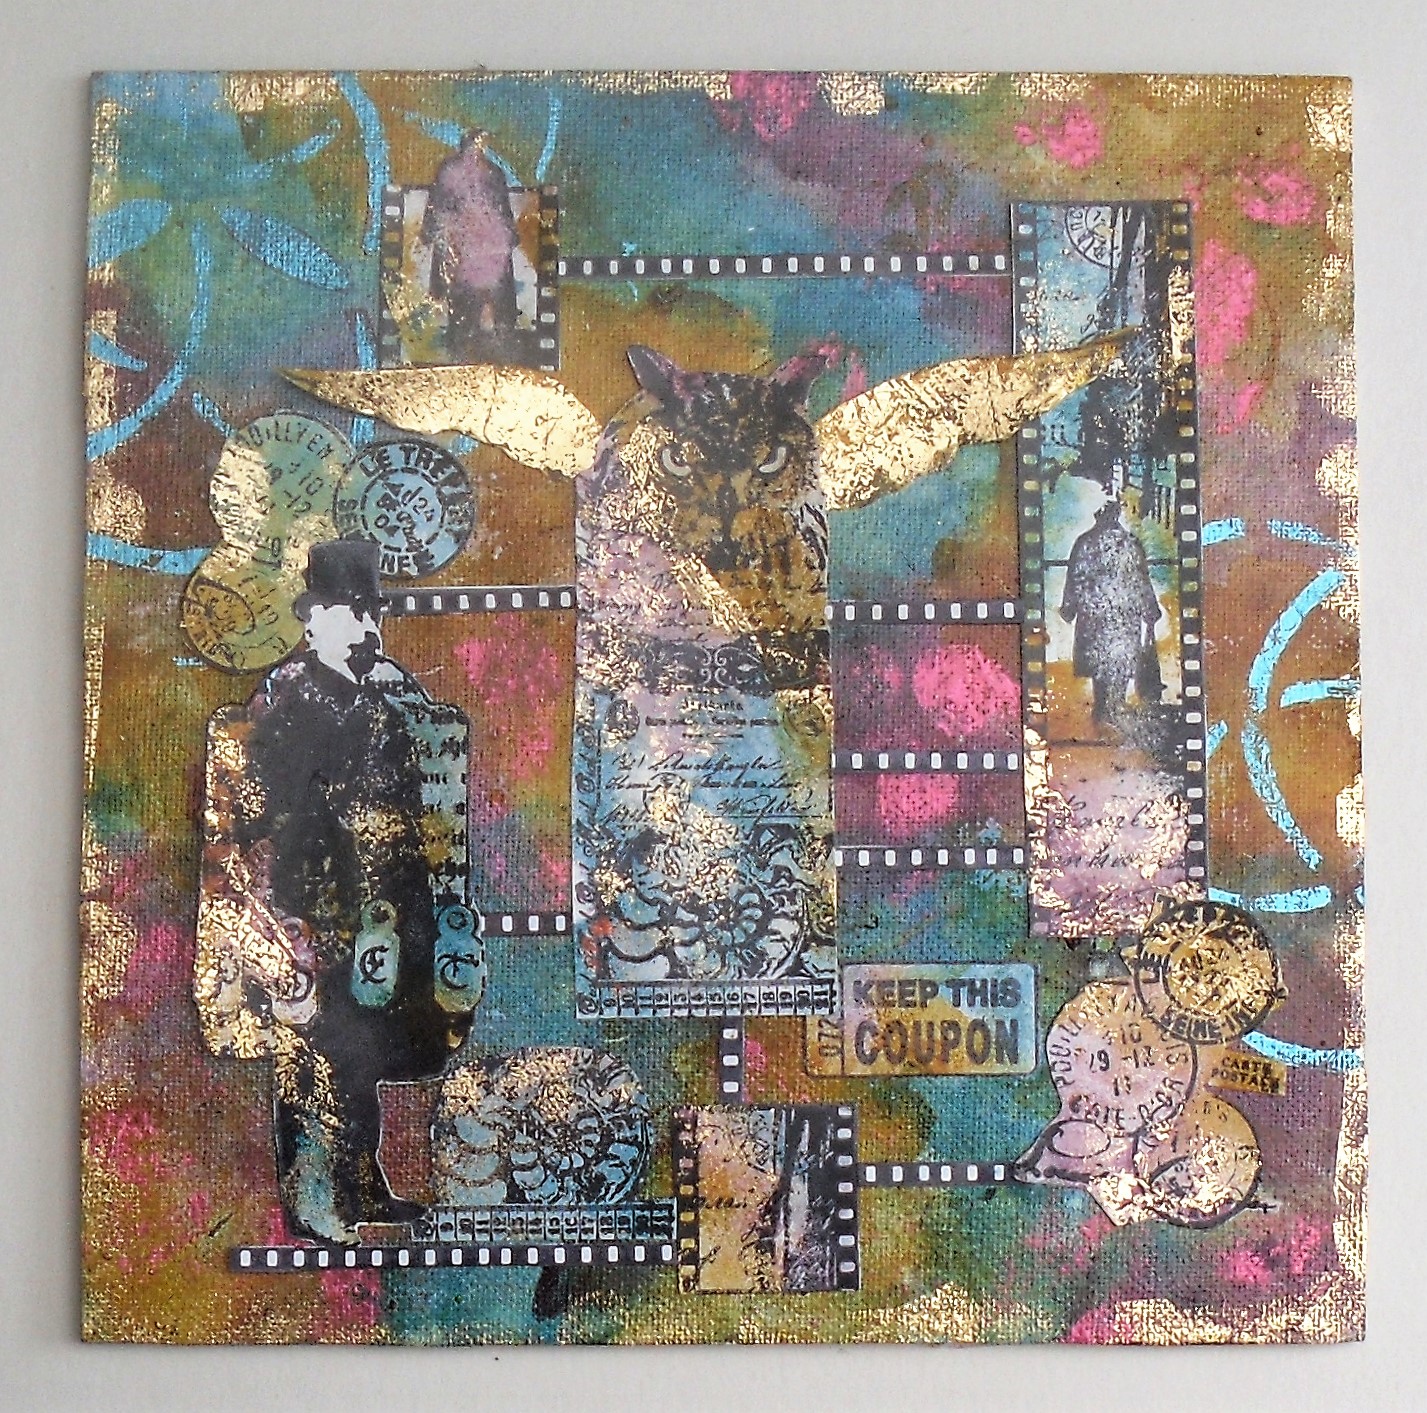
A striking collage of Vintage PaperArtsy stamps pops to life with gold foil fused with sticky ink as the connector to the canvas below. 
~ Leandra

Hi everyone, it's Helen with you today, and I'd like to share with you my canvas using foils.

For this project I've used Vitrail transparent glass paints which I've had in my stash for years.  I applied them direct to canvas and my images to create a surface to fuse the foils onto. This glass paint is solvent based, transparent and very sticky when first applied, so you can apply the foil directly onto it without the need for more glue. I gave a workshop once using this technique and it works a treat.


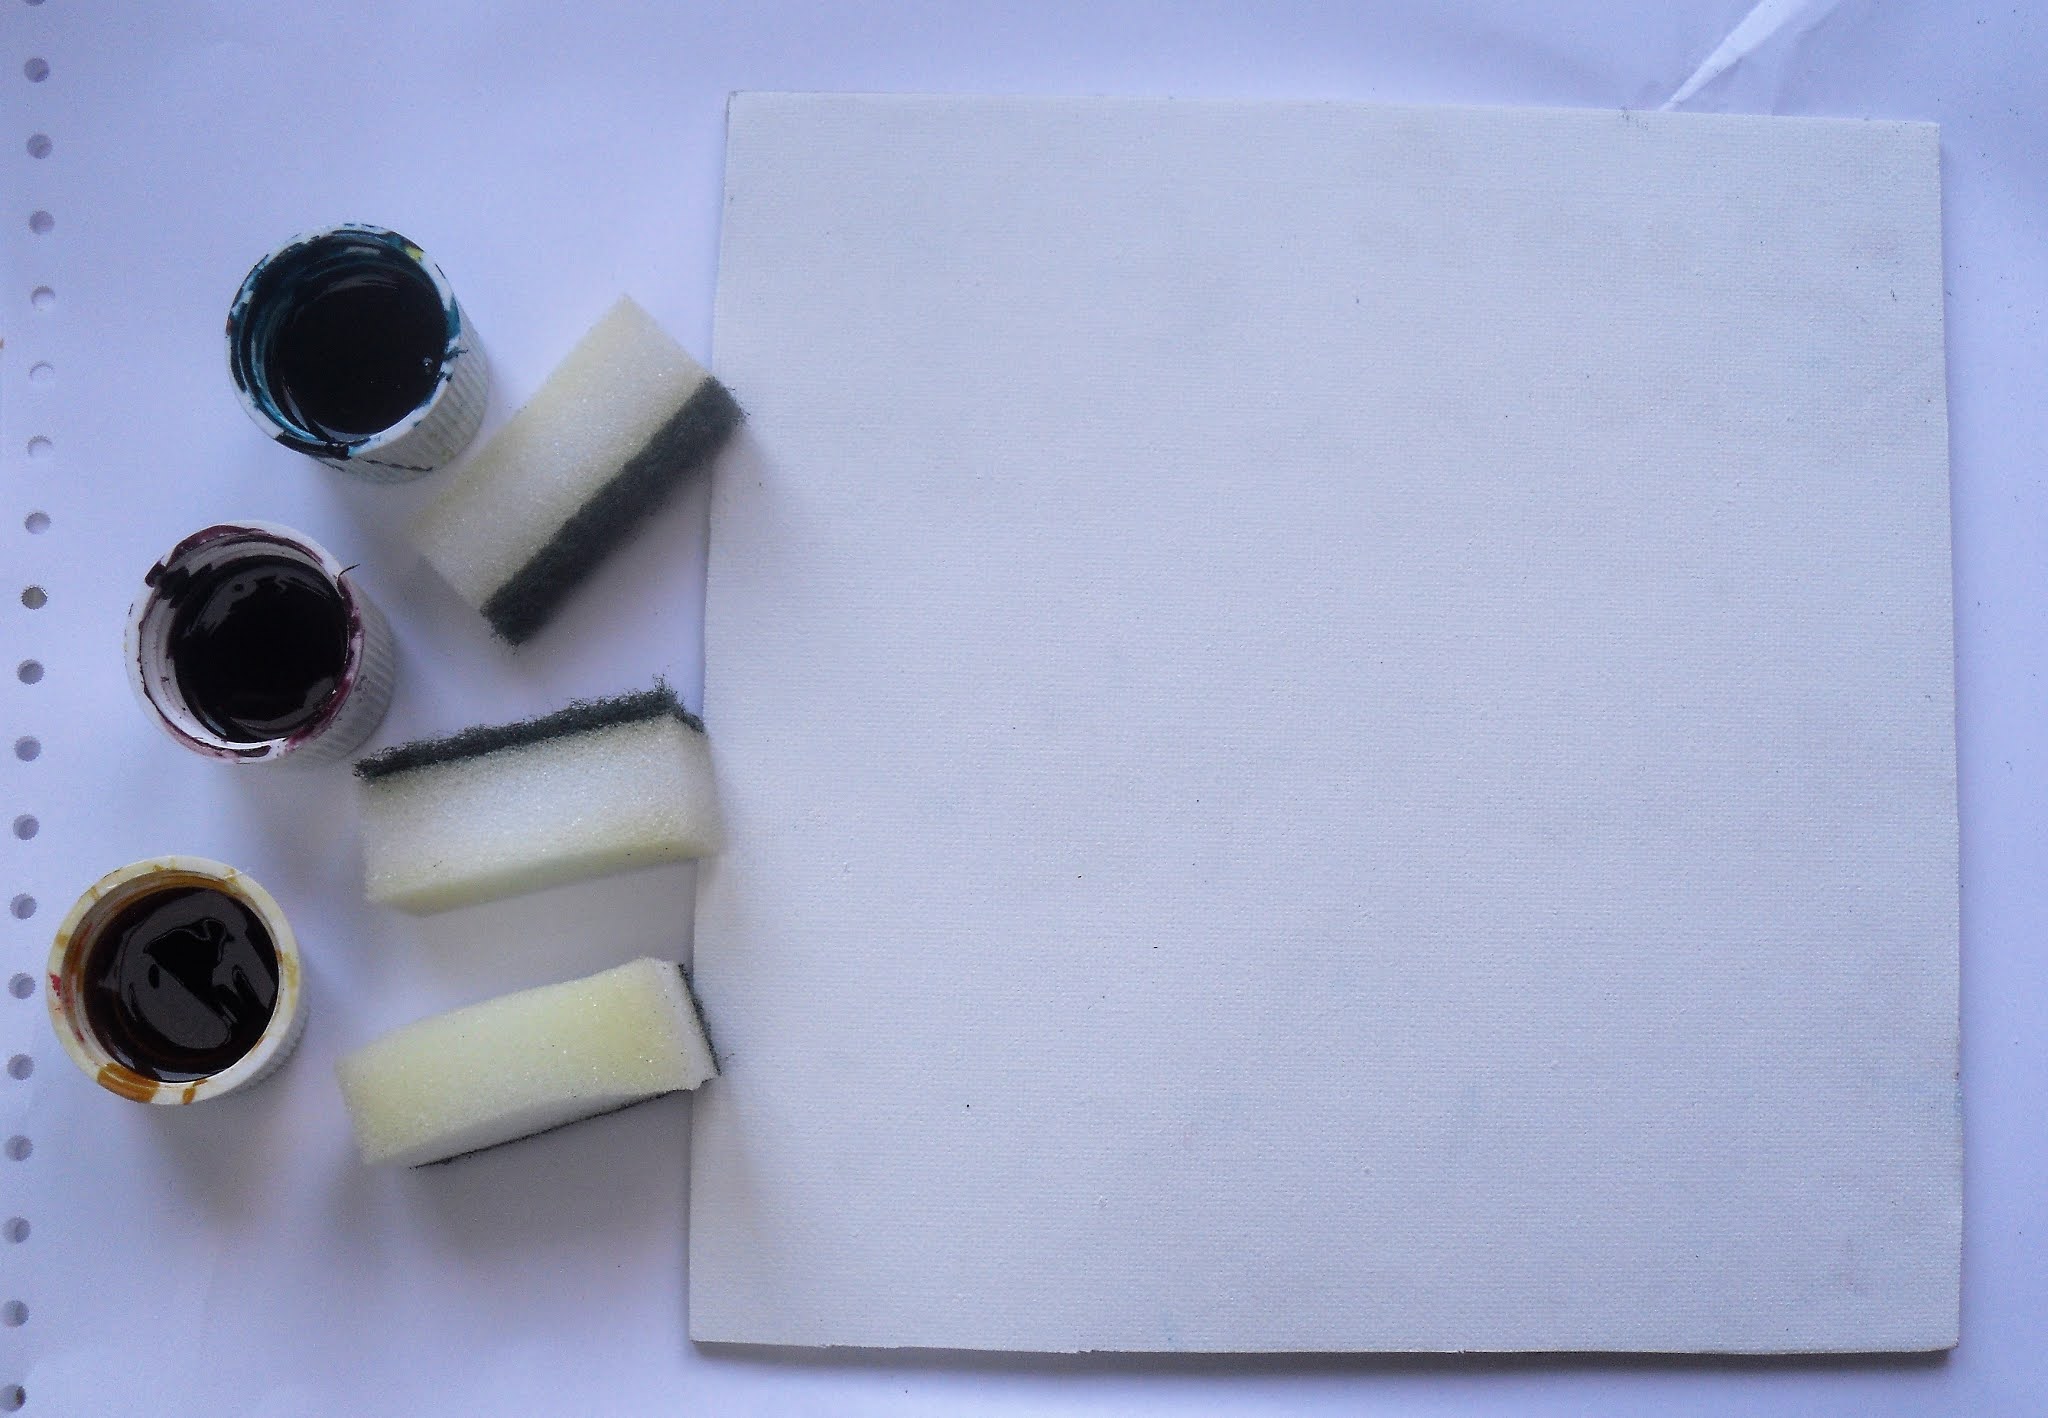
Get your Vitrail colours ready - I've used Turquoise Blue, Yellow and Old Pink and cut up a cheap sponge to apply them with.


Dab it on and mix as you go. I like the texture of the canvas showing through.


Stamp your images onto glossy card - it need to be glossy so the paint doesn't soak in - and then dab on colour in the same way.I used the Vintage Ink and the Dog Collection. These are some of the images from I&D in a larger format on A5 sheets, great for journalling or larger size projects. 


Let dry for a couple of minutes and apply the foil - you can see this piece has been well used already. You only want touches of foil, not great solid areas as you'll lose the image underneath.


Use a stencil in the same way. Pressing the foil through the pattern.


And there you go. This works better with a stencil with a definite pattern rather than a more random one.


Here you can see the foiling.


I've pulled it all together with stamping and filmstrip lines.


To finish I doodled round the edge with a black outliner.


These paints work so well because they're sticky. The stickiness does have some disadvantages though as if you don't like getting messy this probably isn't the project for you (I managed to get it in my eyebrow - don't know how!) and you also have to wait quite a while for it to dry if you want to add stamping over the top. Having said that, I find this a really easy way to foil projects - no more waiting for the embossing powder or glue to dry to just the right point to get the stuff to stick. It's also a great way to use up those scraps of foil that have been used but have bits left on. Lynne Perrella stamps would work really well with this technique - you keep the detail of the images and add a touch of glitz at the same time!

Helen

Blog: A Splash of Colour

Monday, 3 September 2018

2018 #15 ATCoins: Hang in there with LPC {by Helen Chilton}

2018 Topic 15: Artist Trading Coins


Tonight we kick off a new topic: Artist Trading Coins. If you are not sure what these are, follow the challenge link at the foot of the page for a great introduction from Darcy. These are round tiny pieces of art, which might be themed, and people are swapping them for fun. You can make and keep them in your usual Artist trading card folders too as they are designed to fit. I love how Helen has turned hers into a hanging display. I hope you find some time to join us over the next 2 weeks as our bloggers play around with penty of circular ideas! ~ Leandra

Hi everyone, it's Helen with you today, and I'd like to share with you a batch of Lynne Perrella Artist Trading Coins.

I say 'batch' because I made an A4 background and then managed to punch out 8 coins from it. Making them this way means that they all coordinate well. Lynne Perrella's stamps were great as they have so much detail on them. I pulled several sets to start with but in the end only used one, managing to create a different stamped collage on each coin.


Now I know you're meant to trade the coins but I couldn't resist hanging mine up with lots of embellishments!


I chose light paint colours as the images are quite opaque and just scraped it on randomly.


Then I added a bit of stencilling in the same colours. I've used these stencils so often - I love the pattern.


One A4 sheet gives you 8 coins, 2.5" in diameter.


It's easier to ink up the stamp and place the coin face down on top for this. I mixed and matched lots of different parts of the stamps to get my eight designs and just filled in any gaps with a bit of border.


I wanted a bit of darker colour on there so added some with watercolour brush pens - very quick and easy - then added white highlights.


The kraft card coins are for the back as I wanted to run the ribbon between them.


You can hang them up as you please - that's just a stick from the garden with wire wrapped round it. The hardest bit was threading the beads on the ribbon!


You can see how the ribbon slots between the two coins - add beads or whatever for decoration.

I like the idea of making sets of coins. I was going to make a box to put them in but couldn't find anything suitable. Thinking about it, you could use an empty tape spool and just add a top and bottom.

Just because the coins are small, it doesn't mean you can't add lots of detail. I've added embellishments to the hanging mechanism, but you could also add more detail and text (think Alison Bomber's stamps) to the coin itself. How about stamping text round the edges? I'm definitely going to make more of these - they're very addictive!

Helen

Blog: A Splash of Colour

To join our challenge and win a PaperArtsy £50 gift voucher:
Simply make something arty relevant to the topic, and link your creation from any social URL (eg. Instagram, Pinterest, Blog Post etc) sharing your original make to this challenge page.

The current topic link Topic 15: Artist Trading Coins will close 17:00 (London Time) Sunday, 16th September 2018, and the winner will be announced 2 hours later at 19:00.

All links go in the draw to win a PaperArtsy £50 voucher. Please make sure we can contact you as a prize winner - it helps if you share your contact info from the platform you opt to use.

Good Luck! If you have any questions, don't hesitate to ask!