Showing posts with label 2020 Topic 14. Show all posts

Thursday, 20 August 2020

2020 #14 Fusing Foils with VID {by Helen Chilton}

 2020 Topic 14: Fused


A striking collage of Vintage PaperArtsy stamps pops to life with gold foil fused with sticky ink as the connector to the canvas below. 
~ Leandra

Hi everyone, it's Helen with you today, and I'd like to share with you my canvas using foils.

For this project I've used Vitrail transparent glass paints which I've had in my stash for years.  I applied them direct to canvas and my images to create a surface to fuse the foils onto. This glass paint is solvent based, transparent and very sticky when first applied, so you can apply the foil directly onto it without the need for more glue. I gave a workshop once using this technique and it works a treat.


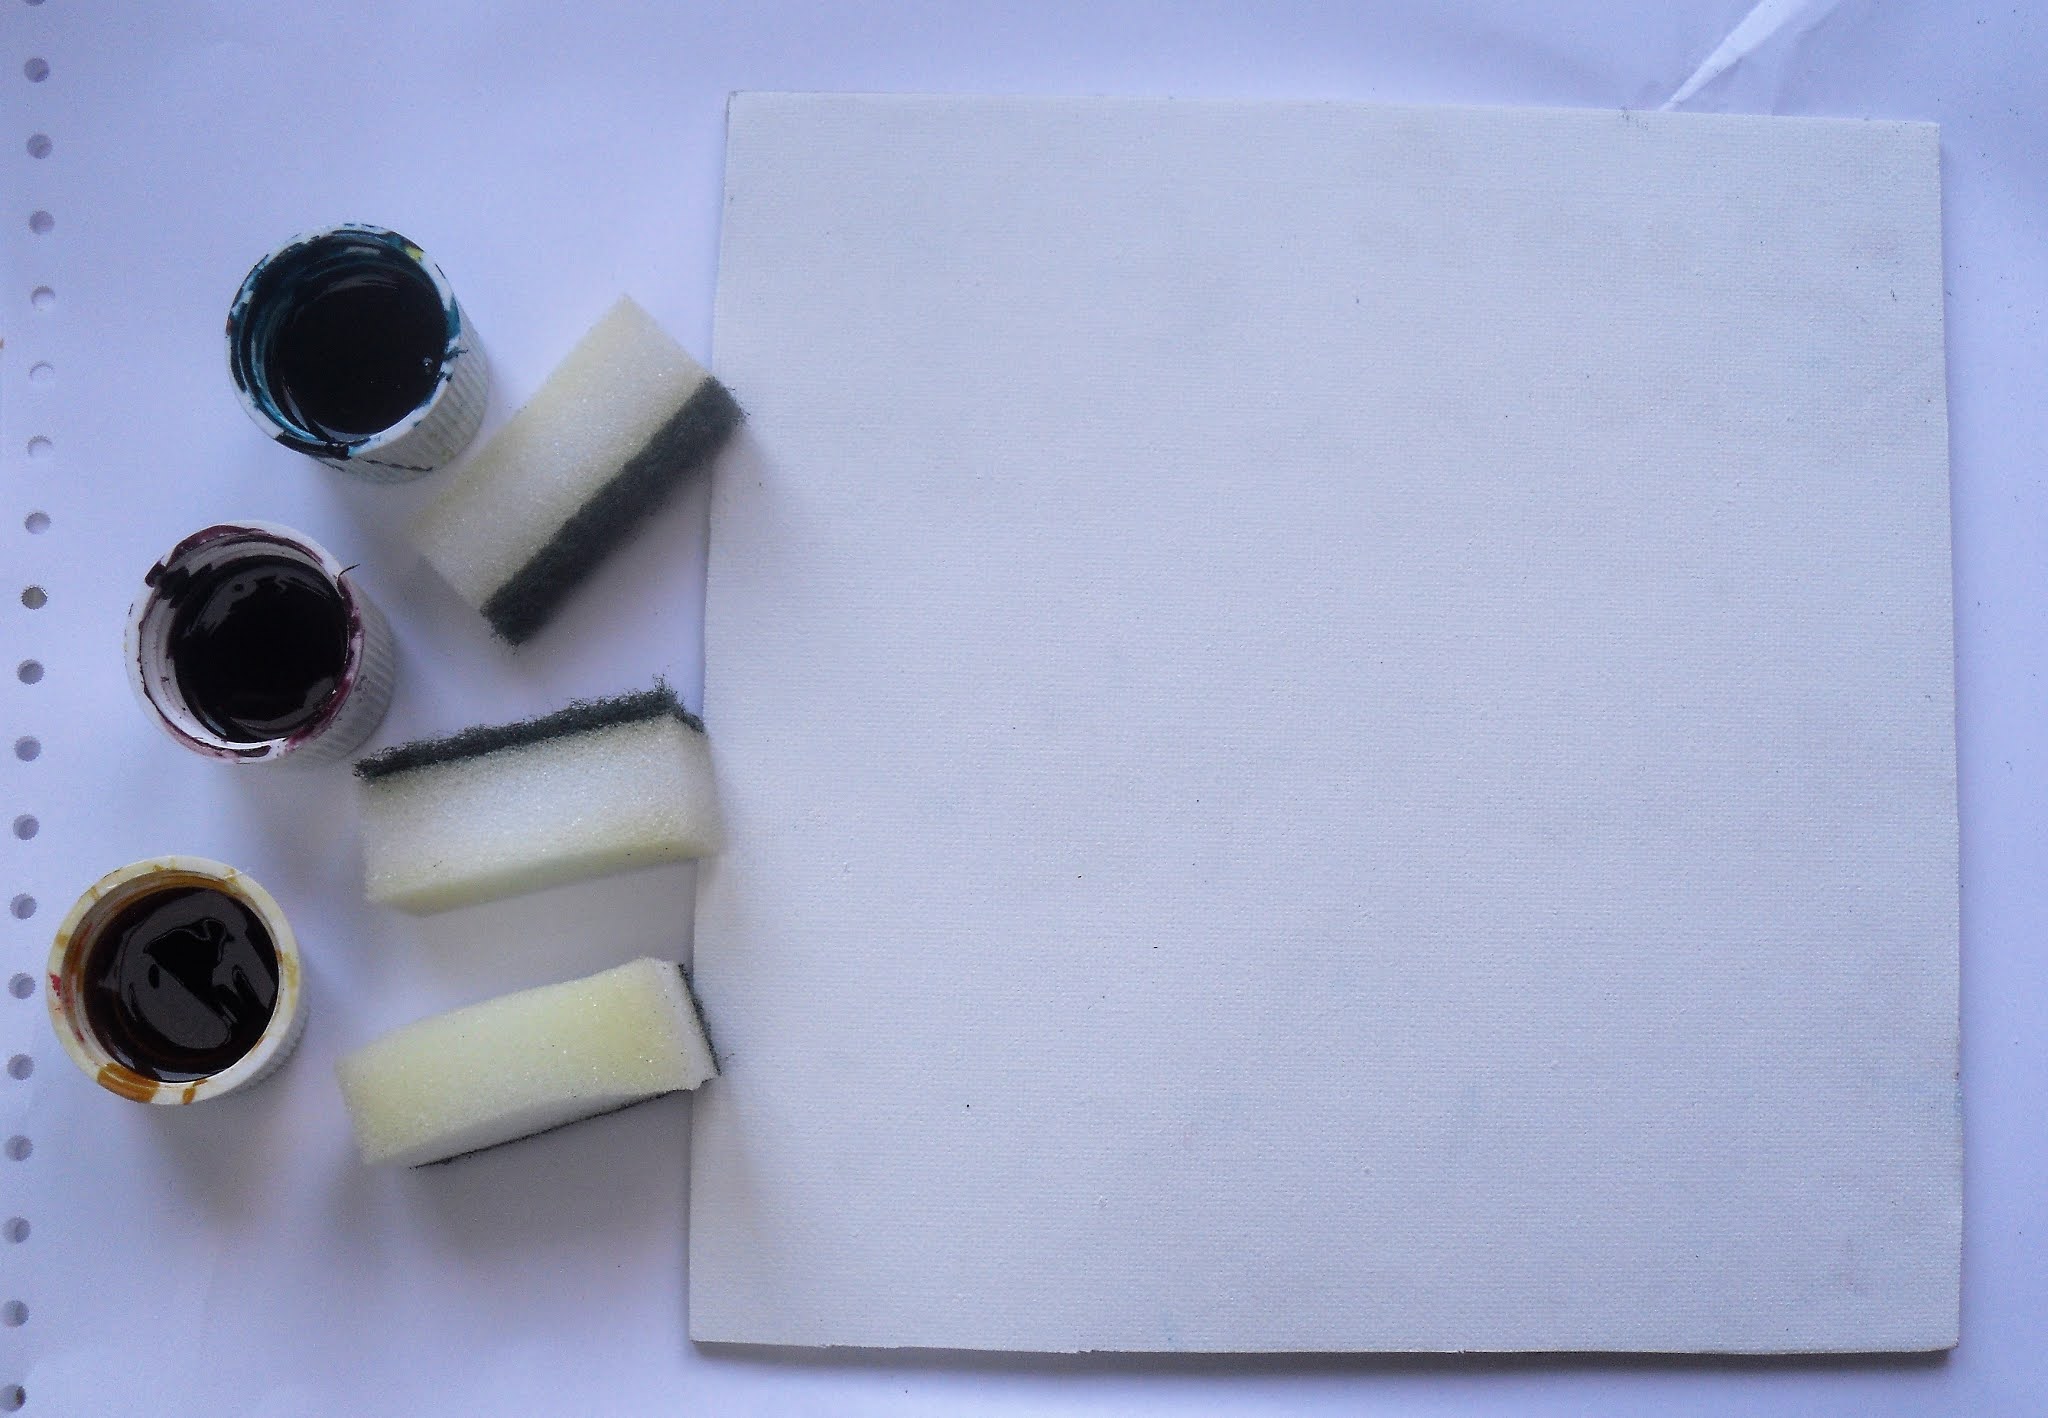
Get your Vitrail colours ready - I've used Turquoise Blue, Yellow and Old Pink and cut up a cheap sponge to apply them with.


Dab it on and mix as you go. I like the texture of the canvas showing through.


Stamp your images onto glossy card - it need to be glossy so the paint doesn't soak in - and then dab on colour in the same way.I used the Vintage Ink and the Dog Collection. These are some of the images from I&D in a larger format on A5 sheets, great for journalling or larger size projects. 


Let dry for a couple of minutes and apply the foil - you can see this piece has been well used already. You only want touches of foil, not great solid areas as you'll lose the image underneath.


Use a stencil in the same way. Pressing the foil through the pattern.


And there you go. This works better with a stencil with a definite pattern rather than a more random one.
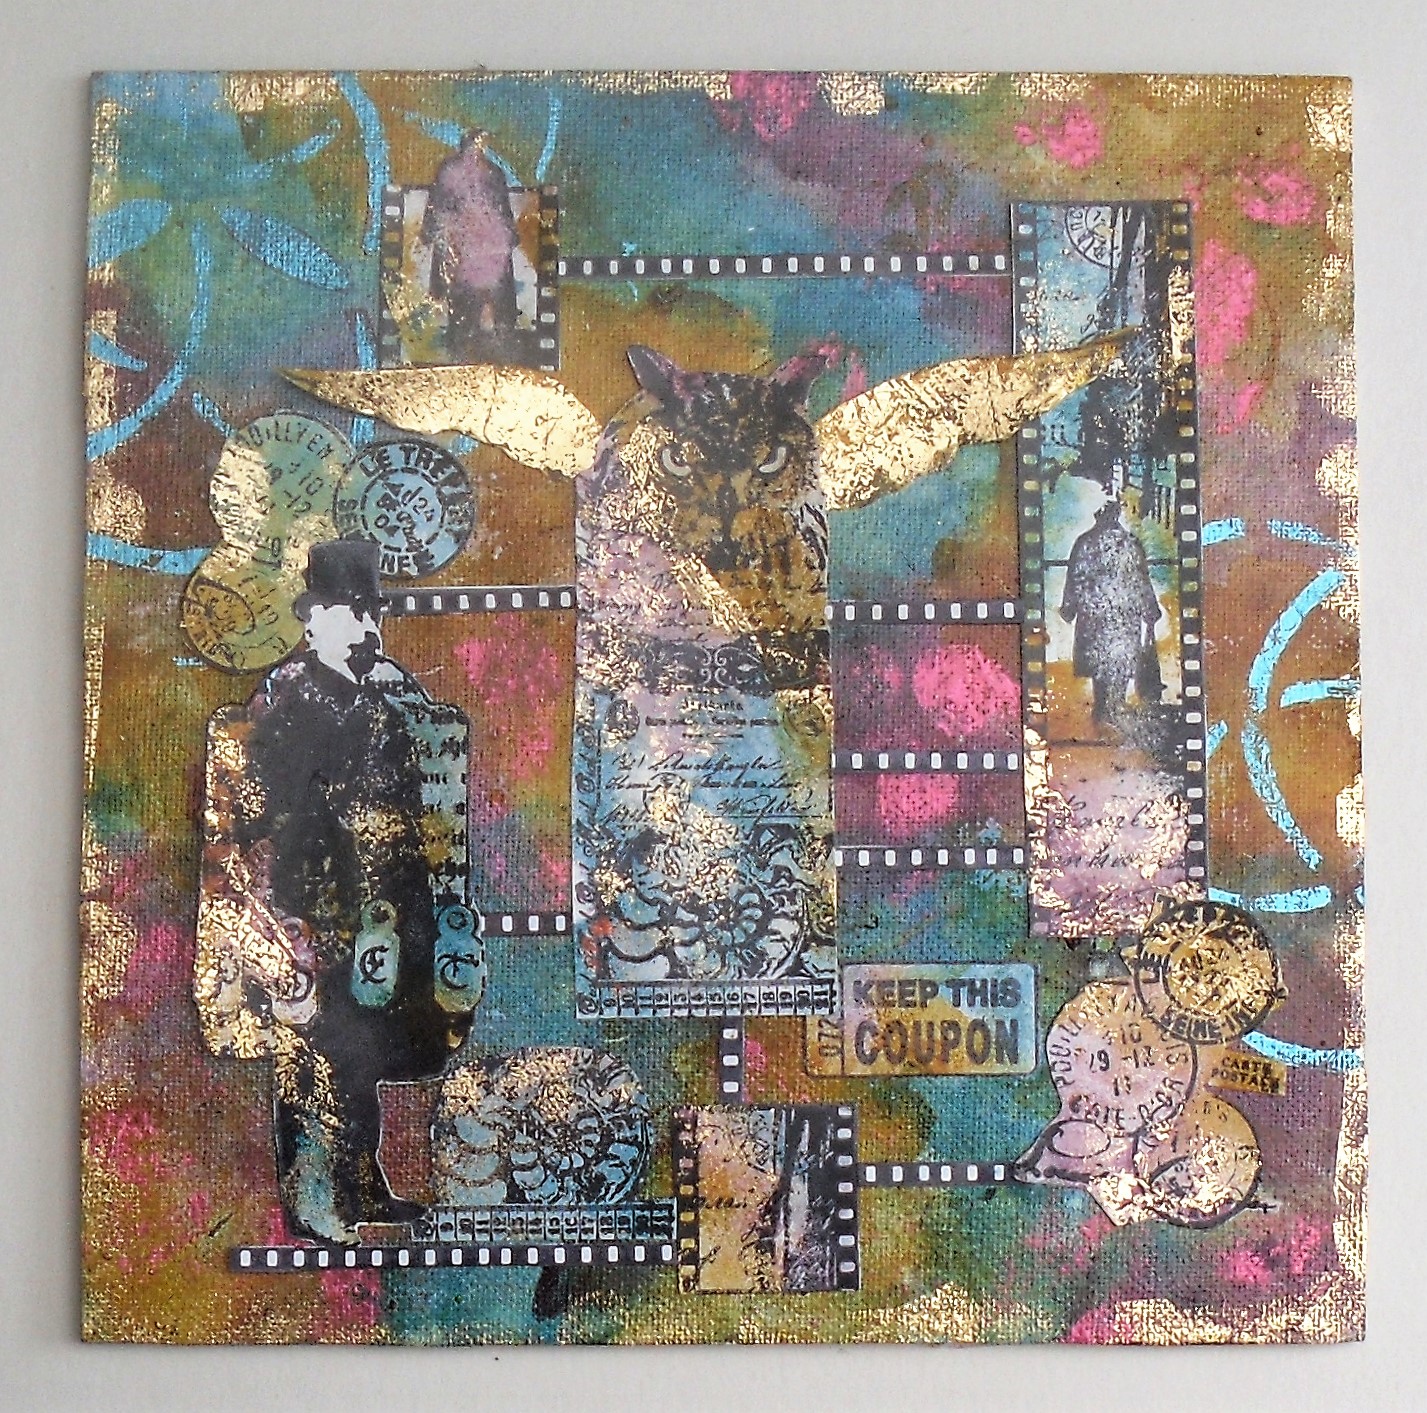

Here you can see the foiling.


I've pulled it all together with stamping and filmstrip lines.


To finish I doodled round the edge with a black outliner.


These paints work so well because they're sticky. The stickiness does have some disadvantages though as if you don't like getting messy this probably isn't the project for you (I managed to get it in my eyebrow - don't know how!) and you also have to wait quite a while for it to dry if you want to add stamping over the top. Having said that, I find this a really easy way to foil projects - no more waiting for the embossing powder or glue to dry to just the right point to get the stuff to stick. It's also a great way to use up those scraps of foil that have been used but have bits left on. Lynne Perrella stamps would work really well with this technique - you keep the detail of the images and add a touch of glitz at the same time!

Helen

Blog: A Splash of Colour

Tuesday, 18 August 2020

2020 #14 It's all Clear with Tracy Scott Stamps {by Carol Fox}

 2020 Topic 14: Fused


We all know that Fresco Finish Chalk Acrylic paints are wonder paints, but I didn't know how good they'd be on glass. Carol's floral frenzy glass piece must look amazing on her window ledge and she has some great ideas for making the colours look more vibrant.
~ Keren

Hi everyone, it's Carol with you today, and I'd like to share with you an experiment. I have long fancied trying to journal on glass to have a different way to display my art journalling and to have something pretty to stand on my window sill. Tracy's Stamps have lots of space within the images for big blocks of colour so I thought these would be perfect for a first attempt, so I put my big girls pants on and jumped right in.


I used a piece of glass from an old photo frame as my base.


Using Stamp set ETS42 I embossed the large flower with Black Embossing powder, masked this off and stamped the circle in Little Black Dress Paint.


Here you can see the contrast on the glass of the embossed flower and the circle stamped in paint,


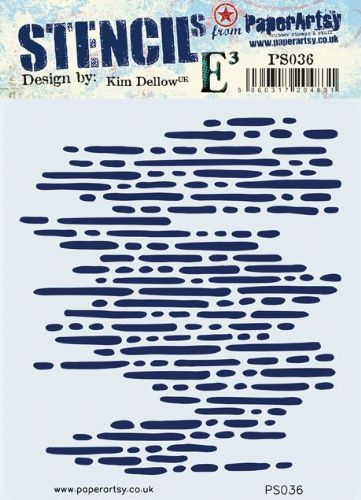
I masked off all the images and used stencil PS036 and Blue Lagoon paint to add colour to the background.I had decided my piece would stand in Portrait  format so I applied my stripy stencil with this in mind.


I already love the contrast in the blacks and I debated whether to give it a coat of matt medium now or after the next layer. I decided to wait as I hoped it would give more paint contrast after the next layer.


I painted my circles with Limelight and then gave it a quick coat of Matt Medium and then started to colour my flowers.


I started to colour my flowers using Coral in the center and Prawn for the outer petals. I dripped the paint on to flood the image rather than painting it. This is why I embossed the flowers to give a ridge to catch the paint. You can also see the difference between the how the paint is laying on the glass before it was coated in Matt Medium and after; the paint on the flowers is a lot more dense than the yellow and blue.


I finished off my flowers using Bougainvillea and Jade, then used Limelight for some little highlights.


I added white dots with a Posca Pen and micro beads to the circles and ends of the petals, sticking them on with multi medium.


Finally a controlled splatter of LIttle Black Dress paint to just fill some background areas.


I soldered a border around my glass making sure to give it a good rim and then flooded the whole thing with resin, this gave it a lovely shine and seemed to make all the colours pop just a little bit more.

I will now confess this was originally an A4 piece of glass which was from an old photo frame and this is an A5 piece. But I was over-zealous with the heat gun at one point and it broke (yes I did swear). In retrospect I think the smaller size was better for a first attempt as I think the A4 might have been too much space to learn on. I think I will stick with my choice of applying the Multi Medium after all the background is coloured as it does make a big difference as to how the paint lays on the glass and I like the variation it gives. If you don't want to solder your rim triple embossing would work just as well and if you don't have resin, Glossy Accents would work instead and would probably dry quicker.

Thank you for visiting today and I can be found at the following places.

Sunday, 16 August 2020

2020 #14 Mixed Media Piece 'NOW' with Seth Apter Stamps {by Etsuko Noguchi}

 2020 Topic 14: Fused


Etsuko's piece is a riot of colour with some wonderful details. Her embossing powder really looks 'fused' with lots of fabulous little bumps and highlights.
~ Keren

Hi everyone, it's Etsuko My favorite Things with you today, and I'd like to share with you a Mixed Media piece 'NOW' using Seth Apter's fabulous new stamps.

I was inspired by his unique mixed media art and he always brings fresh art to us with new techniques and art materials.


First I used Seth's stamps with these Fresco Paints and to make the master board to serve as the background for the piece. I brayered Blue Oyster, Seagrass and Nougat on the Smoothy A4 Heavy Weight Card, then I stamped ESA13, ESA15 with Blue Lagoon and Amethyst Fresco Paints on it.


After the background dried, I decided to use the ESA13 circle stamp shape because it was interesting. Chalk Fresco paint was painted on top of a rectangular masked Gelli Plate and added to the background. And I embossed these three circles with deep blue powder.


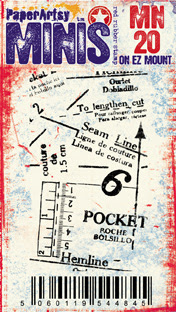
I used the same Chalk Fresco paint to stamp ESA14 in three places but wanted to add a little more somethings so I used Sepia Archival to stamp MN20 all over and marked the top with Blue Lagoon and Amethyst Fresco paints.


Using here, ESA15 NOW stamp with Black embossing powder.

 
I used colored inks and gloss medium in key areas for point coloring. At first I was going to use Fresco transparent colors, but I changed the color to ink because the color would be muddy inevitably. Of course Seth's Ice is best but I didn't get it right away; overseas is sometime difficult...


I tore the washi tapes around the piece and pasted black papers of different tones and materials to the base board below.


This is the finished project. I tried one layer for this piece, and although I had a hard time with the layout and composition, the process of making it was a lot of fun. I'm trying to make some more pieces. 


Thank you so much for visiting.
Hope you stay safe and well.
Etsuko xxx

Blog: My favorite things
Facebook: Etsuko Noguchi
Instagram: Pixienest
Pinterest: Etsuko N