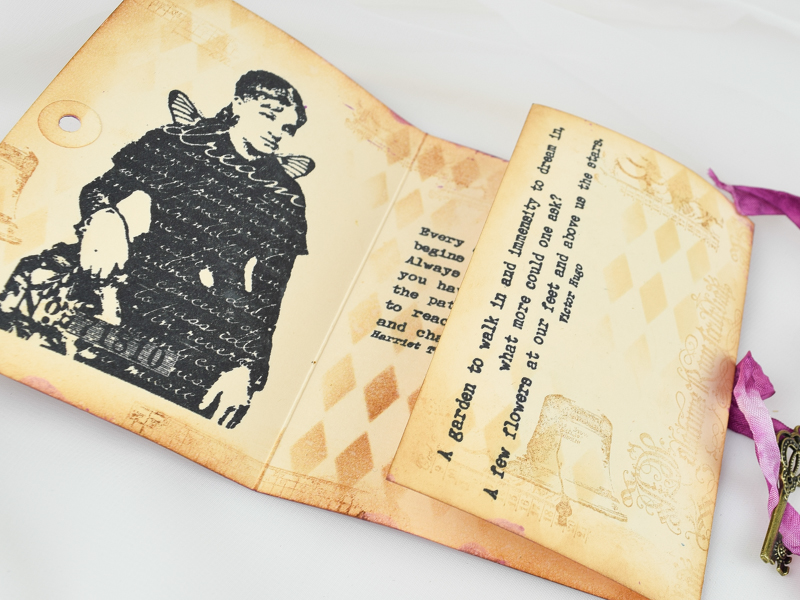
Hi everyone
Jennie (Live the Dream) here with you today.
It is always wonderful to be able to share a project that means something to me personally and so the Shrine I am going to share with you today celebrates my life long love of sewing, along with my creative love of breathing a new lease of life into an object that had seen better days.
And my Tracks (our quarterly theme)...stitches, sewn on the machine and by hand.

The picture frame has been given a complete make over with Crackle Glaze, Fresco Paints and Infusions but I am particularly pleased with the idea I had to extend the frame to make a shadow box in order to create the depth for the all the individual elements in the shrine. I wasn't too sure whether it would work...but it did and I hope the details I share later will inspire you to look at picture frames in a whole new light!

I have chosen two Vintage Ink and the Dog stamp sets for my project. ID03 which is very much sewing themed, but also ID02 as I wanted a female focus to represent myself in the shrine.


At this stage in the project I tend to "go shopping" in the craft room (!) pulling out drawers of fabrics, flowers, lace, papers, embellishments, buttons... just in case I might use them. I make myself a "kit" to use although I might not use everything. It also means that when I start to work on the project I am not distracted by looking for things.
I had intended to keep my colours muted in a vintage style with PaperArtsy Infusions Rusty Car CS17 creating the main colour focus, everything else being the support act.


The frame was purchased from one of our local charity shops for 50p as it had no glass but it did have the back. The PaperArtsy Crackle Glaze FF22 process works well on this type of substrate.

It is a three part process and needs a little time to dry once the Crackle Glaze is applied. Leandra has a very good demonstration video for Crackle Glaze on the PaperArtsy YouTube Channel. I used PaperArtsy Fresco Finish Acrylic - Taupe (base layer) and Chalk (top layer).
The tips are as follows:1. Use 2 opaque colours2. You only need a thin layer of crackle glaze, if you sponge it on you will get round cracks, if you use a brush you will get linear cracks. Let it dry before proceeding.3. The thickness of the top coat determines the crack size, so be generous.4. Apply the top coat fast and with one stroke, do not go back over areas that are painted, or you will fill in cracks without realising it.

I wanted to keep the frame quite grungy looking so was a bit "slap dash" with my painting of the final layer!

The next step was to add PaperArtsy Infusions - Rusty Car CS17. Now this didn't go quite to plan as I was expecting to water the Infusions down and paint them on but although this worked well in the indentations on the frame it didn't work so well on the frame as a whole. So I resorted to dropping a small amount of Infusions on the frame and then spritzing with water and dabbing the excess off. I have kept the cloth in the photograph so you can see how much was removed!

In this detailed photograph you can see how well that worked and I got some of the lovely red/pink colours as well as the walnut stain in a light covering.

The final part of my preparation was to make up a small "water bath" of the Infusions to dye various bits and pieces (lace, ribbon and a little piece of calico) which I hoped would add some subtle colour to the collage I had in mind. Again at this stage I had no idea whether they will be used.

I was pleased with the frame make over but was still anxious as to whether the shadow box element would work!

On the reverse of the frame where the glass would normally fit there is an indent. I cut some strips of mountboard 1½" wide and then trimmed them to fit. I then scored a 1/4" to allow the strip to sit in the indent.

Hopefully the photograph below will show how well it worked when glued .... I surprised myself! The downside is that you have to hold it together until the glue has adhered and of course keeping it all straight!

I was then able to adhere the back of the frame (which I had covered with text paper) and paint the inside.

I could now start thinking about how I would fill my Shadow Box Shrine. I like to collect bits and pieces together to see how well they co-ordinate as well as trying stamped elements directly onto the fabric and those which will need to be stamped on cardstock.

I loved the colour of some of my dyed elements but at this stage was wondering how I might incorporate them. I also had a thought to make a small pin cushion to fit into the frame, so used a (very small) die cut over the button stamped fabric.

My main focus is the fabulous dream girl from VID02 - she is a favourite of mine and crops up in many projects! I decided to dress her up a bit with some of the dyed ribbon.


This little sewing machine charm was just perfect for the top of the cotton reel but was the wrong colour. It was a bit fiddly but I gave the whole piece a coating of PaperArtsy Fresco Finish Acrylic - Chalk FF83 and once it had dried "splodged" some PaperArtsy Infusions - Rusty Car CS17 on top.


This is my favourite part of the project! With the main elements in the frame I enjoyed trying out my gathered embellishments and working out what works together.
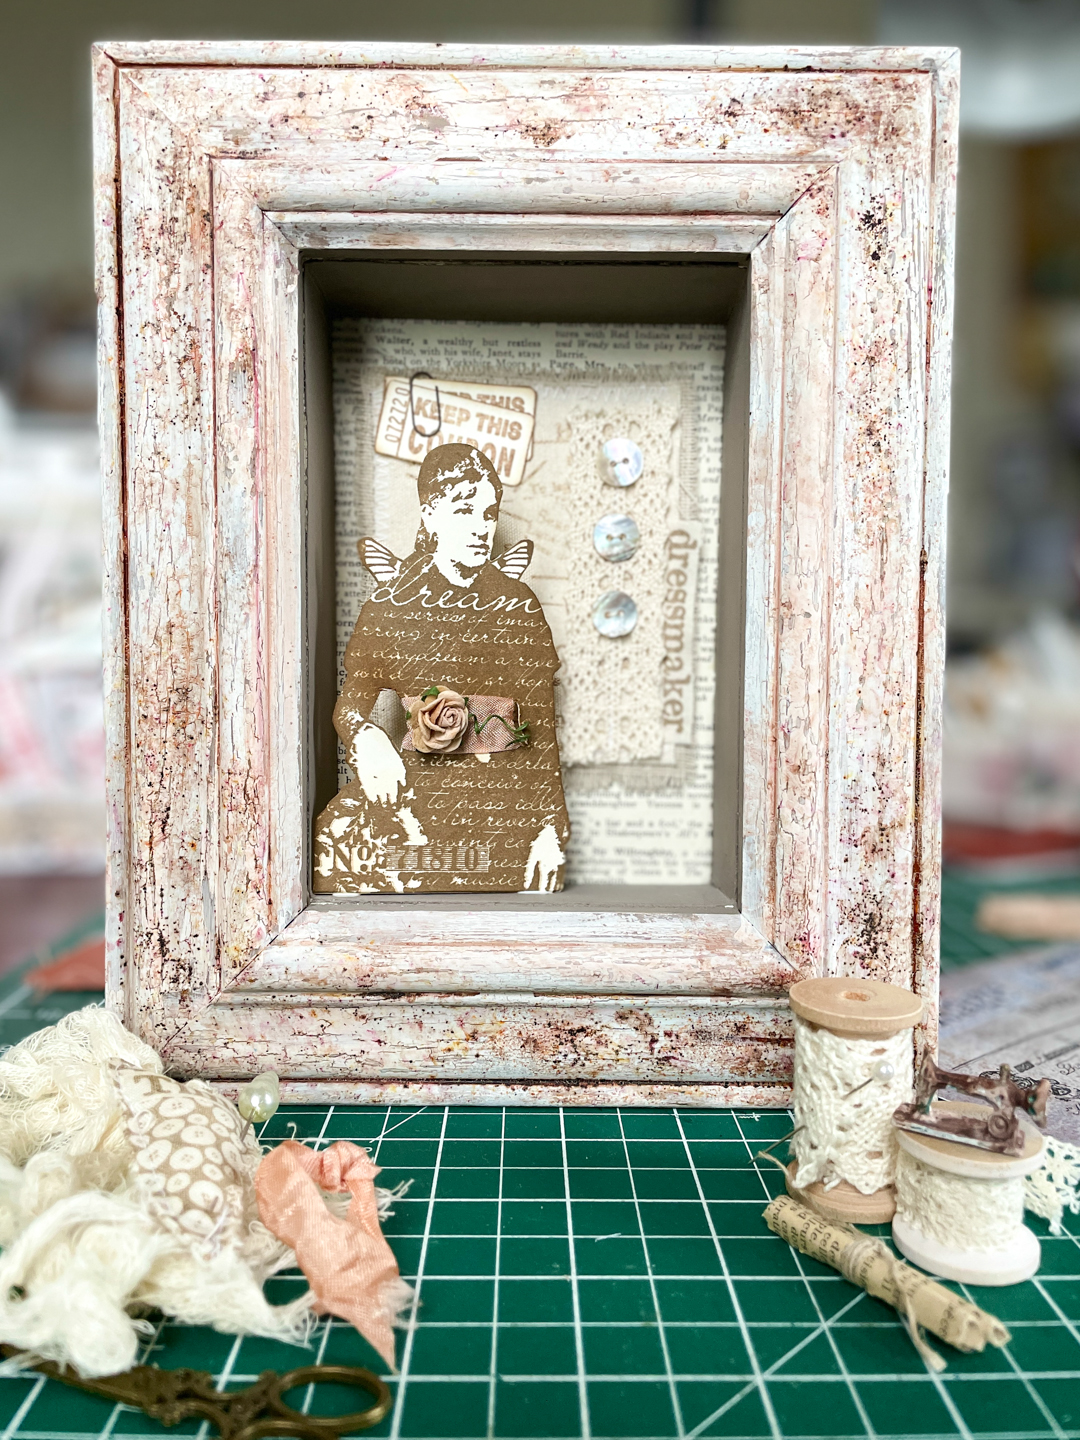
Muslin can be used for great effect - filling in the gaps and helping to hold things in place. These little rolls of paper didn't really have anything to adhere to, so they are held in by the muslin.

I knew some elements would be on the outside of the frame and the little pin cushion worked perfectly as the base for this little cluster. The flower and ribbon are hiding a very dodgy bit of sewing as I was stuffing the pin cushion as I was sewing it on the machine!

The finished shrine which sits nicely on a wooden easel.


What I have really loved about this project is how it made me think about the photo frame, how I could use PaperArtsy products to make it look completely different but more importantly how I could get some depth into it. This technique of turning a flat frame into a shadow box will I hope inspire you to look at frames in quite a different way.
As always, thank you for joining me on this creative journey which has been fun and a lovely celebration of my life long love of sewing.
Jennie x


Blog: Live the Dream
Facebook: Jennie Atkinson
Instagram: atkinsonjennie
Pinterest: jennieatk