Today,
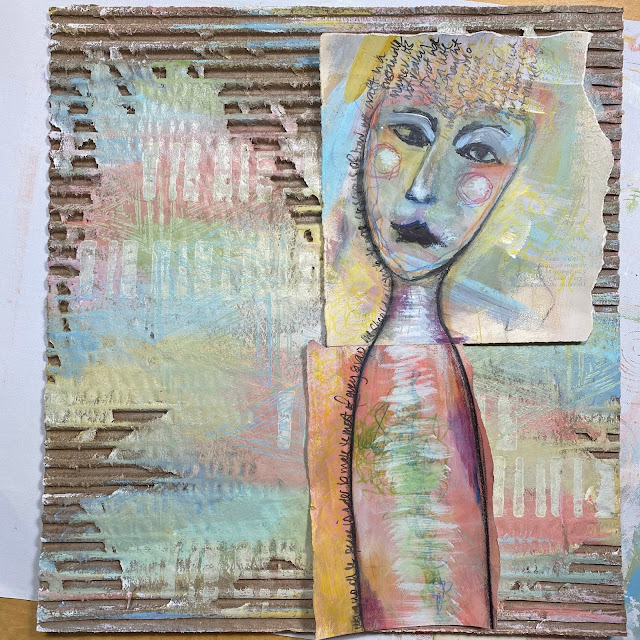
Leandra, that's me ;) is back on the blog sharing a distressed
cardboard surface turned into a canvas. You could also put this kind of
thing in a journal spread too, however, we have lots of walls that
desperately need art, so I think more of these are required. Perhaps I
need to put a bit of thought into the colour combinations! As luck would
have it this square size (25cm)cardboard comes from the ends of our
rubber boxes, so there are always plenty of those available here for
recycling...I wonder if I could make them at the rate we press
rubber....I could have a whole gallery wall done in a month! There's a
challenge!
~Leandra
Since
I last blogged I am a step closer to having a craft space. The
excitement is wahoooo level of YAY! We have created a temporary office
in a 'spare' room - it was a water-damaged space that we closed the door
on for the best part of a year, and in Spring we got cracking to make
some of it a bit more functional. It is by no
means finished or perfect, as the long term solution for this space is
not clear yet, but for now it is office-functional, warm and has pretty
good light too.
I now have my Ikea office cupboards (that still look OK after 20 years and 3 house moves), and a few
Vintage finds that were left behind in the barn. This means finally a space to
put a few crafty things within easy reach. I am still working with a
restricted number of supplies, and that is what ties in so perfectly
with this topic. Like it or not, I am totally on board with the idea that you can
do a lot with a little if you put your mind to it! Oh
and I found my Stabilo ALL pencil that I have been searching for in
random boxes for months, so all is well, what more do you need!
I
love de laminating cardboard to create an interesting surface. Lin and I
would often demo at shows on cardboard, and we did a huge ArtsyCrafts
project one year too. It's super satisfying nibbling away at the card
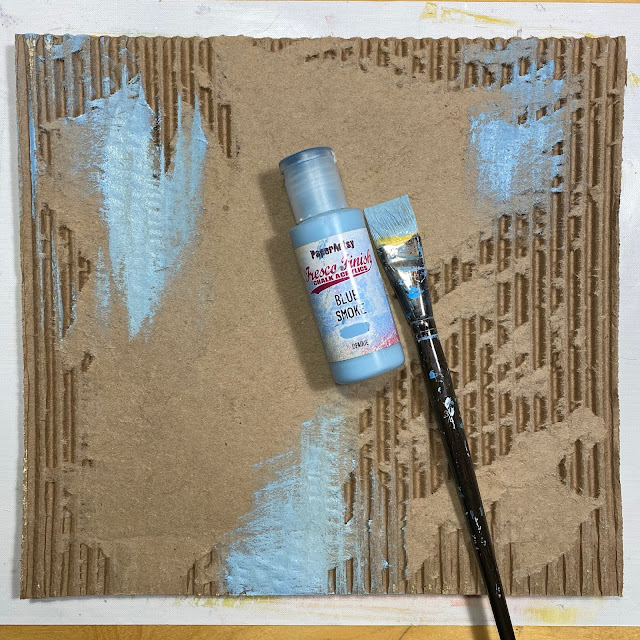
then building your layers. I started with these 4 colours, but as you
can probably imagine, more oomph was added with Zucchini, Coral, Mermaid
and Pumpkin Soup.
The
background is no drama. Smooch a bunch of colours with a flat brush
until the paint is gone, then switch colour. If you just put a dot of
paint directly on the end of a flat paintbrush then you don't end up
wasting paint, and there is nothing to clean up. Win-win.
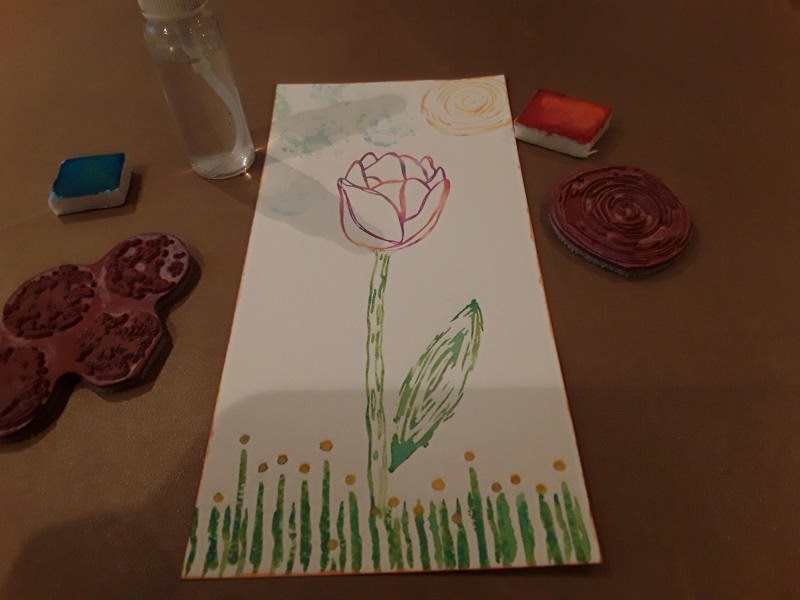
I added 2 stamps by Ellen Vargo, a chunky and a fine detail, EEV02 & EEV03
For
this project I really wanted to focus on drawing a sketchy, quirky
face. I did a Suzi-blu class oodles of years ago, and she would always
say that sketchy or cartoony quirky style faces allow you to get away
with wonky proportions and remove that barrier of right/wrong. Wide or
long faces, oversized eyes or mouth...the less realistic the face is,
then the less you feel you need to make a face that looks like a face!
Anything goes. So in this post I wanted to try show some detail about
how this character evolved. LIke all things, the more your practise the
better you get. And I still have a long way to go but I am feeling more
comfortable with what I draw than I used to!
While
making the background above, I also cleaned off the brush onto a piece
of book paper. I then sketched out with pencil the eyes, eyebrows, nose
and mouth. Then I jumped in with a charcoal pencil, and literally
scribbled all those features over the pencil 'plan'. I didn't add the
face, just 2 vague jaw lines to the left and right. For the next girl in
the series I will do this with my non-dominant hand, to get that jagged
imperfect effect instantly!
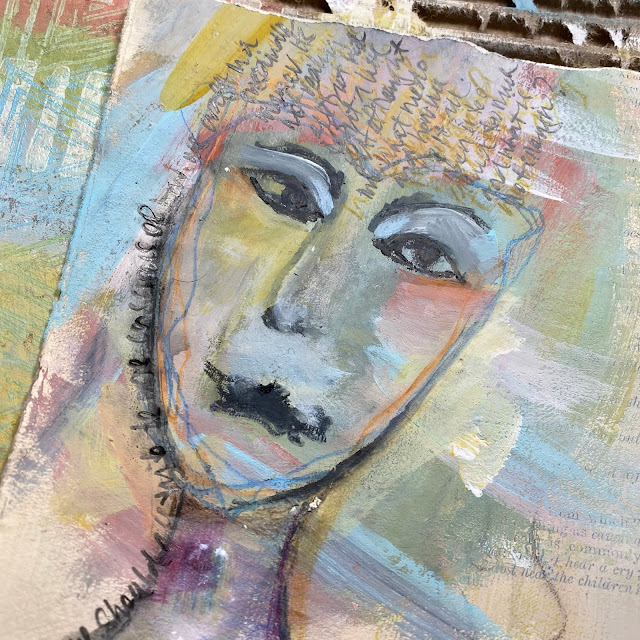
I
added some more paint and colour to the face. I like using random
colours on faces, especially blues and greens, I couldn't figure out
hair so I decided to use handwriting for that instead. I knew i would be
coming back to the face to 'edit' features as I figured out what form
she would take. When you step away and come back you often see what you
could do next more easily. So this evolved over a few days. A nice
relaxing evolution that also works well in a journal - you can have a
few of these on the go at once.
She
was gifted a dress, the same colours but using the corals, yellows and
some Inktense pencils too. I decided the background was too samey to the
character, so I decided to knock that back with a whitewash first, and
then adjust it from there.
Whitewashing
is kind of fun, it looks like you have obliterated everything, but as
the water evaporates off, the colour always pops back through, so don't
panic when it is wet!
Another
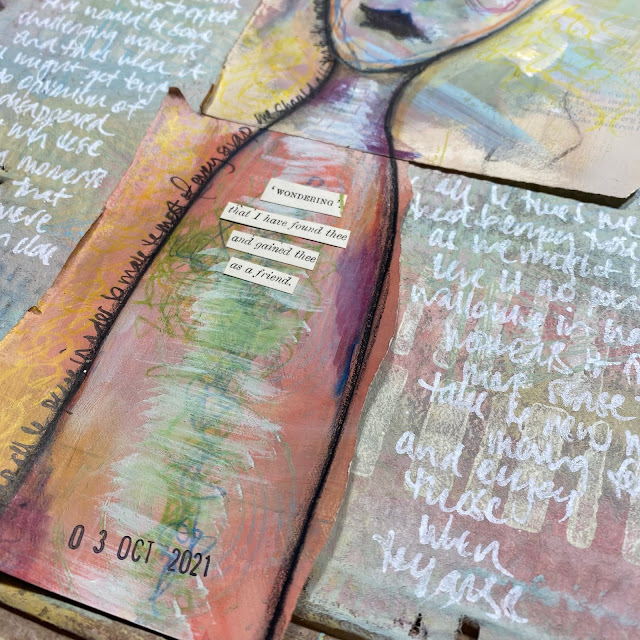
way to make the background fade is to journal or write in white paint
pen (I love the Sharpie fine point paint pen - sometimes hard to find)
It has a much finer point than Posca pens. They last for ever, and they
don't dry up. I also use the Uniball white gel pen too, again, a
wonderful white ink and it doesn't stop until you are out of ink!
This
is where illegible handwriting can have its uses! I always get told off
for my unreadable writing - and it is perfect for this kind of
background. If you are a neat and tidy writer, just try to be messy OR
you could try your non dominant hand to do scribbles and such! They
always look more interesting and organic.
I
decided that I would bring a bit of colour back over the writing, so
back out with the stamp and some structured bold lines were stamped
over the top, I could have also done this in white for a softer effect
too.
I
added some Inktense lines for a bit of structure. Still not sure about
them, they may get knocked back some more again, or perhaps some tissue
paper could be glued over the top. The thing I love about the
Fresco-Inktense combo is you can test, then edit so easily. A damp cloth
could knock back the Inktense colour, or even remove it. A bit of white
paint could soften the intensity of colour. That ability to push and
pull at whim I absolutely love! This means that you can keep
experimenting without fear! While I had out the inktense colours, I
added lines around the edge of her face with my non-dominant hand and
cheek circles, outlined the words and so on
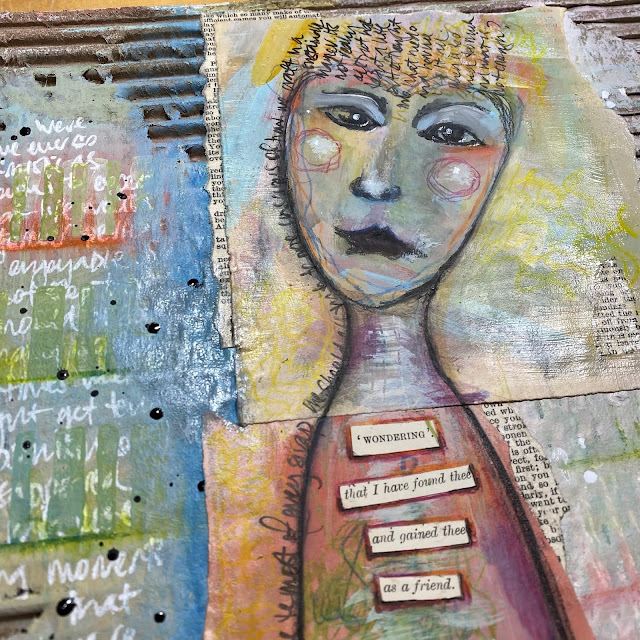
She
was looking thoughtful, sad, angry...and then suddenly I just felt
like her head was just too big and her body too small, so this is where I
started editing things a bit more dramtically. The downside was I lost
the sketchy style of the original face. But it's all part of
experimenting and playing. Also can we talk about that nose! It was
bugging me more by the minute. Initially I thought it didn't matter, but
then it was all I could see, and that really started bugging me .... so
I just had to change that. Voila, new nose, big hair, wider dress.
I added deeper paint colours to her left side, I really love adding bold colour.
I think she is ready to have a friend or two join her now. After all, her words demand it!
I
hope this gives you the confidence to have a go drawing a wonky face,
or a perfect face, or just do some abstract stuff on corrugated card.
There are lots of ways that you can develop this kind of idea to suit
you. Let's start using up some of those collage scraps you have got in
your stash and making something with them and other found substrates!
Thank you for joining me today,