Hi everyone
Jo Firth-Young here today to talk about shiny things!!
(instagram: @jofyjo, fb:JoFY.JoFirthYoung, www.jofy.co.uk)
When I saw the 'gilded' topic come up I was very happy!! I like things that sparkle and shine! It got me thinking - how many metallic, shiny, sparkly, 'gilded' types of media do I have in my crafting materials?? I started to make a list - embossing powders, Fresco Finish Gold paint (such a fabulous gold!), imitation Gold Leaf (sheets and flakes - several colours), gilding powders, paper/card, metallic threads, Stickles, glitter, metallic Gelatos... so many options!!
I really like gilding objects - I've gilded several pieces of furniture in my home & its much easier than you might initially think. Its been fun using imitation gold leaf again - it adds a little bit of 'glamour' to a project.

I've created a group of cards each with a different type of 'gilding' but all starting with the same background paper. This A3 paper was created when I rolled-off paint from my brayer when gel printing - I really like the random, blended stripes & blocks of colour that are created.
I added stars using stencil PS438 (find a PaperArtsy stockist here) leaving enough open space for additional decoration for each card.
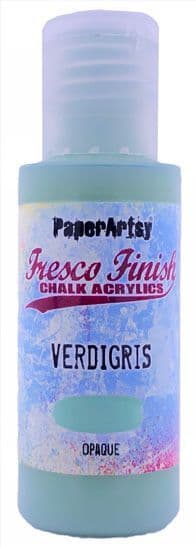
What I really like about all these projects is the contrast between the chalk matte finish of the Fresco Finish paints and the shiny gilded finishes. (Fresco Finish: Gold, Bubble Gum, Sherbet, Butternut, Cheesecake, Aqua Duck Egg, Chalk)


Gilded cards

Imitation gold leaf generally comes in two forms - flakes and sheets (sheets come in books supported with layers of tissue paper). I've used both types on my cards.

'Love Christmas!'

I used a page of gilding leaf on this card to evenly cover the greyboard heart. The gold leaf is VERY thin and will pick up all the textures of the surface it is applied to - great for picking up detail. You could apply this on top of textured card for a different effect.

I added several layers of stenciling to this card - big white dots (PS309) and an arch of pink dots (PS308).


The snowflakes, embossed in white, are from this stamp set JOFY106.


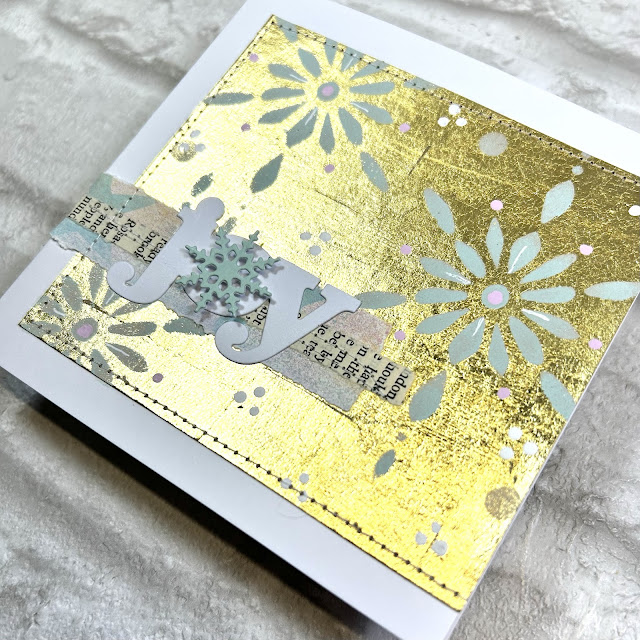
'JOY'

This card uses gilding flakes, adhered with a glue stick and a soft brush. The flakes create a subtle distressed surface, sometimes little gaps are left and an uneven edge created.

'Snowflake Joy'

I decided to cover the front of this card with a sheet of gold leaf that I'd cut into 2.5-3cm squares to create a subtle tiled effect. PaperArtsy Fresco Finish paints can be used on any surface and so of course I had to use them on the gold leaf!! I love how the matte paints look against the sheen of the gold leaf! Great contrast!
This was a tricky card to photograph because of the reflective quality of the gold leaf! lol
'Hi'
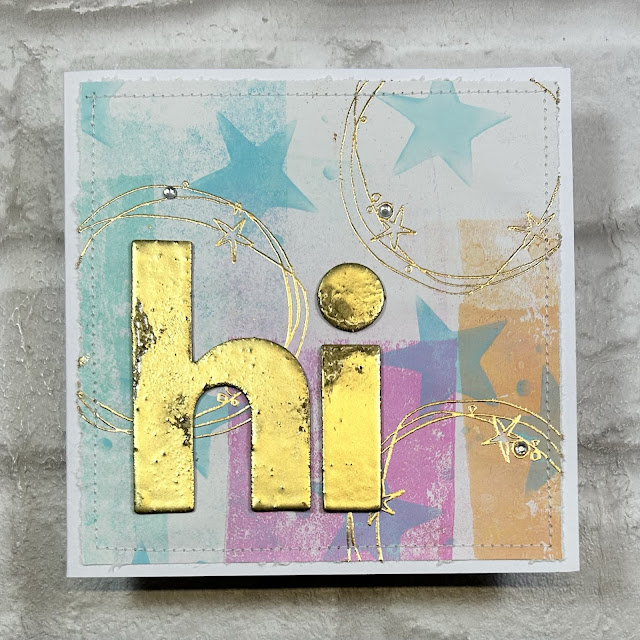
This card features embossing powders. There is something magical about watching embossing powders turn from powder to molten liquid and then solidifying.

I embossed chipboard letters with several layers of {WOW} embossing powders - the first layer was a Platinum ('dirty' silver) powder followed with 2 layers of 'Gold Rich'. I agitated different areas of the surface of the letters (while still hot) to mix the powders which revealed the first layer - this created a subtle distressed look.

I stamped circles (JOFY136, available now from PaperArtsy Stockists) on the background using WOW Pale Gold embossing powder.

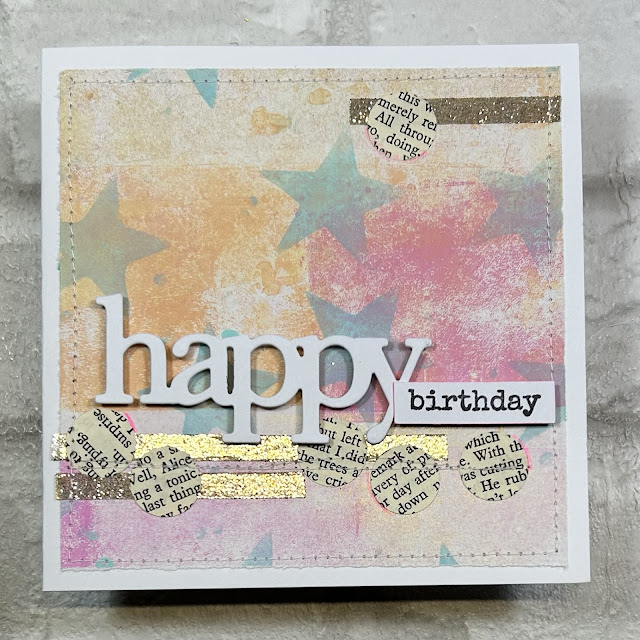

The Stickles Dry Fine Glitter is made up of tiny smooth particles that, when adhered to the surface (here I used strong double sided tape), creates a sparkly gilded effect.

Flowery Happy Birthday

The Gold Fresco Finish is the best gold paint I've worked with! It is so glossy and is a great tone of gold, really rich, and you can use it on your stamps too!

Here I used the Gold paint to stamp the flowers from JOFY132 (available from stockists)

... and teamed it with Ranger's Perfect Pearls - there is a gold mica powder available, but instead I used Mint here to compliment the colours of the background papers. I love how the colour changes when it catches the light as shown in the photos below.

It was fun to use gold leaf and and revisit using Perfect Pearls with the Fresco paints - I'd forgotten what a great combination they are!
I hope these ideas have inspired you to delve into your crafting stash, dig out the blingy things and add a bit of sparkle & shine to your next project - even adding a distressed gold leaf edge to a panel (as in the 'joy' card I shared earlier in this post) can make all the difference! or a touch or two of glitter! (remember: glitter is not just for Christmas! lol)
Have fun!!
Jo

YouTube: Jo Firth-Young
Pinterest: @jofyjo
Facebook: JoFY Jamboree!
Twitter: @jofyjo
Instagram: @jofyjo