Showing posts with label EKC24. Show all posts

Thursday, 15 April 2021

2021 Topic 4 Free to Fly : Follow your Dreams with EKC {by Lynn Good}

  2021 Topic 4: Free to Fly


It's mind boggling just how many different stencil techniques there are and Lynn brings a really effective one today, with a great tip about how to have a little more 'play'-time. She's ended up with a vibrant art journal page just buzzing with life.
~ Keren.

Hi everyone, it's Lynn Good with you today, and I'd like to share with you an art journal page that I created for the topic "Free to Fly"

I loved the Kay Carley stamp set of the flowers (EKC45) and thought that with a dragonfly feature, my journal spread would certainly capture the topic.
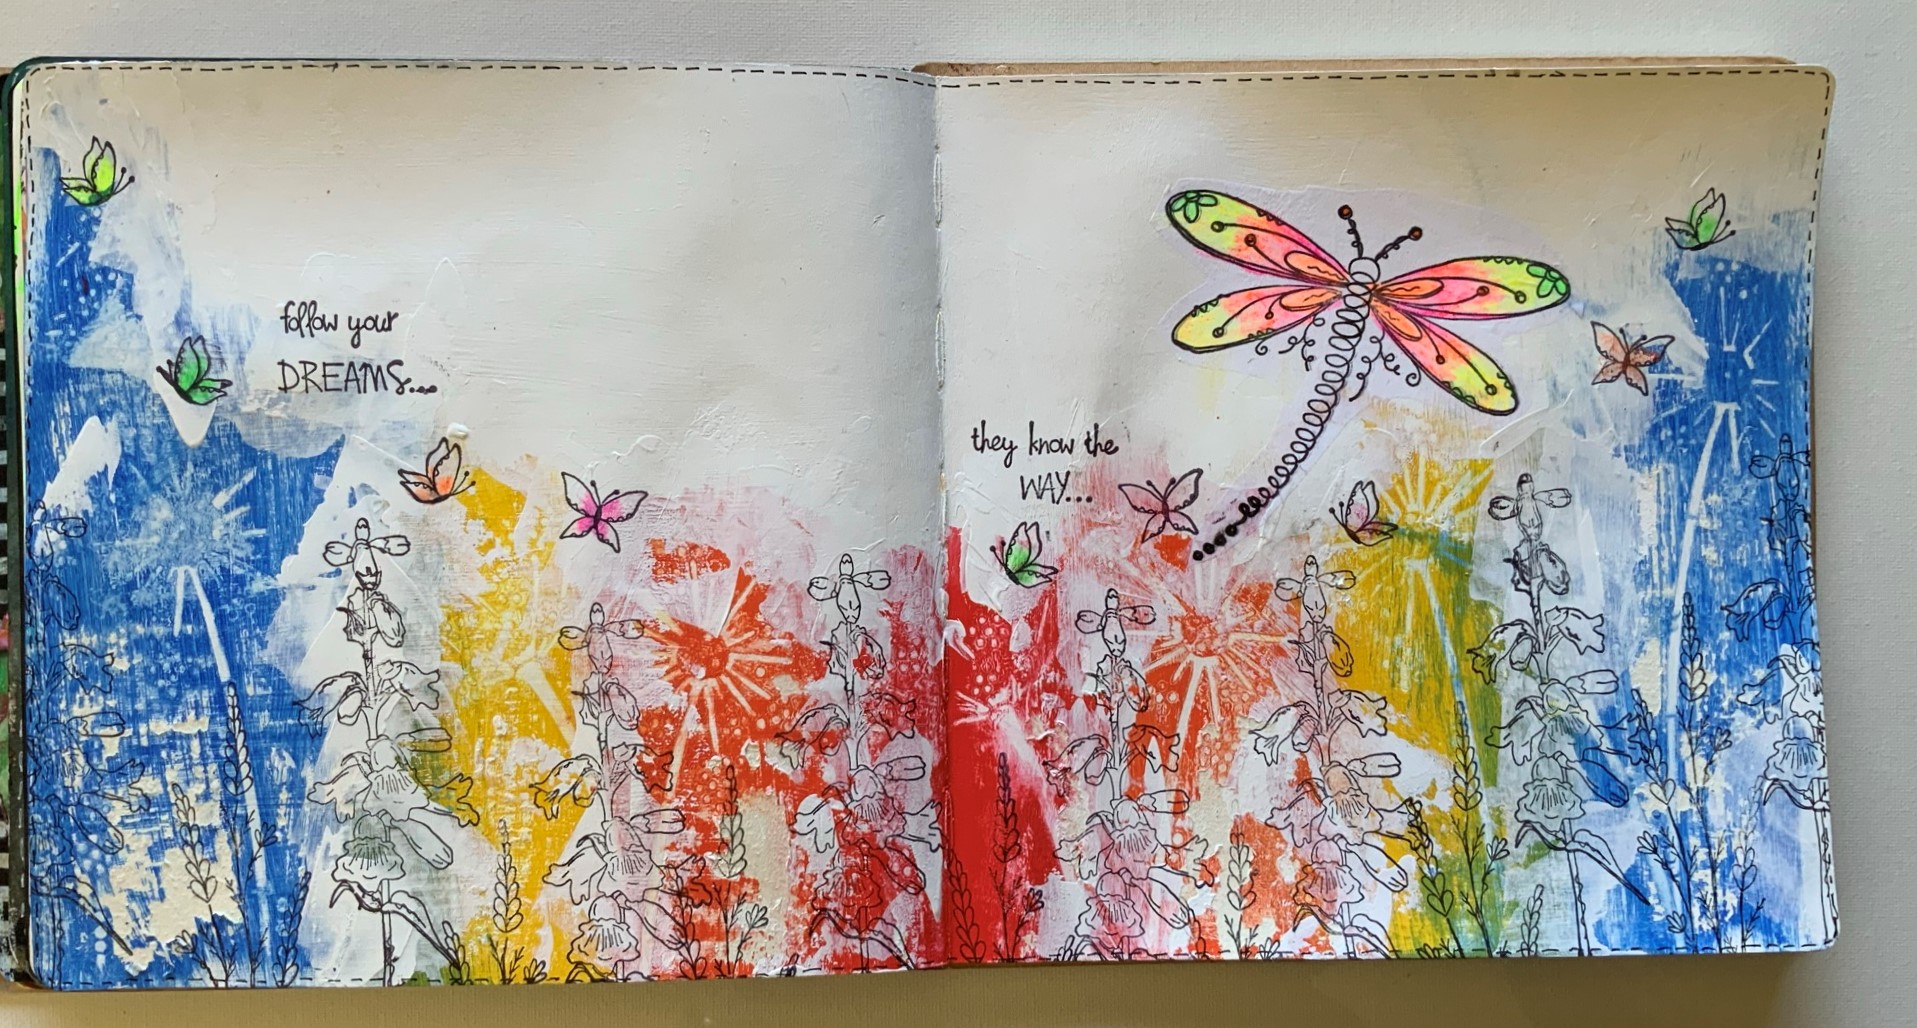

I began the page by applying gesso to the page as this would allow me time to play with the paints before they dried.  I have then added PaperArtsy Paints - Southern Skies to the pages and using stencil PS060 and a wet wipe, removed the wet paint though the stencil. You get a sort of shadow effect with this technique as its a negative version of the stencil.


I continued this across the page using the following paint colours - Ochre, Cayenne and London Bus. All are translucent shades, which means as they overlap each other on the page, you create new colours.

I love the effect this gives - same stencil, same pattern but different colours, and where the colours meet each other creating new shades of paint too.


To blend and soften all the colours together I have used gesso with a palette knife. At this point, if you think there is too much texture to stamp on top you can sand back a little with a sanding block to create a smooth, flat surface.


I have then added the flowers from stamp set EKC45 along the painted areas and the butterflies at the top of the flowers.


The Dragonfly is from stamp set EKC24 and was stamped onto tissue and then added to the page and coloured with Fluro coloured pencils. For the final touch I have added faux stitching around the entire edges.


I love how the paint colours pop out - this is an effective but easy page to do, so i hope I have inspired you to have a go.

'Til next time - happy crafting. 

Lynn

Thursday, 2 July 2020

2020 #11 Book Cover with EKC {by Ellie Knol}

2020 Topic 11: Calming Colours 


It's a filed of house-mushrooms sprouting tonight for the calming colour topic. Ellie's created a very pretty and serene soft-blue village with these stamps by Kay Carley.
~ Leandra

Hi everyone, it's Ellie Knol from PAPER-STAMPS-COLOR again with you today, and I'd like to share with you the joy I had creating a cover for a colouring book in which I stamped images to color. 

Of course we all expect these toadstools to be red with white dots, but to be honest, I like the blue, and in nature there are also blue mushrooms .... really.. ..... and they're beautiful!  A green-blue ..
These are calming colors to me... the blue from the sky, green from plants and the terra from the soil.
Nature-inspired colors are my favorites...  


This is the front, spine, and back cover of the book; left the back, and right the front cover of course. I chose to photograph it before assembling the book itself. 


This is the gelliprint I've used to adhere to the book cover, first adhering it to cotton to make it more sturdy. 


After it had dried I added a layer of matte medium to give it some protection. You can see hints of the dragonflies from stamp set EKC24 in the background. 


I've also used EKC36 stamp set from Kay Carley.


 aWith Fresco Finish Paint in the following colors: Beanstalk, Brown Shed, Snowflake, Smurf, Mermaid and Magic Moss.  


The front cover has the big toad stool and some of the other sizes from the set, stamped with Versafine Onyx black and heat embossed in clear.
I painted all the toadstools with Fresco Finish 
Snowflake and the door with Bean Stalk.
I hesitated to use any (brown)reds first as it might not be a calming color for some, but I decided I needed to use what is a calming color to me.
I needed shadows to the toadstools; I used water-diluted Brown Shed Fresco Finish for that, and stamped the text with a terra brown ink.  


The clouds and 'roofs' were (stamped) and fussy cut from another piece of gel-printed cardstock in just blues (Smurf and Mermaid Fresco Finish) ... and adhered in a paper-piecing way. The die-cuts of the flowers in green are functioning as a fence around these 'Fungus Flats'.


A close up picture of the back cover..


... and last but not least a close up picture of the front cover, it being my favorite part of the project.. 

I found myself doing the covers in a child-like way and therefore this book grew as a colouring book with stamped images as the project came along, from sets from PaperArtsy of course... for my grandson to colour himself.  I think he will be so glad.. he is still so happy with any present, luckily for me..
I hope you got some inspiration; maybe to make a book yourself as a gift to someone... ?? .. maybe a lonely person or young one or a friend...??  

I LOVE giving handmade books to others... do you? 

Sunday, 24 February 2019

2019 #2 Brayers: Dragonfliezzz with EKC {by Ellie Knol}

2019 Topic 2: Brayers

Ellie masters not one, but 2 gel plates with our new brayer, and comes up with some vibrant results in the process. It is just a matter of building your layers and trying out different colour combinations until you find that happy place! ~ Leandra

Hi everyone, it's Ellie from PAPER-STAMPS-COLOR with you today, and I'd like to share with you a project using a gorgeous brayer from Paper Artsy  ....  and some new stamps and stencil designed by Kay Carley!

I chose to do some monoprinting, to be used on the six blank pages in the cardboard book I made, which I showed in my previous post for Paper Artsy (...remember, I promised!).


Ready for action in my kitchen ... Fresco Finish paints, the brayer, masks and two gelliplates. 


I made a gel-plate from gelatin and water (about A4 size) and used that together with a bought Gel-plate and worked on both simultaneously. 


Brayering paints ... stamping into the wet paint ... stamping that paint onto the other gel-plate ... using the masks ... leaving paints to dry on the plates. All these processes gave me some very nice prints!!


I used the above print on two of the pages of a cardboard book...


This second print was used in the book as well


The third print I've cut up was this beautiful print; I've added some white heat embossing and a red and white marker ..... 


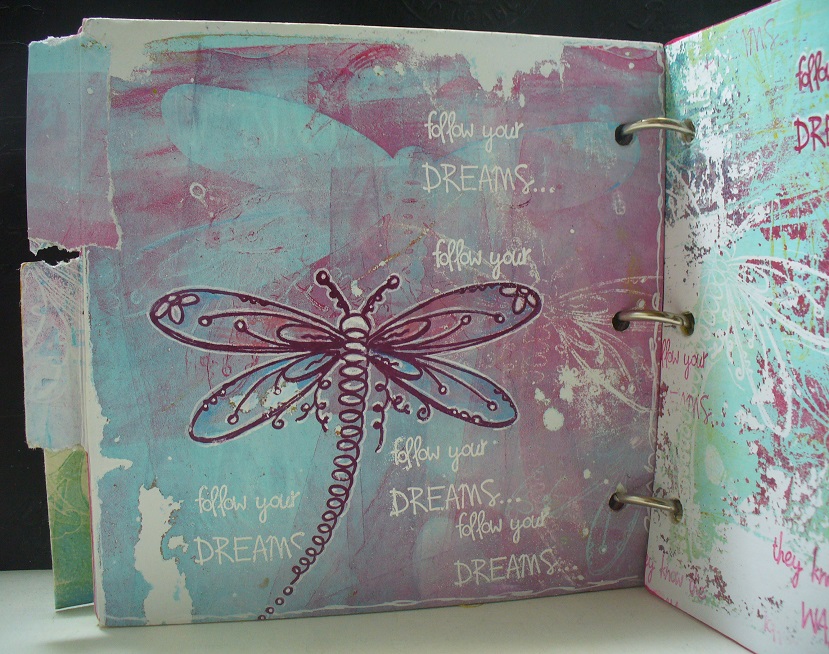
On the fourth print I've used the dragonfly masks  ... love the very subtle effect here! 


Now for the last one: dried up paints and borders created white, colored and darker parts on the monoprint.


A close up of the beautiful stamps I've used on all prints .. artistically drawn dragonflies designed by Kay Carley!


I am sure there is no better way of playing artfully than with a gel-plate, paints, and of course a brayer, masks and stencils and ... beautiful stamps! I prefer making gel-prints this way... a little bit of paint, 2 plates at a time, and see where it gets me.

Have you tried gel printing yet? You should!! Of course a good brayer is a must for this and the new brayer from PaperArtsy is perfect. Available from stockists now.

I hope you got inspired to go play with your artsy tools, and create one-of-a-kind artsy prints!!

Thanks for visiting today, and of course I'd appreciate if you left a comment, with a question, or maybe a suggestion for me of what you liked, or liked less?!

See you!! 

Ellie Knol 

Blog: http://elliecreahoekje.blogspot.nl/   http://ellieatcs.blogspot.nl/ 
Owner of : https://www.facebook.com/groups/DutchArtJournal/  
Facebook: https://www.facebook.com/profile.php?id=100008479362838 
Pinterest: https://nl.pinterest.com/ellieknol/