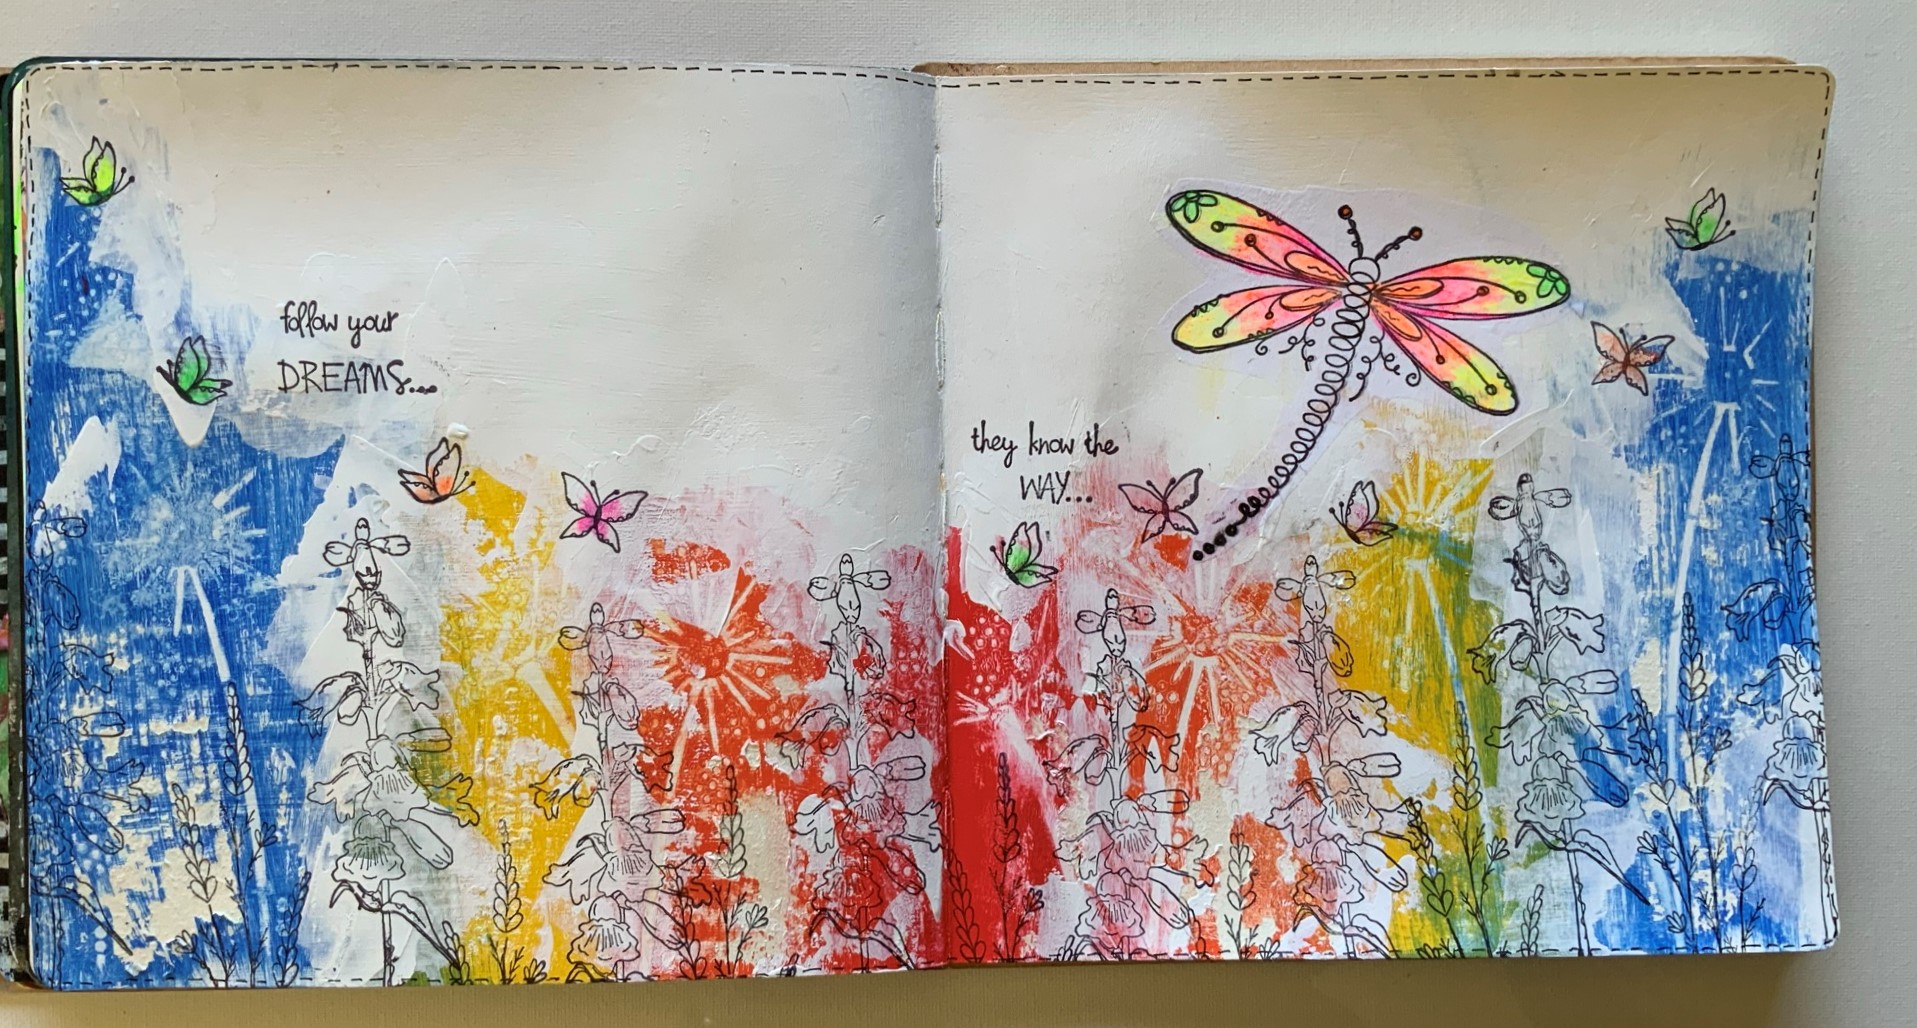
2021 Topic 5: Find Your Vibe

Whilst
wandering with Kay through her wonderful wildflower gardens, it's easy
to see her vibe and how beautiful the resulting pieces are. With lots of
tips for adding details to the stamped images and how to combine her
older and newer sets to create depth, you'll soon be wiling the hours
away creating bespoke cottage garden flower scenes.
~ Keren
Hi everyone, it's Kay with you today, and I'd like to share with you how I go about creating my flower scenes.
I
have always really liked wildflower meadows and cottage style gardens
so when I began designing my stamp range for PaperArtsy I had in mind
that I would like to try and recreate those type of scenes using a
combination of stamps and stencils to create a layered effect that would
emulate a cottage garden.
Using
this particular style of stamping and stenciling with PaperArtsy's
chalk acrylic paints enables me to easily create this 'layered look' and
nowadays it is always my 'go to' type of artwork as I think it gives a
really effective result. It is something that you can definitely play
around with, as you might choose only to use stamps (no stencils) to
create your whole scene or perhaps just have one background layer
instead of several.
For
this project I have used some of my latest products with older stamps
and stencils as most of my products have been designed to mix and match
seamlessly with each other.


Next I stencilled my tall background flowers (PS060) very lightly with Winter Green before realigning and softly stencilling Snowflake to create the white heads.

I then added layers of stamping (in green) using tall grasses from EKC17

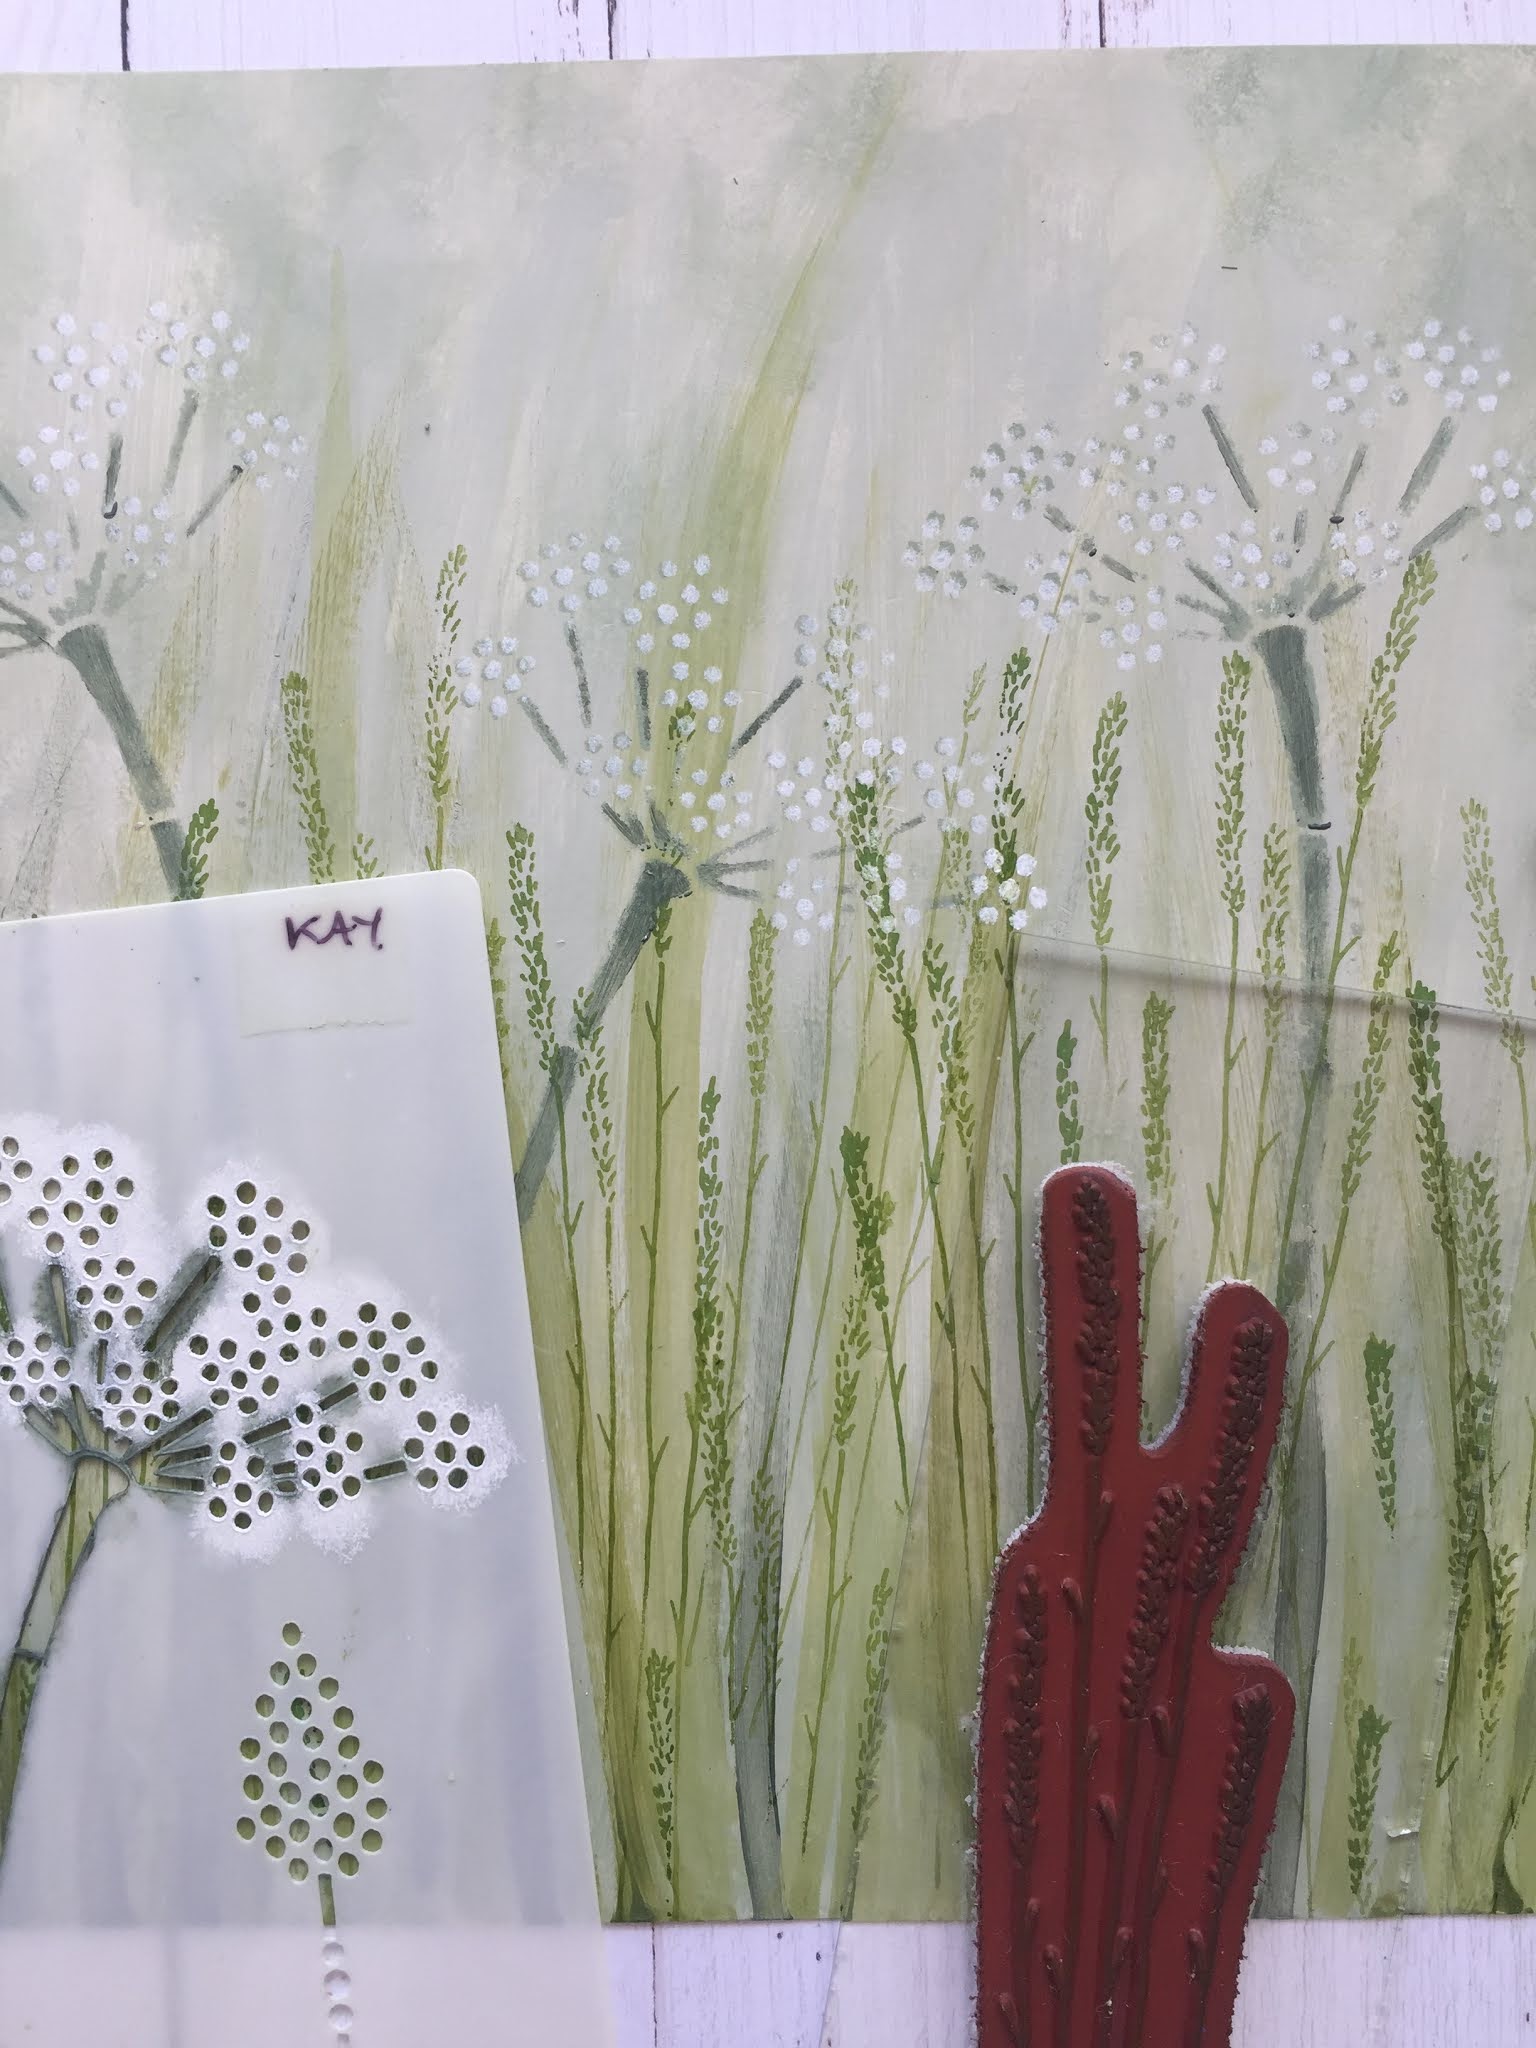
Now its time for the and tall flowers from EKC45 before stamping my main flowers (EKC45) in black.


To colour these flowers I used the matching stencil PS237 (which comes with full instructions).

along with Snowflake, Lilac, Electric Violet, Key Lime, Hey Pesto and Winter Green Frescos.


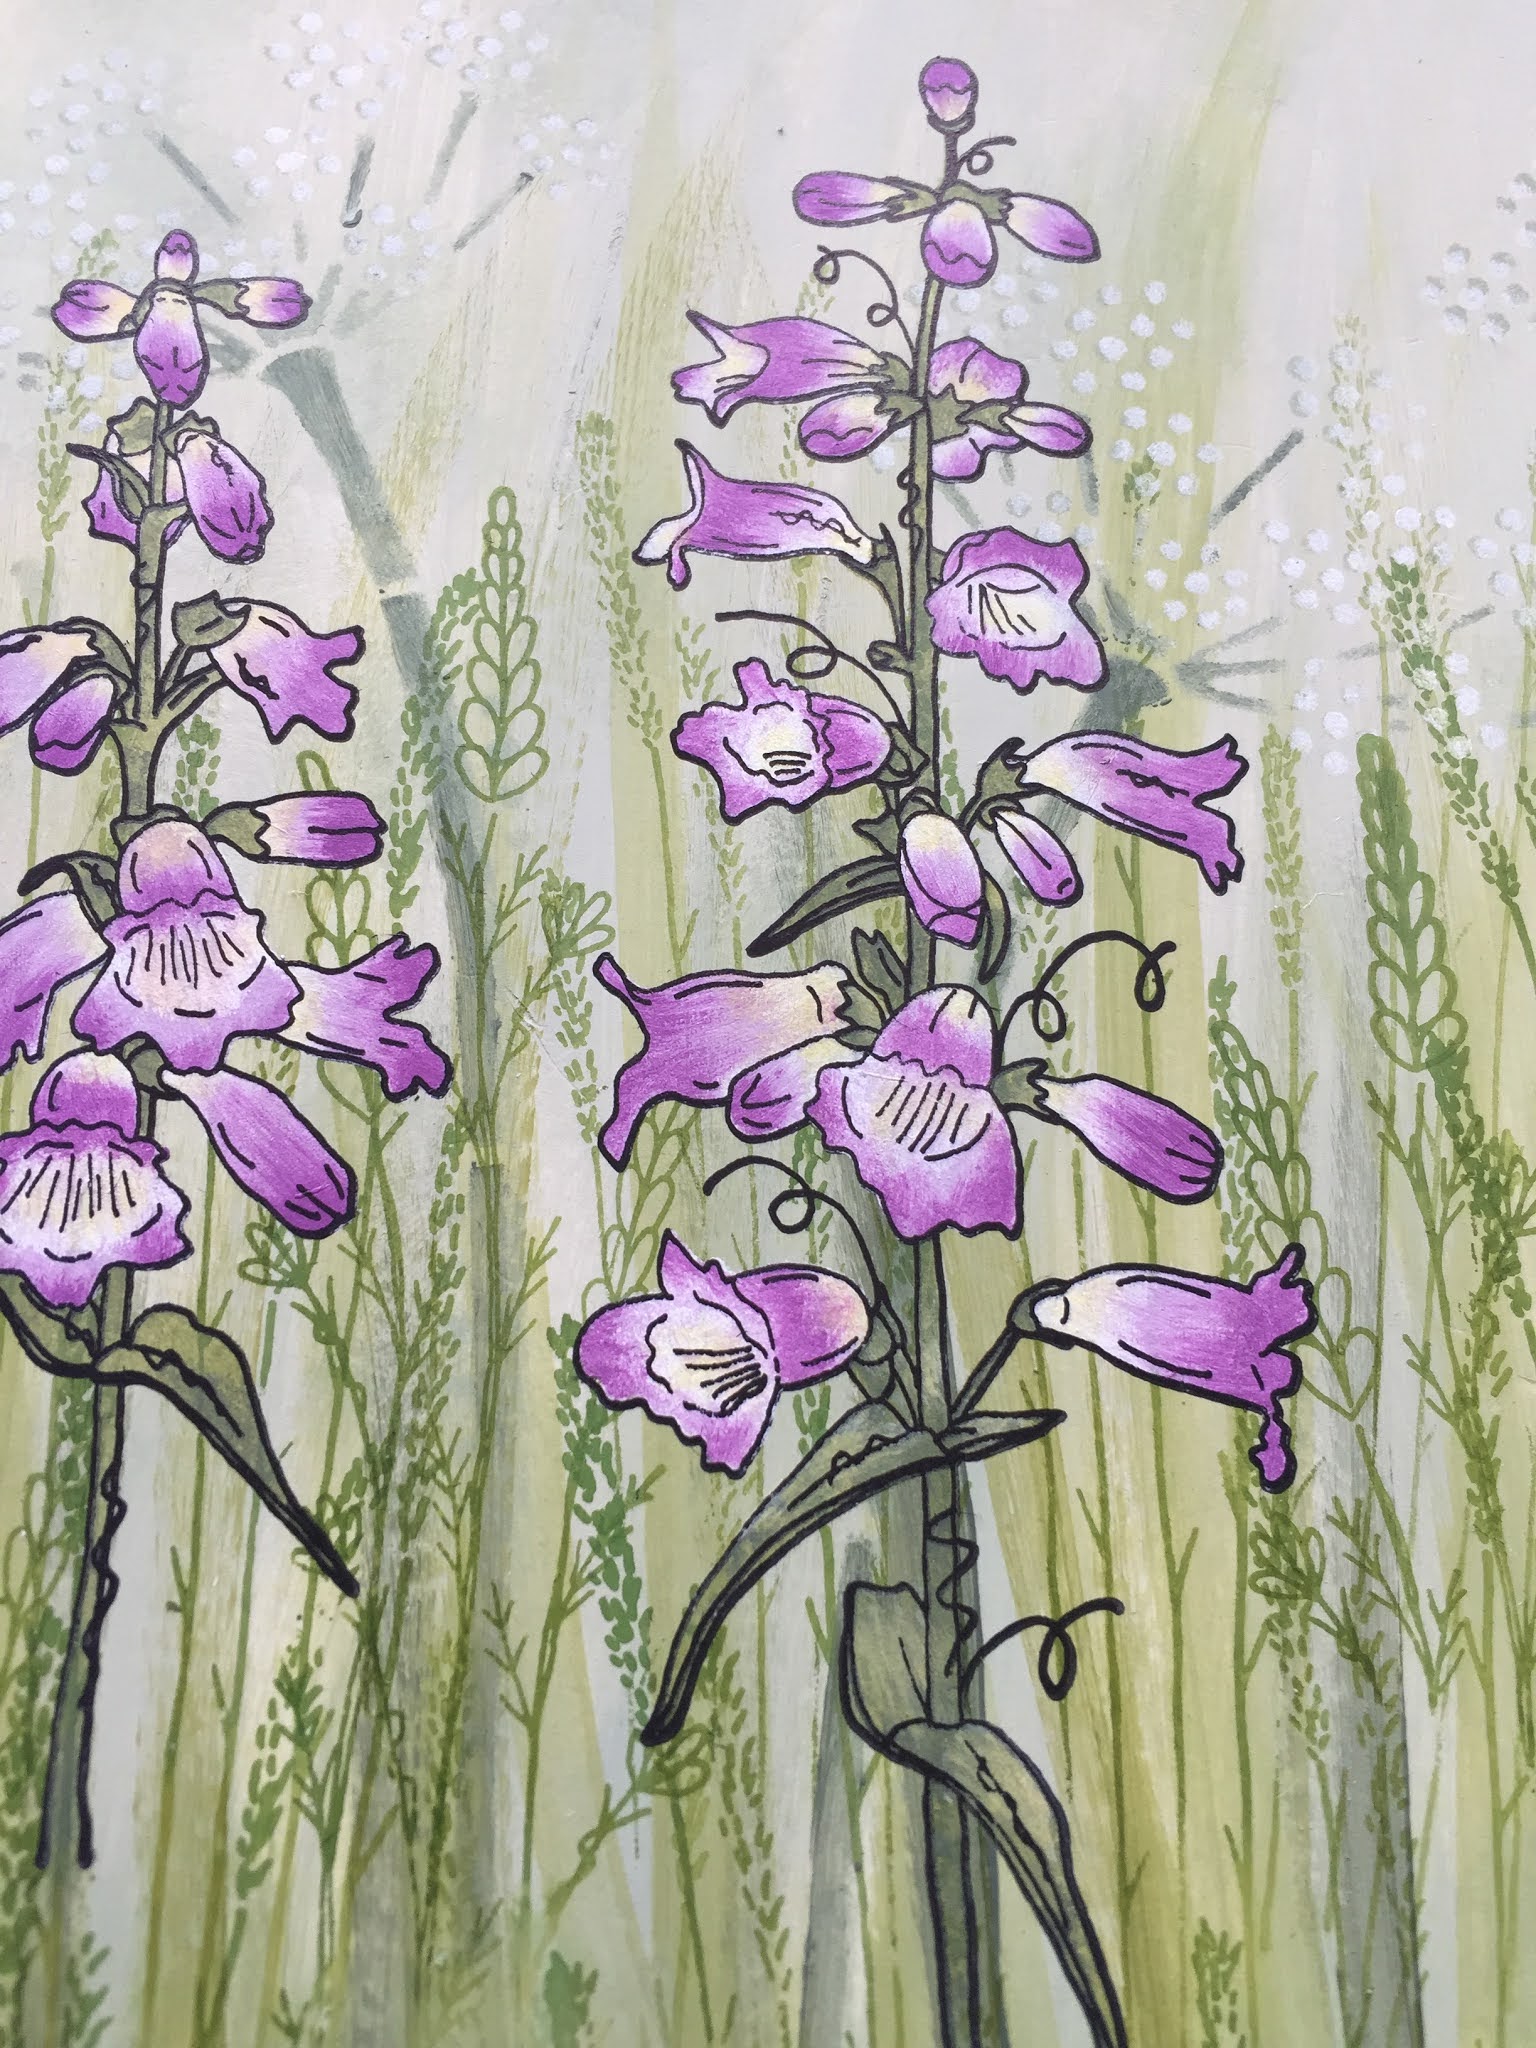


My next step was to paint the background flowers using Periwinkle, Southern Skies and Snowflake. Smaller flowers were stamped into the foreground (EM32) and painted with Candy Floss and Orchid. To add a bit of depth to all the flowers I added small amounts of a mauve pencil to the purple and blue flowers and pink pencil to the pink flowers.


The
picture above shows just how little of the mauve pencil I added to my
main flowers but it makes such a difference to the overall vibrancy of
them.


Whilst
I was creating my main project I went ahead and painted and stamped a
smaller panel with different coloured flowers so that you can see how
this lends itself to small projects too!
As
I mentioned at the beginning of this post I am definitely in my
'comfort zone' when creating these layered scenes and I must admit that I
very often work on a green background for them as then I can paint my
main imagery with any colour I choose. But occasionally I will begin
with a different coloured background however when I do this I already
have in mind what colours I will be using for my flowers so that the
background I'm beginning with will complement them.
I
have quite a range of different flower stamp sets for PaperArtsy
ranging from quite small, delicate flowers to much bigger and bolder
flowers so whatever size of project you create you should be able to
find something to suit!
I hope this has given you some inspiration :).
Love Kay x
Blog: Kays Crafty Corner
Facebook: Kay Carley
Blog: Kays Crafty Corner
Facebook: Kay Carley
Facebook Group: Crafting with Kay Carley
Twitter: @carleycards
Instagram: kay.carley
Pinterest: Kay Carley
Twitter: @carleycards
Instagram: kay.carley
Pinterest: Kay Carley
At this current time all of my teaching is being done online. You can find details of all of my past and current online workshops over on my Crafting with Kay Carley Facebook Group.