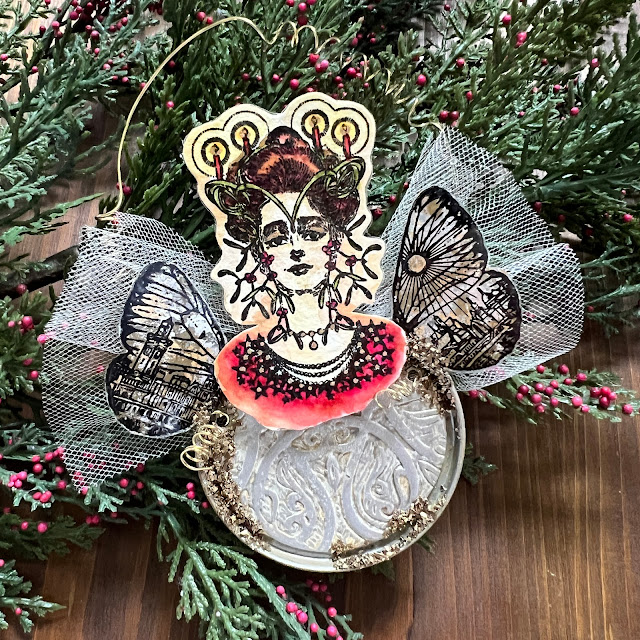
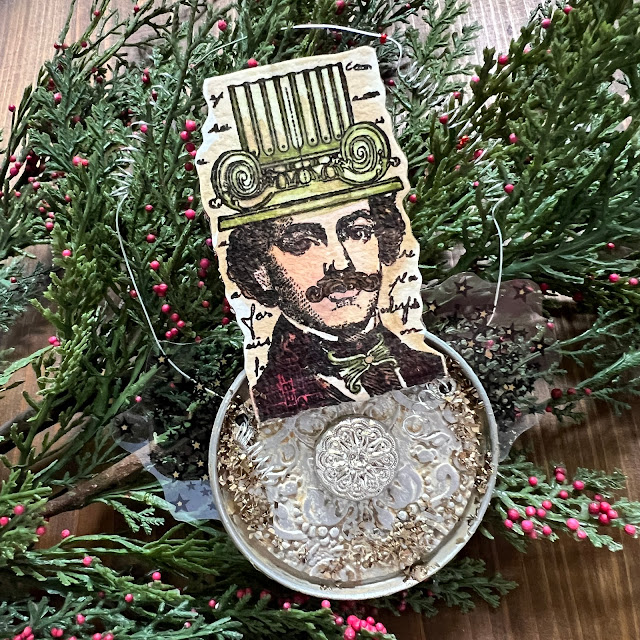
Hi everyone it's Autumn Clark from SewPaperPaint here with you today. An online art group I belong to shares a handmade Christmas ornament exchange each year and thought it would be fun to do an ornament/art doll twist up for this topic and in preparation for our exchange. I've always loved making paper dolls and was surprised when I looked back to find that I've shared FIVE paper doll posts here on the PaperArtsy blog! It's no big shock to find me raising my hand to share for this topic! You can find my pervious posts HERE, HERE, HERE, HERE and HERE. For today's project I twisted things up by altering a juice can lid, fun fun!
The altered juice can lids turned out to be an amazing substrate and I so enjoyed working with them. I hope you will be inspired to try them out as well.
I always enjoy starting a project by selecting a color palette. I chose colors of PaperArtsy Fresco Finish Chalk Acrylics that would work well with my metallic substrate. I picked Caramel, White Fire and Pewter.
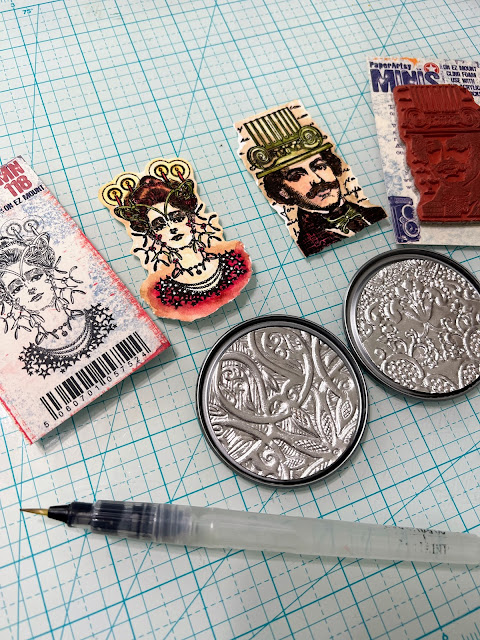
I sorted through all of my PaperArtsy Ink & The Dog Mini Stamps and picked a few that would work well as doll parts. For my masculine doll, I picked MN111 and MN123. for my feminine doll, I chose MN118 and MN115.
Watercoloring is my favorite thing, so I decided to watercolor the faces from Mini Stamps MN118 and MN111 to get things started. Next, I cut circles from silver cardstock sized to fit into my juice lids. I used 3D embossing folders to add texture to each.
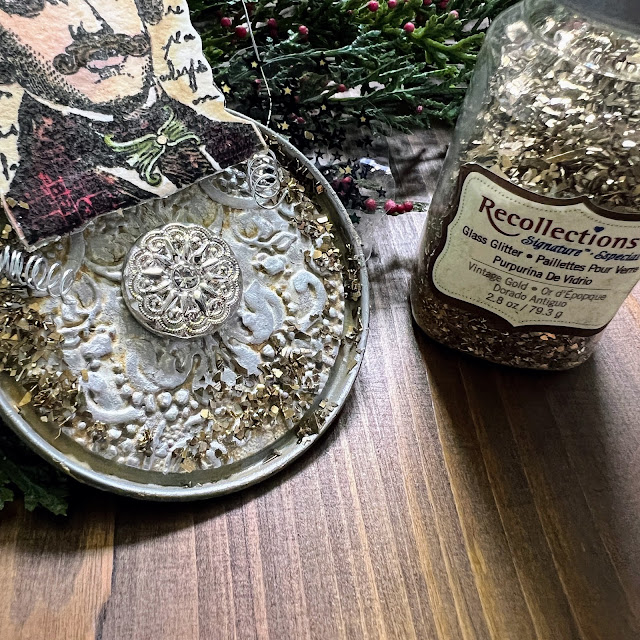
I added some paint in the above mentioned colors to each lid to give it an aged quality, similar to tin ceiling tiles. I then adhered some glass glitter for extra texture and bling.
Next, I stamped the wings from Mini Stamp MN115 with Staz-On ink onto acetate and let it dry fully. I cut out the butterfly image then adhered metallic flakes onto the transparent surface. I adhered some tulle behind each wing for an additional feminine, transparent detail.
I've learned over the years that handmade ornaments can easily get messed up in the yearly packing/unpacking cycle, so I added transparent packing tape to the front and back of each stamped face before fussy cutting. I used a couple layers of mounting foam and extra strength glue to adhere the faces to my altered lids.
I made hangers using silver and gold wire, curling it here and there randomly. For the gentleman, I adhered stamped Mini Stamp MN123, which I cut in half, in the place of wings. I used a paint marker to paint the backs of the tiny stars gold. I also attached a shimmery button to the front of the juice lid to tie in with his dress shirt.
As a final touch, I added some metallic marker details on each image, though it's hard to see this in the photos. I love to use metallics for Christmas, especially with hints of red and green!
I've made as many as 30 ornaments in years gone by and am not sure if I can handle making as many of these fun dolls! But it's definitely a possibility if I can enlist friends and family in saving their juice lids on my behalf! Meanwhile, I've even started saving the ends of canned biscuits, which offer a smaller substrate for such a project...I just love the round shape here for Christmas, to mimic ornaments. I really hope this project has given you some ideas for your own art dolls. xx
Autumn
Blog: SewPaperPaint
YouTube: SewPaperPaint
Facebook: Autumn Clark
Instagram: @sewpaperpaint
Pinterest: SewPaperPaint


No comments:
Post a Comment