


Hi everyone!
Liesbeth here with you today with my Art Dolls! To me this was a trip down memory lane. These button dolls, or button fairies, were a real hype when I started stamping about 18 years ago. I loved them and I still do, I made a lot of them that time. Nowadays you don´t see them very often anymore, let´s change that!
And the stamps I used are also old, from the time Ink &The Dog was a brand, not yet taken over by PaperArtsy. And I'm so happy PaperArtsy did! They're one of my favourites, that wonderful vintage antique style!

The new quarter theme is TRANSPARENCY, there are numerous techniques and materials that can fit into this theme! I used transparent acetate for the wings of the dolls, and also some transparent buttons. I hope to inspire you!

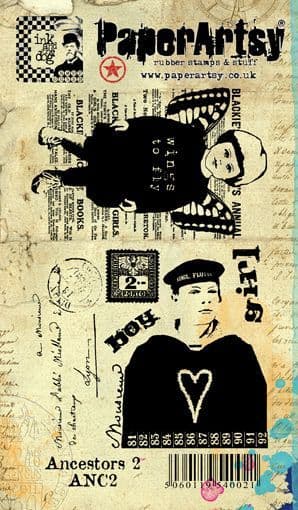
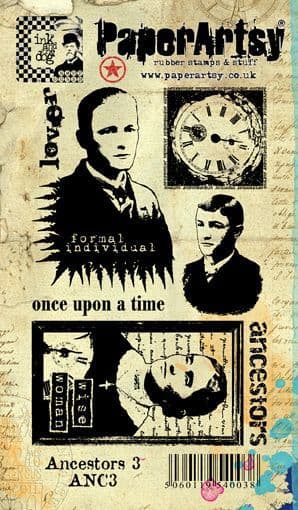
For the art dolls I needed faces and wings, and I found perfect ones in exacly the right size in this three wonderful stamp sets: PaperArtsy Ink & the Dog collection: Ancestors Plate 1, Ancestors Plate 2 and Ancestors Plate 3. Lots of beautiful faces, words and other usable small bits and pieces and two pair of wings and even the letter heart can be wings!

I also used wire, mine is 22 gauge wide. I used different colours. PaperArtsy Fresco Paint - Blush is perfect for the background of the faces.

And of course... buttons! As I am a tailor, it was even my profession, I still sew a lot, I have loads of buttons of all different colours, sizes, materials and styles!


Let's start! First thing I did was making beautiful compositions with the buttons to create the tails. Matching colours and decreasing sizes. I made many small rows, 6 or 7 buttons each. Sometimes I took a bead or a charm as the smallest in row.

Sometimes I missed a certain colour....why not paint it yourself in the colour you need? Here I needed a big green one, I painted a wooden button... perfect! I used PaperArtsy Fresco Paint-Tinned Peas and PaperArtsy Fresco Paint-Hyde Park for it.

To create the tail I secured the smallest button to the end of a piece of wire, about 30 cm, as shown here. Then I put the thread from below in one of the holes of the second button and back down through the other hole. It's just like stitching.

I think it gets clearer here. I kept repeating this till the final button was used. If a button had an eye instead of holes I glued it with a bit of Gossy Accents or tacky glue at the back side to stay in place.

After adding the last button, I cut off the wire, leaving about 6 or 7 centimeters. I turned it into a ring to glue the head on (later on).

I made lots of this tails and bent them in nice curly shapes. It's great to have lots of combination options to choose from for the heads and wings later on.

A tail detail ;-)


Now it's time to give the bodies a nice head and beautiful wings! First I made the substrate for the stamped faces. I painted two A5 pieces of white cardstock with PaperArtsy Fresco paint - Blush. Such a wonderful soft colour!

After drying I stamped the different faces from the stamp sets a several times onto the pink surface using a waterproof black ink (I used Tsukineko StazOn-Jet Black). Here again: its nice to have a pile to choose from. I don't waste anything, I just use my left-overs for other projects.

Onto an A4 acetate sheet, I stamped the butterfly and the heart (Ancestors Plate 1), and the girl with wings (Ancestors Plate 2) using different colours of Tsukineko StazOn inks.

I cut out the faces and the wings, now I had a generous collection to combine.


Here are some examples of how I applied it. Try to use your imagination :-)


At this stage, all individual parts are ready. Time to assemble the dolls!

I took three button tails and looked for the most matching and best fitting heads, acetate wings and stamped embellishments. This is what I came up with. (Now I see I didn't use everything here ;-) ) I created an antique look by sponging the heads and other paper pieces. I used Ranger Archival -Sepia, but it works with every brownish ink. Using colour pencils I added e bit of ,make-up'.

Here you can see how I glued the heads behind the upper buttons and the wings behind the heads/shoulders. For more strength I added a piece of tape at the backside of the head, just onto the wire ring. They also needed some gears and tiny flowers and... a finishing touch with glitter glue (Stickles).. I love Stickles!

My three finished Button Art Dolls!

This how the backsides of my dolls look...a bit ugly. I don't mind because I always use them onto something: a wall, a journal, even on a present. So the back is never been showed in my case. If you want to hang it in the open space you can cover the backside with a piece of cardstock or design paper. Then cut it along when you cut the head, it will fit exactly!

After finishing the first three dolls I could't stop so I made much more! I gave the woman in the middle two pair of wings!

The blue and the red one, here I added a very tiny golden metal key, because there's also some gold in one of the buttons.

The brownies! I added some stamped pieces here as embellishments.

And another pair! This tough man at the left needed a very big pair of wings, I used Tim Holtz Idea-ology Transparent Wings.


Before I started this blogpost I did't make this button dolls for years, and now I'n addicted again...yesss! So much fun to make, to give away or keep yourself. The PaperArtsy Ink & the Dog stamp sets Ancestors 1, Ancestors 2 and Ancestors 3 really seem to be made for this, perfect! I can imagine you don't have so much buttons... think about the thrift store! Hope I inspired you to give this Button Art Dolls a try, have fun!
Liesbeth


Blog: Liesbeth's Arts & Crafts
Facebook: Liesbeth Fidder-de Vos
Instagram: liesbeth_fidder


No comments:
Post a Comment