Hi everyone, it's Martha (@CraftingMartha) with you today, and I'm here to share with you an easy project using some stamps and stencils designed by Tracy Scott.
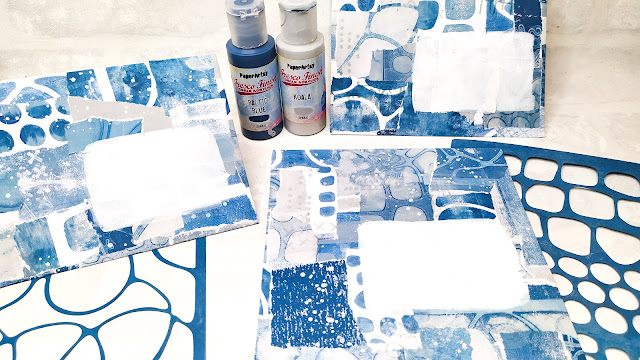
I was intrigued by all the topic of this quarter so I decided to incorporate all of them: Mail Art, Tinged Blue using some Tracy's products and not forgetting the theme of the month that was Texture.
Having already done a project inspired by the Mail Art topic, this time I kept it simple by making the most obvious thing that comes to mind when talking about Mail Art: some envelopes.
I really enjoyed all the process and hope it inspires you too!
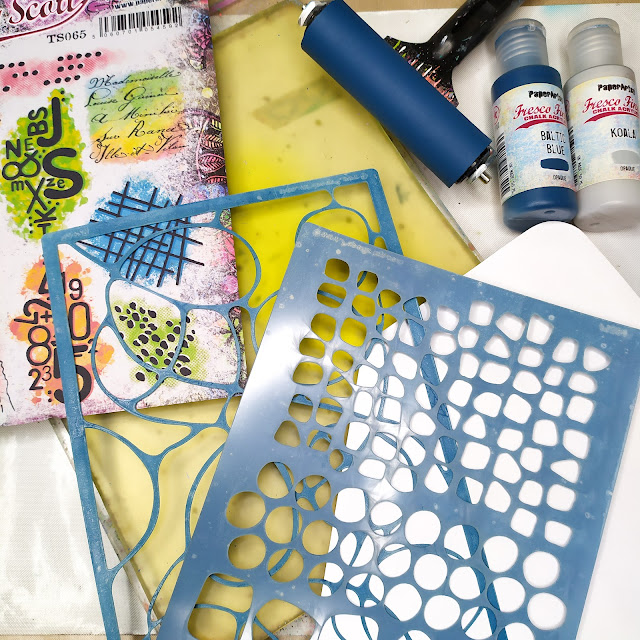
I grab two stencils PS367, PS386, a stamp set TS065 and only two PaperArtsy Fresco Finish Chalk Acrylic: Baltic Blue (FF07) and Koala (FF141)
Even
if it is a very easy project, it was a little challenge for me using
only two colours and mix them together to create lots of shades.The ideal companion to achieve this result was my (now yellowish) Gel Plate.
Keeping in mind the month theme, that is Texture, I decided to decorate my envelopes with the collage technique.
So I took some sheets of copy paper and started playing with the Gel Plate, to create my own collage paper.
I spread PaperArtsy Fresco Finish Chalk Acrylic: Baltic Blue (FF07) with a brayer and used stencil PS367
So I took some sheets of copy paper and started playing with the Gel Plate, to create my own collage paper.
I spread PaperArtsy Fresco Finish Chalk Acrylic: Baltic Blue (FF07) with a brayer and used stencil PS367
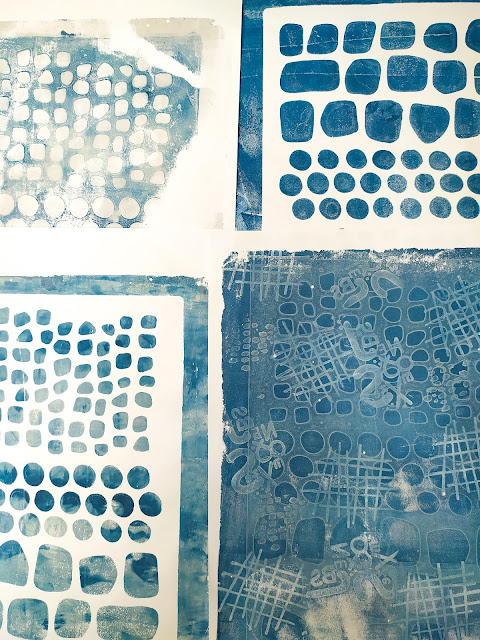
Ready for my ghost print spreading PaperArtsy Fresco Finish Chalk Acrylic Koala (FF141)
For some prints I used stamps TS065 directly on the Gel Plate to remove colour, it is very important, if you do the same, to clean as soon as possible the colour from the stamp to prevent it from drying out.
Then I grab the other stencil PS386 doing almost the same steps.
For more variety, I made some prints just by mixing colours and enjoying the result.
After my Gel Plate session I ended up with a lot of paper ready to be used for my collage.
Now it's time of the most cathartic part of the process: tear the paper into pieces!
We just have to be careful not to leave the work table unattended, if there is someone too tidy around: we would risk them throwing everything away LOL.

With Distress Ink Hickory Smoke and Distress Oxide Iced Spruce I stamped randomly with TS065 to give more interest to my envelopes.
The finishing touch was to create a little area to write down the address, I made it using PaperArtsy Fresco Finish Chalk Acrylic Snowflake (FF15) and adding some white splatters.
I hope you liked this simple project, I wanted to keep it an easy one, because sometimes we need to feel creative, to get satisfaction from what we do while not having too much time.
Have fun!
Martha xxx
Martha xxx


2 comments:
What a brilliant project. Loving the shades of blue too.
what gorgeous blues! fantastic project
Post a Comment